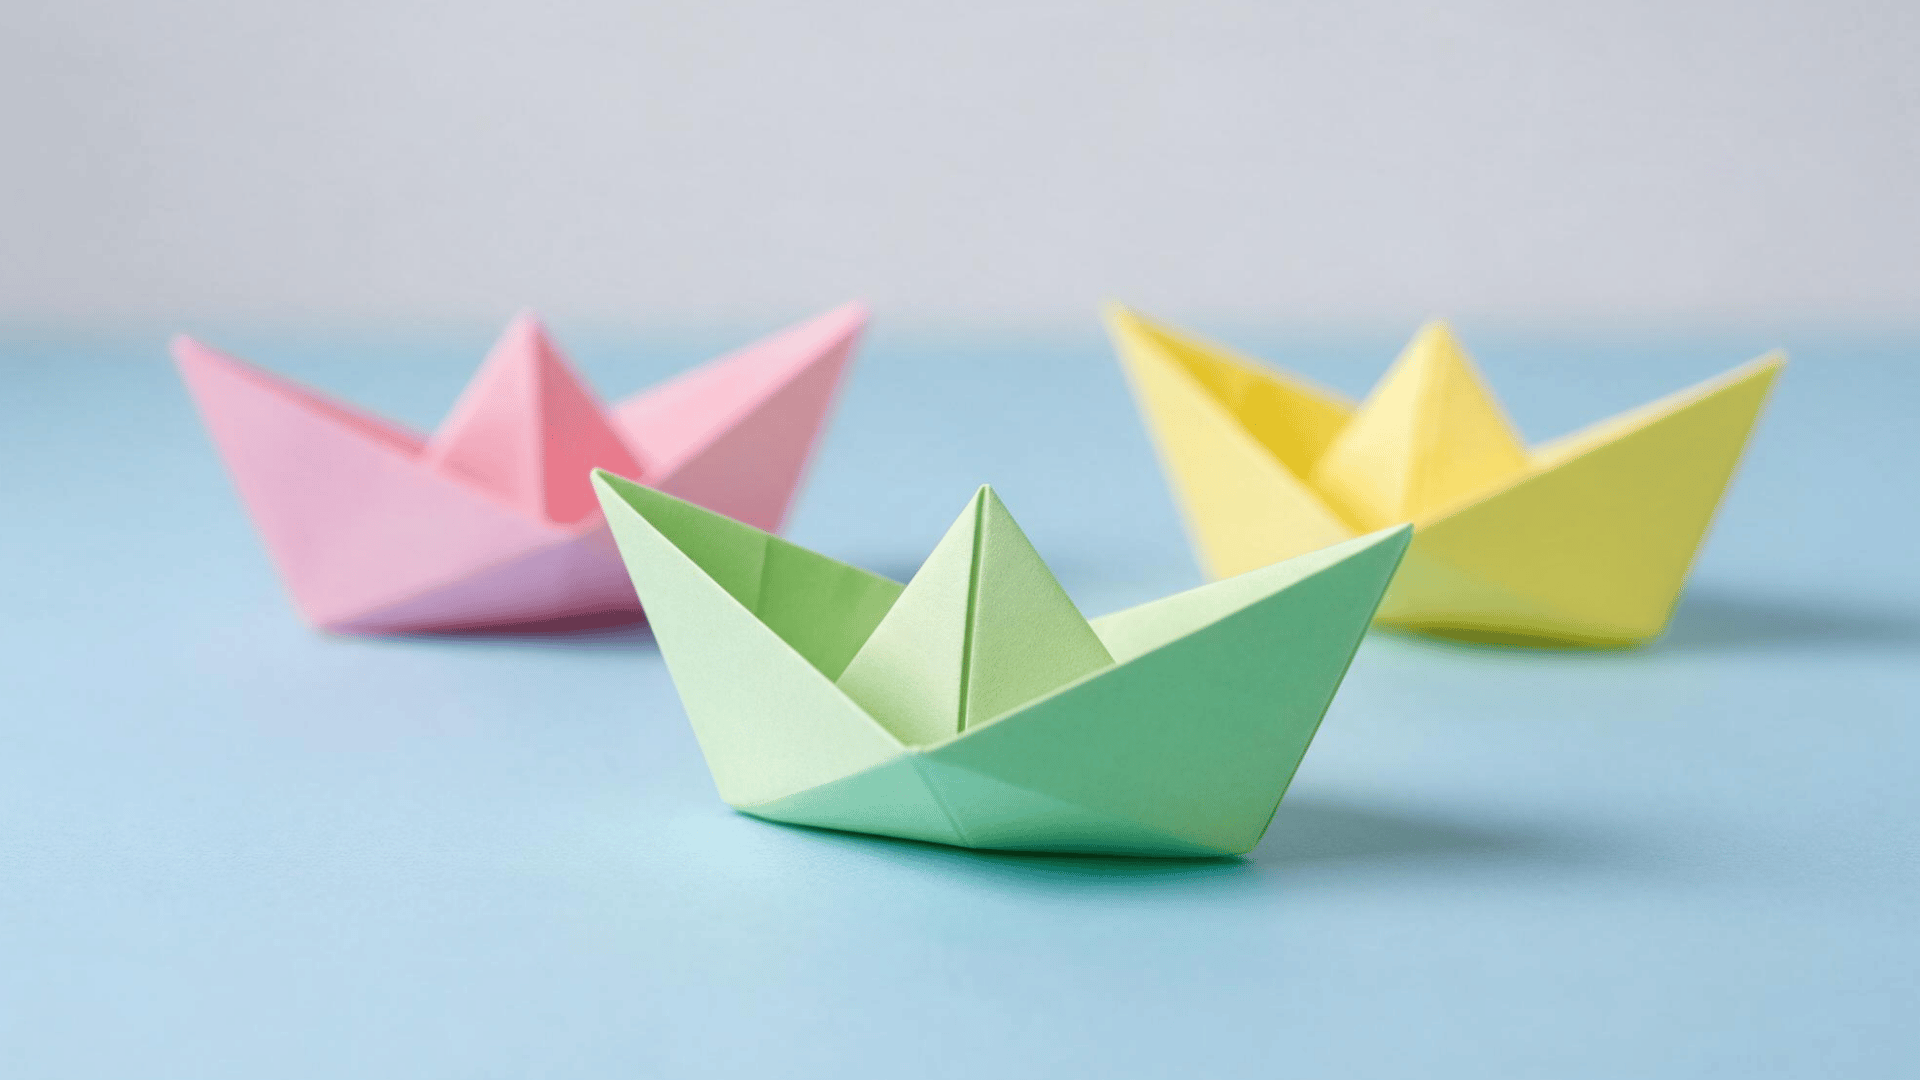
A plain sheet of paper can become surprisingly entertaining once you start folding it. There is something satisfying about turning something ordinary into a little boat you can hold, decorate, or set on water.
Origami boats also have that familiar, almost nostalgic feel. You may remember making one during school, at home, or on a rainy afternoon, and that makes the craft feel a little more fun from the start.
What I like most is how much personality you can give such a simple paper shape. Different paper, colors, and small decorations can make every boat look a little different.
Does an Origami Boat Float?
Yes, a paper boat can float for a short time when it is folded neatly and placed on calm water. A balanced base helps it sit more evenly and lowers the chance of tipping right away.
Regular printer paper is not made to stay wet for long. Once it touches water, the fibers slowly begin to absorb moisture from the surface.
As the paper becomes damp, it starts to soften and lose some of its stiffness. The sides may sag, the base can bend, and the boat may sit lower in the water.
For the best result, place it gently on still water and avoid splashing it from above. A short float works well for play or a quick test, but the paper will eventually weaken and sink.
What You Need to Make an Origami Boat
You only need a few simple supplies for this project. Most of them are easy to find at home or in a basic craft drawer. I usually use plain printer paper for the first try because it folds easily and makes it simple to start again if needed.
|
What You Need |
Recommended Choice |
Why |
|---|---|---|
|
Paper |
8.5 × 11-inch rectangular sheet |
Easy to fold and shape |
|
Surface |
Flat table or desk |
Helps keep folds neat |
|
Crayons or pencils |
Any colors you have |
Adds simple decoration |
|
Markers |
Fine-tip or washable |
Good for names and small details |
|
Ruler |
Standard 12-inch ruler |
Useful for checking paper size |
|
Extra paper |
1–2 spare sheets |
Helpful if a fold tears or goes wrong |
|
Small tray |
Shallow tray or basin |
Useful if you want to test the boat on water |
How to Fold an Origami Boat: Simple Folding Steps
Work slowly and keep the edges lined up as closely as you can. Clean folds make the final shape easier to form and help the paper hold together.
Step 1: Fold the Paper In Half
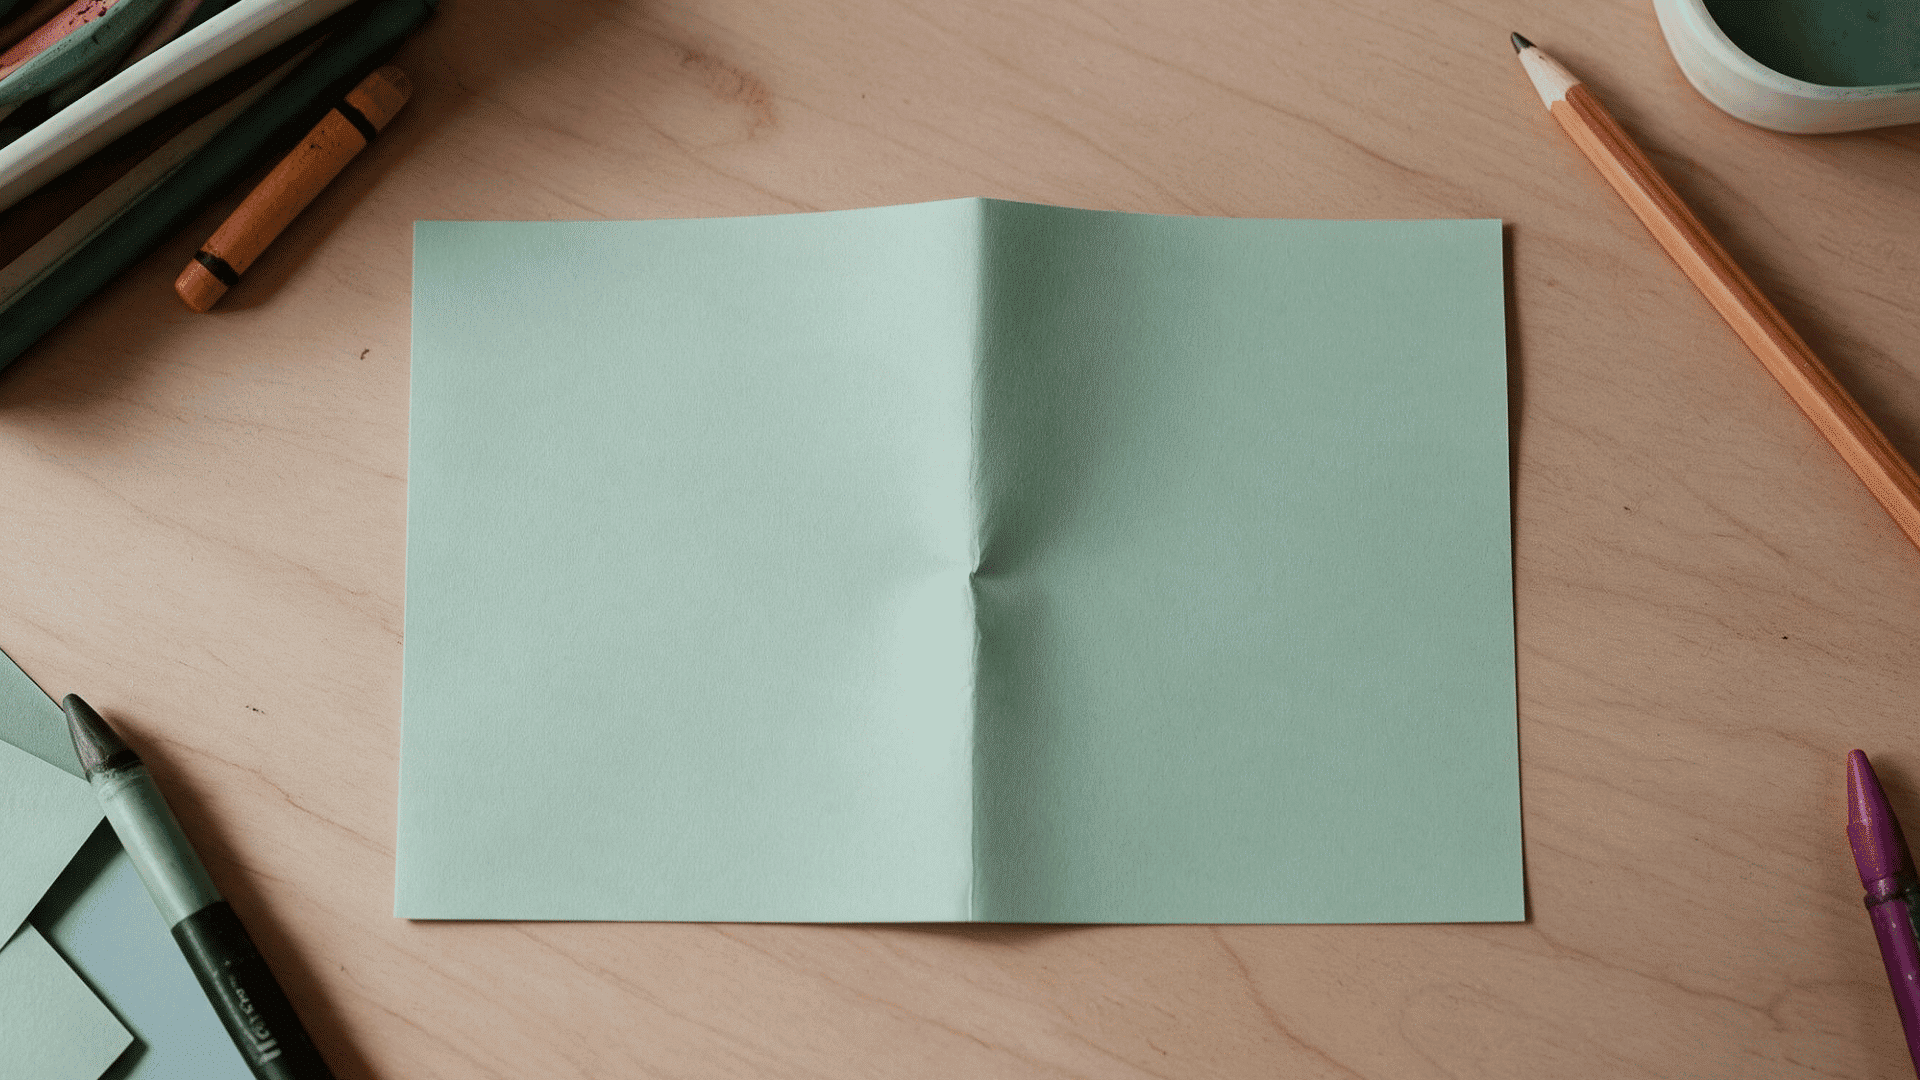
Start with the rectangular sheet placed flat in front of you. This first fold gives you a center guide for the steps that follow.
- Fold the paper: Bring the left side over to meet the right side.
- Press the crease: Run your finger firmly along the folded edge.
- Open it again: Unfold the paper so the center line stays visible.
Tip: Match the corners before pressing the crease so the center line stays straight.
Step 2: Fold It In Half Again
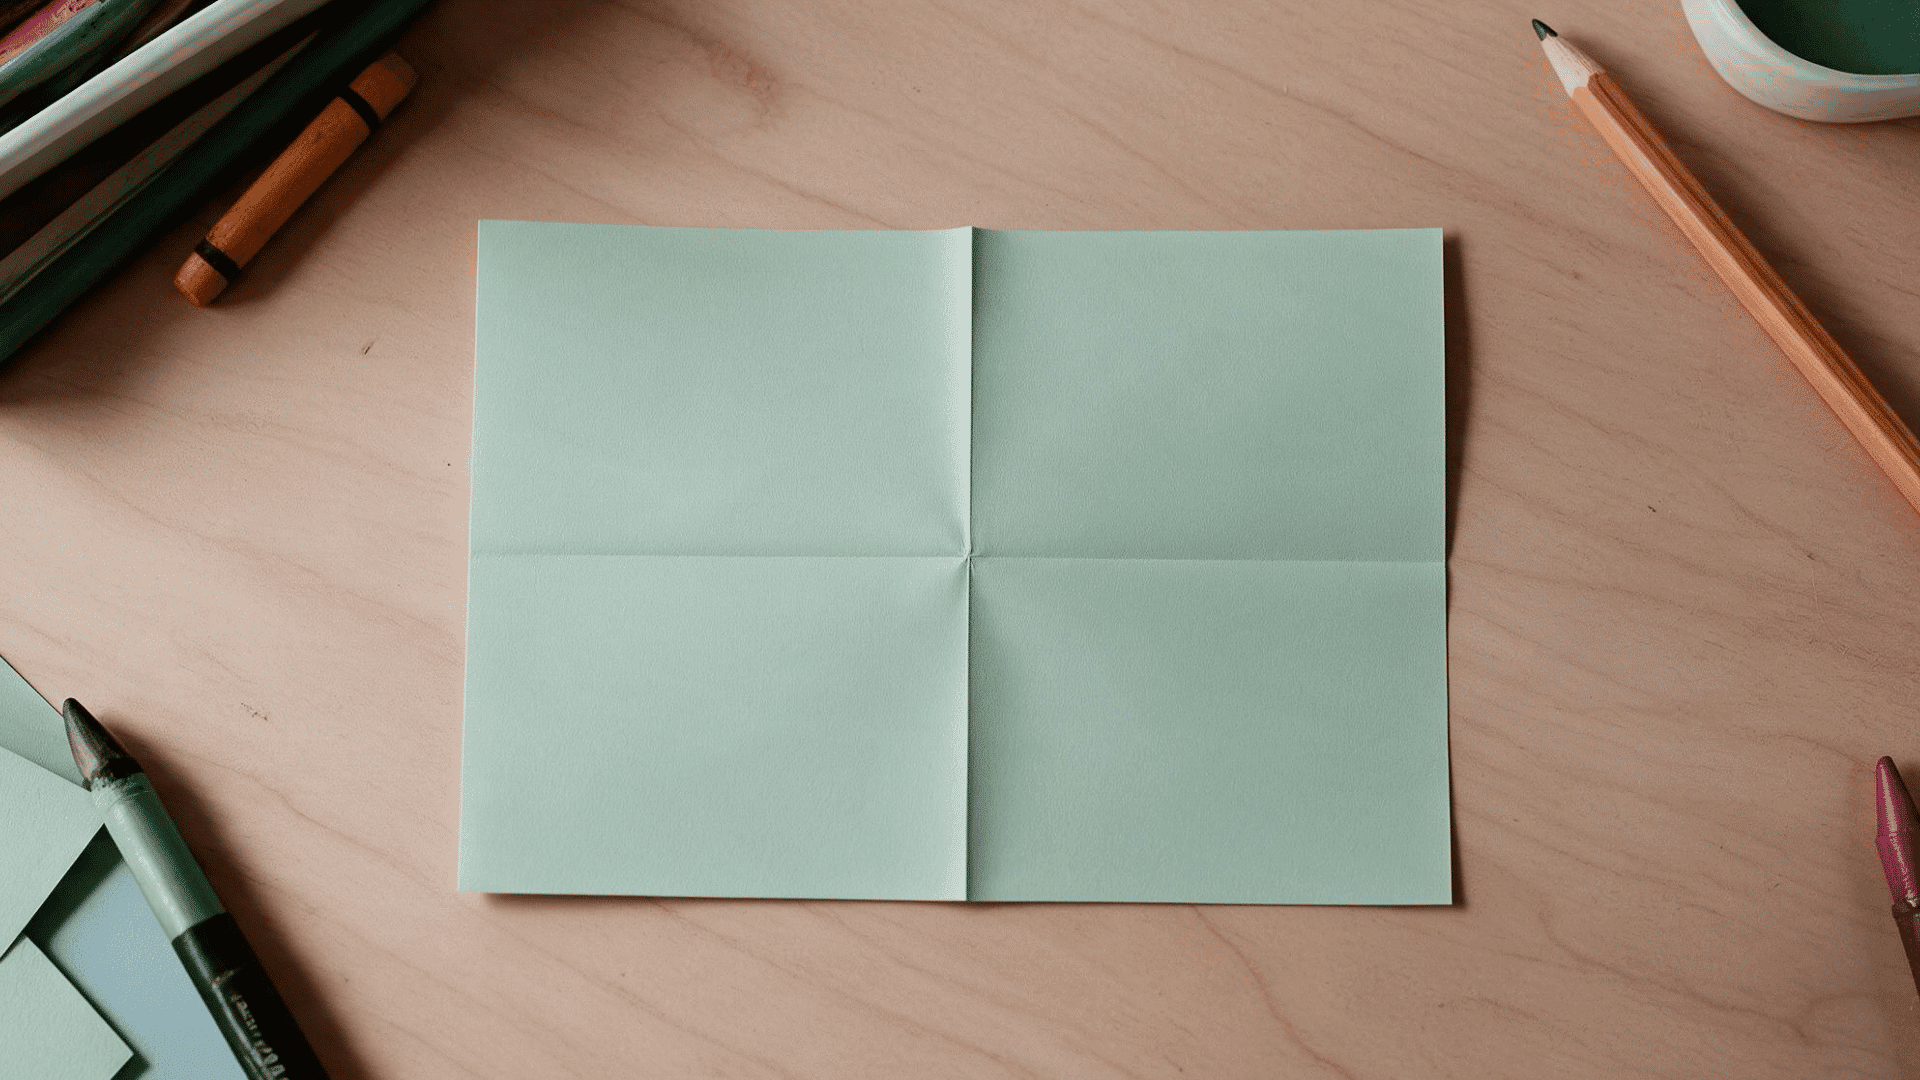
Now create the main folded base. Keep the edges even so the shape stays balanced as you continue.
- Fold it downward: Bring the top edge down to meet the bottom edge.
- Match the corners: Check that both sides sit evenly.
- Press the fold: Make a firm crease and leave the paper folded.
Step 3: Bring the Corners to the Center
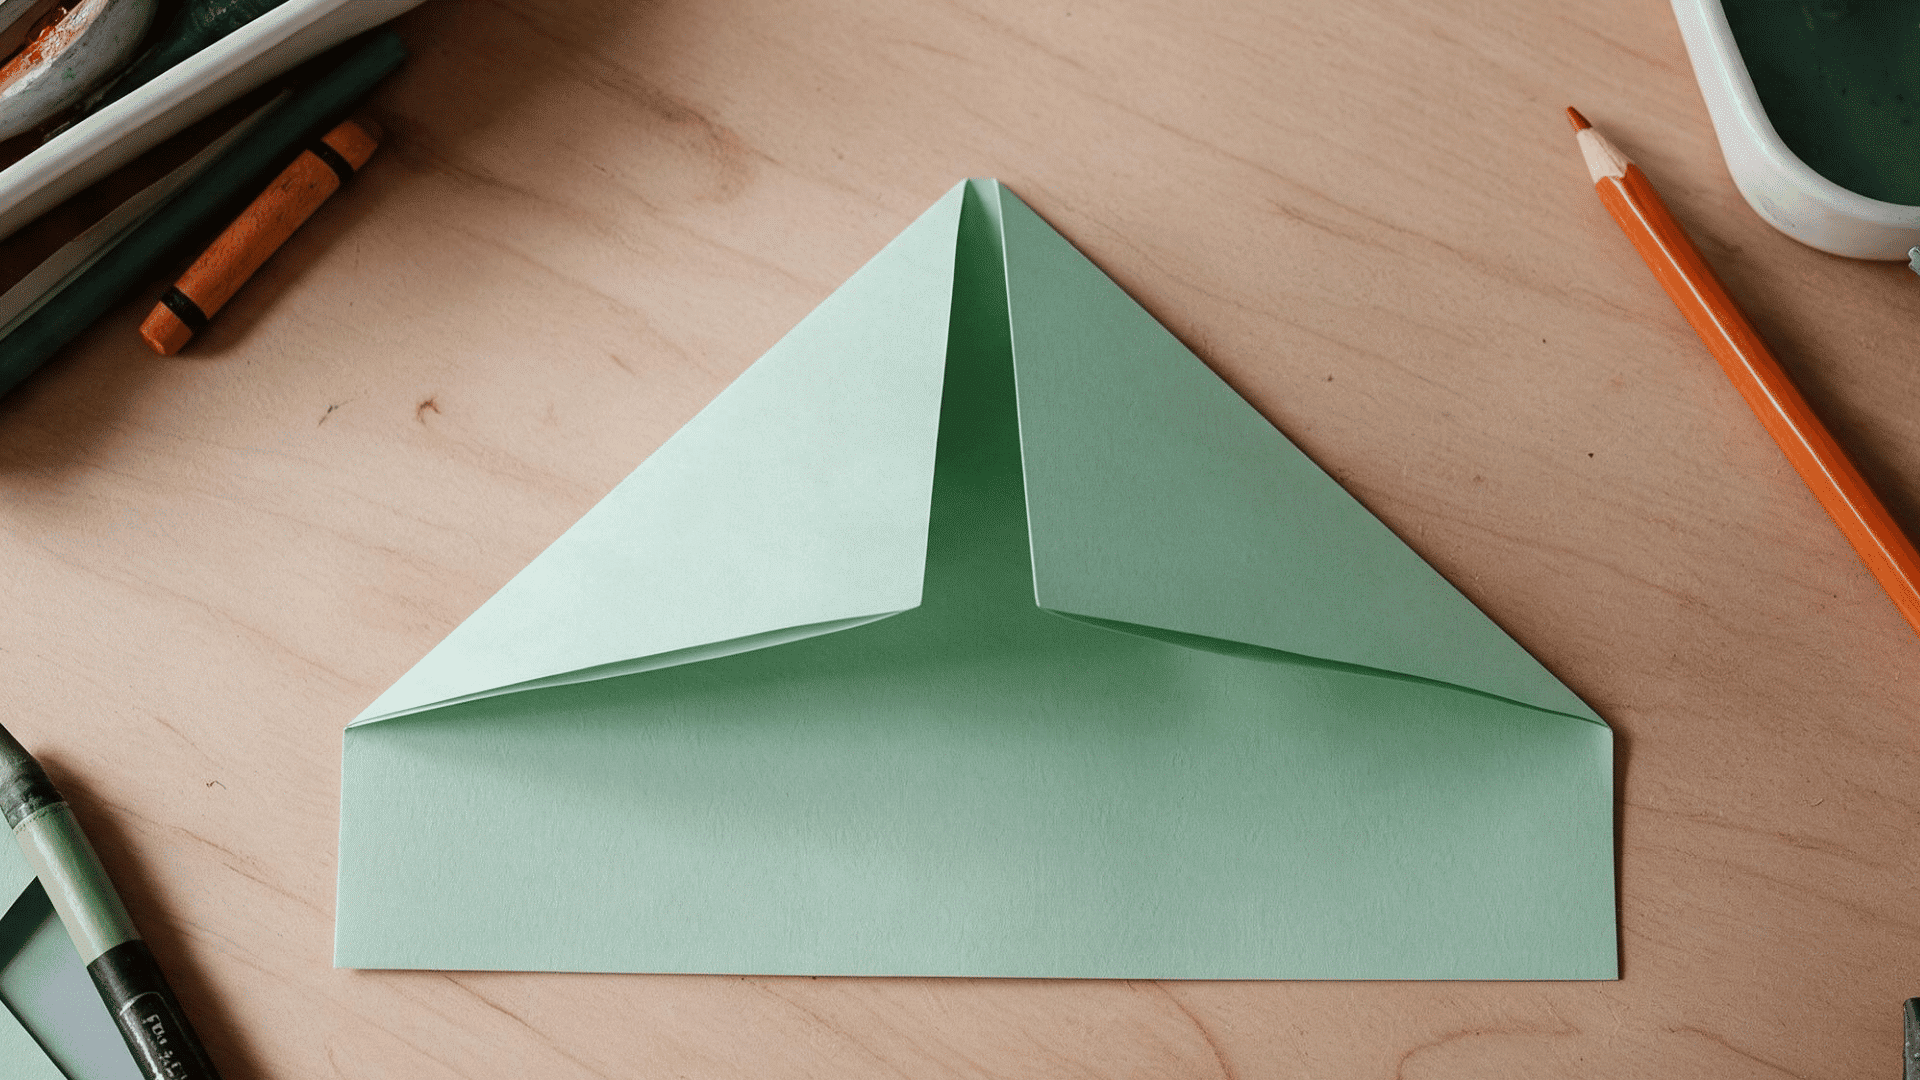
The paper will begin to form a pointed top here. Both sides should meet along the middle without crossing over.
- Fold the left corner: Bring the top left corner down to the center crease.
- Fold the right corner: Repeat with the top right corner.
- Check the middle: Make sure both folded edges meet evenly.
- Press the folds: Firm up both creases before moving on.
Tip: If one side looks wider, open it and adjust the fold before pressing it again.
Step 4: Fold Up the Bottom Flaps

The loose strips along the bottom now fold upward around the pointed section. Keep the front and back folds as even as possible.
- Lift the front flap: Fold the bottom front strip upward.
- Turn the paper over: Keep the pointed end facing the same direction.
- Fold the back flap: Bring the second strip upward to match the first.
- Tidy the corners: Fold in any small pieces that stick out at the sides.
Tip: Keep the lower flaps snug against the triangle so the next opening is easier.
Step 5: Open the Paper Into a Diamond
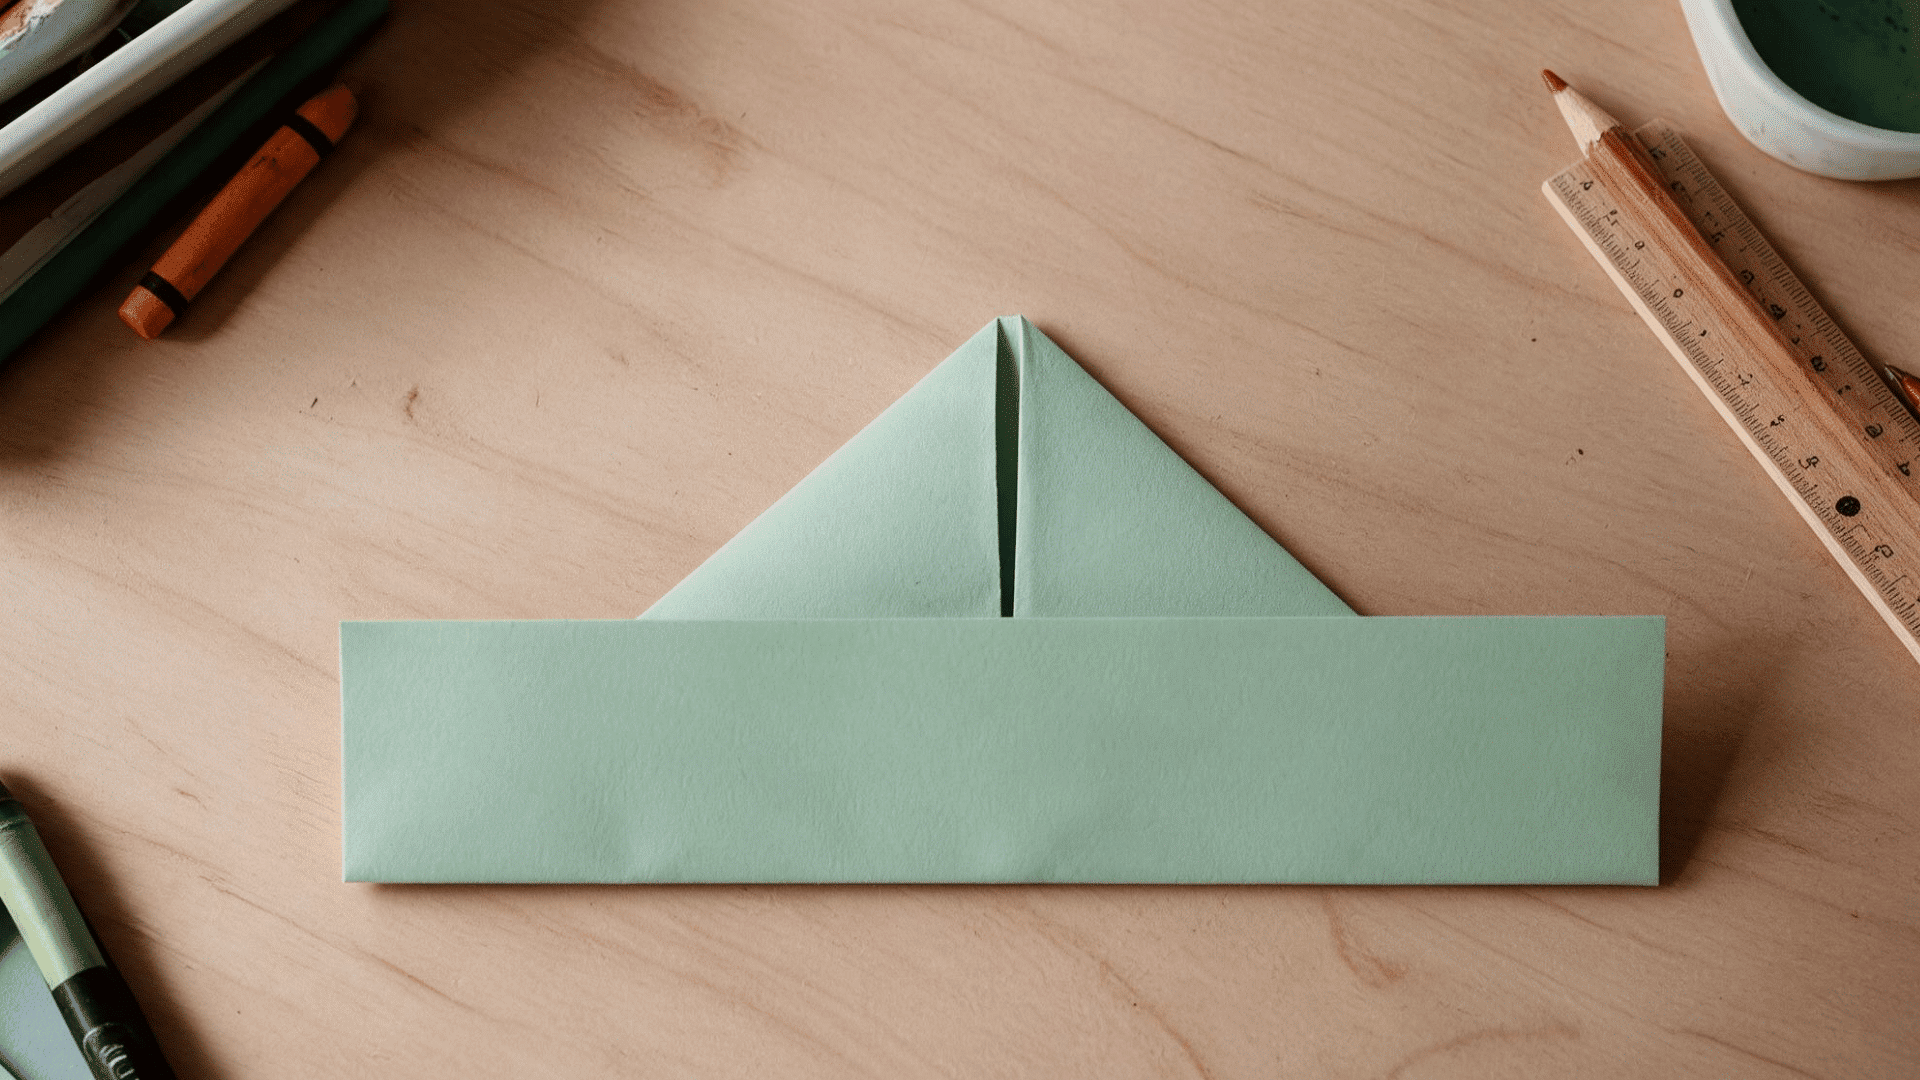
This is one of the trickier shape changes. The paper opens from the bottom and then flattens in a new direction. I usually slow down here because a neat diamond makes the next folds much easier to handle.
- Open the bottom: Gently pull the lower opening apart.
- Bring the corners together: Move the left and right corners toward each other.
- Flatten the shape: Press the paper into a diamond.
- Match the points: Line up the top and bottom corners before creasing.
Step 6: Fold the Diamond Up
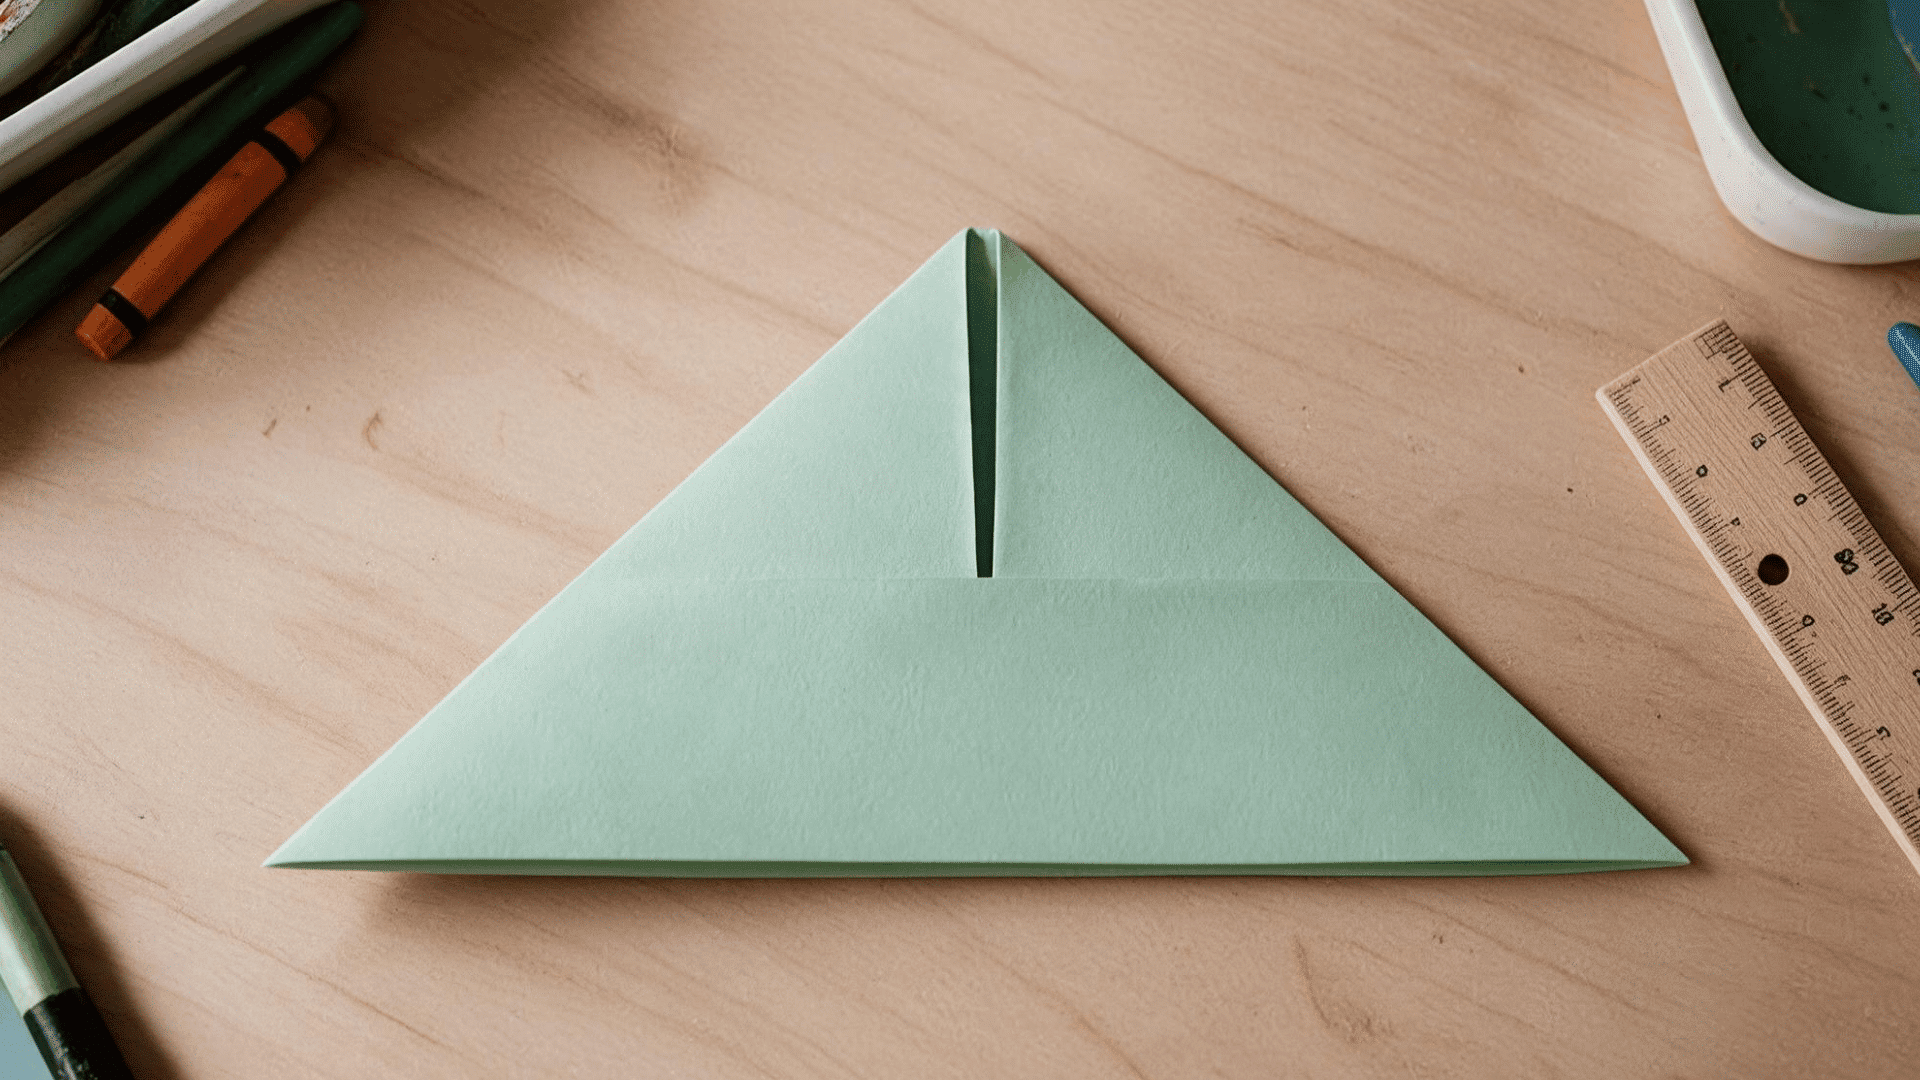
The diamond now becomes a smaller folded shape. Work on one side at a time so the layers do not shift.
- Lift the bottom point: Fold it upward to meet the top point.
- Press the crease: Flatten the new triangle firmly.
- Turn it over: Keep the points lined up.
- Repeat the fold: Bring the second bottom point upward in the same way.
Tip: Check that both triangles are close in size before moving on.
Step 7: Open It Into a Diamond Again
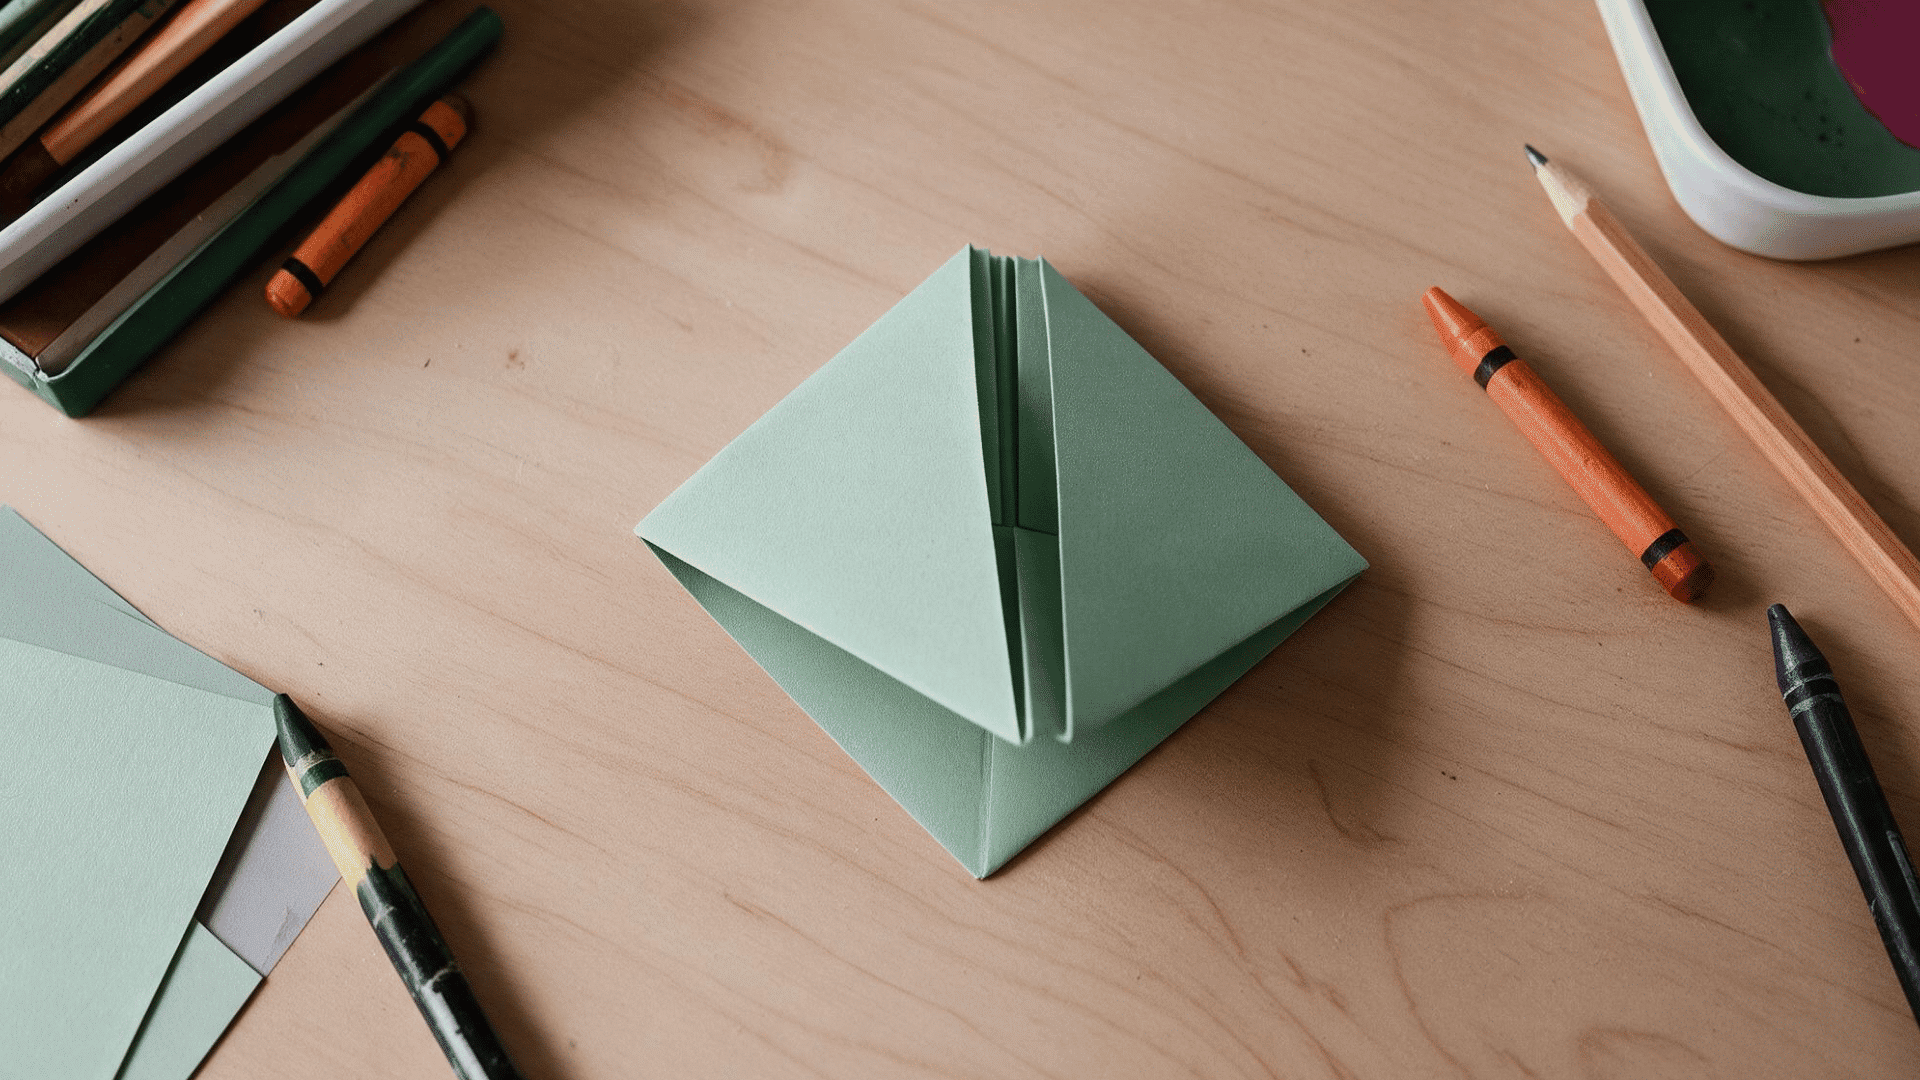
You will repeat the same opening motion from earlier. The paper is smaller now, so use a lighter touch.
- Open the bottom: Pull the lower edges apart gently.
- Bring the corners inward: Move the outer corners toward each other.
- Flatten the paper: Press it into a smaller diamond.
- Check the edges: Make sure both sides sit evenly.
Step 8: Pull the Sides Apart to Form the Boat
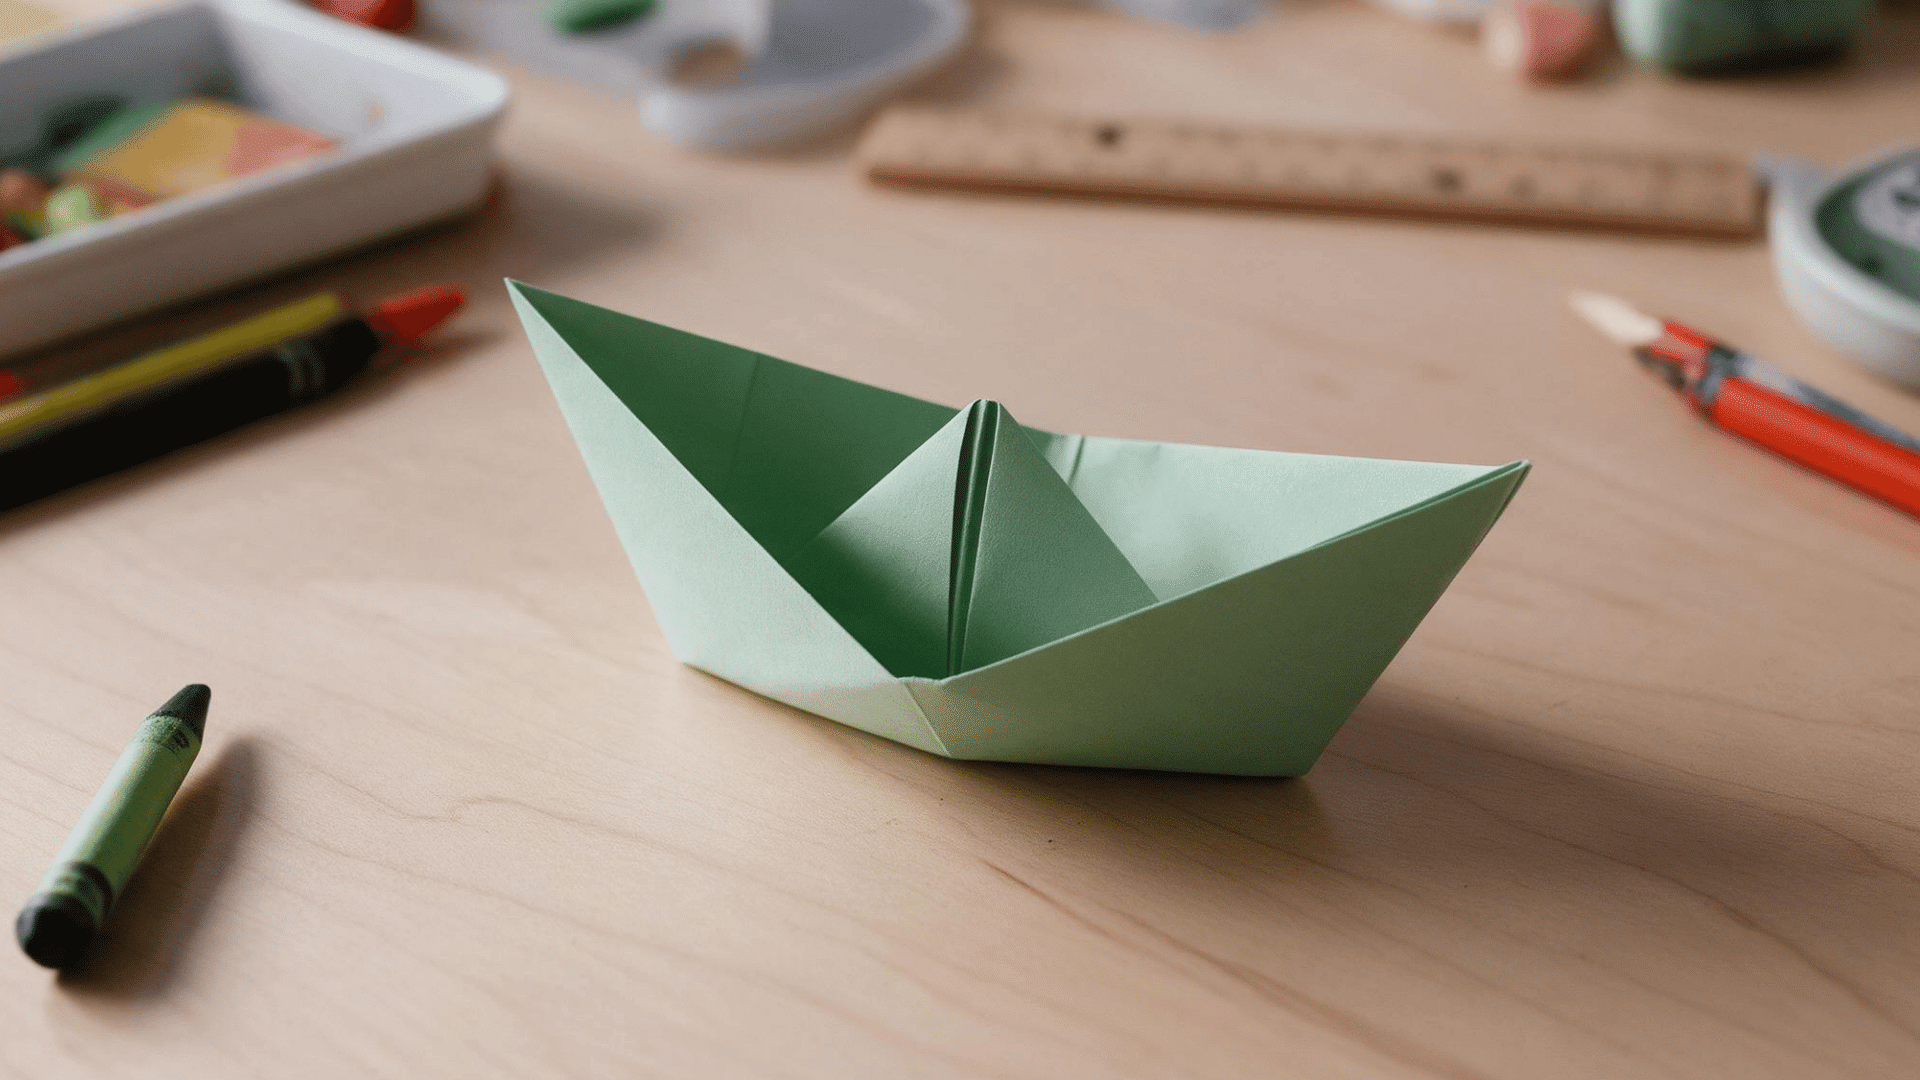
The final shape appears as you open the top layers. Pull slowly so the paper can settle into place without tearing.
- Hold the top points: Grip one point in each hand.
- Pull them apart: Move the points outward slowly.
- Open the center: Let the folded layers spread into the origami boat shape.
- Shape the base: Flatten the bottom slightly and adjust the sides.
Tip: Avoid pulling hard at the center because the layered paper can tear more easily there.
Easy Origami Boat Versions You Can Try
There are a few simple paper boat styles you can try besides the traditional version. Each one changes the look, starting paper, or way the finished craft is used.
1. Simple Sailboat
A simple sailboat uses a taller folded shape that gives the finished craft a more obvious sail. It works especially well for dry displays, cards, or classroom projects.
Decorate the sail or sides with stripes, dots, names, or small windows using crayons or pencils. You can also make several in different colors and arrange them as a small fleet.
2. Square Paper Boat
This version starts with a square sheet instead of the usual rectangular paper, so the folding sequence and finished proportions look slightly different. It is a good option when you already have origami paper available.
Try different paper sizes to see how the finished boat changes. Larger sheets are easier for beginners to handle, while smaller sheets create compact boats for displays or craft projects.
3. Mini Paper Boat
Mini boats use the same basic idea with a much smaller sheet of paper. The folds need to be more precise because there is less room to adjust uneven edges.
Use several paper colors to create a miniature fleet, then line the boats up on a shelf, desk, or seasonal display. Small boats also work well as simple table decorations.
4. Flat Display Boat
A flat display boat is shaped to sit more evenly against a surface rather than opening into a deeper base. This makes it better suited to handmade greeting cards, classroom boards, scrapbooks, or wall crafts.
Add drawn windows, flags, waves, or other small details around the boat. Because this version is mainly decorative, you do not need to worry about making the base wide enough to float.
Small Mistakes That Can Affect Your Boat
Even a small folding slip can change how your origami boat sits or opens. Check the fold that looks off before starting over, since most issues need only a quick fix.
Problem: The base stays too narrow.
Fix: Widen the bottom gently so the boat can sit more evenly.
Problem: The boat will not open properly.
Fix: Gently pull both top points outward until the folded layers begin to separate.
Problem: One side sits higher than the other.
Fix: Adjust the folds so both sides line up at the same height.
Problem: The base stays too narrow.
Fix: Widen the bottom gently so the boat can sit more evenly.
Tip: Ifthe paper starts feeling bulky, flatten each layer before moving on. This keeps the shape easier to handle as the folds build up.
Conclusion
A simple sheet of paper can feel surprisingly different once your hands start learning the folds. After a few tries, the movements often become easier to remember and much less fussy.
I find that the second or third origami boat usually comes together with far less effort than the first. That small bit of progress can make the project feel even more satisfying.
From there, you can keep experimenting with different sizes or try another folding project, such as paper snowflakes or DIY paper lanterns using paper you already have nearby.
Frequently Asked Questions
Why Won’t My Origami Boat Stand Up?
The base may be too narrow, so gently open it a little more until the boat balances.
Is an Origami Boat Easy for Kids to Make?
Yes, older kids can usually follow the folds, while younger children may need help with the shape changes.
How Long Does it Take to Make an Origami Boat?
Most beginners can finish one in about 5 to 10 minutes once they understand the basic folds.