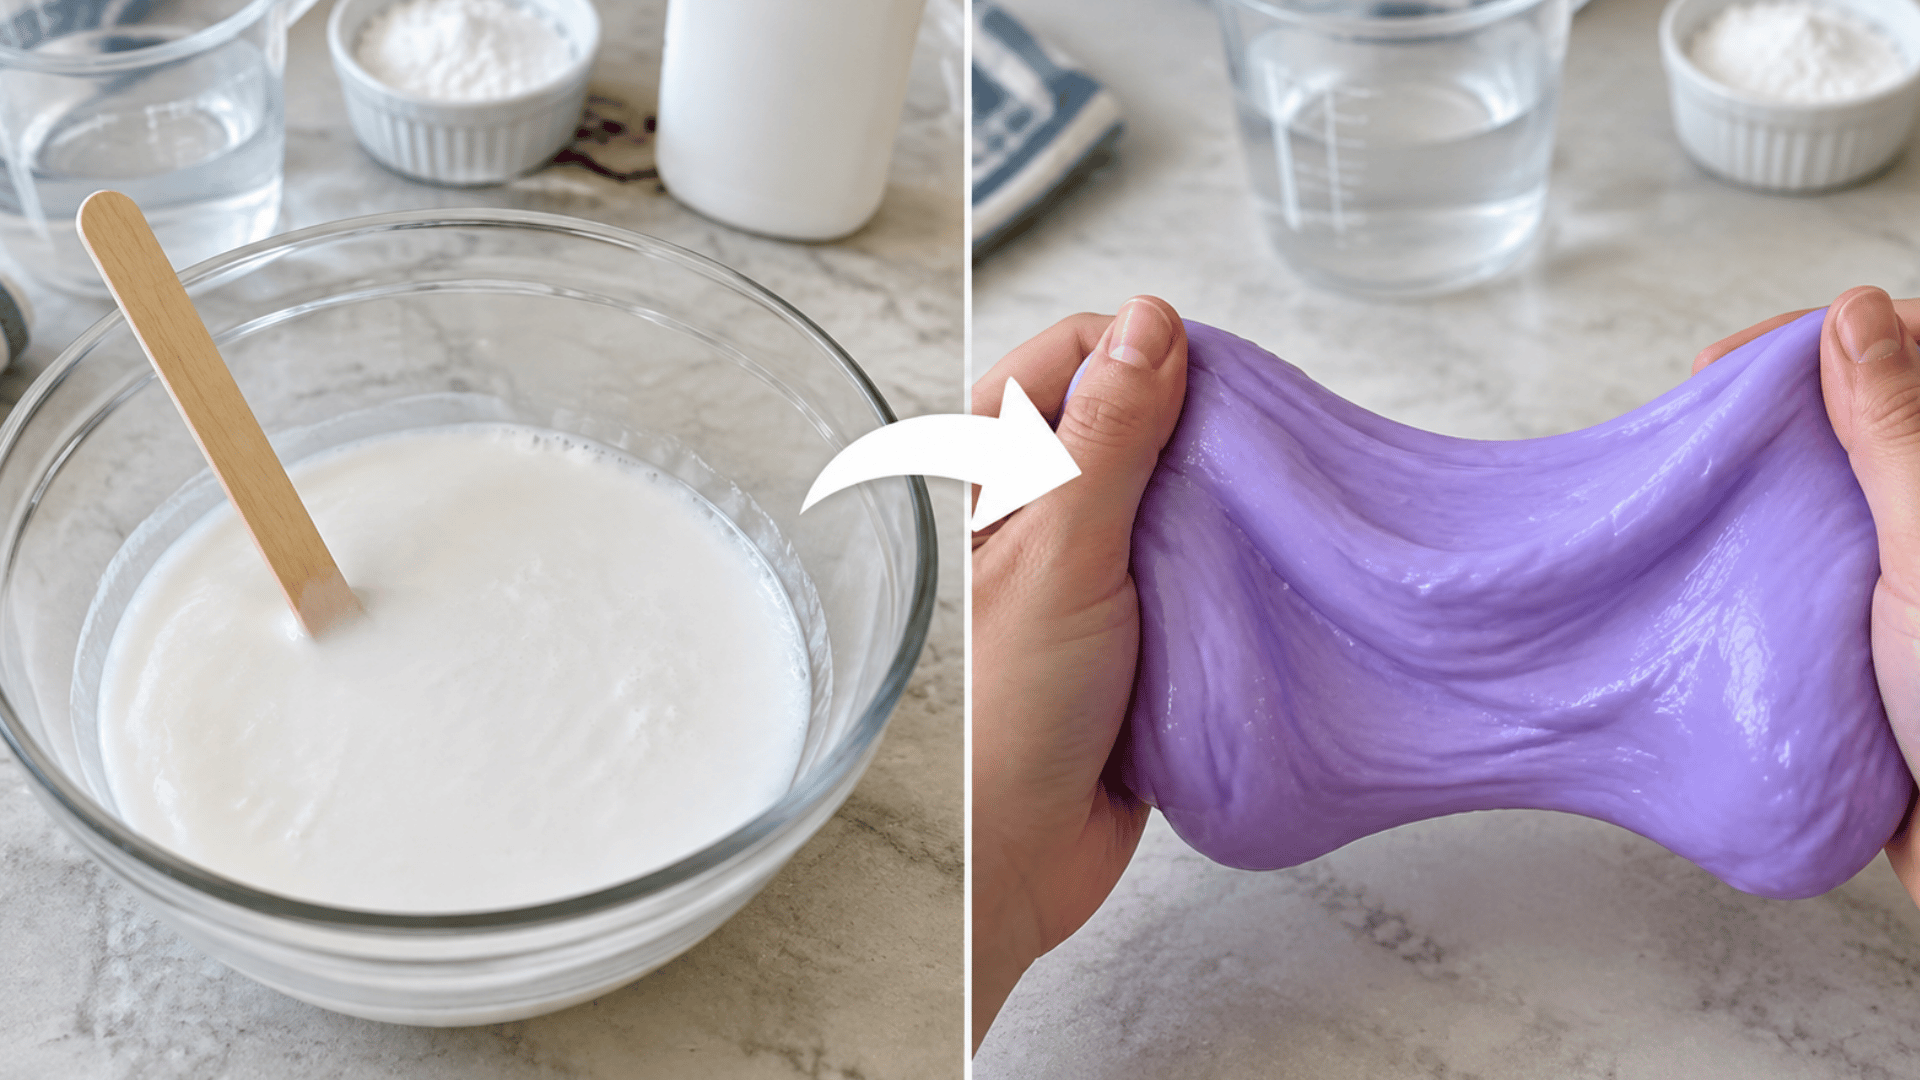
Slime has a funny way of turning one ingredient into the difference between stretchy success and a stubborn mess. That is where slime activator comes in, but choosing and using one is not always as straightforward as it sounds.
Different formulas behave differently, which makes knowing what to check before mixing more useful than guessing your way through a batch.
What Is Slime Activator and How Does It Work?
Slime activator is an ingredient or mixture that helps certain homemade slime recipes change from loose glue into a thicker, stretchy mixture.
It works by changing how the long molecules in the glue behave rather than simply making the glue “dry.” Many common slime glues contain long molecules called polymers, specifically polyvinyl acetate (PVA).
When the right activating ingredients are added, they create connections between those polymer chains. This process is called cross-linking, and the American Chemical Society explains that borate ions can help form these links in glue-based slime.
As the chains connect, they cannot slide past one another as easily, so the mixture holds together and takes on the texture of slime.
Note: Most effective activators contain sodium borate, boric acid, or borax. Check the label before using one in a slime recipe.
What Can You Use As a Slime Activator?
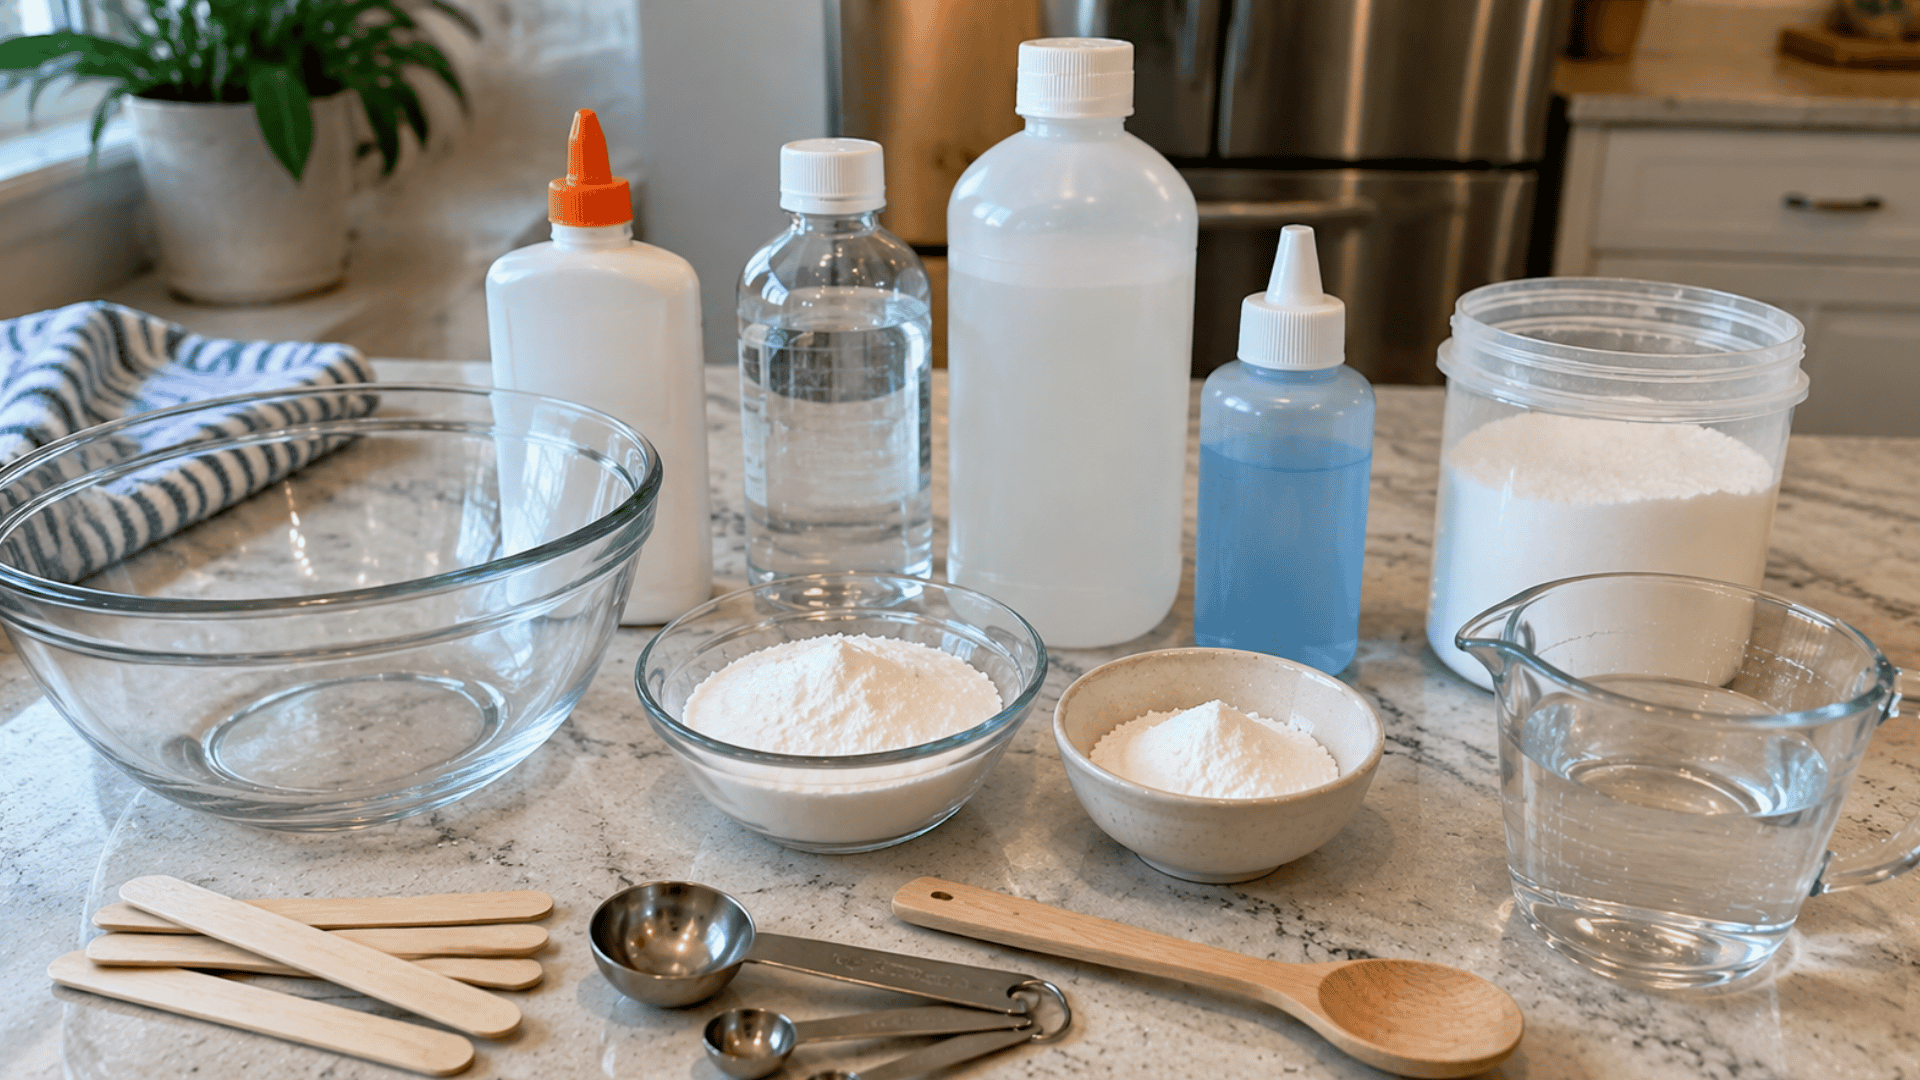
No single product works the same across all different types of slime. The key is matching the activator ingredients to the specific recipe you are following.
1. Borax
Borax is one of the most common ingredients used to make slime activator. When mixed with water, it forms borate ions that can connect the polymers in compatible glue and help the mixture form slime.
It’s also the strongest of the common activators, which is exactly why it’s easy to overdo; a little goes further than beginners expect, and over-activated slime turns rubbery fast.
2. Contact Lens Solution
Contact lens solution can work in certain slime recipes, but not every bottle is suitable. Science Buddies uses a solution containing boric acid and sodium borate in its PVA glue slime recipe, which is why checking the ingredient list matters.
Formulas vary by brand and can change without notice, so treat the ingredient list as the deciding factor every time, not the brand name.
3. Baking Soda
Baking soda appears in many homemade slime recipes, but it usually works as a supporting ingredient rather than as the sole activator. It is commonly paired with a suitable contact lens solution in tested glue slime recipes.
On its own, baking soda does not cross-link PVA glue; it adjusts pH so the borate ions in a paired contact solution can do their job. If you skip the contact solution, baking soda alone will not turn glue into slime.
4. Liquid Starch
Liquid starch can work as a slime activator in some glue-based recipes. Certain formulas contain sodium tetraborate, which helps form the borate links needed to thicken compatible PVA glue.
However, ingredients and strength can vary between brands. Always check the label and follow a tested recipe made for that specific product rather than using the same amount for every type of liquid starch.
5. Premade Slime Activator
Premade slime activator is designed specifically for slime and can be a convenient option when you do not want to prepare an activator mixture yourself. Its exact formula depends on the manufacturer.
Some brands list a starting amount on the label that runs lower than what it actually takes to activate. If your slime is still loose after following the label amount, add it in small increments rather than assuming the product doesn’t work.
Tip: Product formulas, strengths, and ingredient lists can vary between brands, so match the exact product to a tested slime recipe instead of assuming similar products will work the same.
How Do You Make Slime Activator At Home?
If you are wondering how to make activator at home, start by choosing a method that matches your glue and slime recipe. No single homemade formula works with every type of glue.
#1 – Borax and Water Method
Borax can be mixed with water to make an activator solution. The American Chemical Society uses a measured borax solution in its slime activity, so the ratio below should be treated as part of that specific tested recipe.
You’ll need: ¼ teaspoon borax, 1 tablespoon water, 1 tablespoon glue, 1 tablespoon water for the glue mixture, 2 small cups, measuring spoons, stirring stick.
- Add 1 tablespoon water to a small cup.
- Mix in ¼ teaspoon borax until it dissolves as much as possible.
- In a second cup, mix 1 tablespoon glue with 1 tablespoon water.
- Slowly add the borax solution to the glue mixture while stirring.
- Continue mixing until the slime thickens and comes together.
- Remove it and work it between your hands until it becomes less sticky.
This is an ACS-tested activity, not a universal borax-to-glue ratio for every slime recipe.
#2 – Baking Soda and Contact Lens Solution Method
This method uses baking soda and contact lens solution directly with glue rather than preparing a separate activator bottle. Elmer’s uses this combination in its tested slime recipe.
You’ll need: 5 fl oz glue, ½ tablespoon baking soda, 1 tablespoon contact lens solution, a bowl, a measuring spoon, and a mixing spoon.
- Pour 5 fl oz glue into the bowl.
- Add ½ tablespoon baking soda and mix thoroughly.
- Pour in 1 tablespoon contact lens solution.
- Stir until the mixture becomes harder to mix and starts forming slime.
- Remove the slime and knead it with both hands.
- If it is still sticky, Elmer’s recipe allows another ¼ tablespoon of contact solution at a time until the desired texture is reached.
Check the bottle first: Contact solution formulas differ, and Elmer’s notes that some brands work better than others.
#3 – Liquid Starch Method
Some slime recipes use liquid starch directly rather than mixing it into a separate activator solution first. Because formulas vary, the safest approach is to follow a tested recipe written for the exact product you are using.
You’ll need: compatible glue, the liquid starch listed in the recipe, a bowl, a measuring spoon, and a mixing spoon.
- Pour the measured glue into the bowl.
- Add the amount of liquid starch listed in your chosen recipe.
- Stir until the mixture begins to thicken and pull together.
- Remove the slime and knead it when the recipe directs you to.
- Add more starch only if that tested recipe specifically allows gradual adjustment.
Avoid using one general liquid-starch ratio across different products, since formulas and concentrations can vary.
How to Use Slime Activator Without Overactivating
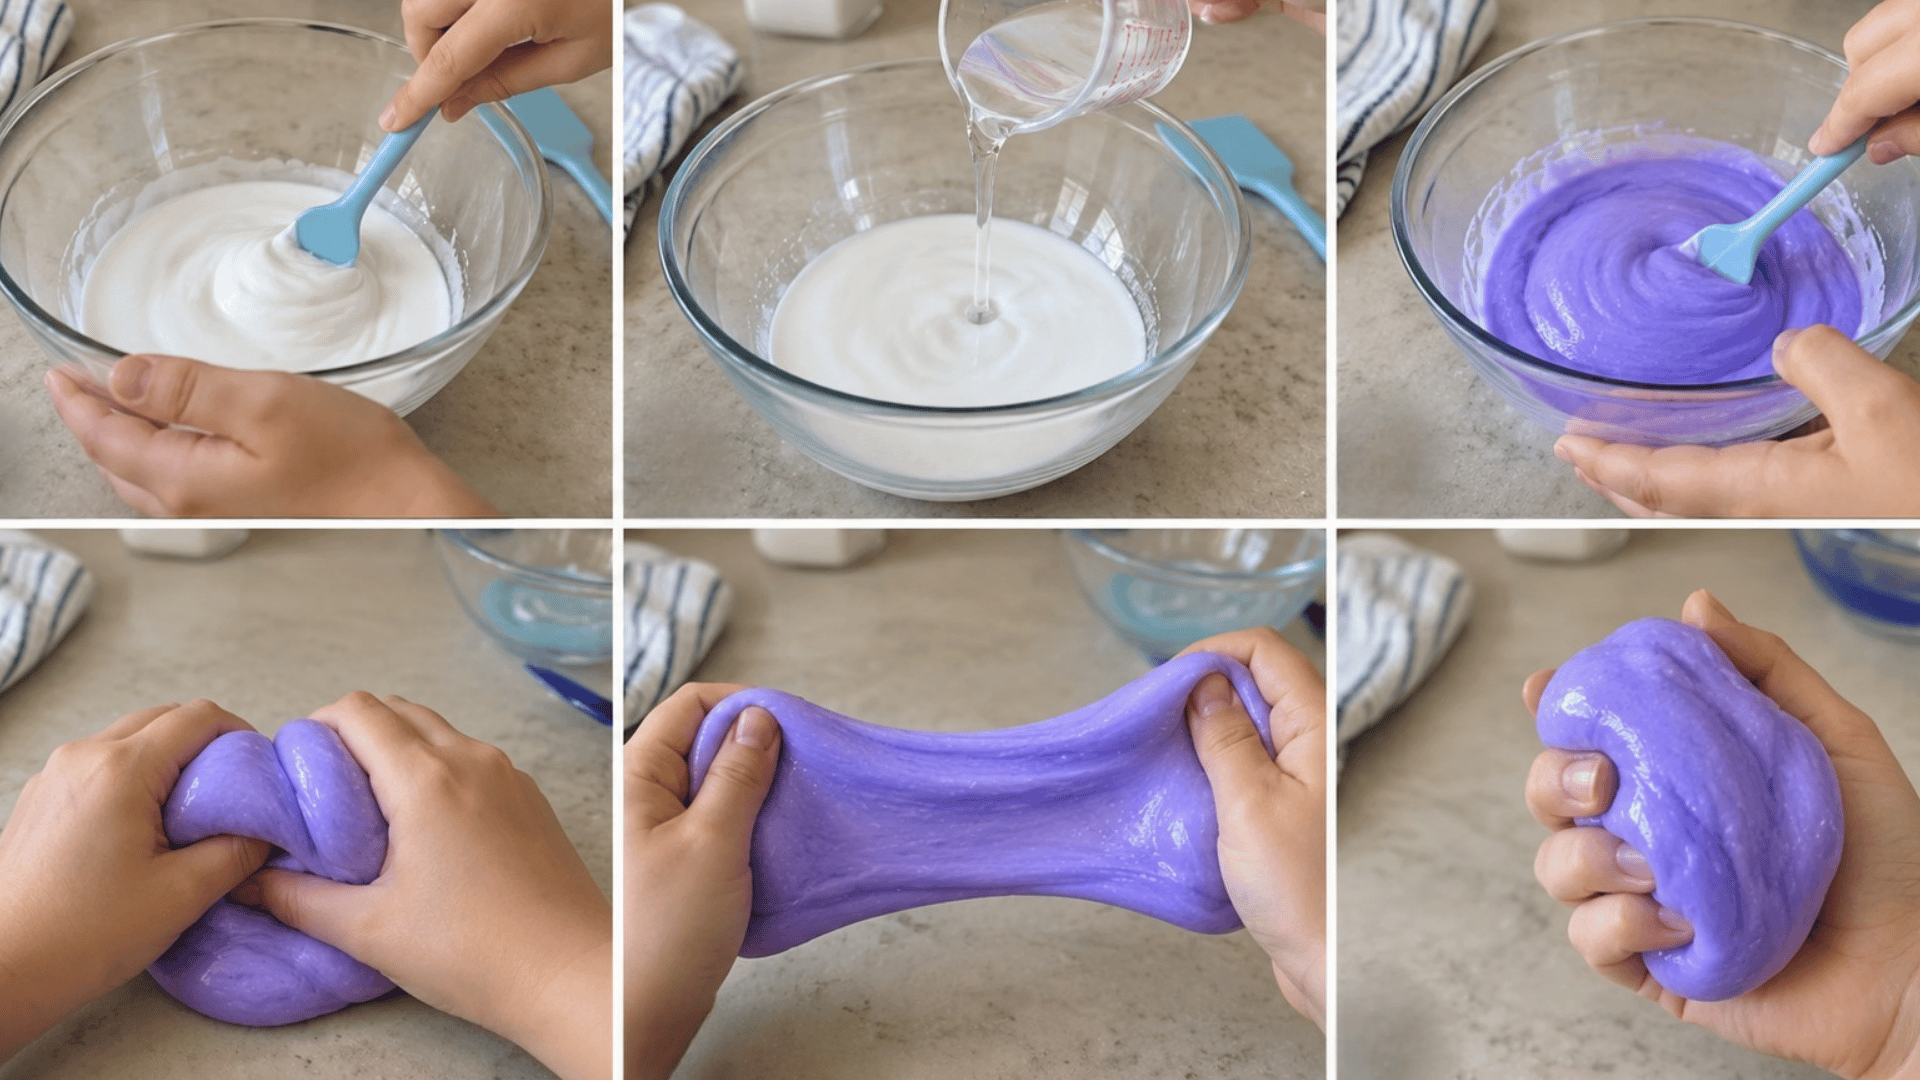
Once your glue mixture and activator are ready, the key is to work gradually. The exact amount depends on your recipe, but the basic process stays similar for most glue-based slime.
- Prepare the glue mixture: Mix the glue and any other ingredients required by your chosen recipe before adding the activator.
- Add a small amount of activator: Start with the amount the recipe calls for rather than pouring in extra.
- Stir the mixture well: Keep stirring as the glue thickens and begins pulling away from the sides of the bowl.
- Knead the slime: Once it holds together, knead it with your hands. Some initial stickiness may improve as you work it.
- Check the texture: Stretch and fold the slime before deciding it needs more activator.
- Adjust gradually: If the recipe allows more activator, add only a small amount at a time and knead again before making another adjustment.
Tip: Do not judge the texture immediately after adding activator. Mixing and kneading give the ingredients time to work through the slime, so adding more too quickly can leave the finished batch firmer than intended.
Fixing Common Slime Activator Problems
|
Problem |
Likely Cause |
How to Fix |
|---|---|---|
|
Slime stays runny |
Activator may not match the recipe, or the amount may be off |
Recheck the ingredients and measurements |
|
Slime is slightly sticky |
It may need more mixing or kneading |
Knead it before adding more activator |
|
Slime stays very sticky after kneading |
It may need a small recipe-approved adjustment |
Add only the amount the recipe allows |
|
Slime feels firm or rubbery |
Too much activator may have been added |
Stop adding activator and avoid further adjustment |
|
Slime tears when stretched |
The recipe balance may be off, or the slime may be overactivated |
Do not keep adding more activator |
|
Contact solution does not work |
The formula may not contain the ingredients required by the recipe |
Check the ingredient label and recipe requirements |
Can You Substitute One Slime Activator for Another?
Not always. Slime activators can contain different active ingredients and concentrations, so one tablespoon of one product does not automatically replace one tablespoon of another.
The other ingredients in the recipe matter too. For example, some contact lens solution recipes also use baking soda, so switching only the activator can change how the mixture comes together.
Instead of making a 1:1 substitution, find a tested recipe written for the activator you already have. This gives you measurements that match that specific method and reduces guesswork.
Slime Activator Safety Tips
- Follow the directions and warnings on each product label.
- Do not eat slime or any of its ingredients.
- Keep slime ingredients away from your eyes and mouth.
- Have an adult supervise younger children while making slime.
- Wash your hands thoroughly after making or playing with slime.
- Stop using the slime if you develop skin irritation. Borates can irritate the skin and eyes.
- Store slime and its ingredients out of reach of young children and pets.
Ready to Get Your Slime Just Right?
Learning what a slime activator is can make homemade slime feel far less confusing, especially when different recipes call for different products and amounts.
Once you understand what your chosen recipe requires, it becomes easier to spot why a mixture may be too sticky, runny, or firm. I always think careful measuring and a little patience make slime making much easier.
If you are still wondering how to make activator, choose one tested method and follow it closely. Grab your ingredients, check the labels, and try your next slime batch.
Frequently Asked Questions
How Should You Store Leftover Slime Activator?
Keep homemade activator in a clearly labeled, tightly closed container and store it away from children and pets.
Can Food Coloring Be Added Before Slime Activator?
Yes, mix coloring into the glue first so the color spreads evenly before the slime begins thickening.
What Type of Glue Works Best With Slime Activator?
Most tested slime recipes use PVA-based school glue, but the exact glue should match the activator recipe.
Can You Add Glitter Before Activating Slime?
Yes, many recipes mix glitter into the glue before activation, but follow the order given in your chosen recipe.