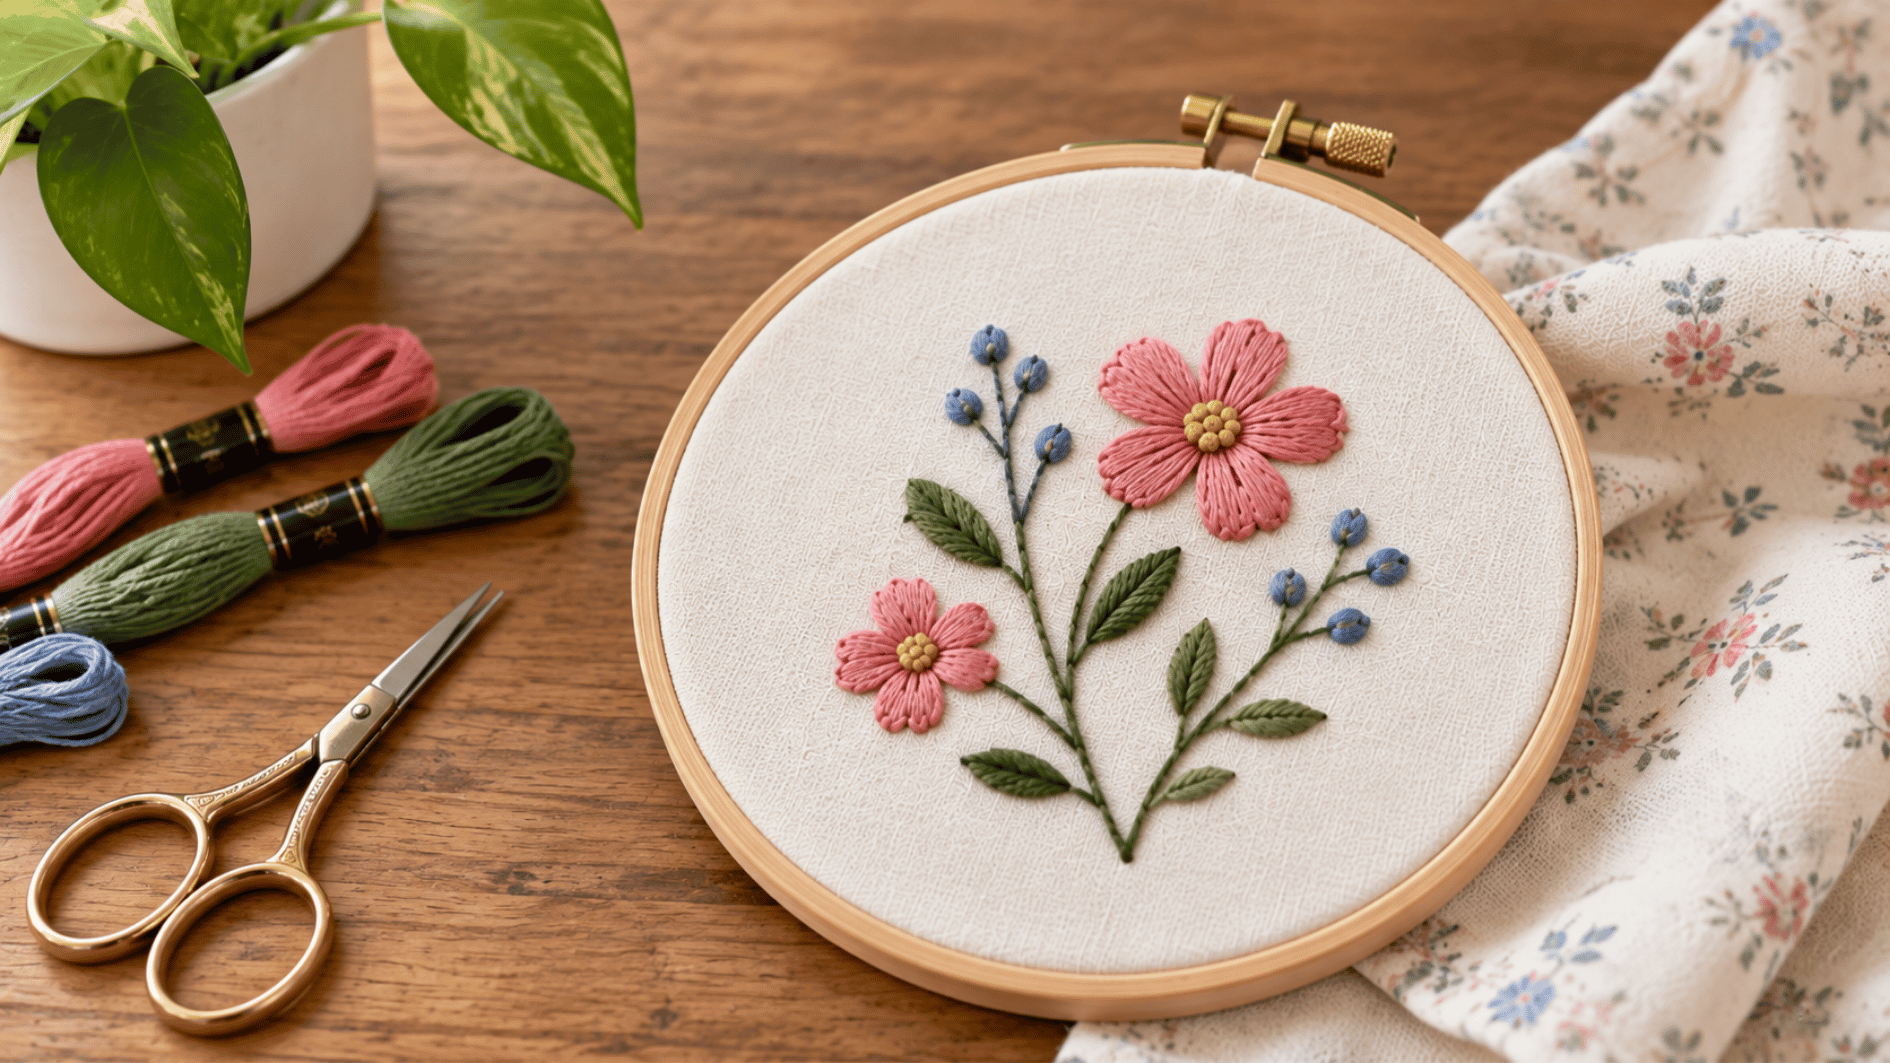
Starting embroidery can feel confusing when you are facing hoops, floss, needles, fabrics, and unfamiliar stitches.
Embroidery for beginners becomes easier when each step is broken down clearly. This guide covers simple supplies, beginner stitches, fabric choices, thread types, common mistakes, and an easy starting process today.
Do You Need Special Fabric for Embroidery?
No, embroidery does not require one specific type of fabric, but some fabrics are much easier to stitch than others.
Beginners usually get better control with cotton, linen, or another medium-weight woven fabric because the needle passes through cleanly and the surface stays fairly stable.
A looser weave lets the needle glide through with less resistance, which is part of why cotton and linen are the go-to starting fabrics; a tight weave, like some denim, takes more effort per stitch.
Very stretchy, slippery, or loosely woven fabrics can make stitch placement harder and may cause the design to shift. Fabric choice also affects how neat the finished stitches look.
For embroidery for beginners, a smooth woven fabric is usually the easiest place to start because it keeps the focus on stitching rather than fabric movement.
Embroidery Supplies for Beginners
A starter kit with the basics below usually runs in a modest, affordable range. Check the specific product listing for current pricing, since it varies by brand and materials.
|
Material |
What It Is |
What It Does |
|---|---|---|
|
Embroidery hoop |
A round frame made from wood or plastic |
Holds the fabric firm while you stitch |
|
Embroidery needles |
Needles with an eye large enough for embroidery floss |
Carry the thread through the fabric |
|
Embroidery floss |
Soft thread usually made from cotton |
Creates the visible stitches and design |
|
Fabric |
The base material used for stitching |
Gives you a surface to work on |
|
Small scissors |
Compact scissors with sharp blades |
Cut floss and loose thread ends |
|
Fabric marker or pencil |
A tool used to mark designs on fabric |
Helps place the pattern before stitching |
|
Embroidery pattern |
A printed or drawn design |
Gives you a shape or image to follow |
How to Get Started With Embroidery: Step-by-Step
Starting your first embroidery piece is much easier when you follow a clear order. Take your time with each stage instead of rushing to the finished design.
1. Choose and Transfer Your Design
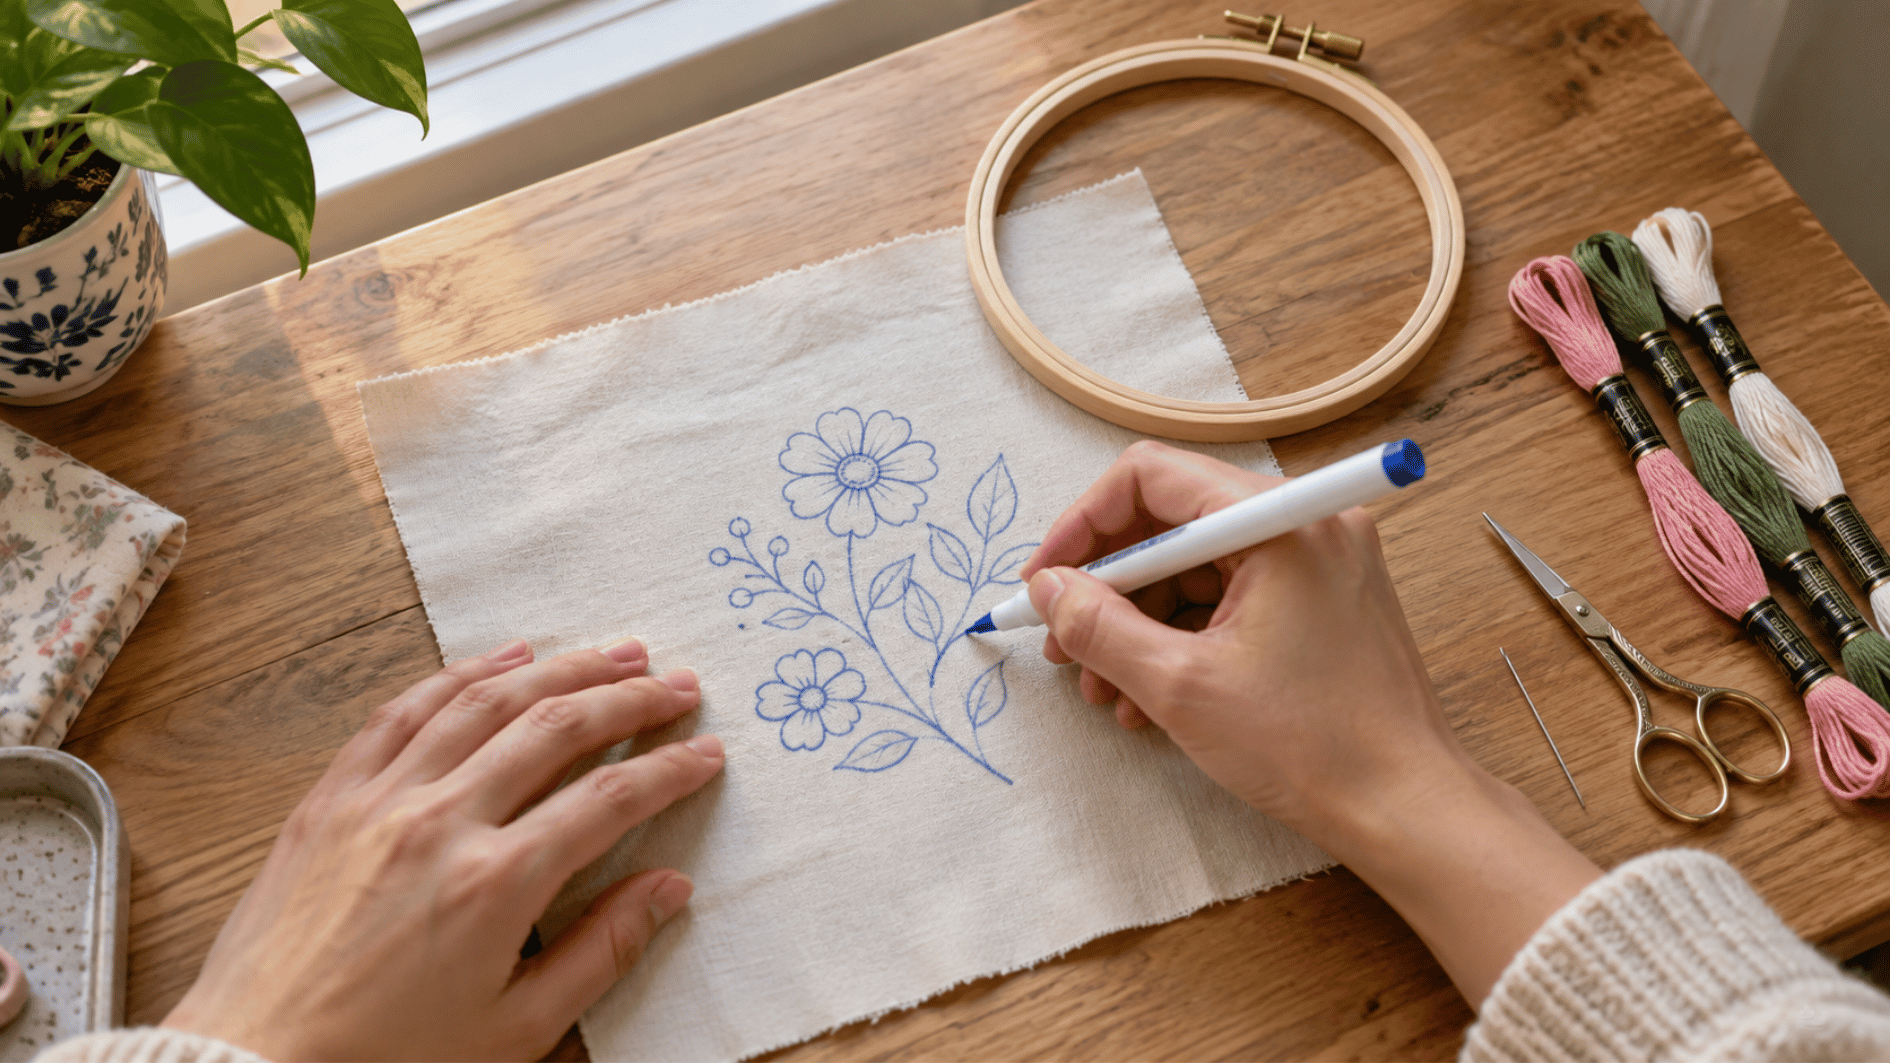
Pick a simple design that fits comfortably inside your hoop. Transfer the outline onto your fabric so you have clear lines to follow as you stitch.
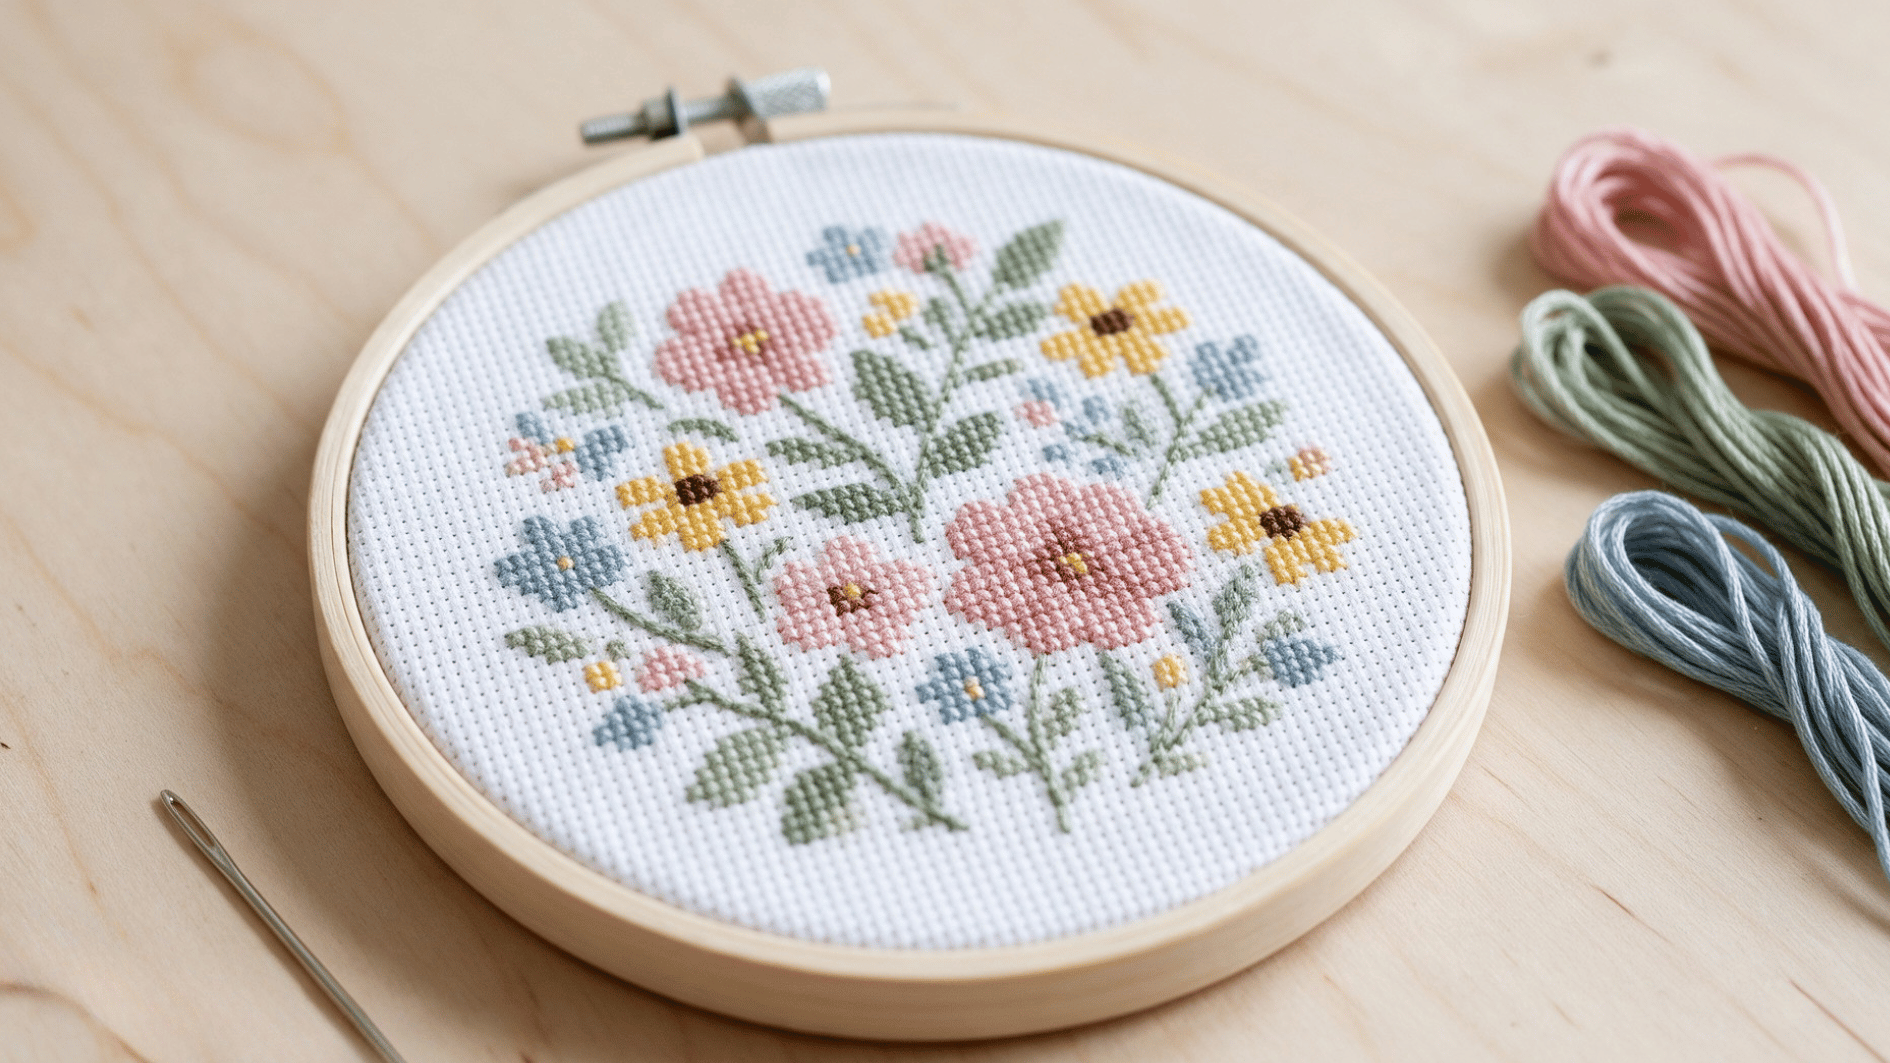
A single flower, a small initial, or a simple outline like a leaf or heart makes a great beginner embroidery pattern; it uses one stitch type and still looks complete.
To get it ready:
- Position the design: Place it where you want it on the fabric.
- Trace the outline: Use a fabric-safe marking tool.
- Check the lines: Make sure the full design is easy to see.
Tip: Keep your first design fairly small with open shapes and clear lines.
2. Set the Fabric In the Hoop
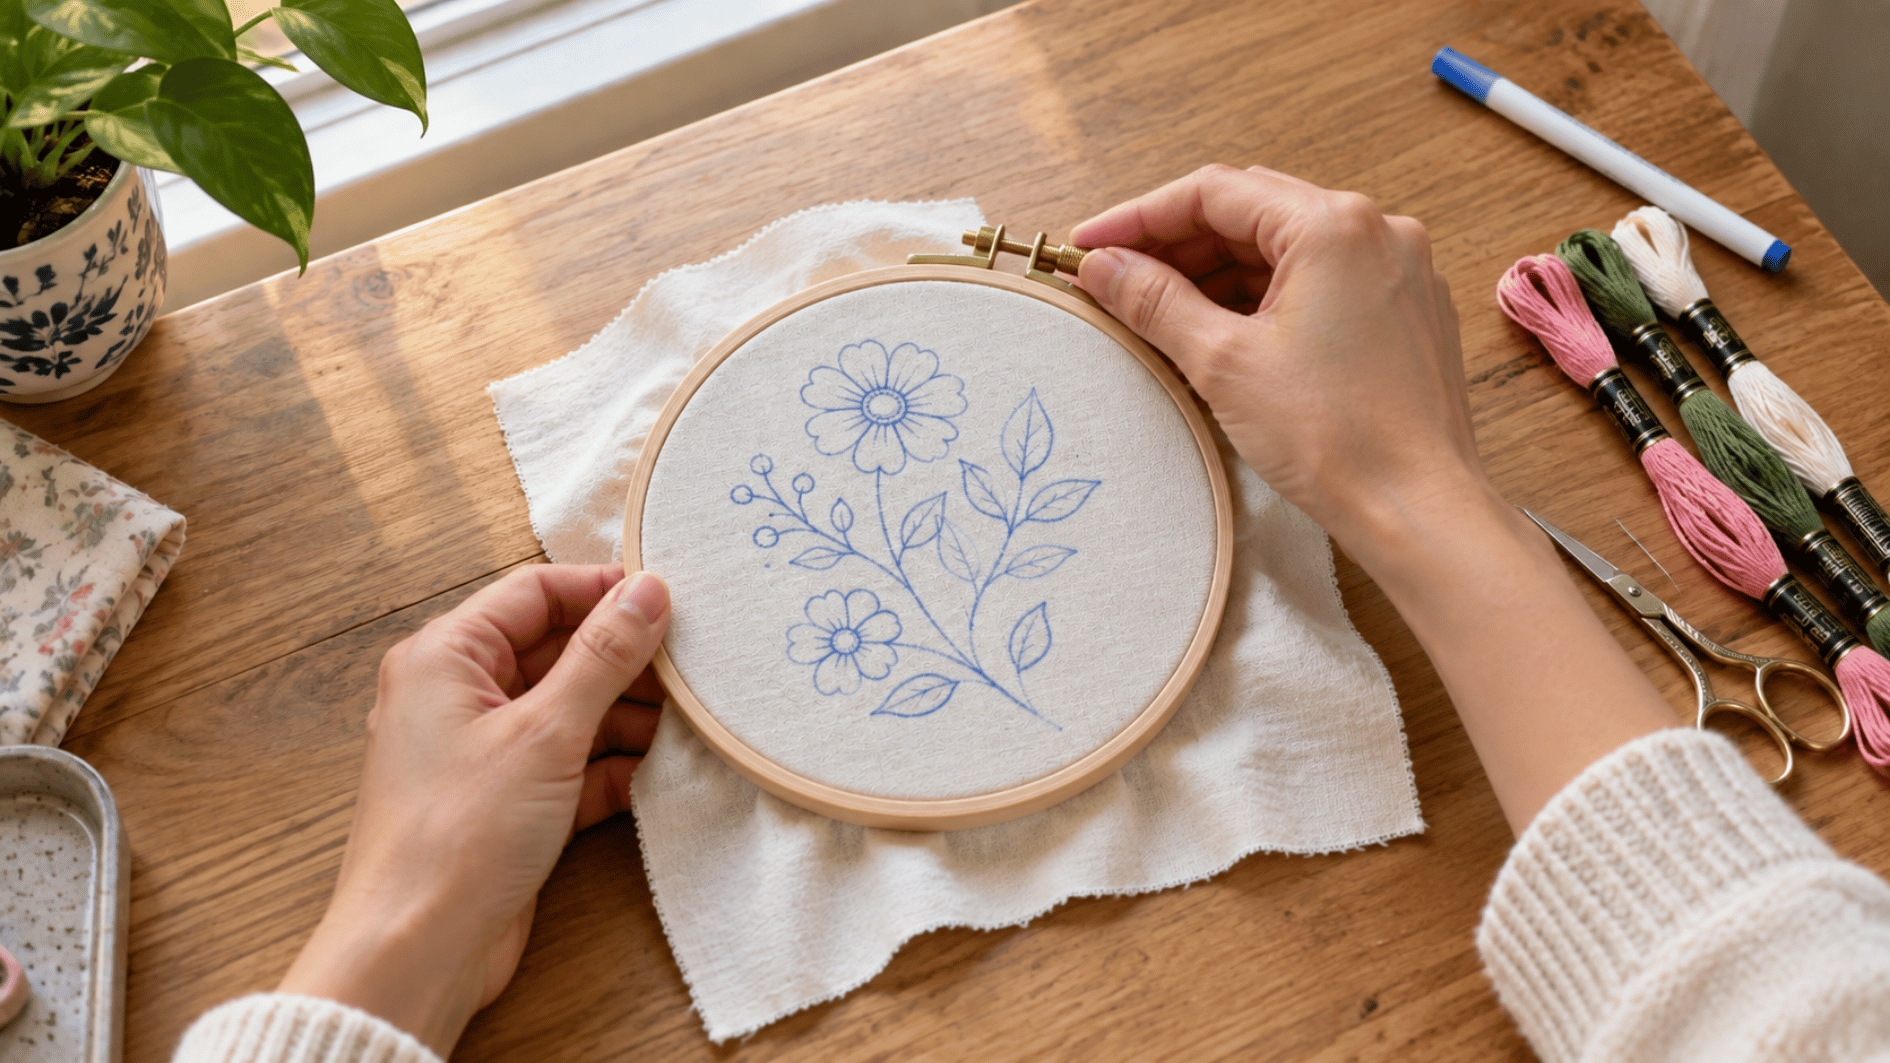
Place the fabric between the two hoop rings and tighten the outer ring. The fabric should sit smooth and firm without becoming stretched out of shape.
Set up the hoop:
- Loosen the screw: Separate the inner and outer rings.
- Lay down the fabric: Center the marked design over the inner ring.
- Fit the outer ring: Press it down over the fabric and inner ring.
- Tighten the screw: Secure everything in place.
3. Prepare Your Needle and Floss
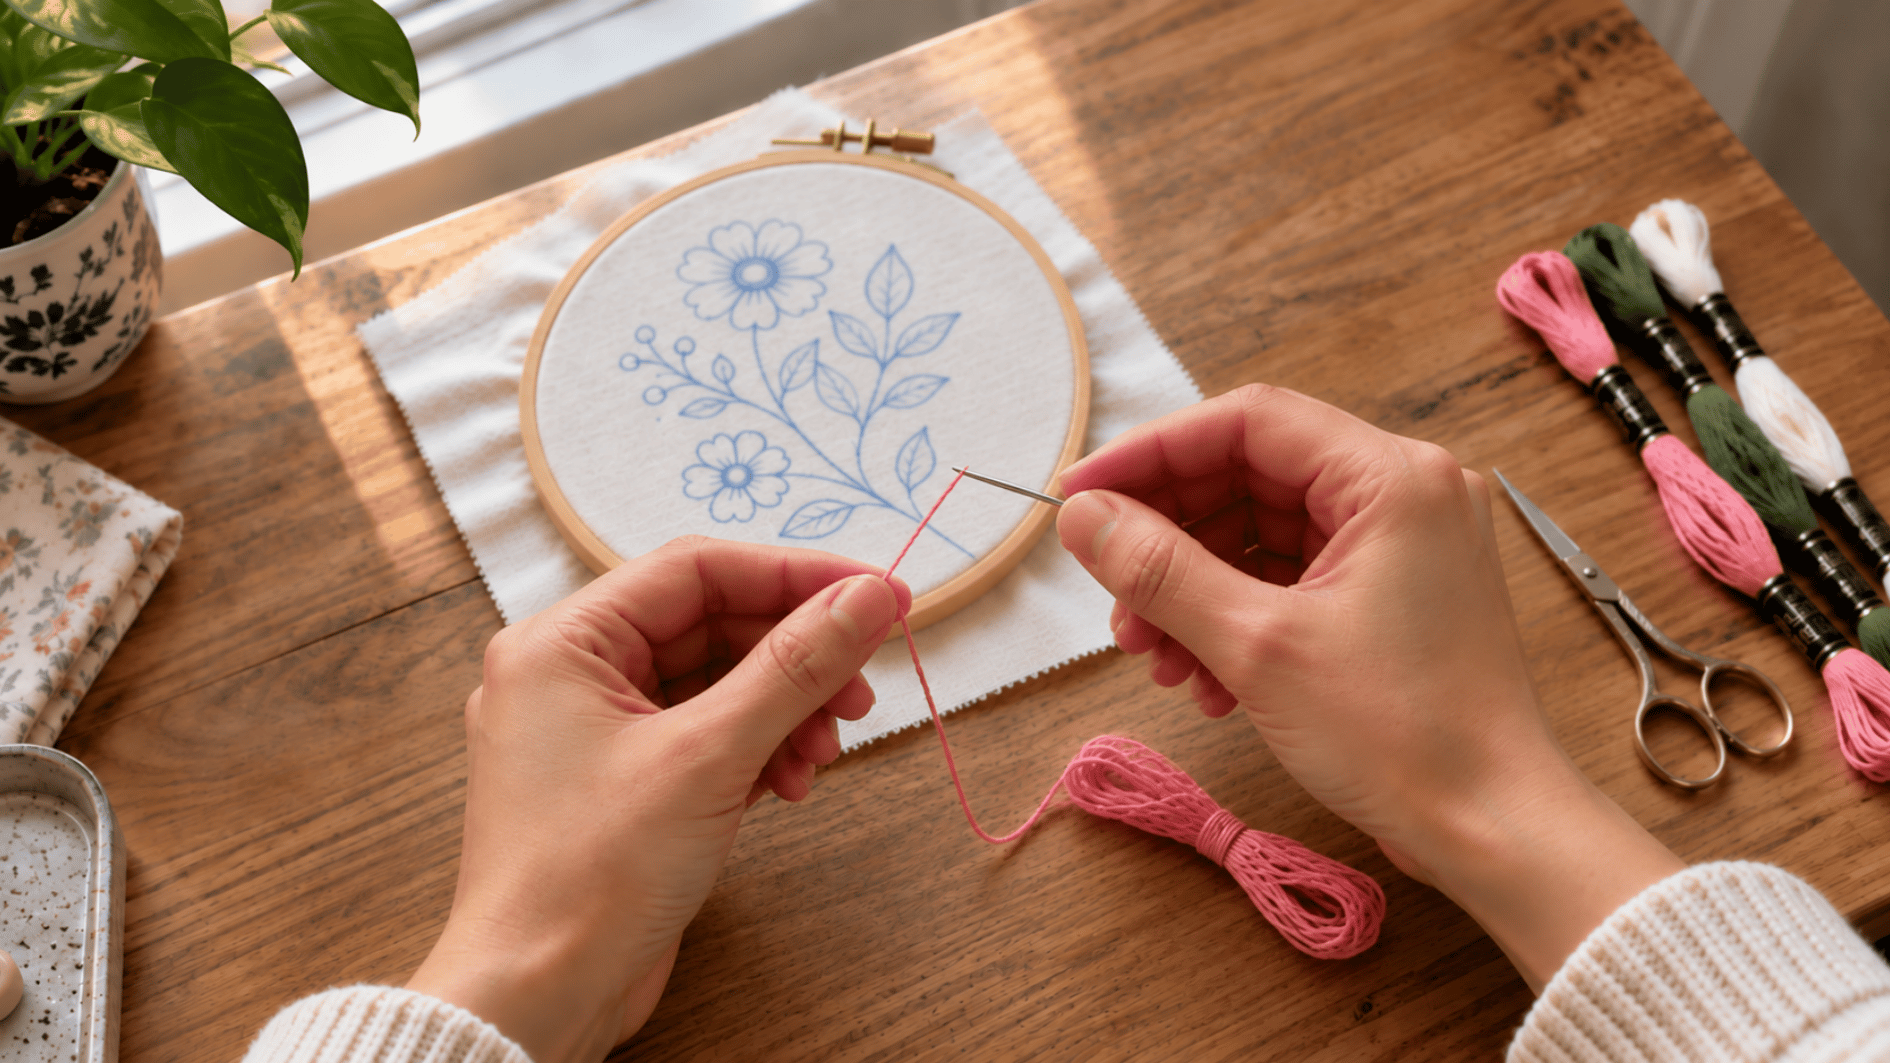
Cut a manageable length of embroidery floss and separate the strands if your project calls for fewer threads. Thread the needle carefully, leaving enough floss to work comfortably.
Prepare to stitch:
- Cut the floss: Avoid using an extra-long piece.
- Separate the strands: Pull apart only the number you need.
- Thread the needle: Pass the floss through the needle eye.
- Secure the end: Prepare the thread so it will not pull straight through.
4. Stitch Along the Pattern
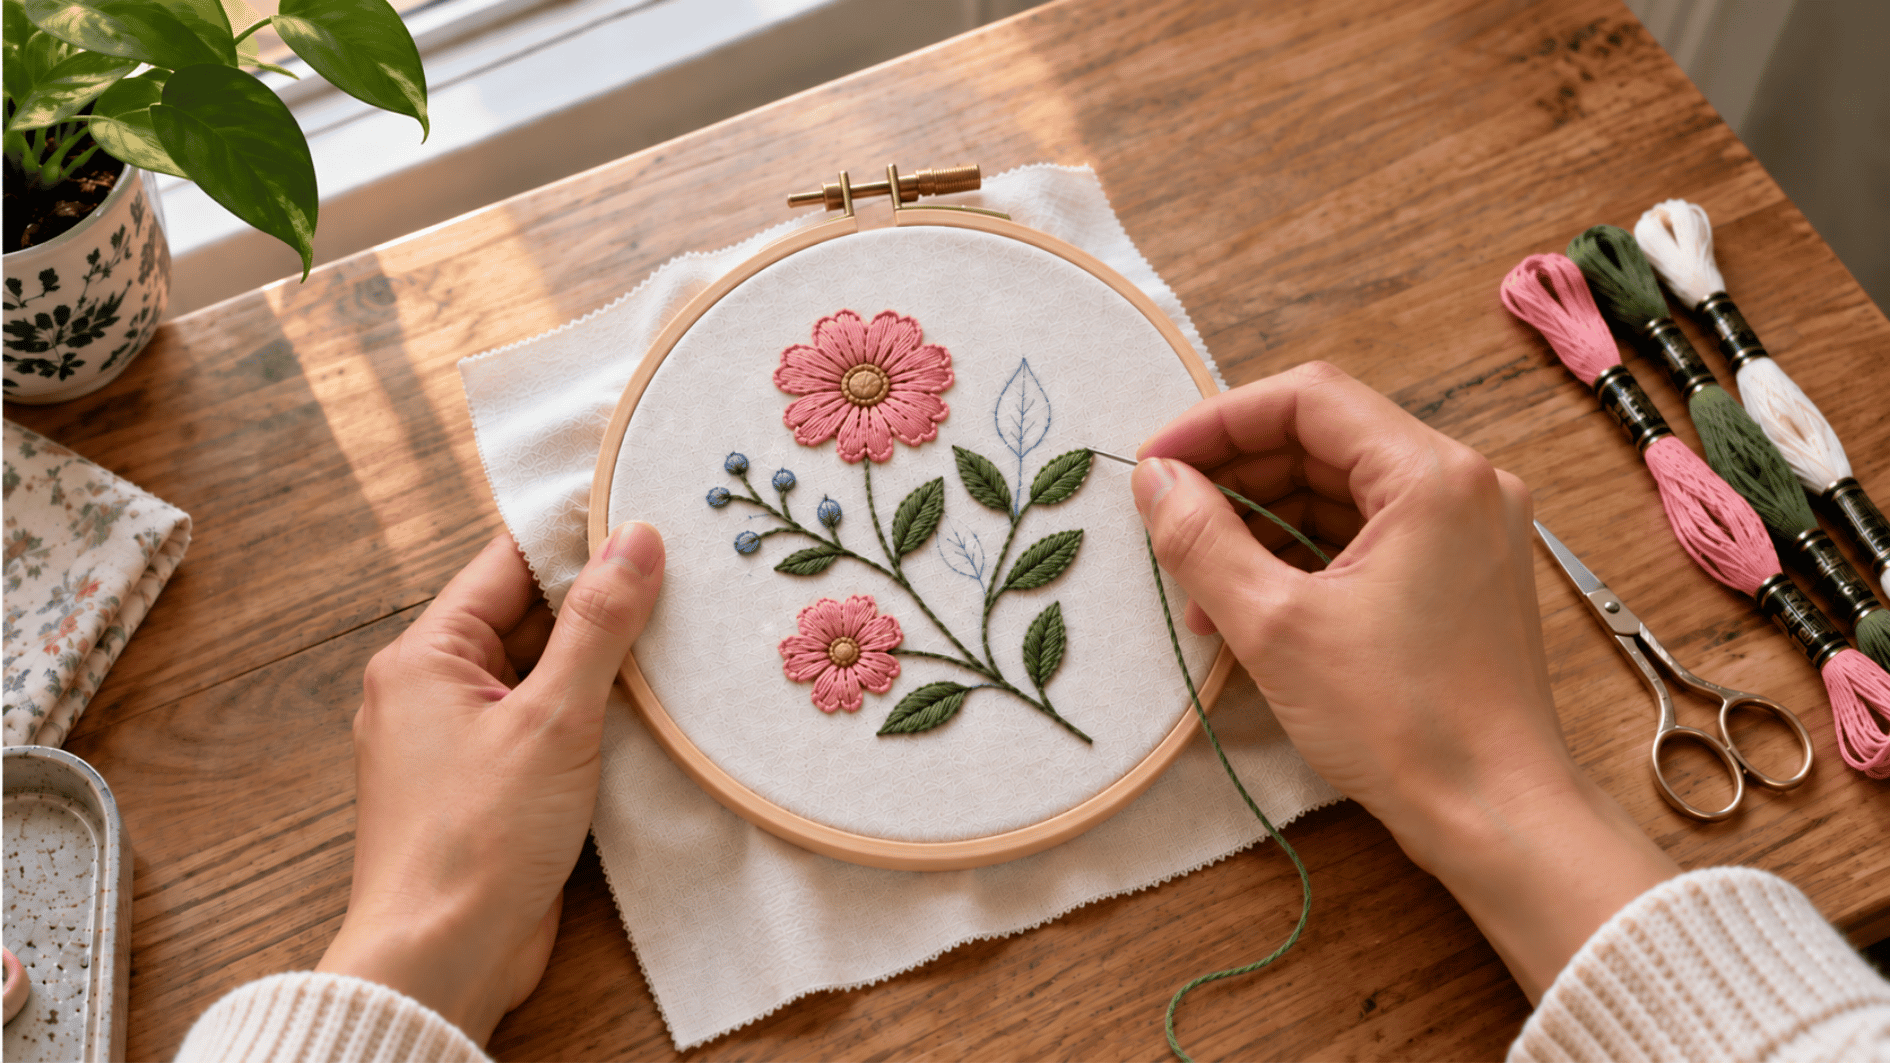
Bring the needle through the fabric and begin following your marked lines. Work through one small area at a time and let the design build gradually.
As you stitch:
- Follow the outline: Use your transferred marks as your path.
- Keep even spacing: Aim for similar stitch lengths.
- Watch the tension: Keep stitches firm without pulling the fabric.
- Change thread when needed: Start a fresh length before the old one becomes too short.
5. Finish and Remove the Embroidery
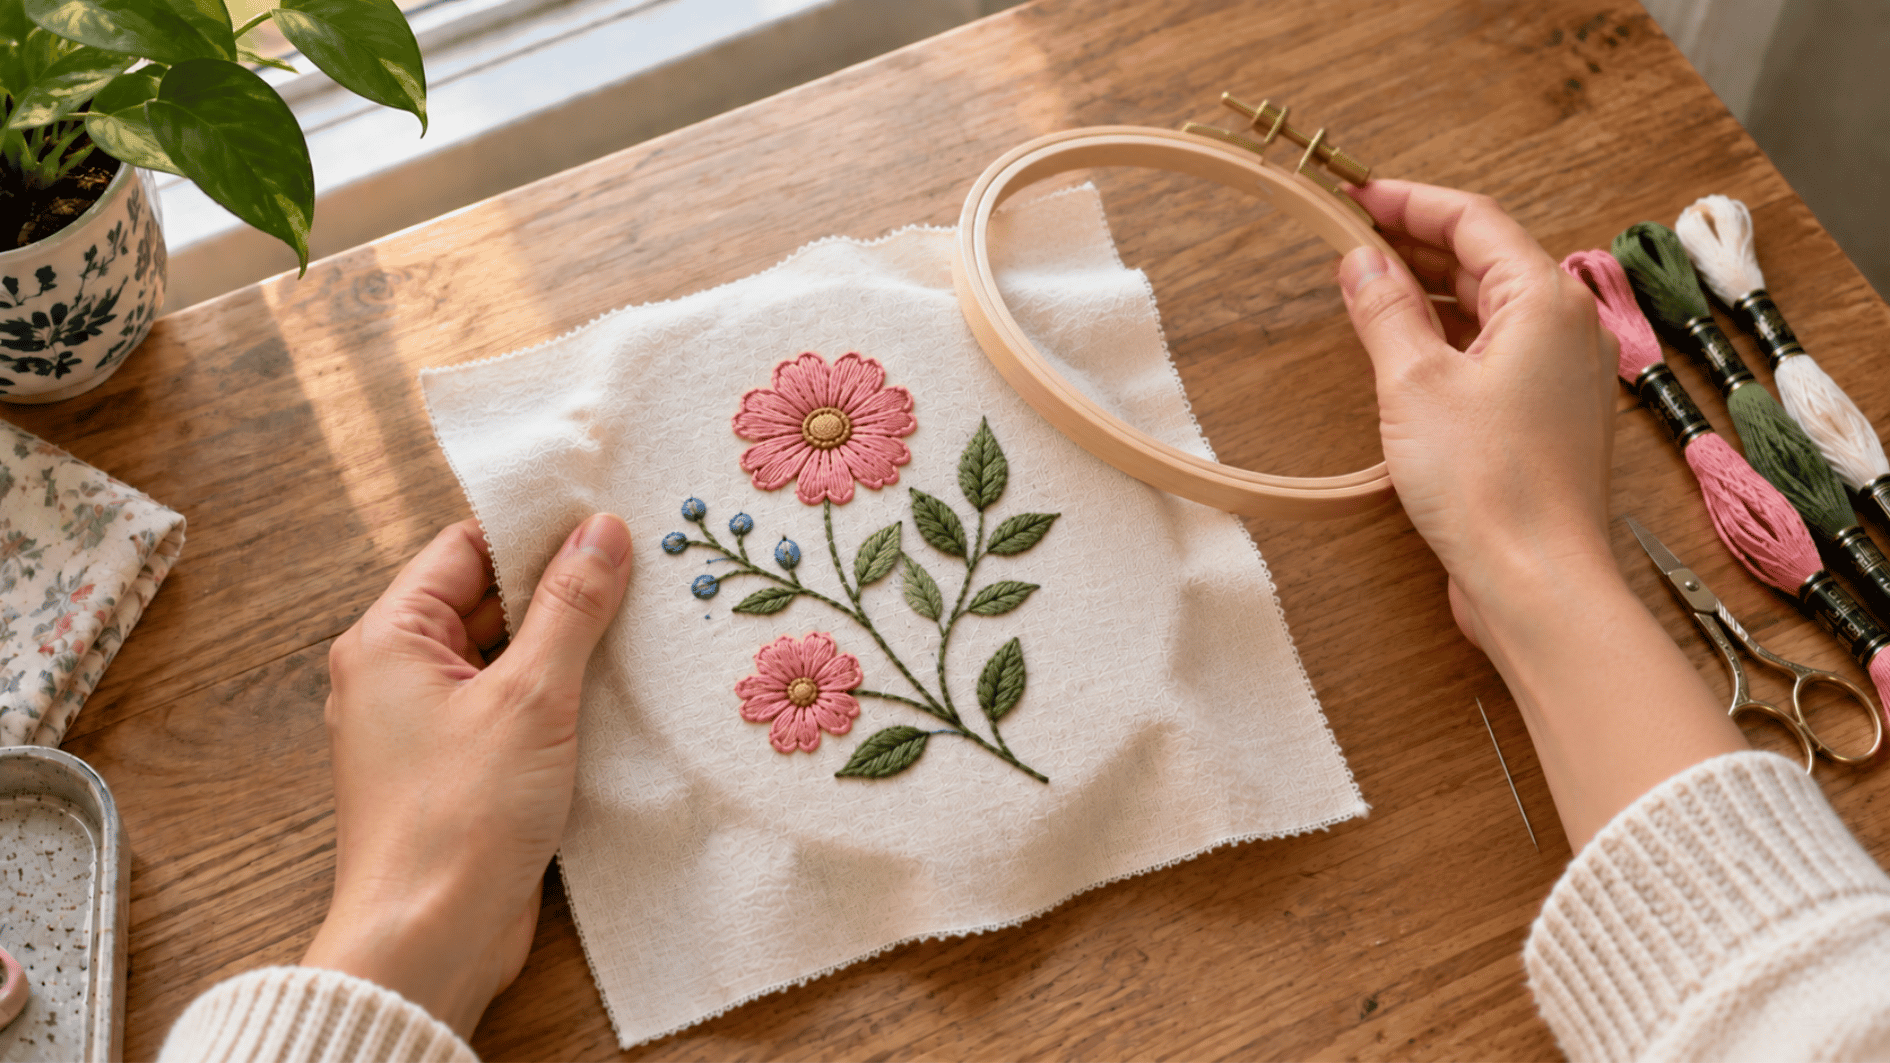
Once the design is complete, secure the remaining thread on the back of the fabric. Remove the hoop carefully and tidy the piece without pulling at your finished stitches.
Finish the piece:
- Secure the floss: Fasten the thread neatly at the back.
- Trim the excess: Cut away loose thread ends.
- Remove the hoop: Loosen the screw before lifting the fabric out.
- Clear the markings: Remove visible transfer lines as directed for your marking tool.
Tip: Check the front and back for loose threads before you consider your first embroidery piece finished.
Basic Embroidery Stitches for Beginners
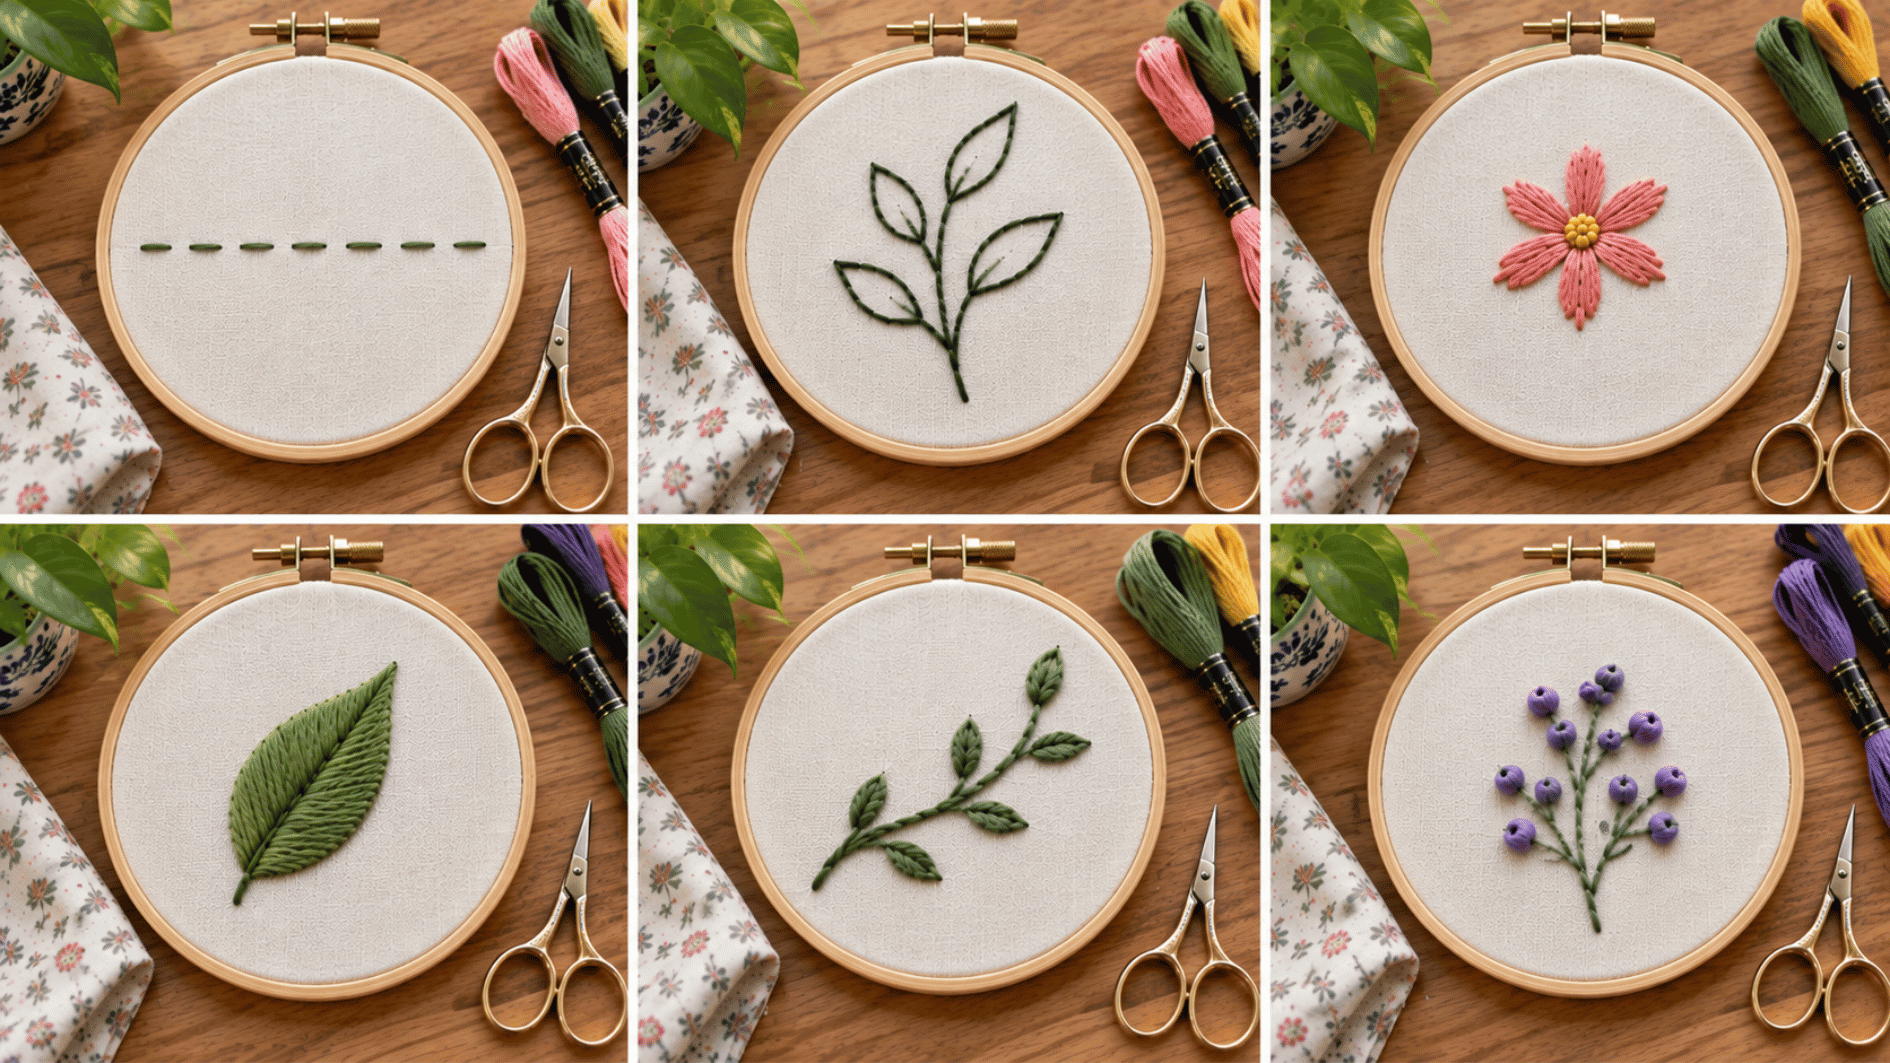
Learning a few basic embroidery stitches gives you enough variety to practice outlines, fills, curves, and small decorative details.
1. Running Stitch
The running stitch is made by passing the needle up and down through the fabric at even spaces. It creates a simple dashed line that is easy to control.
You can use it for borders, outlines, and small decorative details. It is also a useful stitch for getting comfortable with basic needle movement.
2. Backstitch
Backstitch creates a continuous line by connecting each new stitch to the previous one. The finished line looks more solid than a running stitch.
It works well for lettering, outlines, stems, and small details. Keeping the stitches similar in length will make your lines look cleaner.
3. Straight Stitch
A straight stitch is made by bringing the needle up at one point and taking it down at another. Its length and direction can change depending on your design.
You can group several straight stitches to form petals, leaves, stars, and other simple shapes. It is especially useful when a pattern needs small individual details.
4. Satin Stitch
Satin stitch uses straight stitches placed closely beside each other to cover an area. The threads create a smooth filled section rather than an outline.
You can use satin stitch to fill small flowers, leaves, letters, and simple shapes. Starting with smaller areas can make the stitch easier to keep neat.
5. Stem Stitch
Stem stitch creates a slightly twisted line by overlapping each new stitch with the previous one. It follows curves smoothly without leaving noticeable gaps.
You can use it for flower stems, curved outlines, vines, and lettering. Keeping the thread on the same side as you stitch helps the line stay consistent.
6. French Knot
French knot creates a small raised dot by wrapping the thread around the needle before passing it back through the fabric. It adds texture without covering a large area.
You can use French knots for flower centers, eyes, dots, and tiny decorative details. The number of wraps can affect how large the finished knot appears.
Embroidery Floss and Thread Types for Beginners
Embroidery thread comes in different types, and each one can change the texture, thickness, and finish of your stitches. Knowing the basic differences can help you understand which thread suits the look you want to create.
|
Thread Type |
Main Characteristic |
Often Used For |
|---|---|---|
|
Stranded cotton |
Six separable strands with adjustable thickness |
Everyday hand embroidery |
|
Pearl cotton |
Twisted thread that is not separated |
Bold lines and textured stitches |
|
Silk thread |
Fine thread with a natural sheen |
Detailed and decorative work |
|
Wool thread |
Thicker with a soft, raised texture |
Heavier designs and dimensional work |
|
Metallic thread |
Shiny decorative thread |
Highlights and small accents |
Common Mistakes Beginners Should Avoid
- Pulling the thread too tight: This can make the fabric pucker. Keep the tension firm but relaxed.
- Using floss that is too long: Long thread tangles more easily. Work with shorter lengths that are easier to control.
- Leaving the fabric loose: Slack fabric can lead to uneven stitches. Keep it smooth and firm inside the hoop.
- Making stitches different lengths: Uneven spacing can make lines look messy. Slow down and follow the same stitch size.
- Ignoring small tangles: Pulling through a knot can make it tighter. Stop and loosen it gently before continuing.
- Leaving loose thread at the back: Extra thread can catch and bunch up. Secure the ends neatly as you finish each section.
Final Thoughts
Embroidery for beginners becomes easier once you stop expecting every stitch to look polished right away. Small projects give you space to practice without making the process feel overwhelming.
I think steady practice matters more than trying to learn every stitch at once. As your hands get used to the needle, thread, and fabric, each new design can feel more manageable.
Keep your supplies simple, choose an easy pattern, and focus on enjoying the process. Pick a small project today and start building your stitching confidence one step at a time.
Frequently Asked Questions
Do Beginners Need an Embroidery Hoop?
A hoop is not always required, but it helps beginners keep fabric stable and maintain more consistent stitch tension.
How Many Strands of Embroidery Floss Should Beginners Use?
Two or three strands are manageable for many beginner projects, though the pattern and desired thickness should guide you.
Can You Learn Embroidery Without a Pattern?
Yes, beginners can practice basic stitches on plain fabric before moving to transferred patterns or more detailed designs.