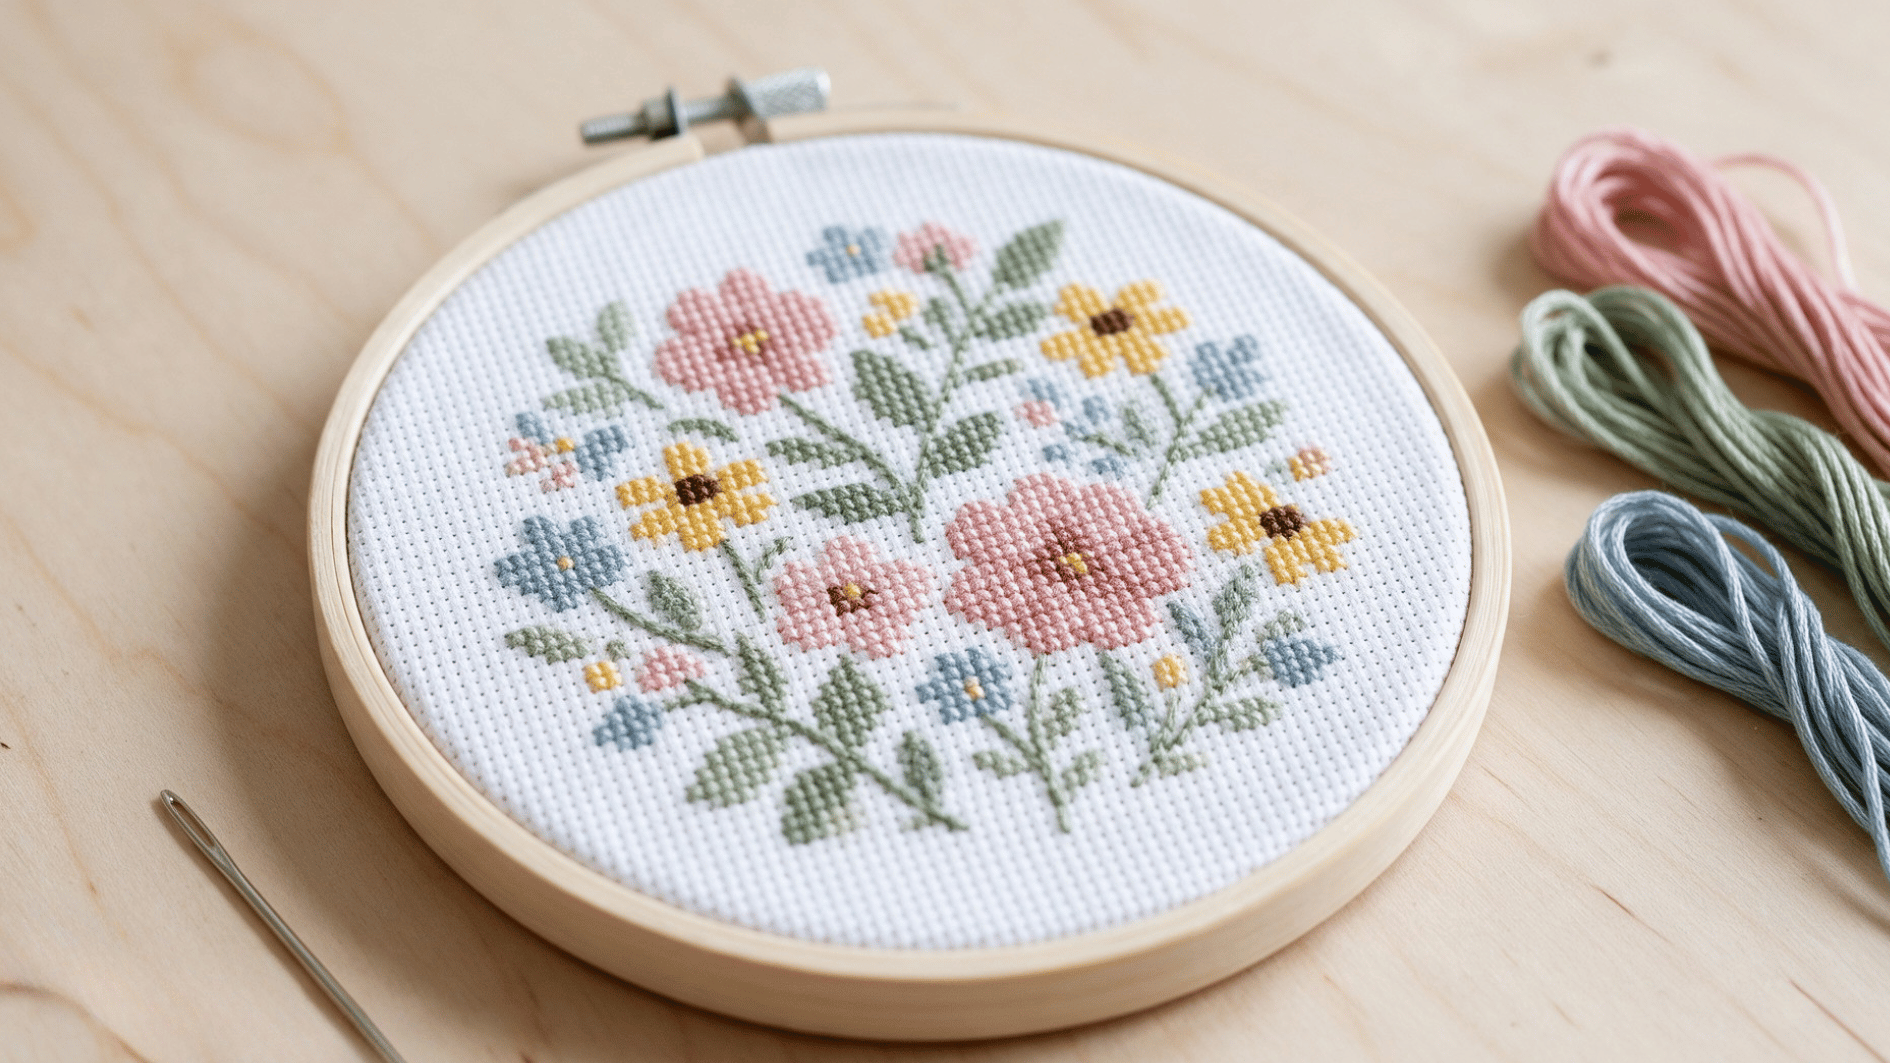
At first, cross-stitch can look almost mathematical: grids, symbols, numbered fabric, strands of floss going everywhere. Then you make a few stitches, the pattern starts taking shape, and suddenly it all feels much simpler.
Having worked with sewing, embroidery stitches, and other fabric crafts, I still think there is something especially satisfying about watching a stitched design slowly appear on the fabric.
If you’re figuring out how to cross stitch, you really only need to understand a handful of basics before the whole process starts making sense.
How to Read a Cross Stitch Pattern?
It may be confusing at first, but it is really just a map made of squares and symbols. Each symbol tells you which thread color to use and where each stitch should go.
- Grid: Each small square usually represents one cross stitch on the fabric.
- Symbols: Letters, shapes, or marks show which floss color or stitch to use.
- Color key: This matches each pattern symbol with its corresponding floss color.
- Center marks: Arrows along the edges help you locate the pattern’s center point.
- Blank squares: These spaces are usually left unstitched unless the pattern says otherwise.
- Heavy grid lines: Darker lines often divide the chart into groups of 10 squares.
- Special markings: Lines or partial symbols may indicate backstitches, half stitches, or other details.
Supplies That Beginners Will Need
Starting cross stitch does not require a crowded craft box or expensive equipment. A few well-chosen basics are enough for most beginner projects, as shown in the table below.
|
Supply |
What It Does |
Beginner-Friendly Choice |
|---|---|---|
|
Aida cloth |
Creates an even grid for stitching |
14-count Aida |
|
Embroidery floss |
Adds color to the design |
Colors listed on your pattern |
|
Tapestry needle |
Passes floss through the fabric |
Blunt-tip needle |
|
Embroidery hoop |
Holds fabric while you work |
5- to 7-inch hoop |
|
Cross stitch pattern |
Shows stitch locations and colors |
Small pattern with clear symbols |
|
Embroidery scissors |
Cuts floss neatly |
Small sharp scissors |
Note: Floss requirements vary by brand and fabric count; always check the pattern’s own materials list rather than assuming quantities, since a 14-count design and an 11-count design won’t use floss the same way.
How to Cross Stitch: Step-by-Step Guide
Once your fabric, pattern, and floss are ready, you can begin turning the chart into actual stitches. Work through the process in order, and check your placement as the design gradually takes shape.
Step 1: Prepare Your Aida Cloth and Hoop
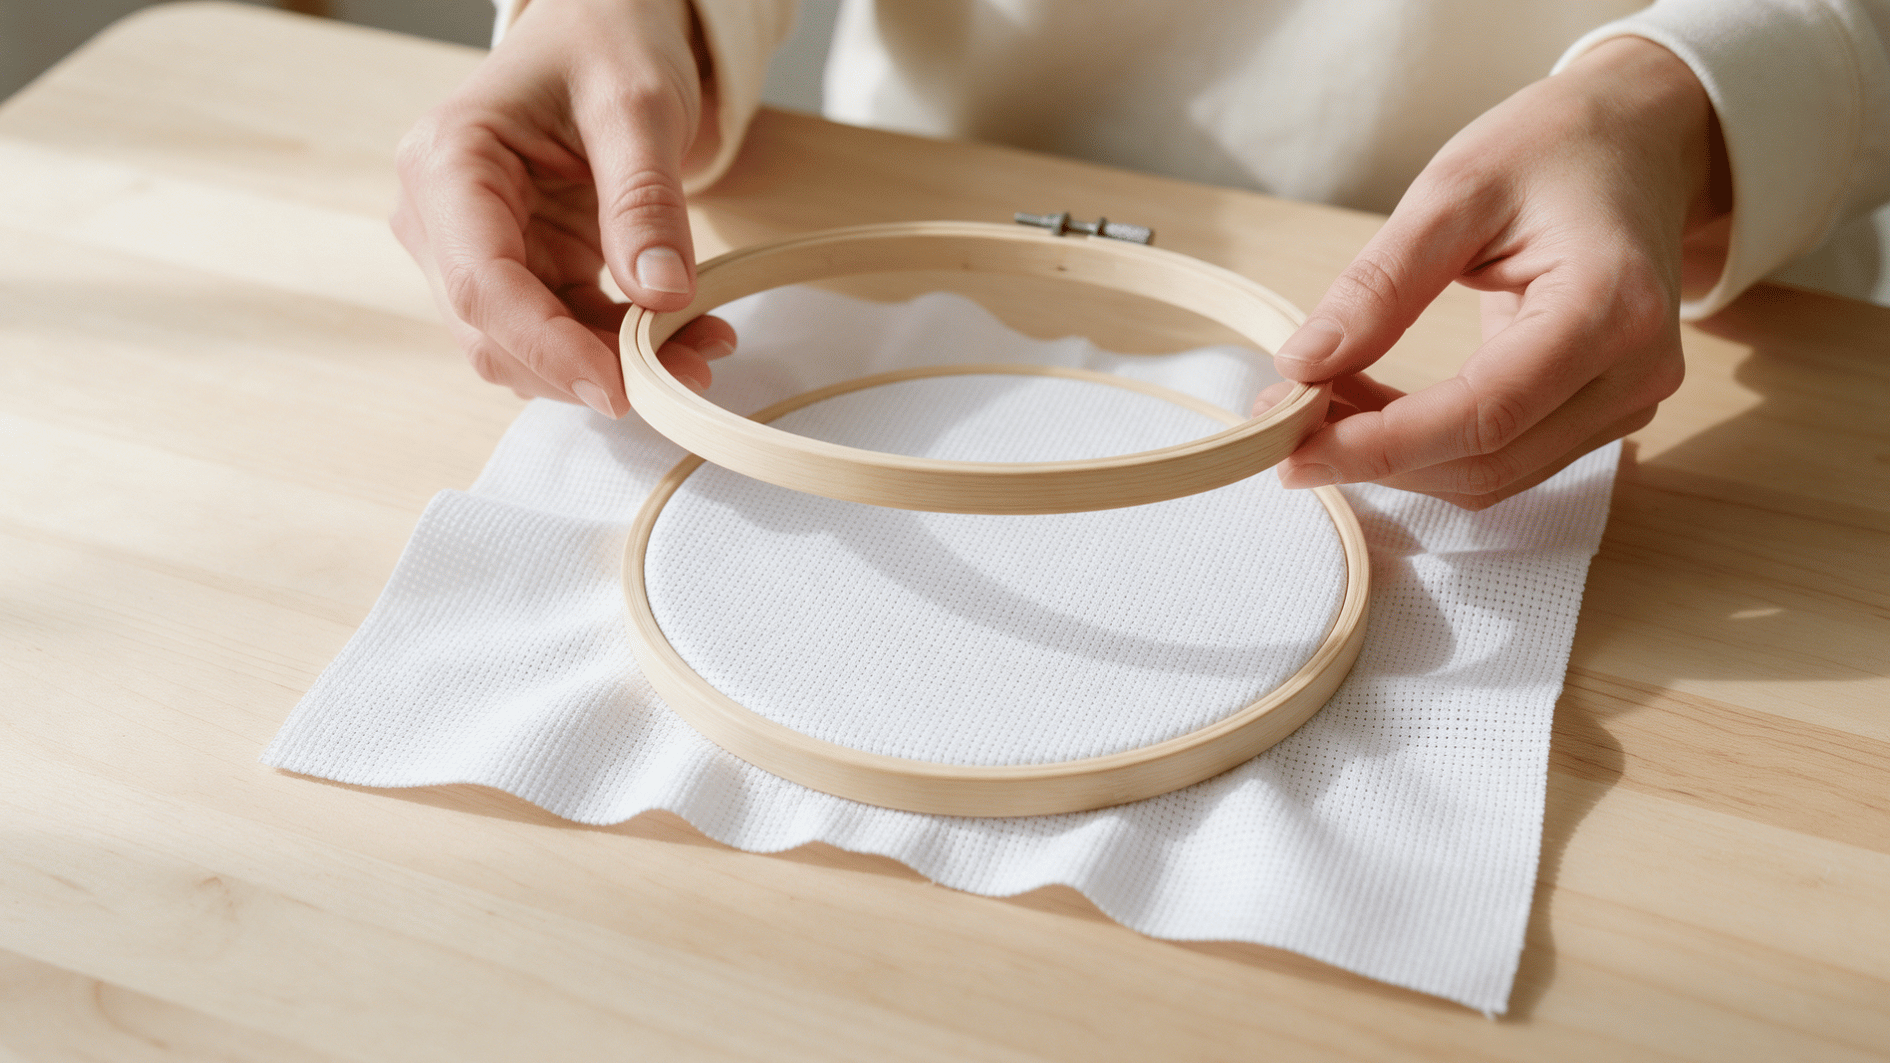
Check the pattern for the recommended fabric size and leave enough extra cloth around the design for handling and finishing. Separate the hoop rings, lay the Aida over the inner ring, and press the outer ring into place.
Tighten the screw while gently smoothing the fabric from the center outward. The Aida should feel evenly taut but not stretched, since too much tension can distort its grid.
Working with fabric has taught me to tighten a hoop gradually instead of pulling everything taut at once. Small adjustments make it easier to keep the grid even without stretching the Aida out of shape.
Step 2: Find the Center of the Fabric and Pattern
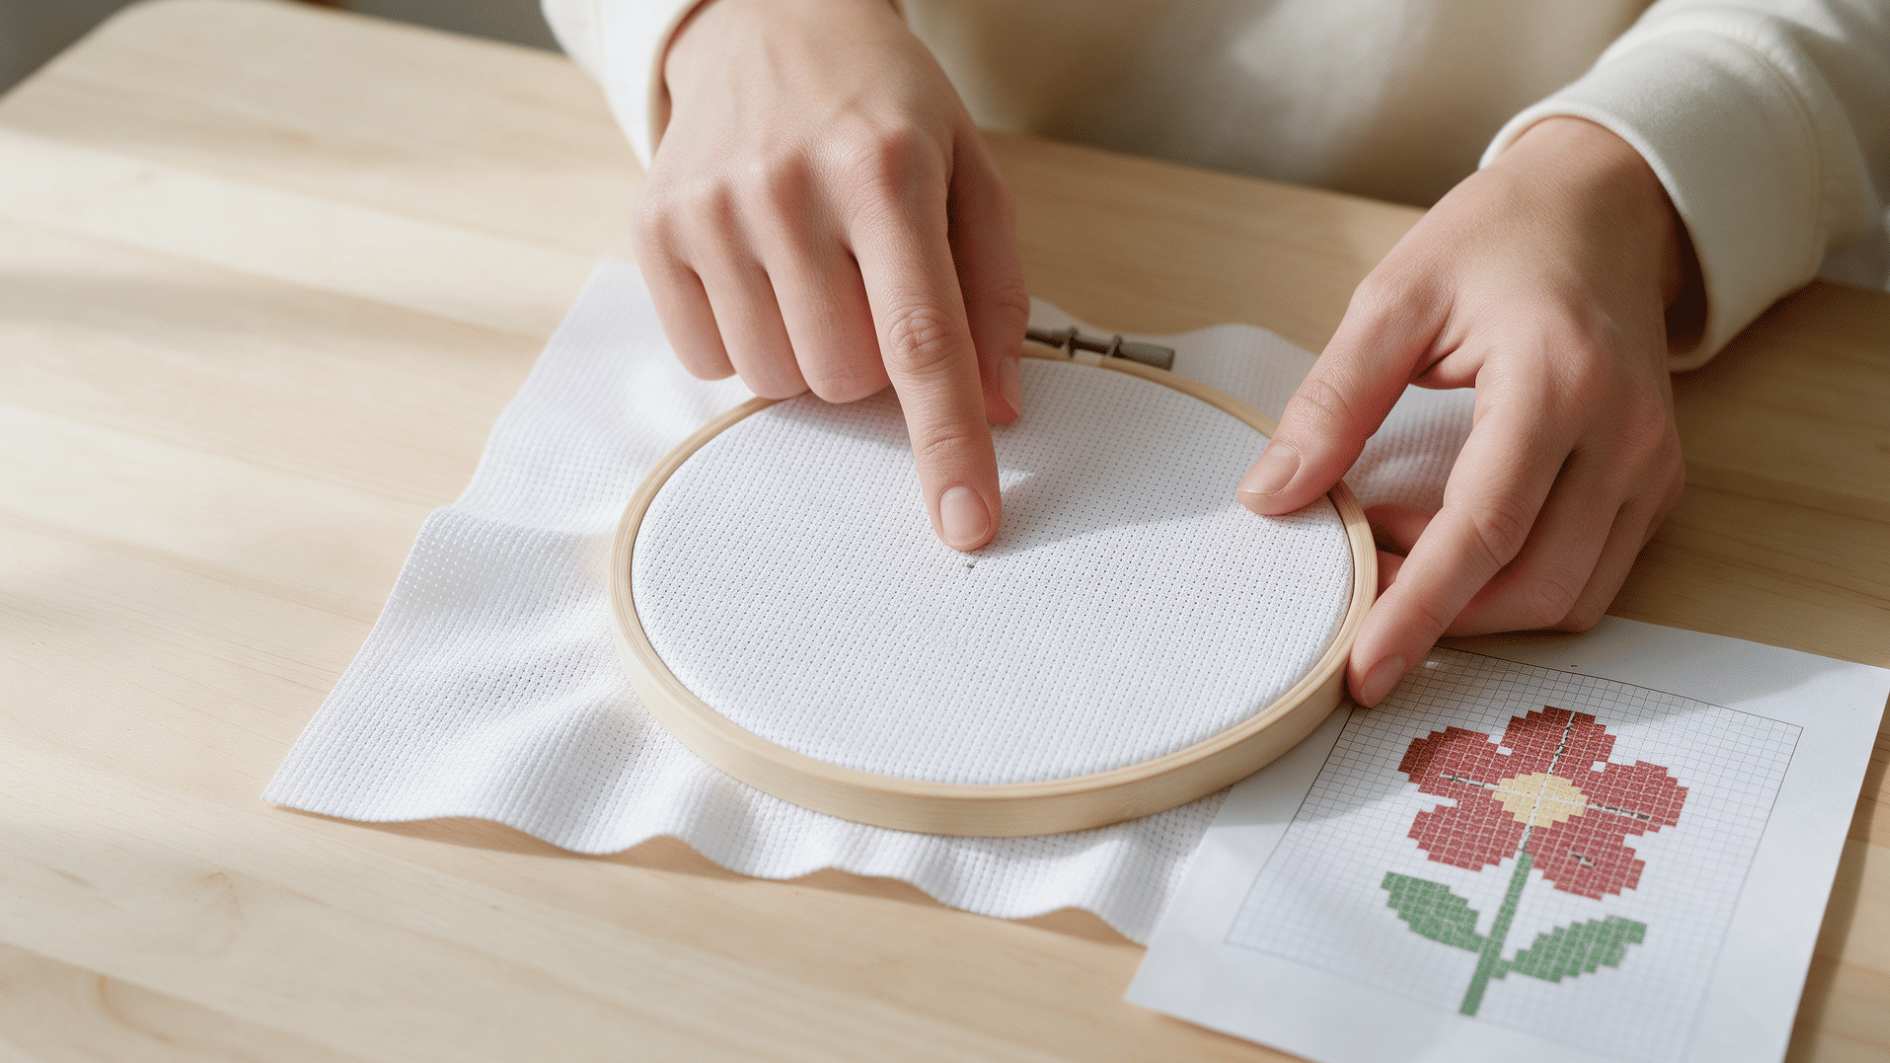
Gently fold the Aida in half vertically and horizontally to locate its approximate center. Avoid pressing a hard crease into the fabric. You only need a fold enough to identify where the two center lines meet.
Find the center arrows or markings along the edges of your chart and trace them toward the middle. Match this point with the center of your fabric, then double-check the starting square before you stitch, so the finished design sits where you intended.
Step 3: Prepare and Thread the Embroidery Floss
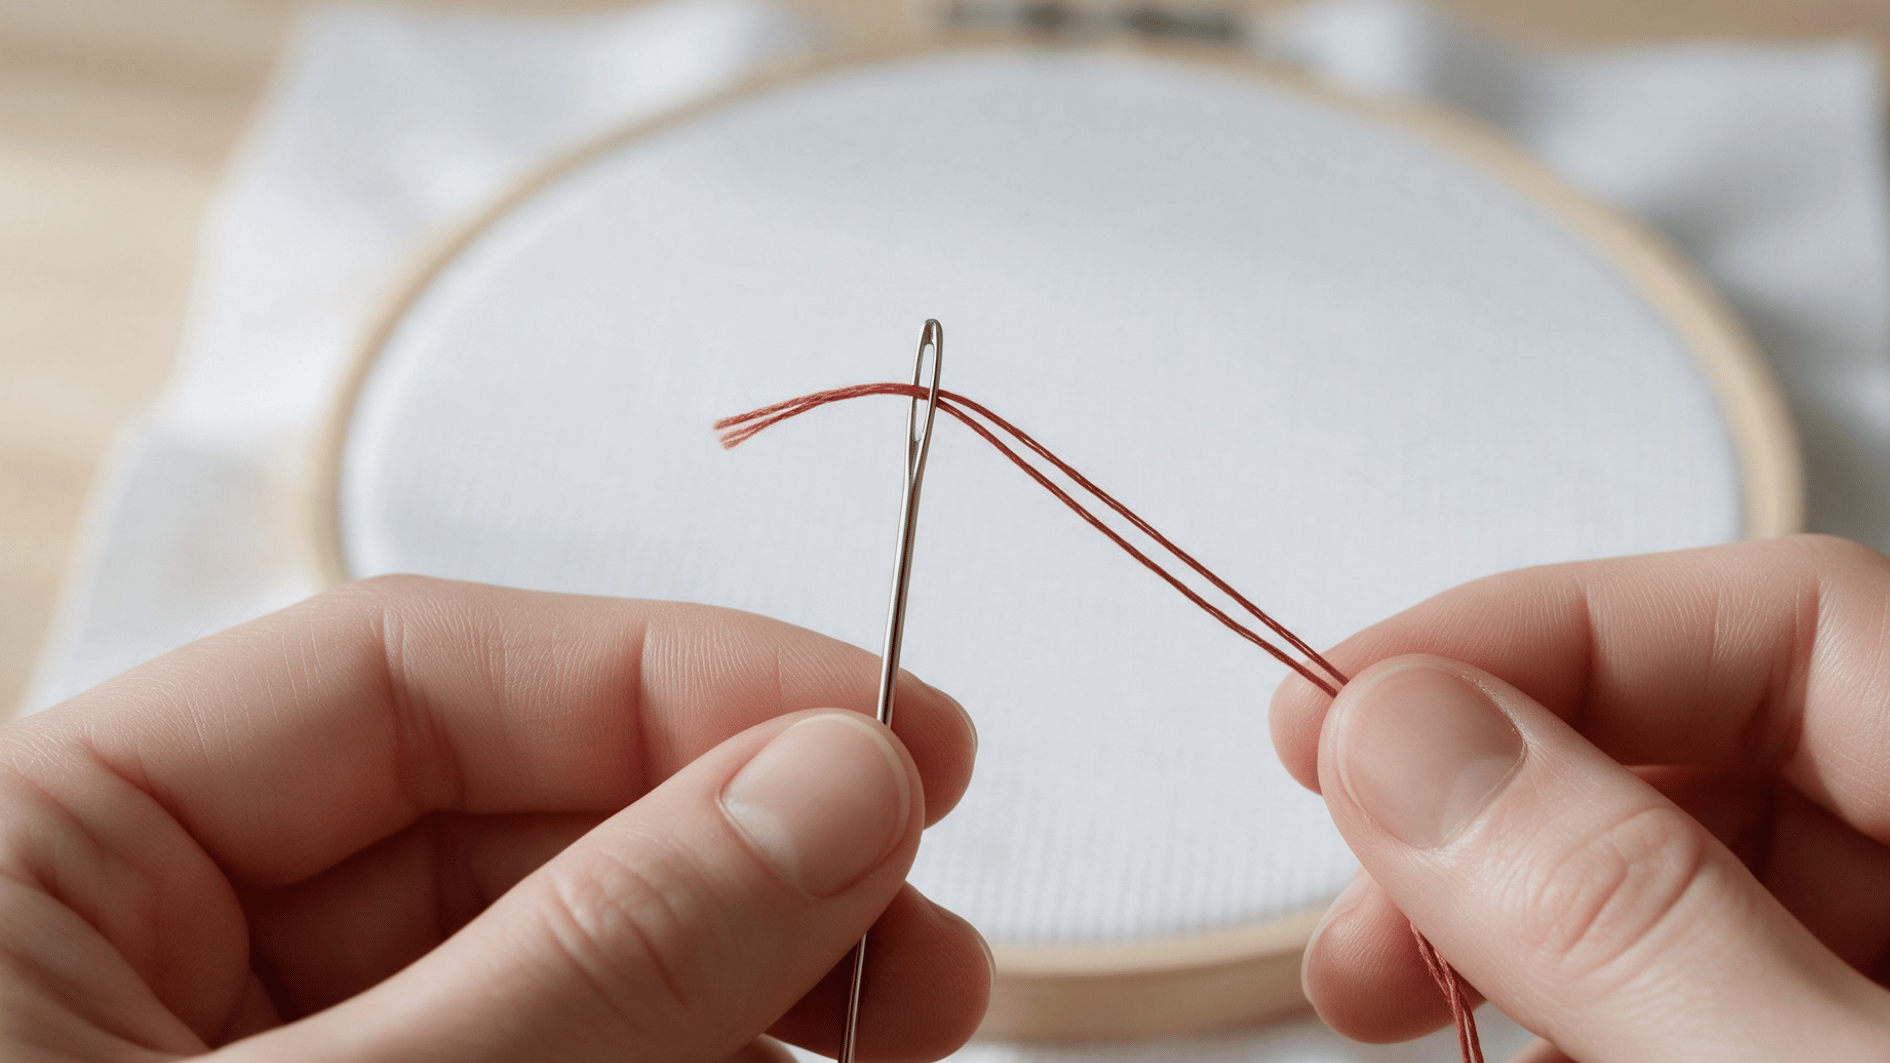
Choose the floss color listed for your starting symbol and cut a manageable length. Standard embroidery floss usually contains six separable strands, so pull them apart gently and use the number of strands your pattern specifies.
Bring the required strands together and thread the embroidery floss through the eye of your tapestry needle. Avoid working with an unnecessarily long piece of floss.
In my experience, shorter lengths are much easier to control when you are still getting used to the repeated needle movement.
Tip: If your floss keeps twisting on itself, let the needle hang and spin freely for a second it untwists on its own. No need to fight it with your fingers.
Step 4: Start Your First Stitch
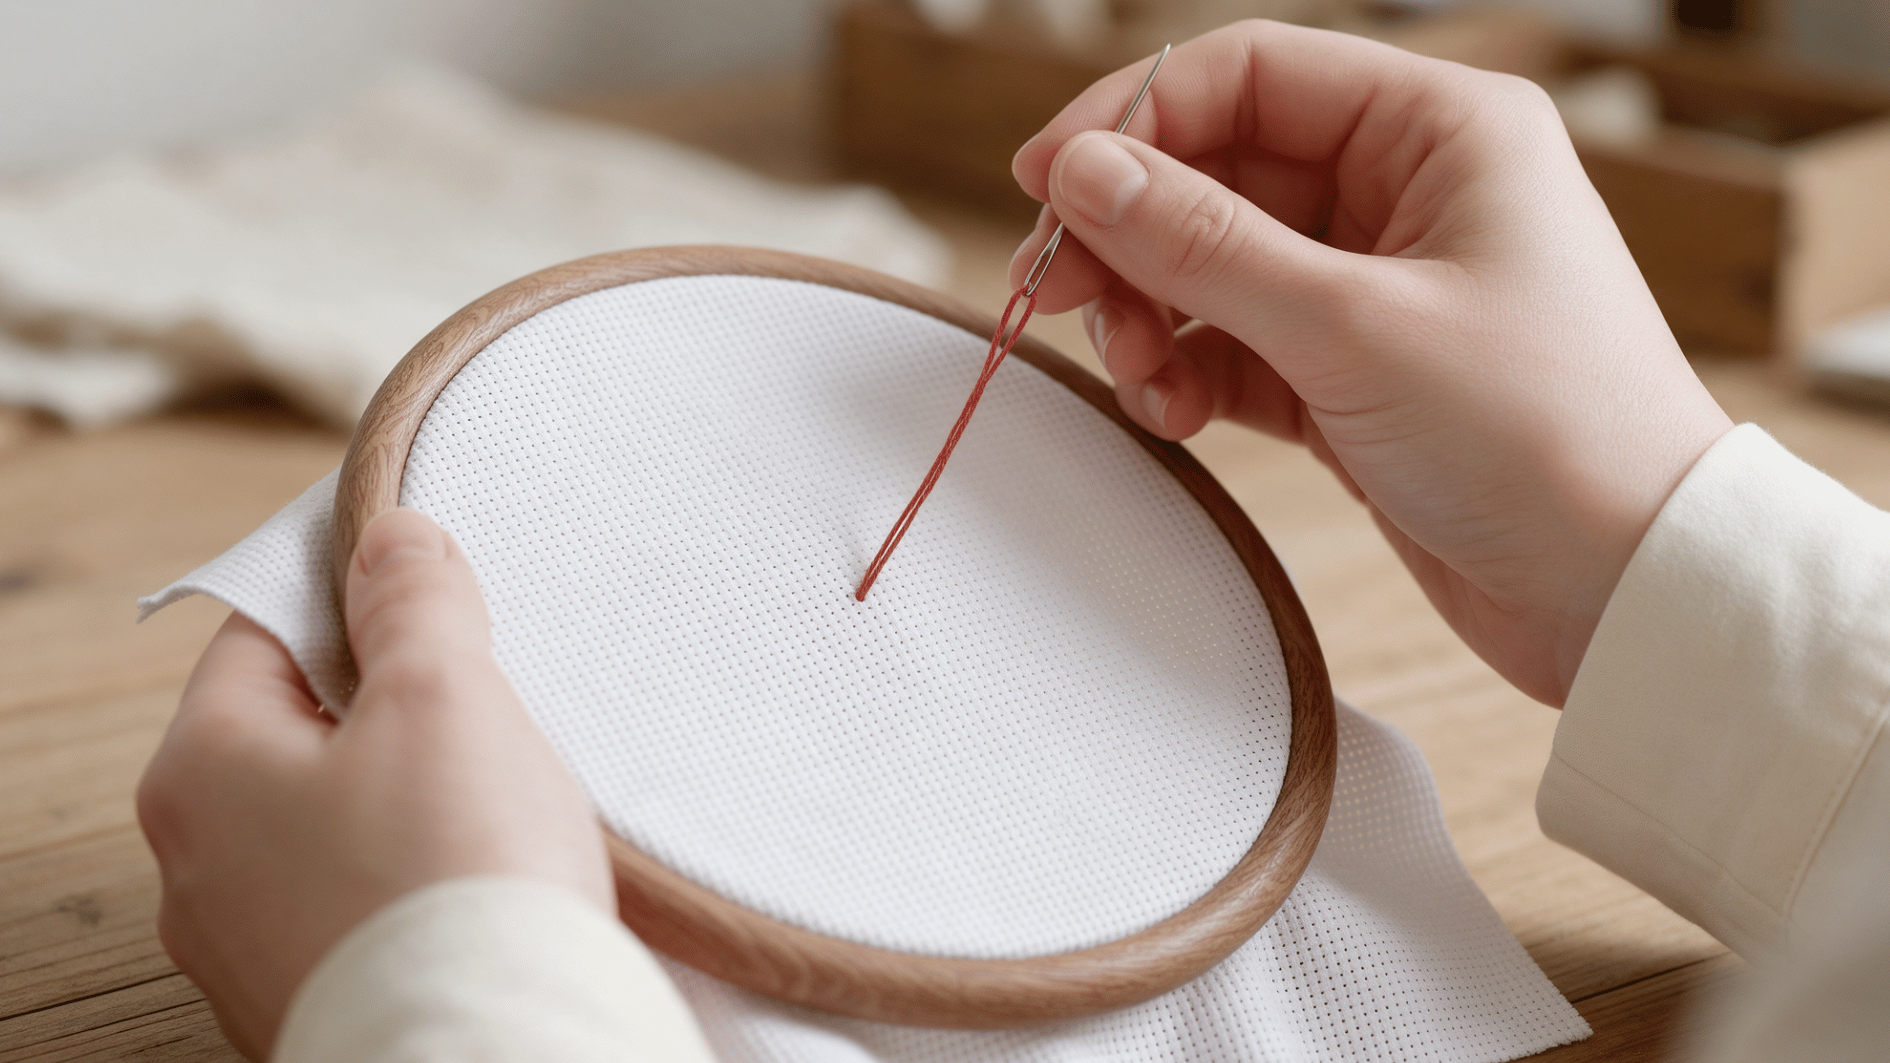
Locate the correct starting square on the Aida by matching it with your chart. One standard full cross stitch sits within the four corner holes of a single fabric square, so check that you have identified the right space before bringing the needle forward.
Bring the needle from the back through one corner, leaving a short tail of floss behind. Hold the tail along the back and secure it beneath your first few stitches as you work.
This keeps the starting point secure without adding a bulky knot behind the fabric.
Step 5: Make a Basic Cross Stitch
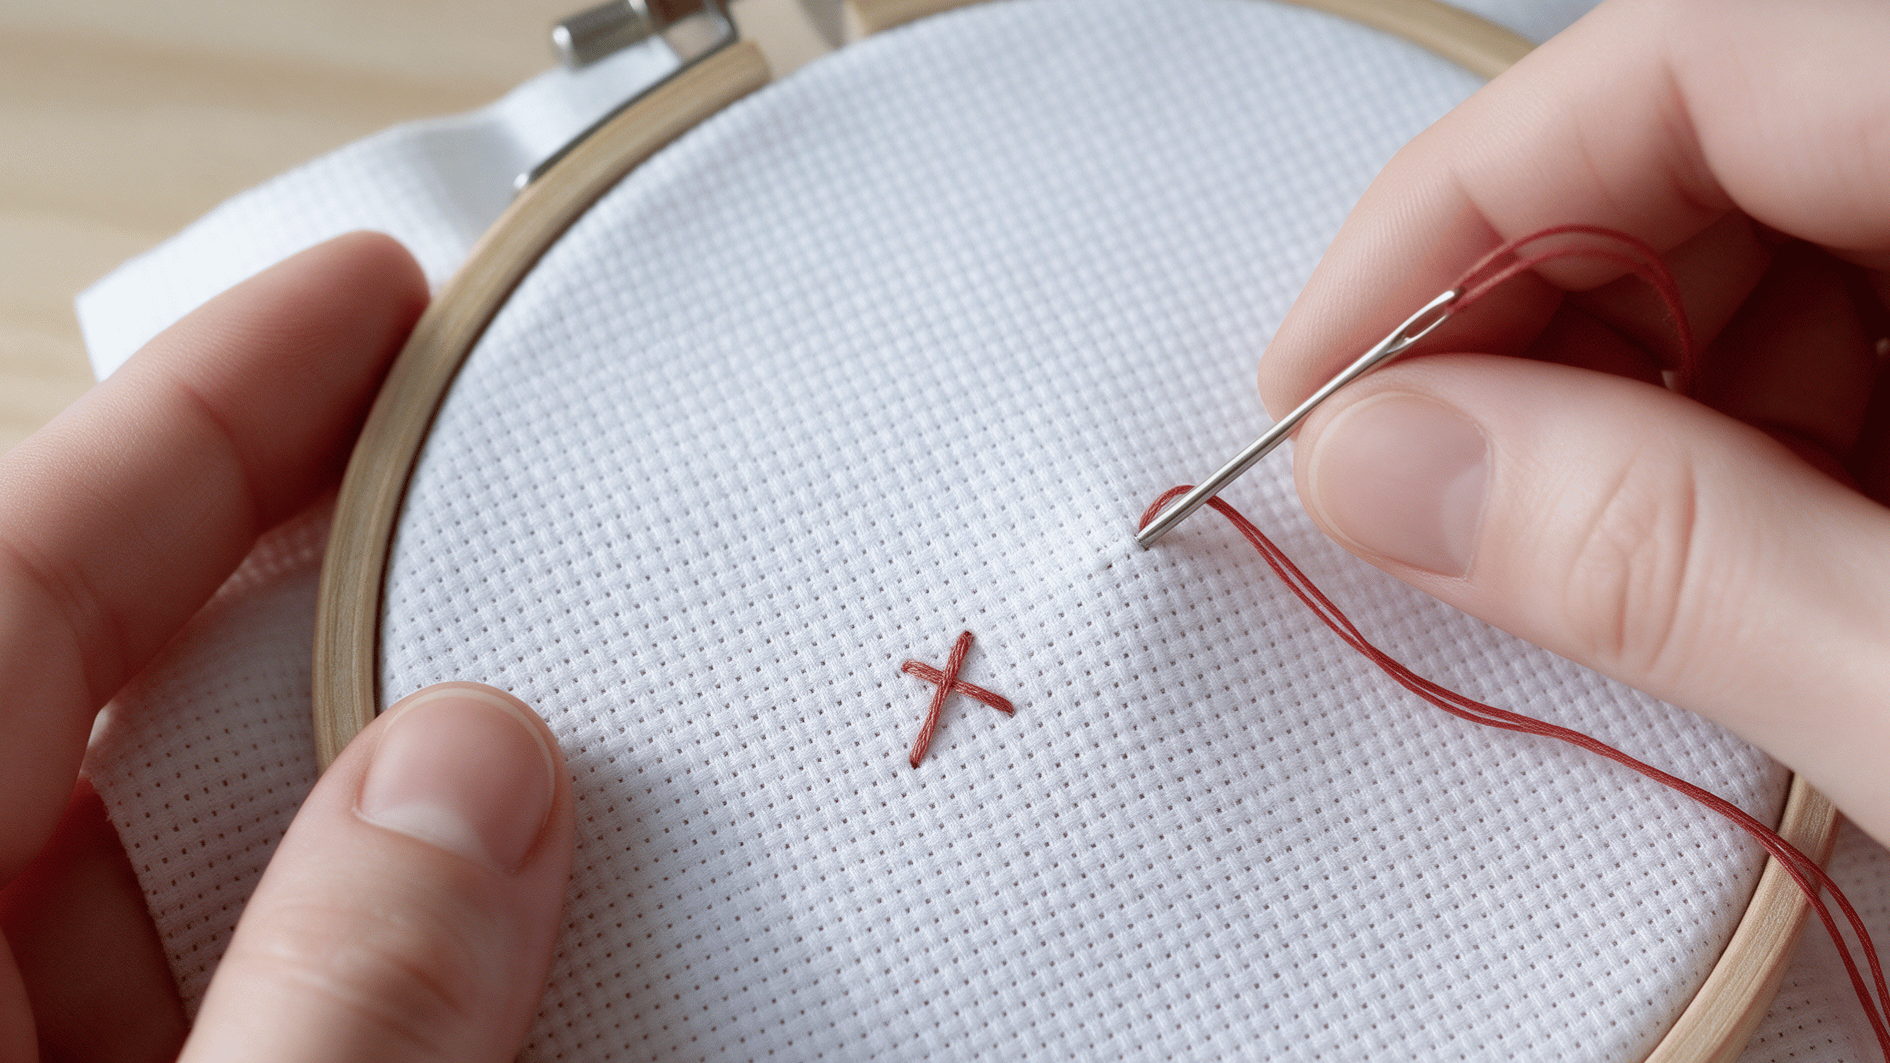
Bring the needle diagonally across the fabric square and take it down through the opposite corner. Bring it back up through another corner, cross over the first diagonal, and insert it through the final corner. You should now have a complete X.
Continue using the same movement for the next stitches. Keep the top diagonal of each X facing the same direction throughout the design.
This simple habit helps neighboring stitches sit together more evenly and gives larger stitched areas a consistent finish.
Step 6: Make a Row of Cross Stitches
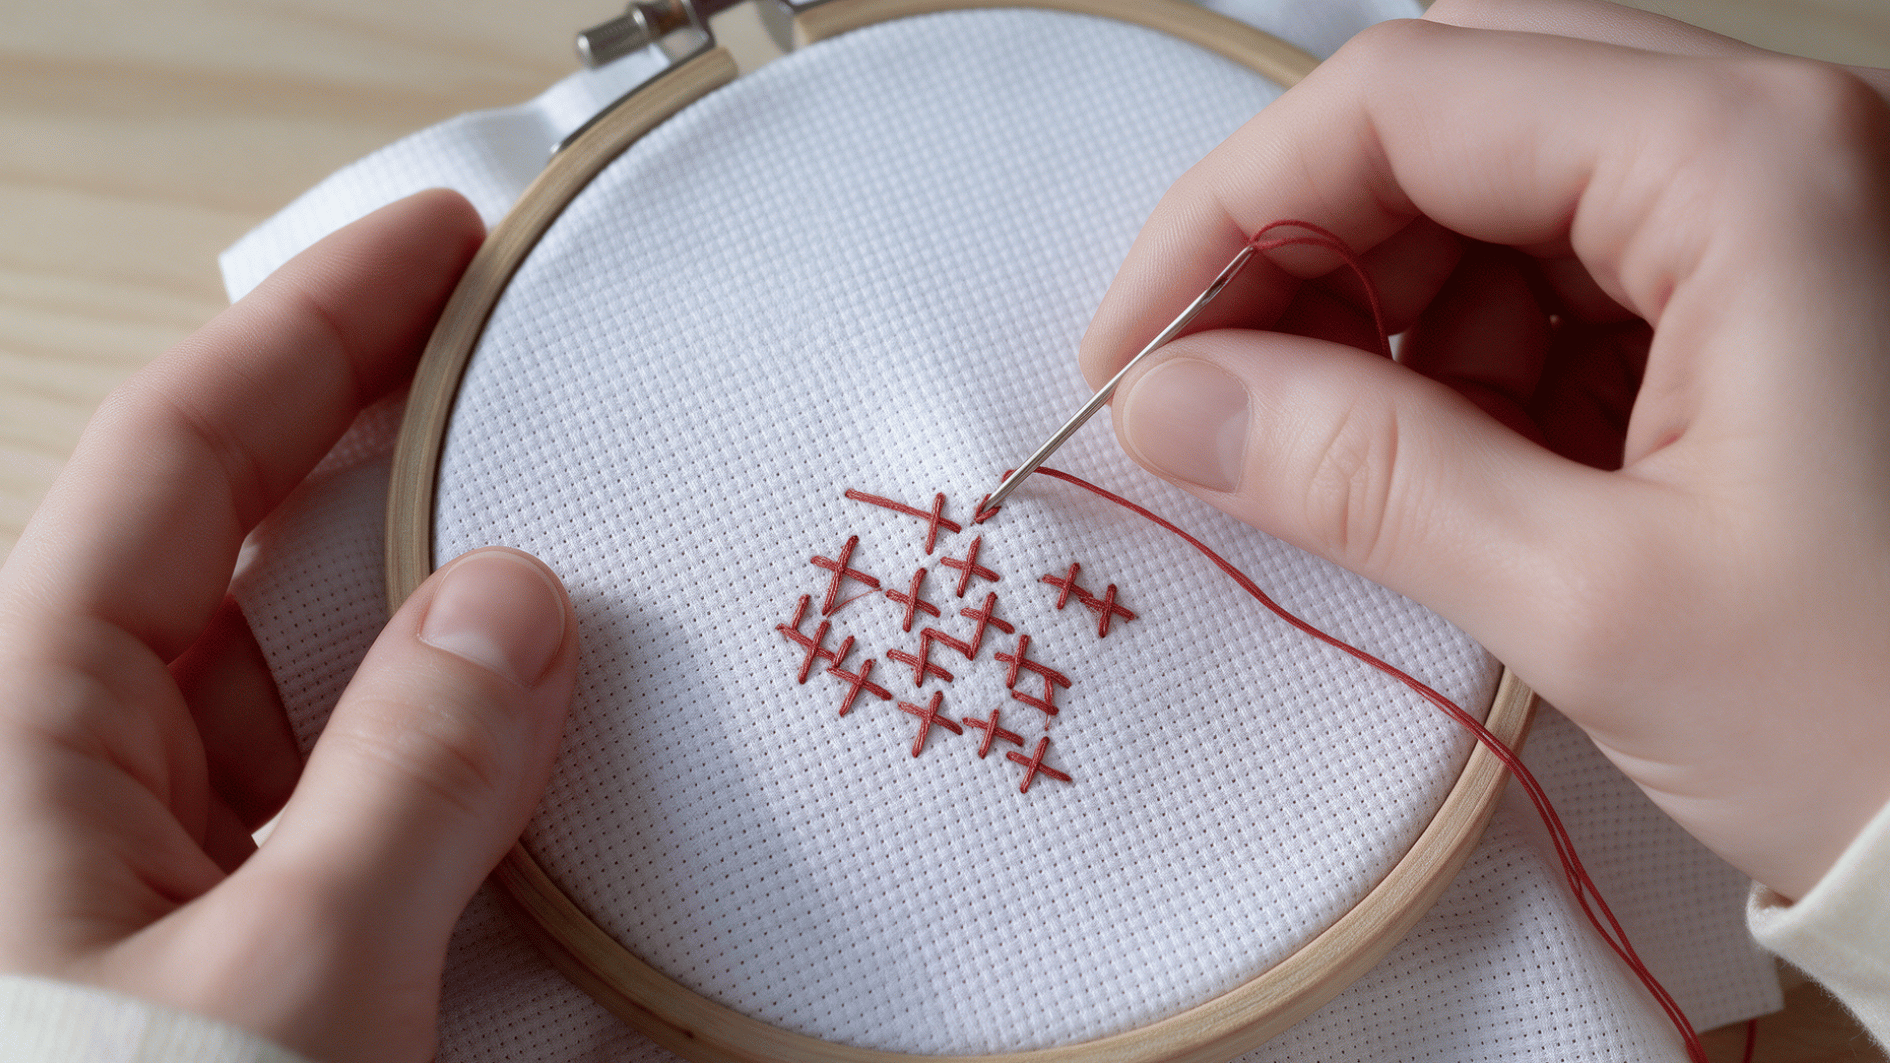
When several stitches of the same color sit next to one another, make the first diagonal across each required square. Then work back along the row in the opposite direction, adding the second diagonal to complete each X.
This is commonly known as the Danish method. Another option is the English method, where you complete one X before starting the next.
Both methods work, and you don’t need to commit to just one. I tend to use whichever approach makes the particular section easier to count without losing my place.
Step 7: Follow the Pattern and Change Floss Colors
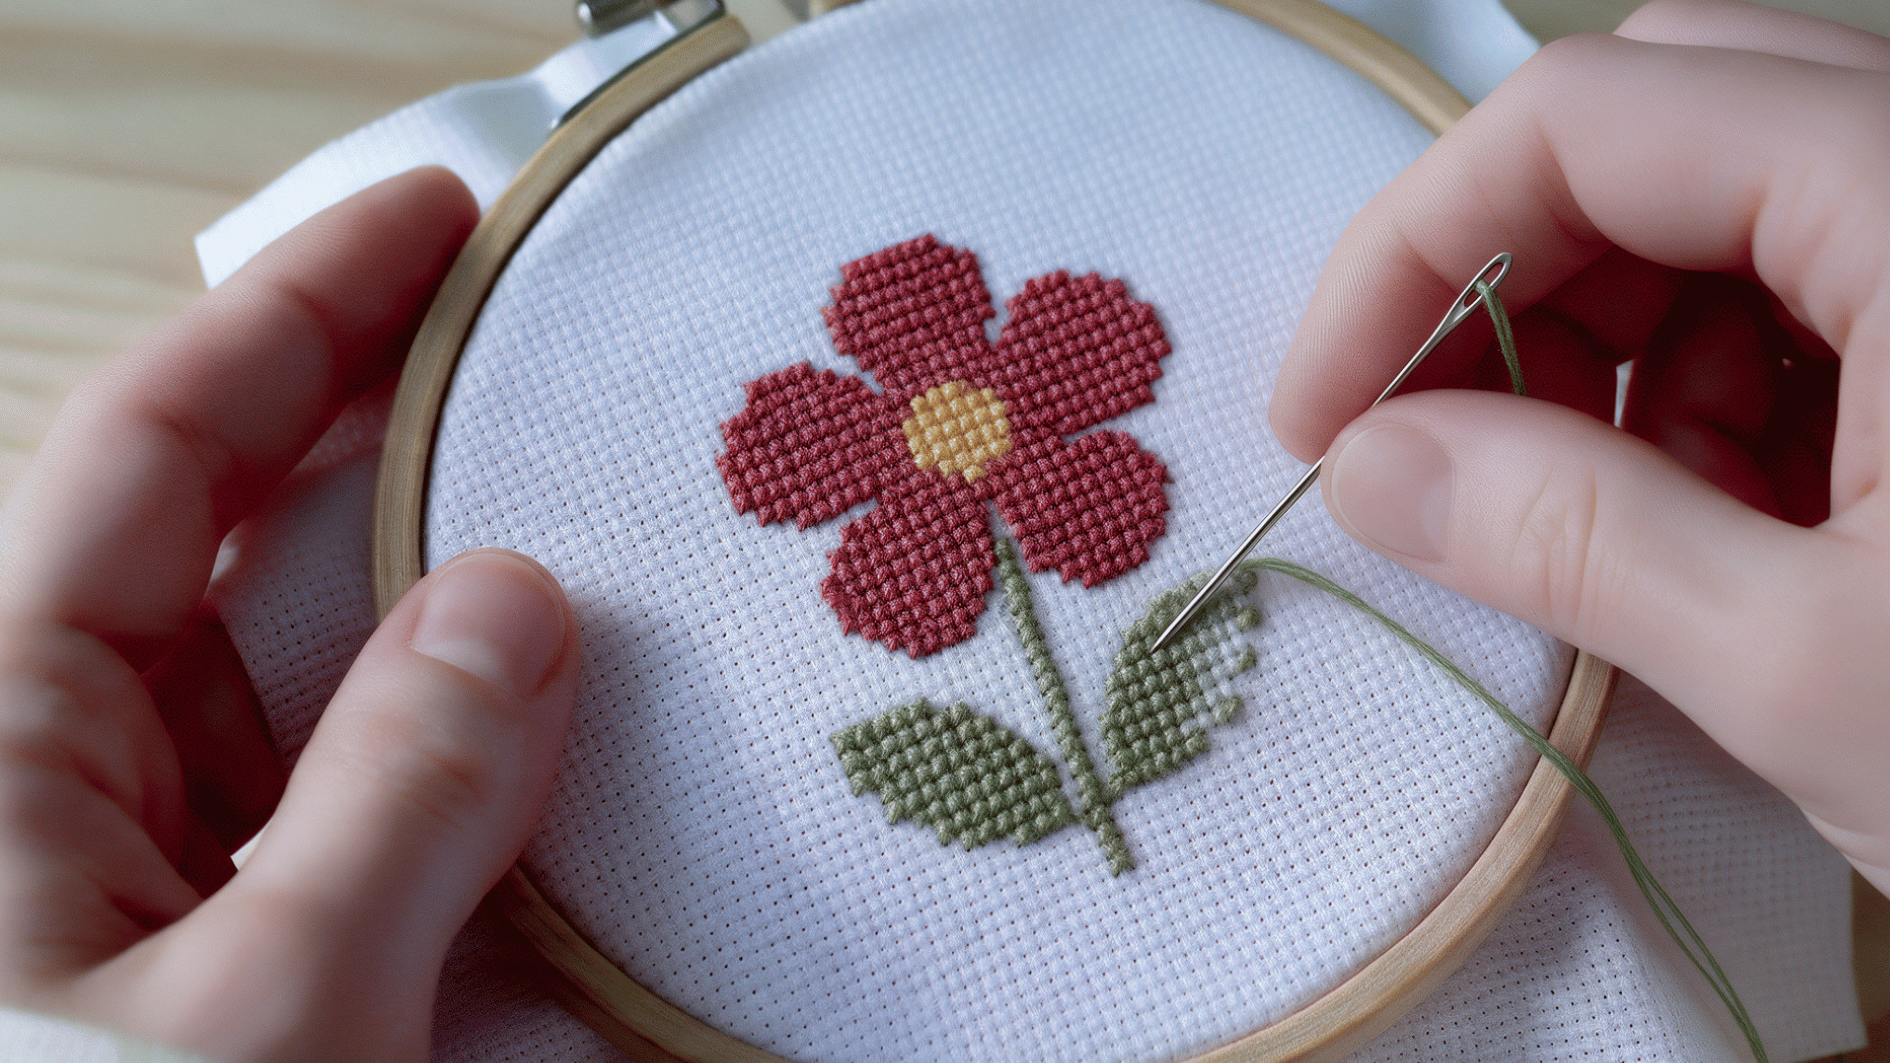
Continue matching each chart symbol with the corresponding square on your fabric. Count from nearby completed stitches when possible, especially when moving into a new area.
If your count seems wrong, stop and check it before adding more stitches rather than trying to correct the placement later. When the chart changes symbols, check the color key and switch to the required floss.
Secure the current thread before starting the new color, and avoid carrying floss across large blank areas on the back. Long carries can snag and may show through lighter fabrics.
Step 8: Secure the Final Thread
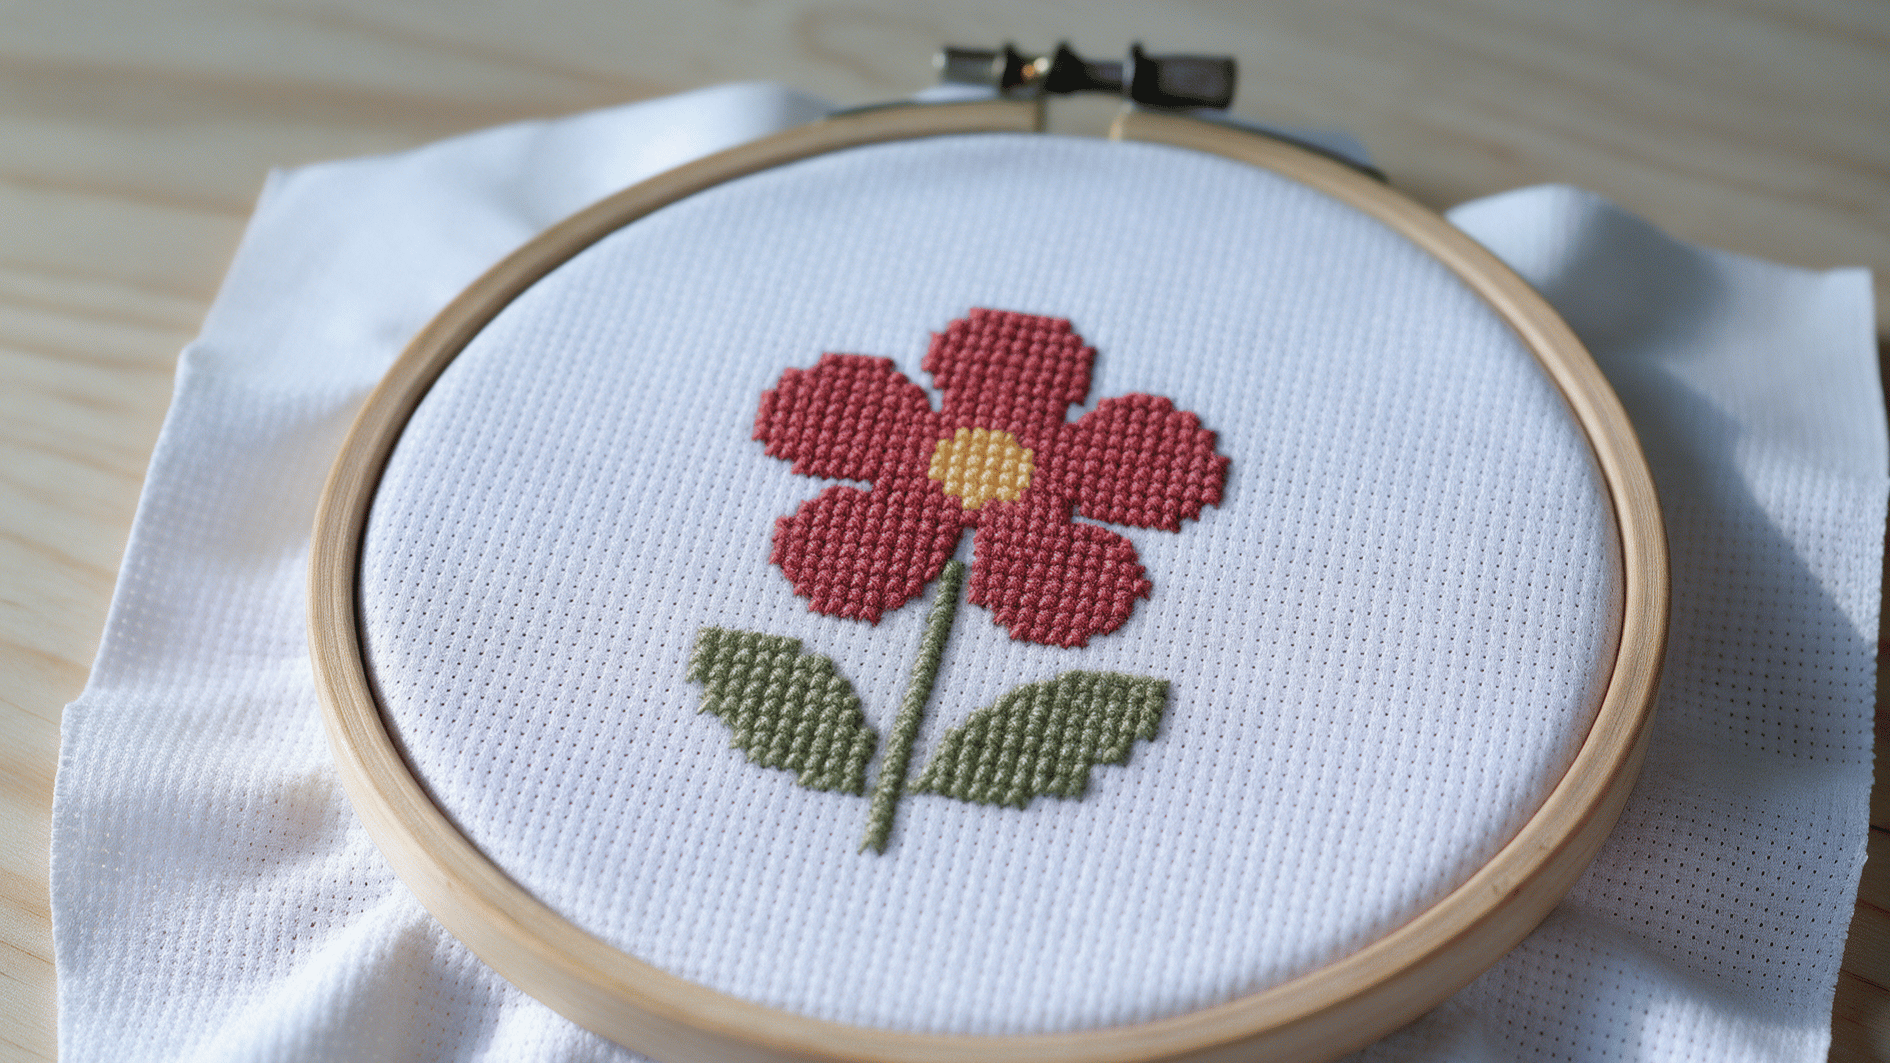
After completing the last stitch, turn the fabric over and pass the needle beneath several nearby stitches on the back. Gently pull the floss through until it is secure. Do not pull so tightly that the finished stitches become distorted on the front.
Trim the remaining floss close to the secured area without cutting into the stitches. Before moving on, compare the finished section with your chart.
Catching a missed square or incorrect color now is much easier than finding it after you have stitched around it.
Basic Stitches Used in Cross Stitch
Different stitches start making more sense once you have practiced the basic X a few times. I find learning them one at a time much easier, so here are six techniques worth knowing.
|
Technique |
What It Looks Like |
Best Used For |
|---|---|---|
|
Full cross stitch |
Two crossed diagonals forming an X |
Most of your design; the default stitch |
|
Half stitch |
One diagonal, uncrossed |
Light shading or soft background fill |
|
Backstitch |
Connected straight stitches along lines |
Outlines, lettering, and facial details |
|
Quarter stitch |
Corner-to-center diagonal |
Small curves and rounded edges |
|
Three-quarter stitch |
Half stitch and quarter stitch combined |
Smoother curved or angled details |
|
French knot |
Floss wrapped and secured at one point |
Tiny raised details like eyes or berries |
How to Choose Your First Cross Stitch Pattern?
A good first project is small enough to finish without losing momentum. Look for these traits when picking your pattern:
- Size: something that fits inside a 4- to 6-inch hoop
- Color count: 3 to 7 colors, so you’re not juggling too many floss bobbins at once
- Stitch type: a design made of full stitches only; save fractional or quarter stitches for your second or third project
- Motif: a simple, single subject (one flower, one small animal, one word) rather than a busy scene
Picking something you actually like looking at matters more than picking something “easy.” You’ll finish it faster if you’re excited to see it grow.
Wrapping It Up
Learning how to cross stitch becomes easier once you stop worrying about getting every tiny detail right on the first try. A neat finish comes with practice, patience, and careful counting.
I would rather see a beginner finish a simple project with confidence than abandon a complicated one halfway through. Cross stitch for beginners should feel creative and manageable, not like another skill to master overnight.
Pick a small pattern you genuinely like, gather your supplies, and start with a few squares today. Your next handmade piece can begin with one simple X.
Frequently Asked Questions
Can You Wash Cross Stitch After Finishing It?
Yes. Gently hand-wash colorfast cross stitch in cool or lukewarm water with mild detergent. Avoid scrubbing or wringing the fabric.
How Do You Stop Aida Cloth From Fraying?
Secure the raw edges with painter’s tape, an overcast stitch, or a serger. This prevents loose threads from unraveling while you work.
What Does 14-Count Aida Mean?
It means the fabric has 14 squares per inch, which affects your stitch size and finished design dimensions.
Can You Use Regular Sewing Thread for Cross Stitch?
Embroidery floss works better because its separable strands let you control thickness and match colors listed in most patterns.