
Ever spent more time trying to thread a needle than actually sewing? You’re definitely not the only one. That tiny needle eye can test anyone’s patience, especially when the thread keeps bending or fraying.
The good news is that learning how to thread a needle is much easier once you know a few simple tricks.
I learned to sew beside my grandmother, and over the years, I have found that cleanly cutting the thread, matching it to the needle, and changing how you hold both can make threading much easier.
In this blog, you’ll find a few beginner-friendly methods that are quick, practical, and easy to follow.
How to Prepare Your Needle and Thread Before Threading?
A few small preparations can make threading a needle much faster and less frustrating. Start by choosing a needle with an eye that matches the thickness of your thread.
If the thread is too thick, it may bunch up or refuse to pass through. If it is too thin, it may feel harder to control.
Tip: I usually test the thread against the needle before cutting a long piece. If the thread fills most of the eye or needs to be forced through, I switch to a larger needle. This protects the thread fibers and reduces the chance of damaging the eye.
Next, use sharp scissors to cut the thread at a slight angle. A clean, pointed end is easier to guide through the needle eye than a fuzzy or uneven one. Avoid pulling or breaking the thread with your hands because this often causes fraying.
Good lighting also makes a big difference. Sit near a bright window or place a lamp directly over your work area.
Hold the needle against a plain background so the eye is easier to see. Clean, dry fingers can also help you grip the thread and keep it steady.
Quick Threading Checklist Before You Begin
The checklist below is based on the setup I use for hand sewing. These checks take less than a minute but can prevent repeated trimming, fraying, and dropped needles.
| What to Check | What to Do | Why It Helps |
|---|---|---|
| Scissors | Use sharp scissors to trim the thread | Creates a neat, pointed end |
| Lighting | Work near a bright window or lamp | Makes the needle eye easier to see |
| Needle size | Choose a needle with a suitable eye | Helps the thread pass through smoothly |
| Thread thickness | Match the thread to the needle | Prevents bunching and getting stuck |
| Fingers | Keep your hands clean and dry | Gives you a firmer grip |
| Background | Hold the needle over a plain surface | Makes the needle and thread easier to spot |
Easy Methods: How to Thread a Needle
There is more than one easy way to thread a needle, and the right method often depends on the needle size, thread type, and tools you have nearby.
The methods below are simple enough for beginners and useful for sewing, embroidery, quilting, and small clothing repairs.
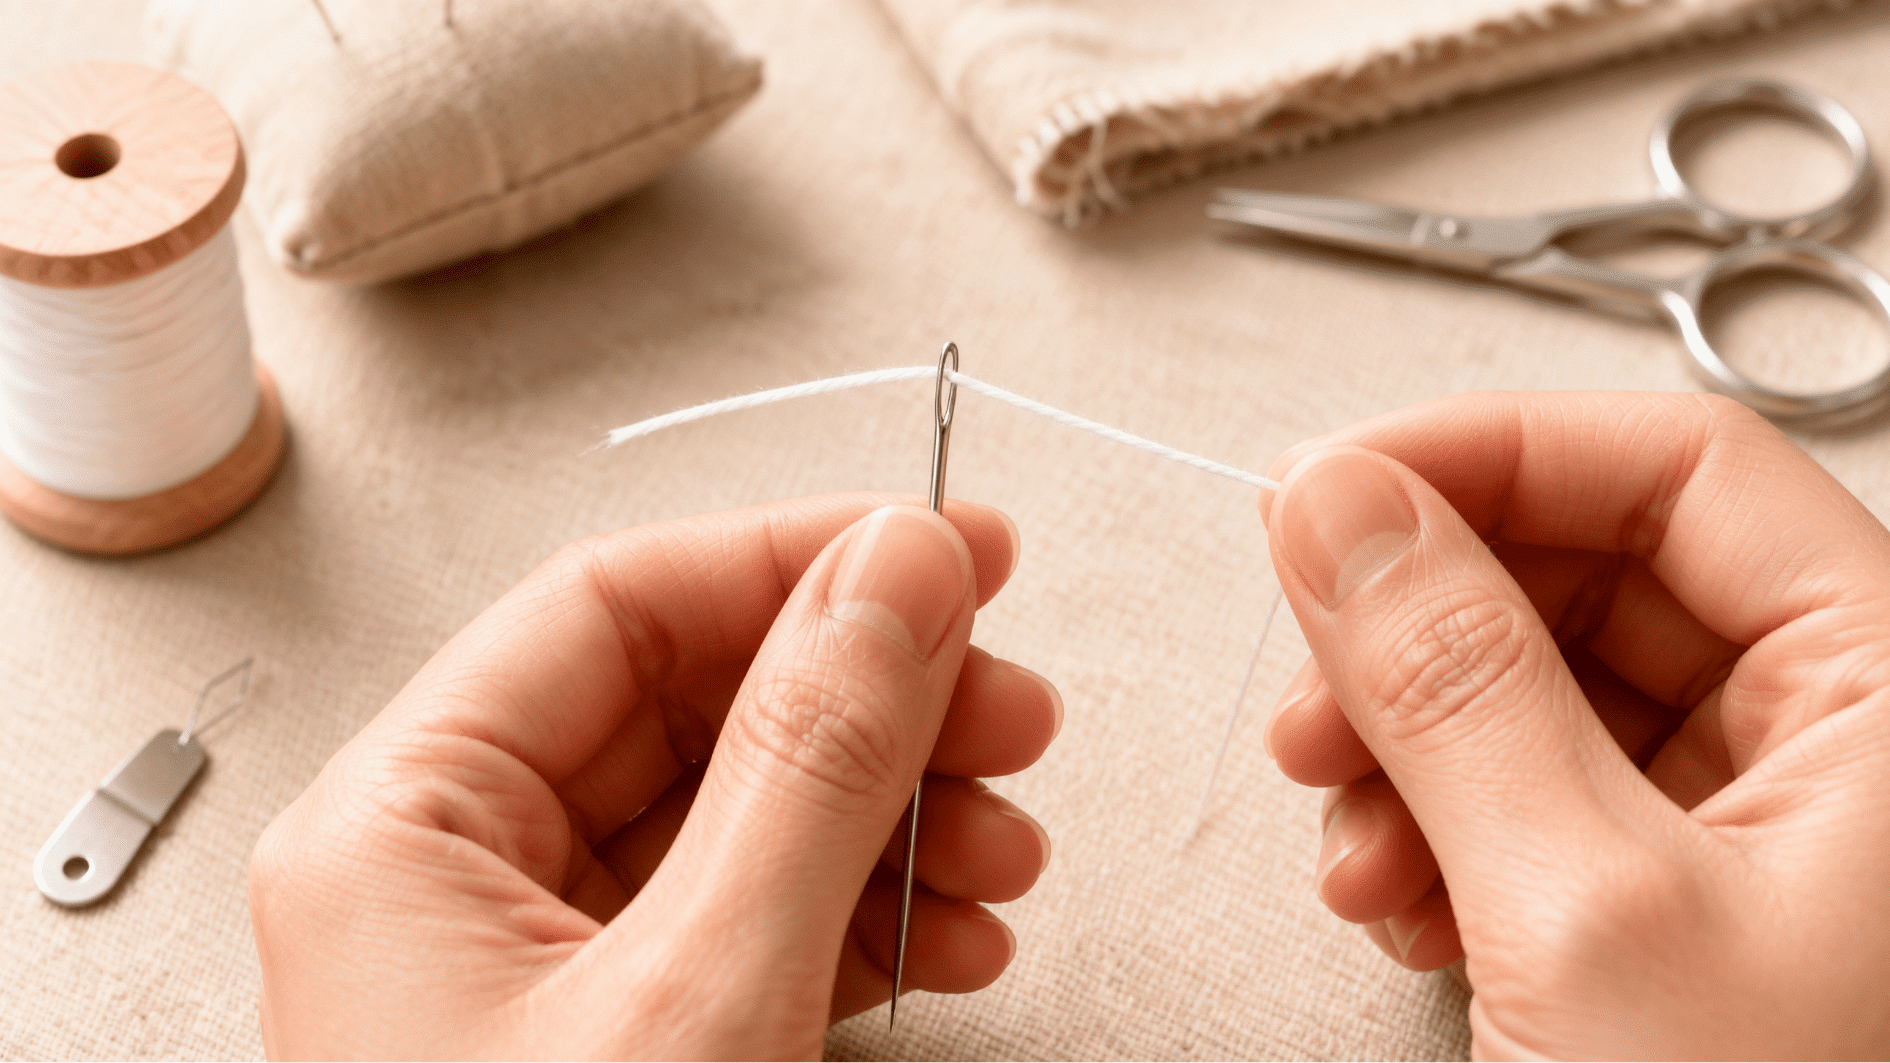
1. Classic Hand Threading Method
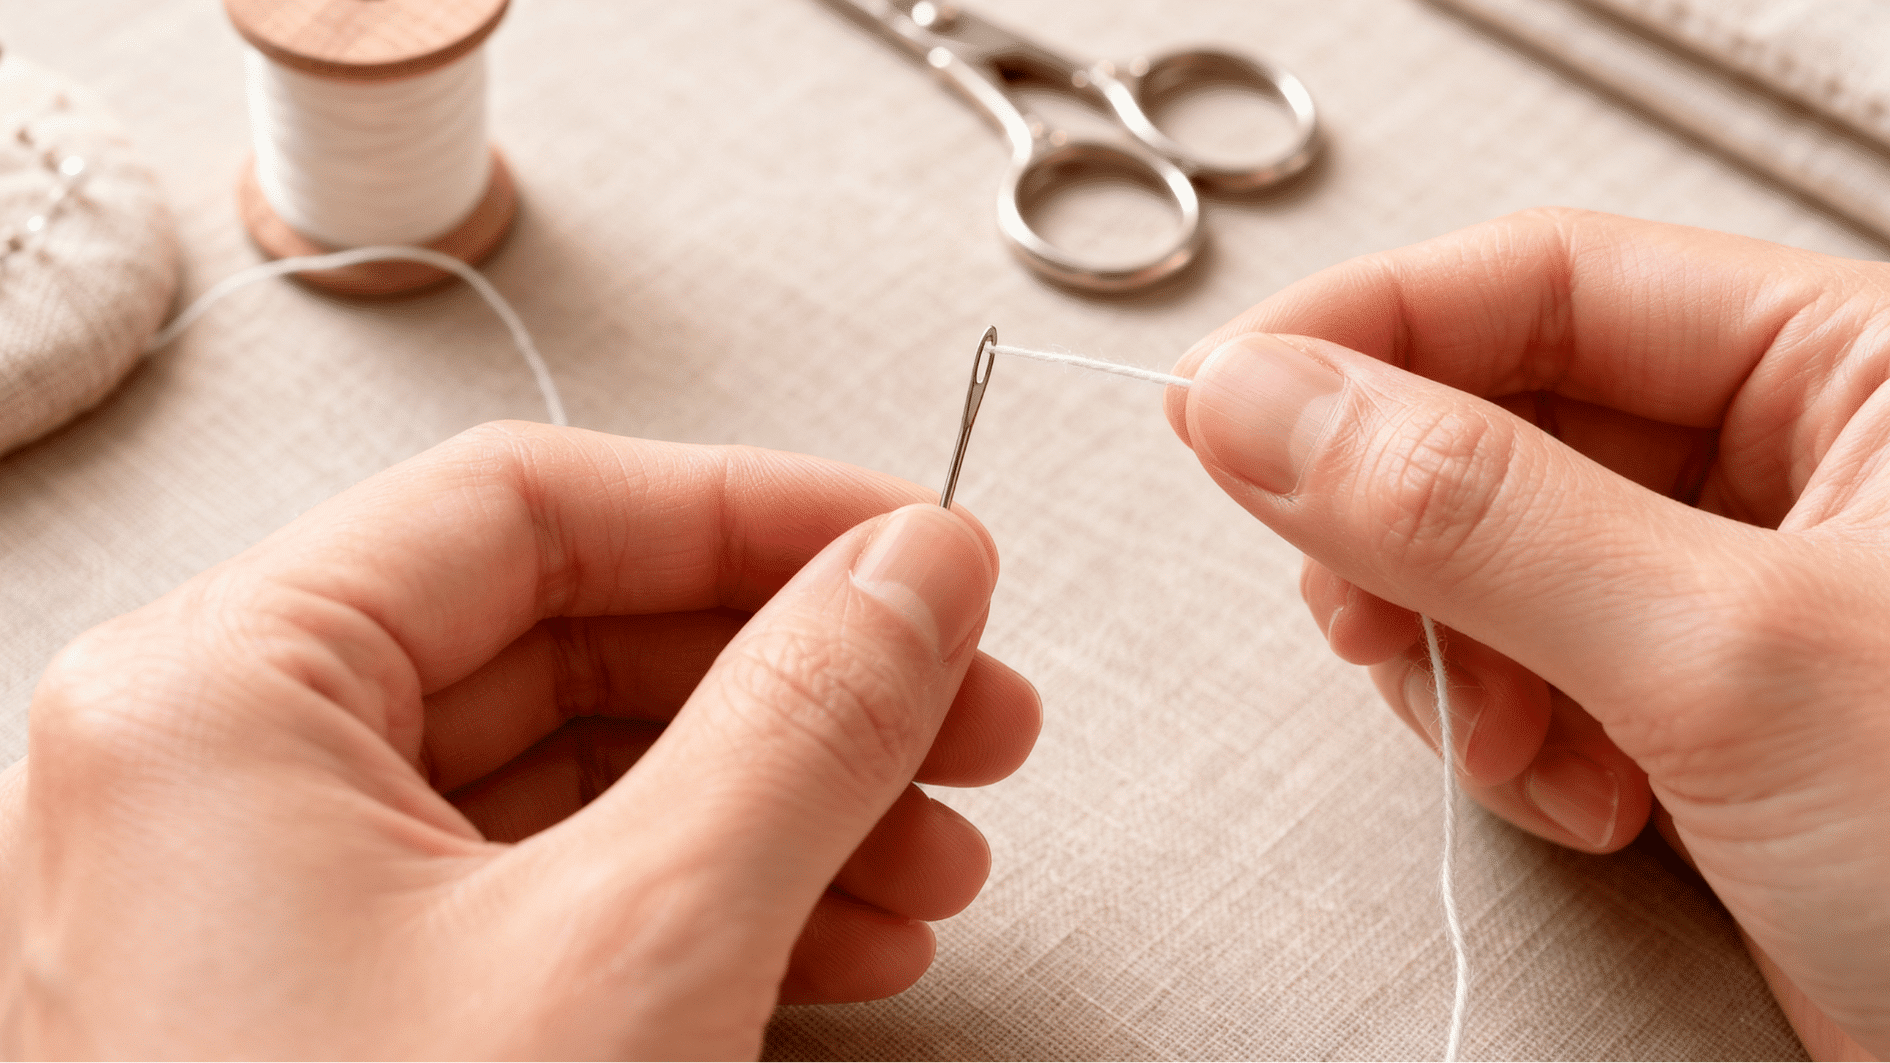
This is the most common method for threading a regular sewing needle. It works best when the thread has a smooth and neatly cut end.
Holding the thread close to the tip gives you better control. Good lighting also helps you line up the thread with the needle eye.
Materials Required: Sewing needle, thread, and sharp scissors
Steps to follow:
- Cut the end of the thread cleanly with sharp scissors.
- Hold the needle firmly between your thumb and index finger.
- Pinch the thread about half an inch from the cut end.
- Bring the thread tip toward the needle eye.
- Push the thread through the eye and pull a few inches through.
- Tie a knot at the end if your sewing project requires one.
Best For: Regular sewing needles and medium-weight cotton or polyester thread.
2. Flatten the Thread End
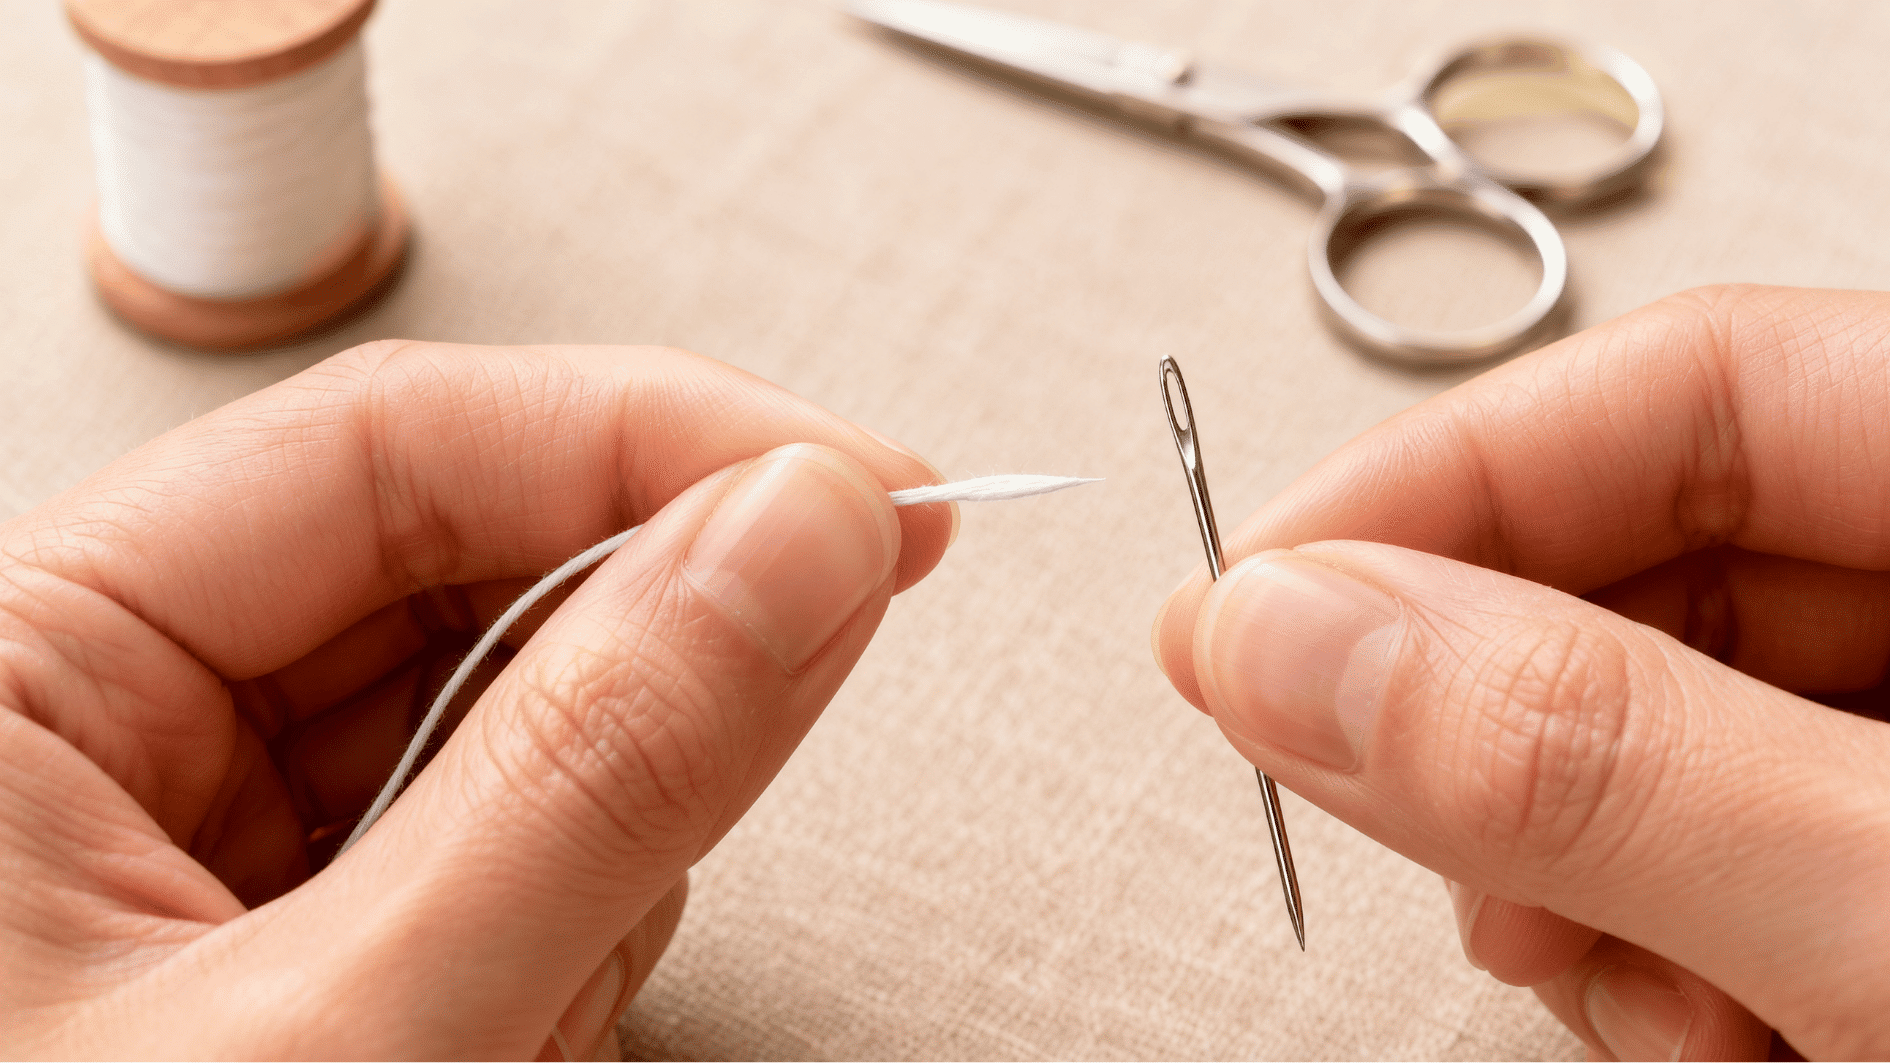
This method gives a soft thread end more shape and control. It is helpful when the tip keeps bending instead of passing through.
Flattening the thread can also bring loose fibers closer together. The result is a narrower end that is easier to guide into the eye.
Materials Required: Sewing needle, thread, and sharp scissors
Steps to follow:
- Trim the thread to remove any frayed or fuzzy fibers.
- Place the cut end between your thumb and index finger.
- Press and slide your fingers over the tip to flatten it.
- Hold the needle at eye level under bright lighting.
- Push the flat thread end through the needle eye.
- Pull through enough thread for your sewing project.
Best For: Soft cotton thread, embroidery floss, and thread that bends easily.
3. Fold the Thread Into a Small Loop
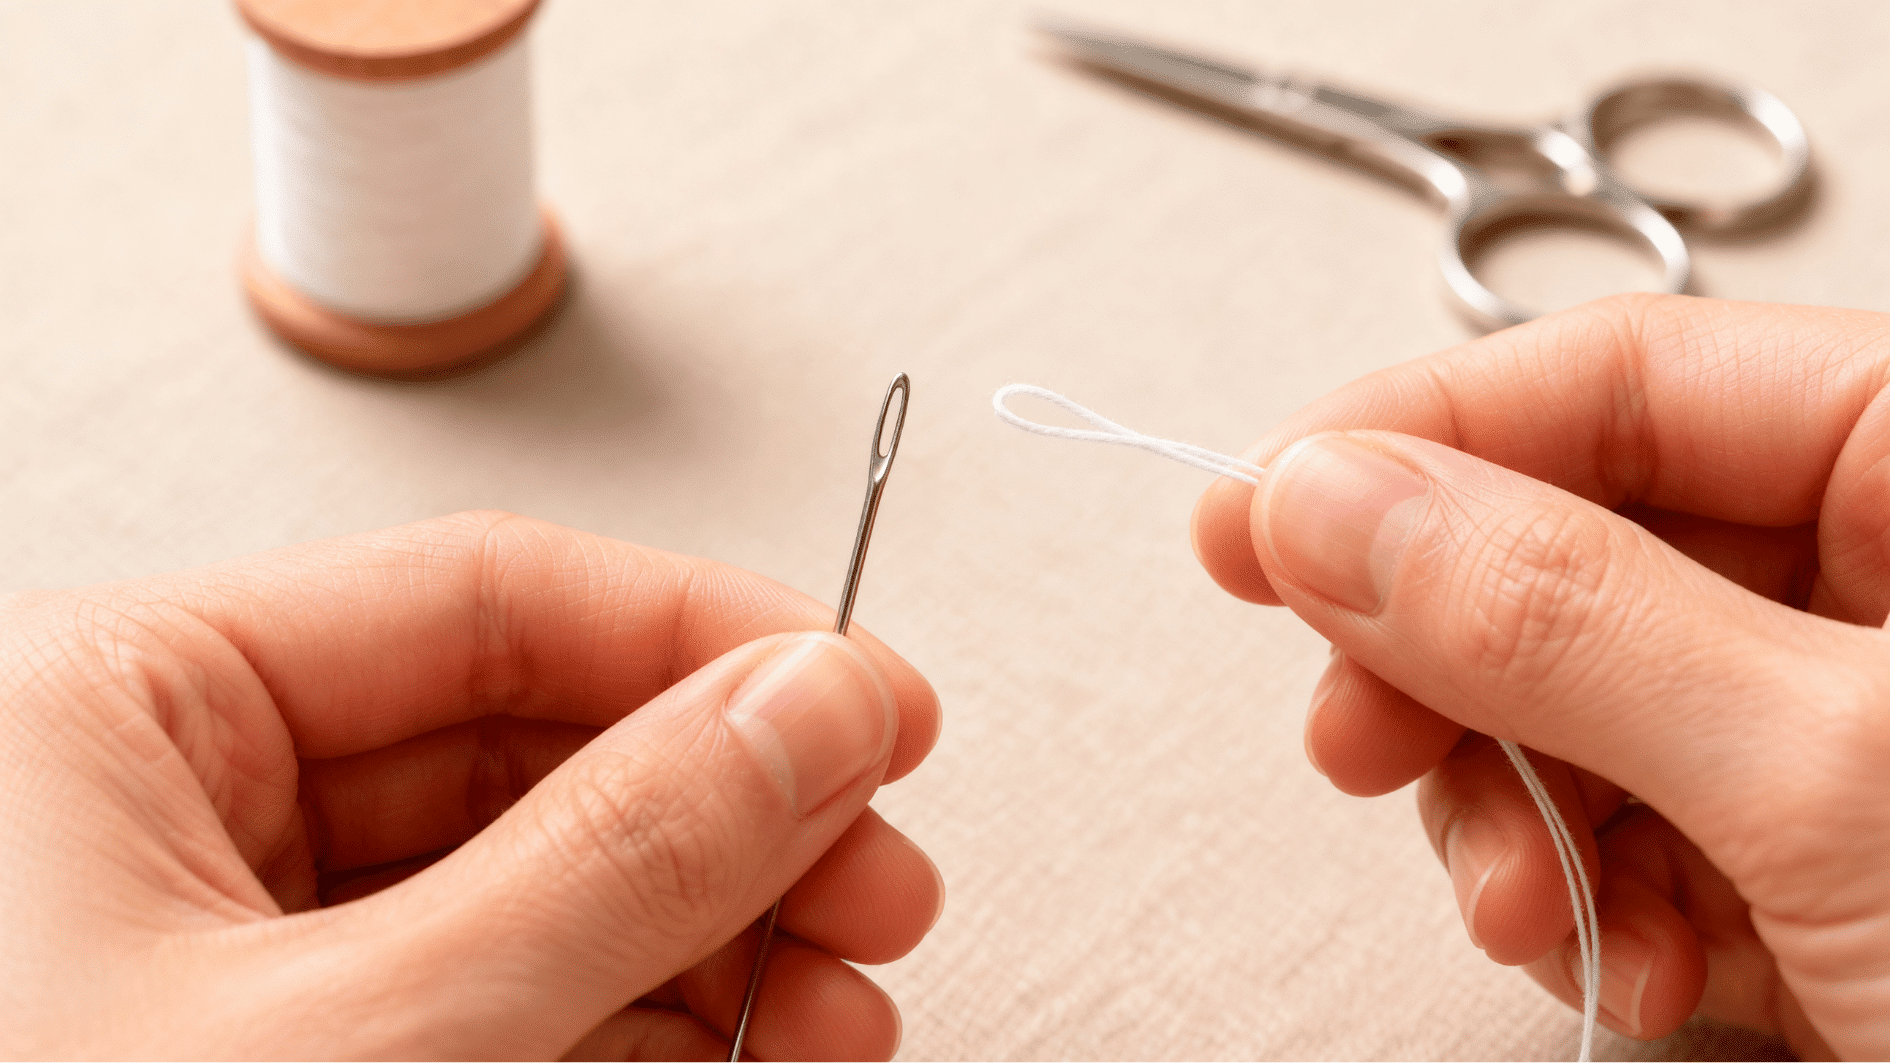
This method uses a folded thread end instead of a loose tip. The fold creates a firmer point that can be easier to control.
It also keeps the separate fibers from spreading or fraying. Make the fold as small as possible so it fits through the eye.
Materials Required: Sewing needle, thread, and sharp scissors
Steps to follow:
- Cut the thread to the length needed for your project.
- Fold one end of the thread over to form a tiny loop.
- Pinch the fold tightly between your fingers.
- Line up the folded end with the needle eye.
- Push the loop gently through the opening.
- Grab the loop on the other side and pull the thread through.
Best For: Flexible thread, larger needle eyes, and thread with loose fibers.
4. Use a Needle Threader
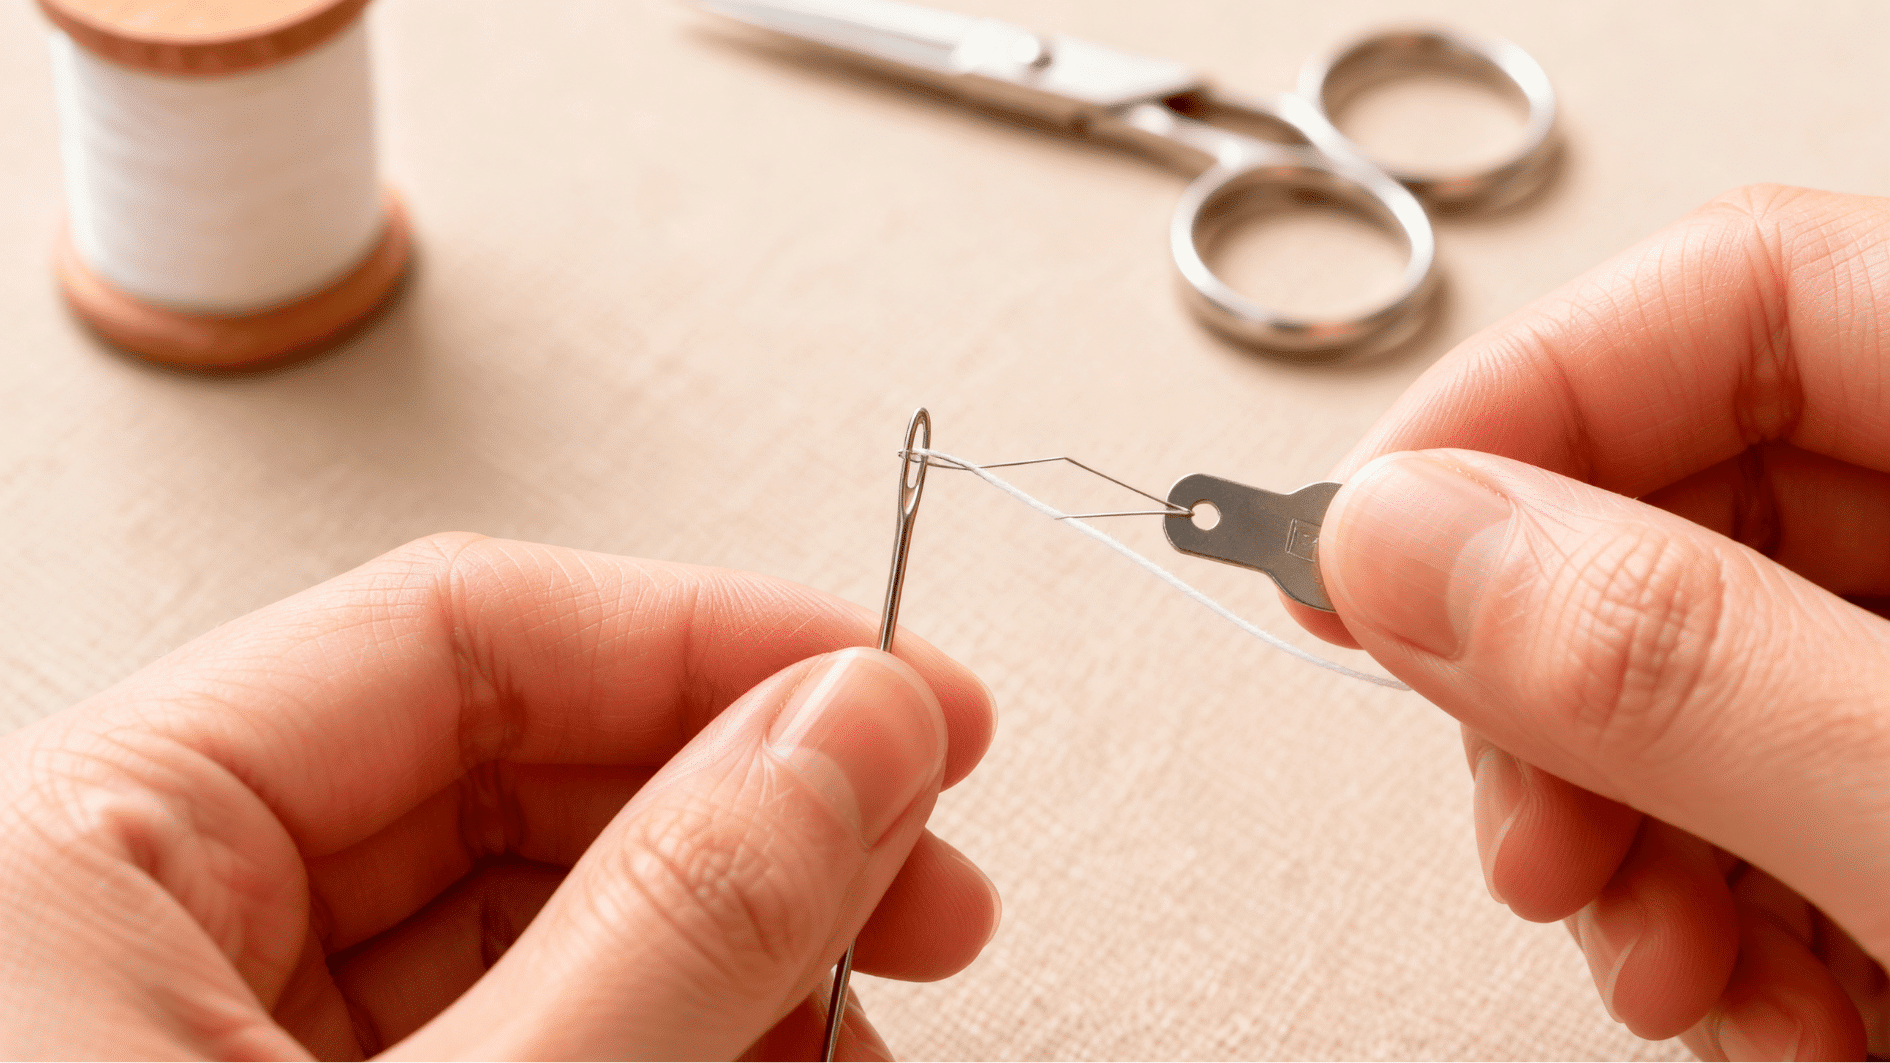
A needle threader is one of the easiest options for beginners. It uses a thin wire loop that fits through a small needle eye.
The larger wire loop makes it easier to insert the thread. You can then pull the thread through without aiming at the tiny eye.
Materials Required: Sewing needle, thread, needle threader, and scissors
Steps to follow:
- Hold the needle steady with the eye facing upward.
- Insert the wire loop of the threader through the needle eye.
- Place the thread through the larger wire loop.
- Hold the thread lightly so it does not slip out.
- Pull the needle threader back through the eye.
- Remove the threader and adjust the thread length.
Best For: Beginners, people with limited eyesight, and needles with small eyes.
5. Stiffen the Thread Tip
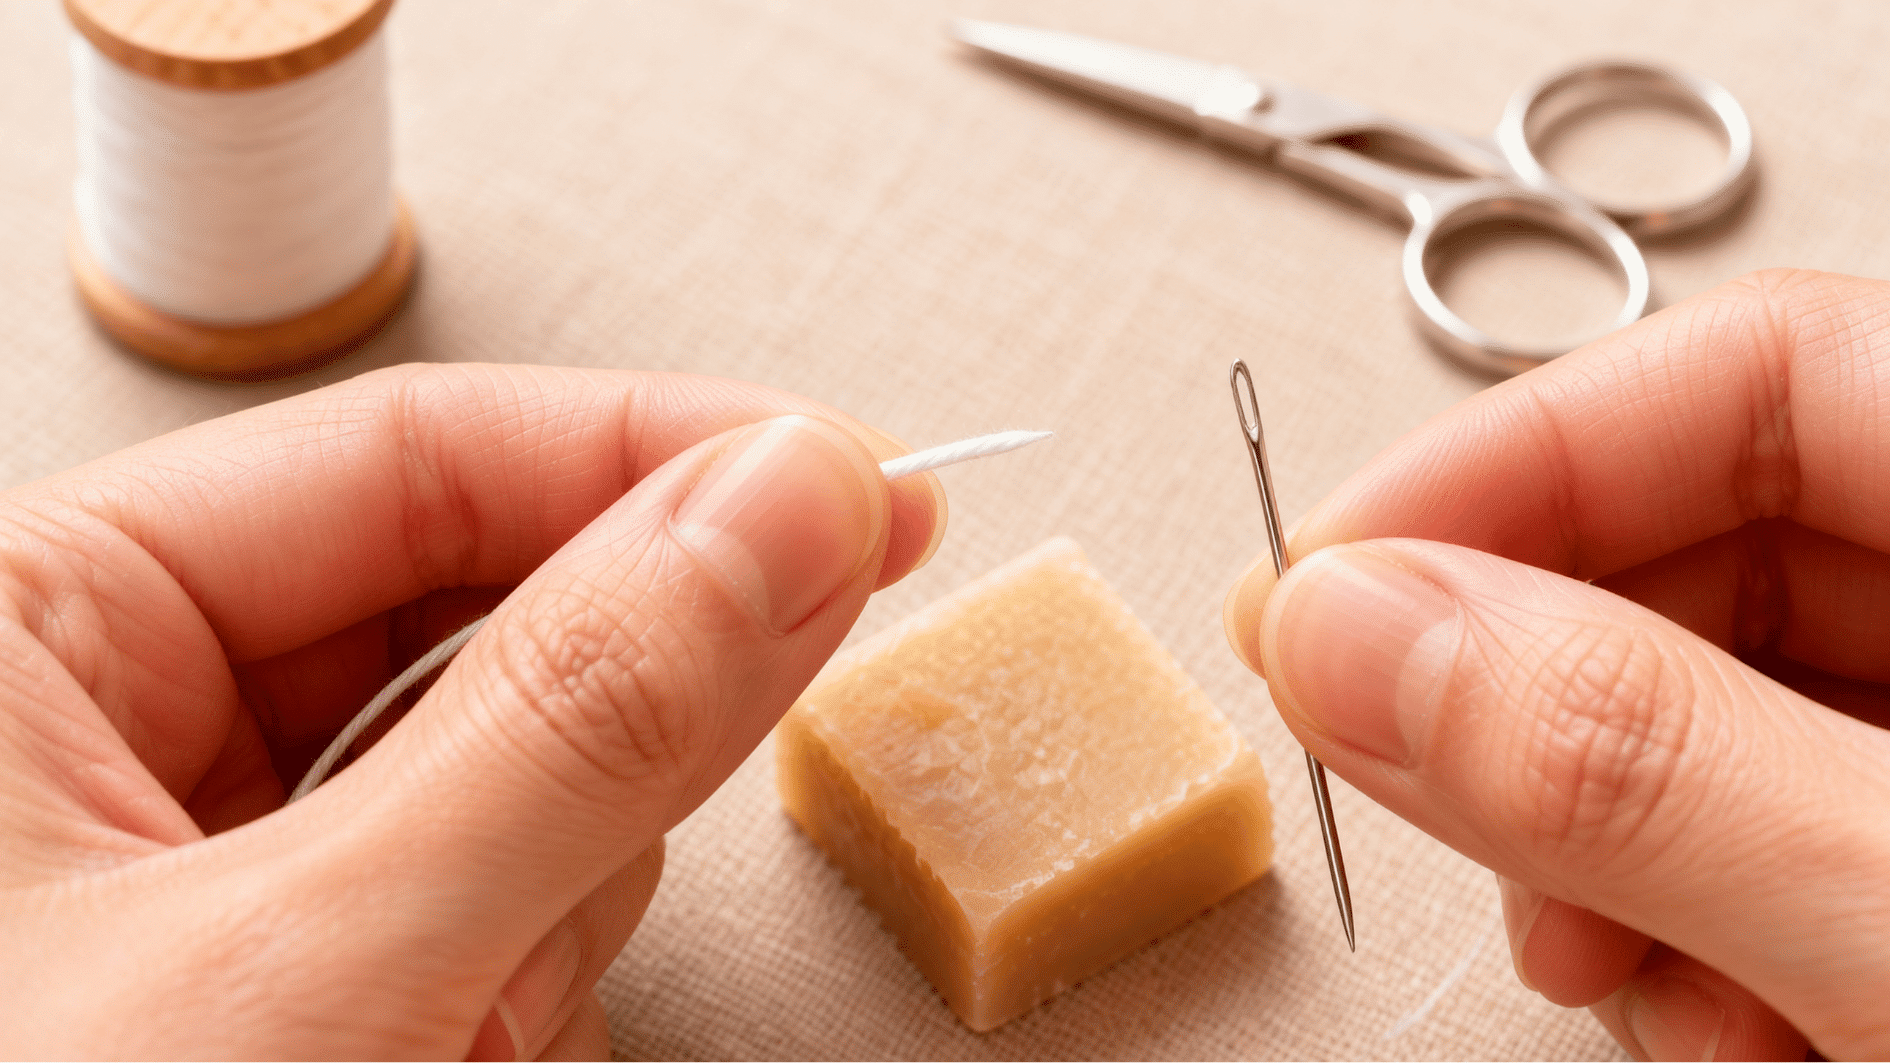
This method helps when the thread end is soft, fuzzy, or frayed. A slightly firm tip is easier to guide through the needle eye.
Only a very small amount of water or beeswax is needed. Avoid making the thread wet or sticky, as this can leave residue.
Materials Required: Sewing needle, thread, scissors, and water or beeswax
Steps to follow:
- Trim away the damaged or frayed end of the thread.
- Lightly dampen the tip with clean water or rub it over beeswax.
- Pinch and smooth the end between your fingers.
- Wait a few seconds until the tip feels slightly firm.
- Guide the stiffened end through the needle eye.
- Pull the thread through and wipe away any extra moisture.
Best For: Fuzzy thread, delicate thread, embroidery floss, and slightly frayed ends.
Once you feel comfortable threading and handling a needle, a beginner rag quilt project can help you practice basic stitching with simple fabric squares.
Common Reasons the Thread Will Not Go Through
Sometimes the problem is not the threading method but a small issue with the needle, thread, or setup. Spotting the cause can help you fix it quickly, rather than trying the same step over and over.
Use this table to find the likely problem and the simplest fix:
| Common Problem | What Usually Causes It | Quick Fix |
|---|---|---|
| Frayed thread end | The thread was torn, cut with dull scissors, or used several times | Trim away the damaged part with sharp scissors |
| Needle eye is too small | The needle opening does not match the thread thickness | Switch to a larger-eye needle or use thinner thread |
| Needle keeps moving | The needle is being held too loosely while threading | Rest your hand on a table and grip the needle close to the eye |
| Needle eye is hard to see | The workspace is dim or the background is too busy | Move near a lamp and hold the needle against a plain surface |
| Thread is too thick | Several strands or heavy thread are being pushed through a narrow eye | Separate the strands or choose a needle made for thicker thread |
Helpful Tips After Threading the Needle
Getting the thread through the eye is only the first part. The way you arrange and handle it afterward can make sewing smoother and help prevent knots, tangles, and slipping.
- Pull only a short tail through the needle so it does not get in the way.
- Use a single thread for light stitching and a double thread for stronger repairs.
- Tie a small knot near the end of the thread instead of a large, bulky knot.
- Avoid using an overly long piece of thread because it can twist and tangle.
- Let the needle hang for a few seconds if the thread starts curling.
- Run the thread gently between your fingers to smooth out twists.
- Check that both ends of the thread are even when sewing with doubled thread.
- Keep the threaded needle in a pincushion when taking a break.
Conclusion
Now that you know how to thread a needle, that tiny eye should feel a lot less annoying. You may find one method that works every time, or you may switch between a few depending on the thread and needle in front of you.
That is completely fine. The goal is to find an easy, comfortable way to thread a needle that saves you time.
Once the thread is in place, you can move on to the fun part, whether that means fixing a loose button, starting a small sewing project, or finishing a handmade craft.
Frequently Asked Questions
Can You Put Multiple Strands Through One Needle?
Yes, but the combined strands must fit comfortably through the eye without pulling, bunching, or damaging the thread.
Why Do Some Sewing Needles Have Gold-Colored Eyes?
A gold-colored eye creates stronger contrast, making the small opening easier to see while threading.
How Long Should the Thread Be for Hand Sewing?
A thread length of about 18 to 24 inches is usually easier to control and less likely to tangle.
Can You Thread a Needle with Yarn?
Yes, but you will need a tapestry needle with a larger eye made for thicker yarn.







3 Responses