Learning how to make greeting cards is one of those small crafts that feels simple at first, then quickly becomes something you want to keep doing.
I still remember making my first handmade card with leftover paper scraps, uneven cuts, and far too much glue, but it felt more personal than anything I could have bought.
After trying different card styles, paper types, folds, and beginner-friendly designs, I’ve learned that good cards do not need fancy tools or perfect art skills. They just need a clear idea, neat basics, and a little care.
In this blog, you will learn the supplies to start with, easy card styles to try, simple design tips, and common mistakes to skip so your handmade cards look cute, thoughtful, and truly personal.
Why Do Handmade Cards Feel So Personal?
Handmade cards feel special because they carry time, thought, and personal effort. Someone did not just pick a card from a shelf. They sat down, chose the colors, folded the paper, and added each little detail by hand.
That small effort can make the card feel more personal than something store-bought. It shows that the sender cared enough to make something just for that person.
A handmade card also feels one of a kind. Even if the design is simple, no two cards turn out exactly the same. A tiny uneven line, a hand-cut shape, or a short handwritten note can make it feel warmer.
That is why handmade cards are often kept longer. They feel less like a quick greeting and more like a small memory someone can hold onto.
Gather Your Little Card-Making Kit
You do not need a big craft shelf to start making greeting cards at home. A few paper basics, simple tools, and small extras are enough to make your first cards look sweet and personal.
| Supply Type | What To Use | Why It Helps |
|---|---|---|
| Paper Basics | Cardstock, scrapbook paper, colored paper, plain white paper | These create the card base, layers, backgrounds, and small cutout shapes. |
| Envelope Supplies | Envelopes, recycled paper scraps | Envelopes help you size the card, while scraps are great for small details. |
| Cutting And Measuring Tools | Scissors, ruler, pencil | These help you cut straighter edges, mark light lines, and keep the card neat. |
| Sticking Supplies | Glue stick, double-sided tape | These hold paper layers, ribbons, and small pieces in place without much mess. |
| Writing And Coloring Tools | Fine-tip pens, markers | These help you write messages, add borders, draw doodles, and bring in color. |
| Fun Add-Ons | Buttons, ribbon, fabric scraps, stickers, washi tape, stamps, pressed flowers | These add texture, color, and a handmade feel without making the card too hard. |
How to Make Greeting Cards from Scratch
Making a greeting card is like building a tiny paper surprise. You start with the base, add a mood, place the pretty pieces, and finish with words that feel personal.
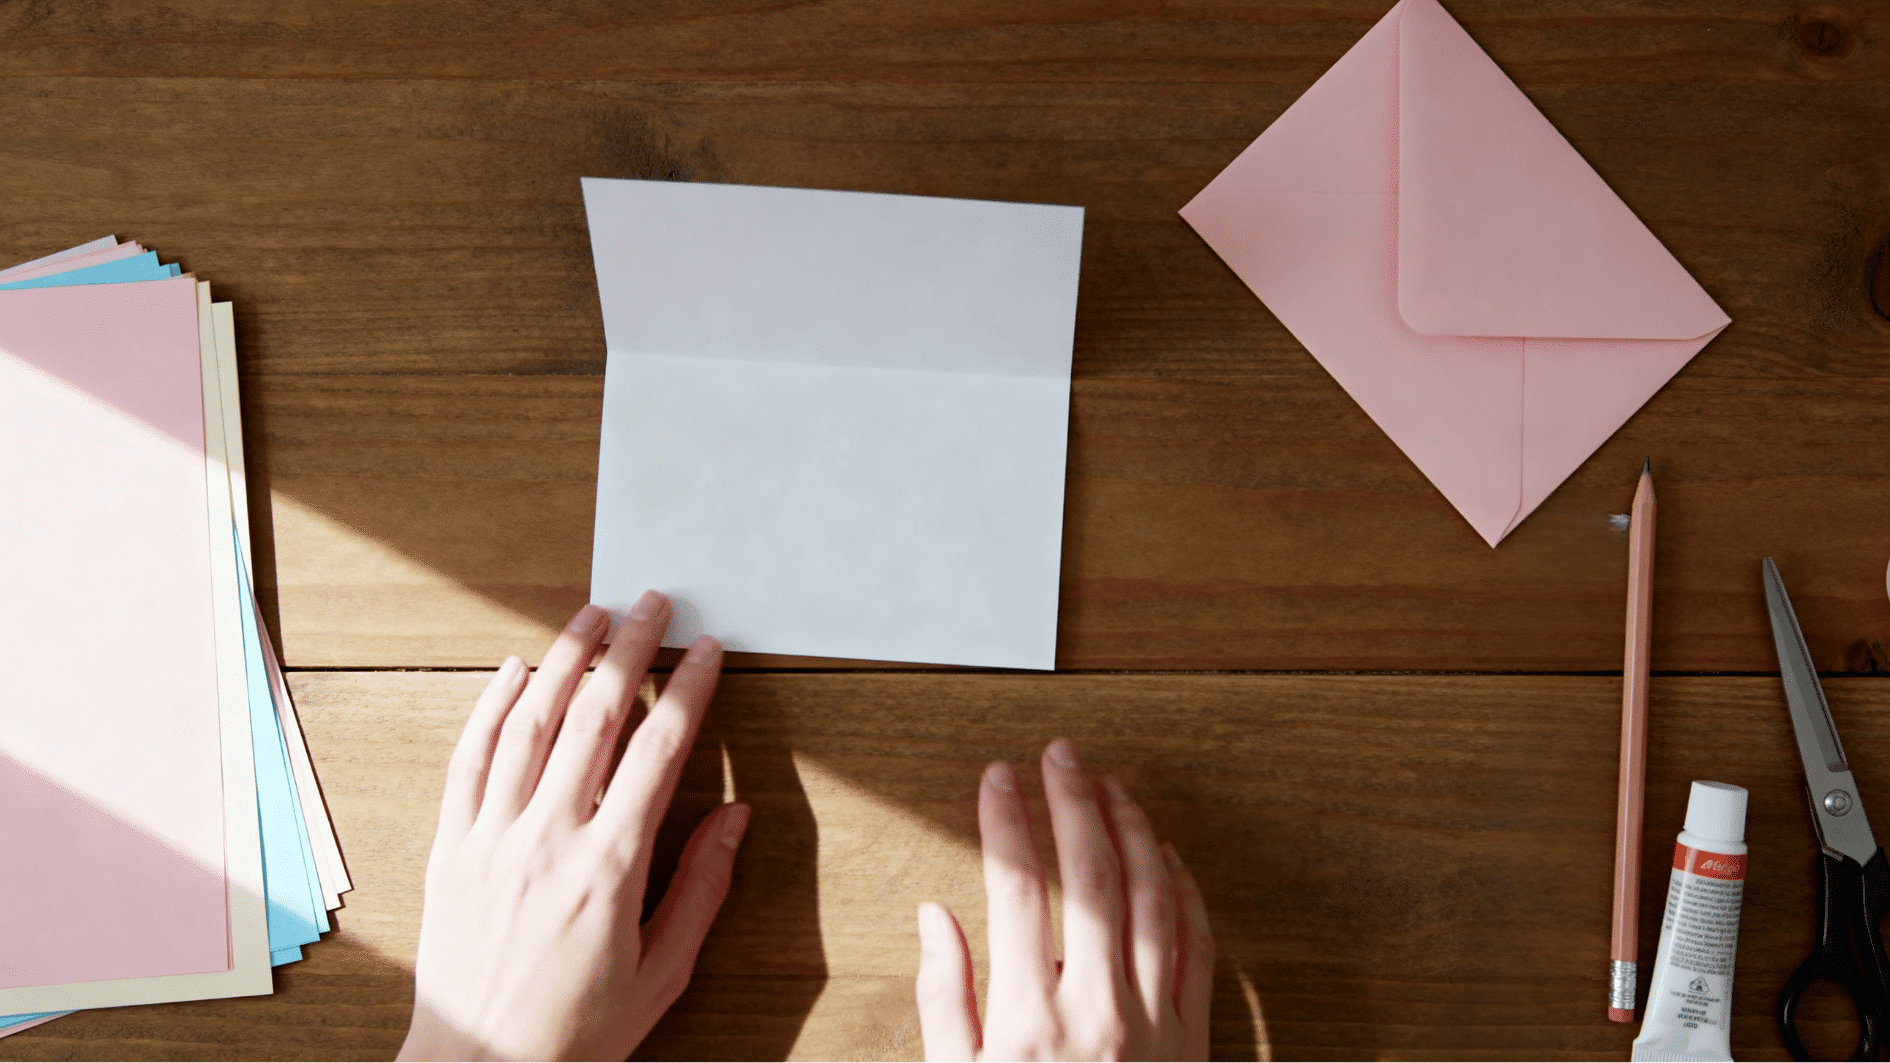
Step 1: Start with the Card Base
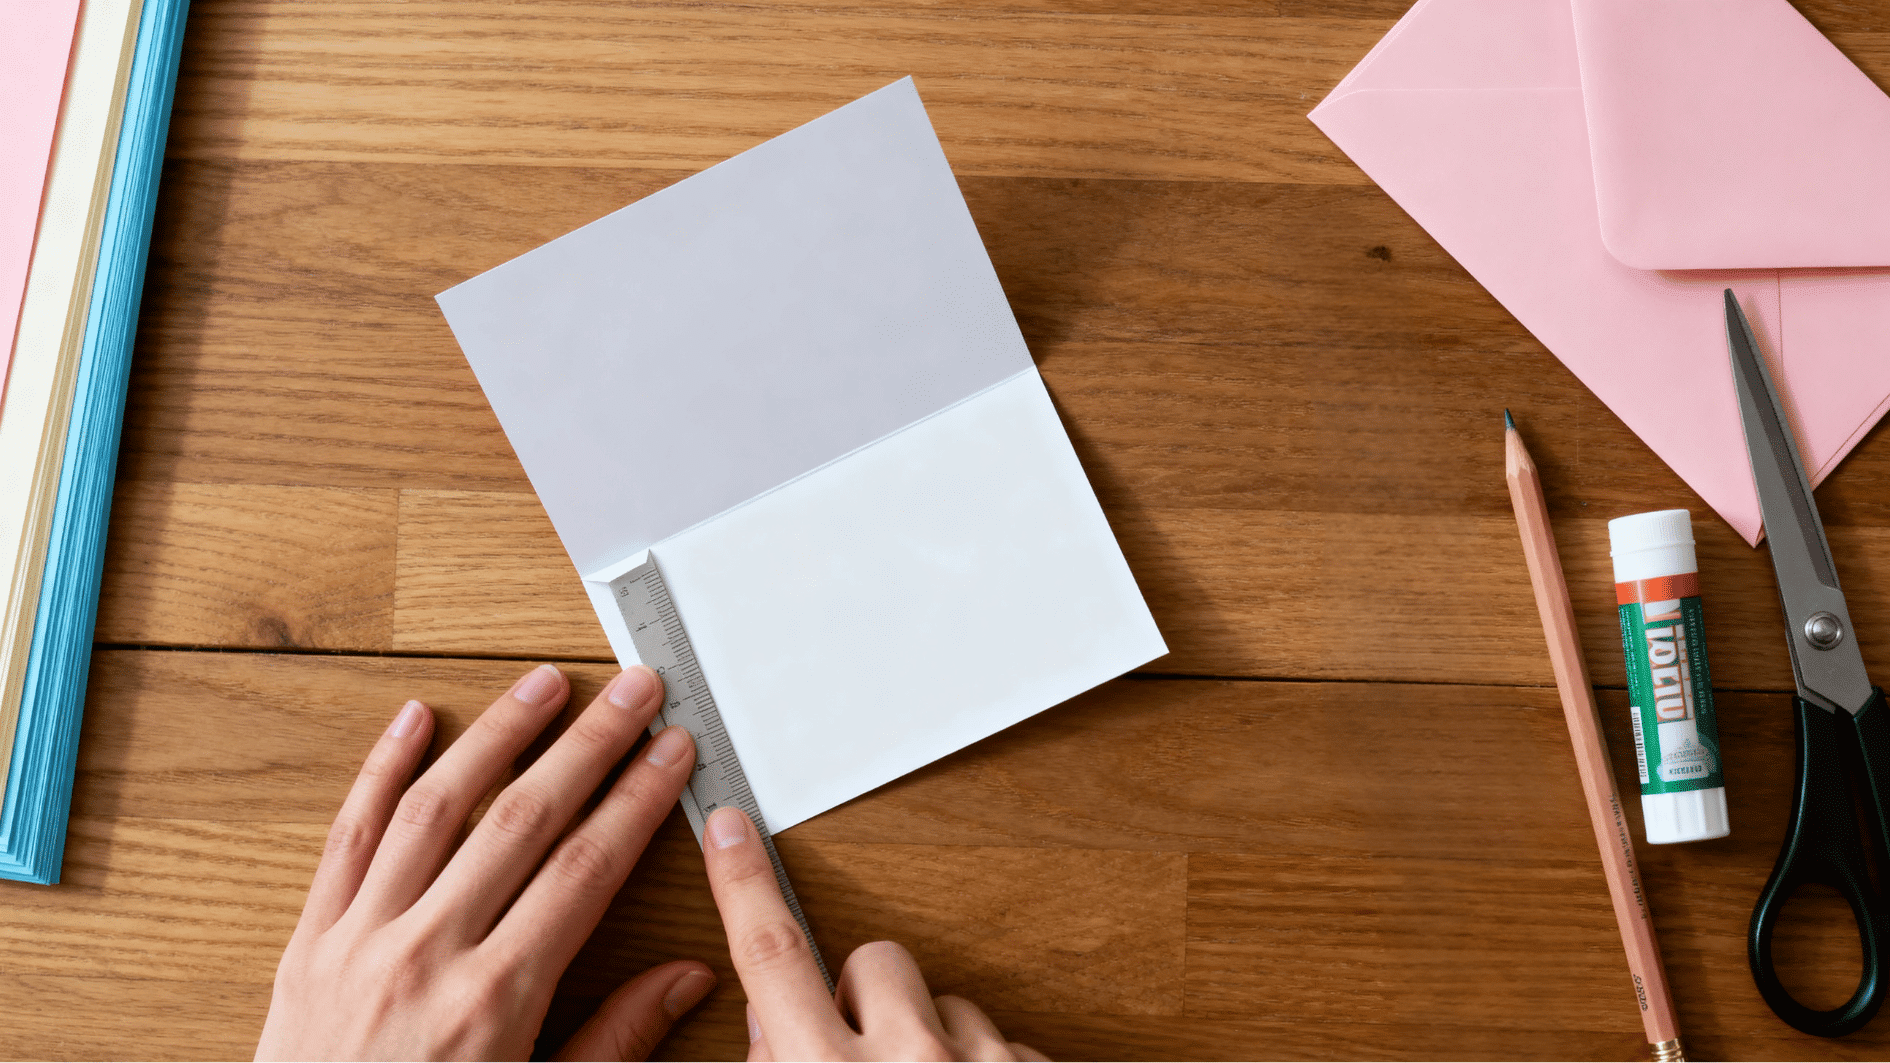
This is the “blank little stage” where your card begins.
- Use 5 x 7 inches for birthdays, holidays, and longer notes.
- Try 4 x 6 inches for thank-you cards or quick messages.
- Pick your envelope before cutting the cardstock.
- Fold the paper slowly so the edges line up.
- Press the fold with a ruler for a cleaner crease.
Little Maker Note: If the fold looks a bit uneven, do not panic. A ribbon strip, paper border, or washi tape edge can hide it nicely.
Step 2: Choose the Card Mood
The mood helps your card feel clear instead of random.
- For birthdays, try balloons, candles, cake, stars, or confetti dots.
- For thank-you cards, use flowers, hearts, leaves, or soft borders.
- For friendship cards, add smiley faces, doodles, tiny notes, or bright colors.
- For holiday cards, try trees, ornaments, snowflakes, or simple paper shapes.
- For get-well-soon cards, use sunshine, flowers, clouds, or gentle colors.
Little Maker Note: Pick one main feeling before you start. Sweet, funny, cozy, bright, or calm — this one choice makes the whole card easier to design.
Step 3: Set up the Front Like a Mini Display
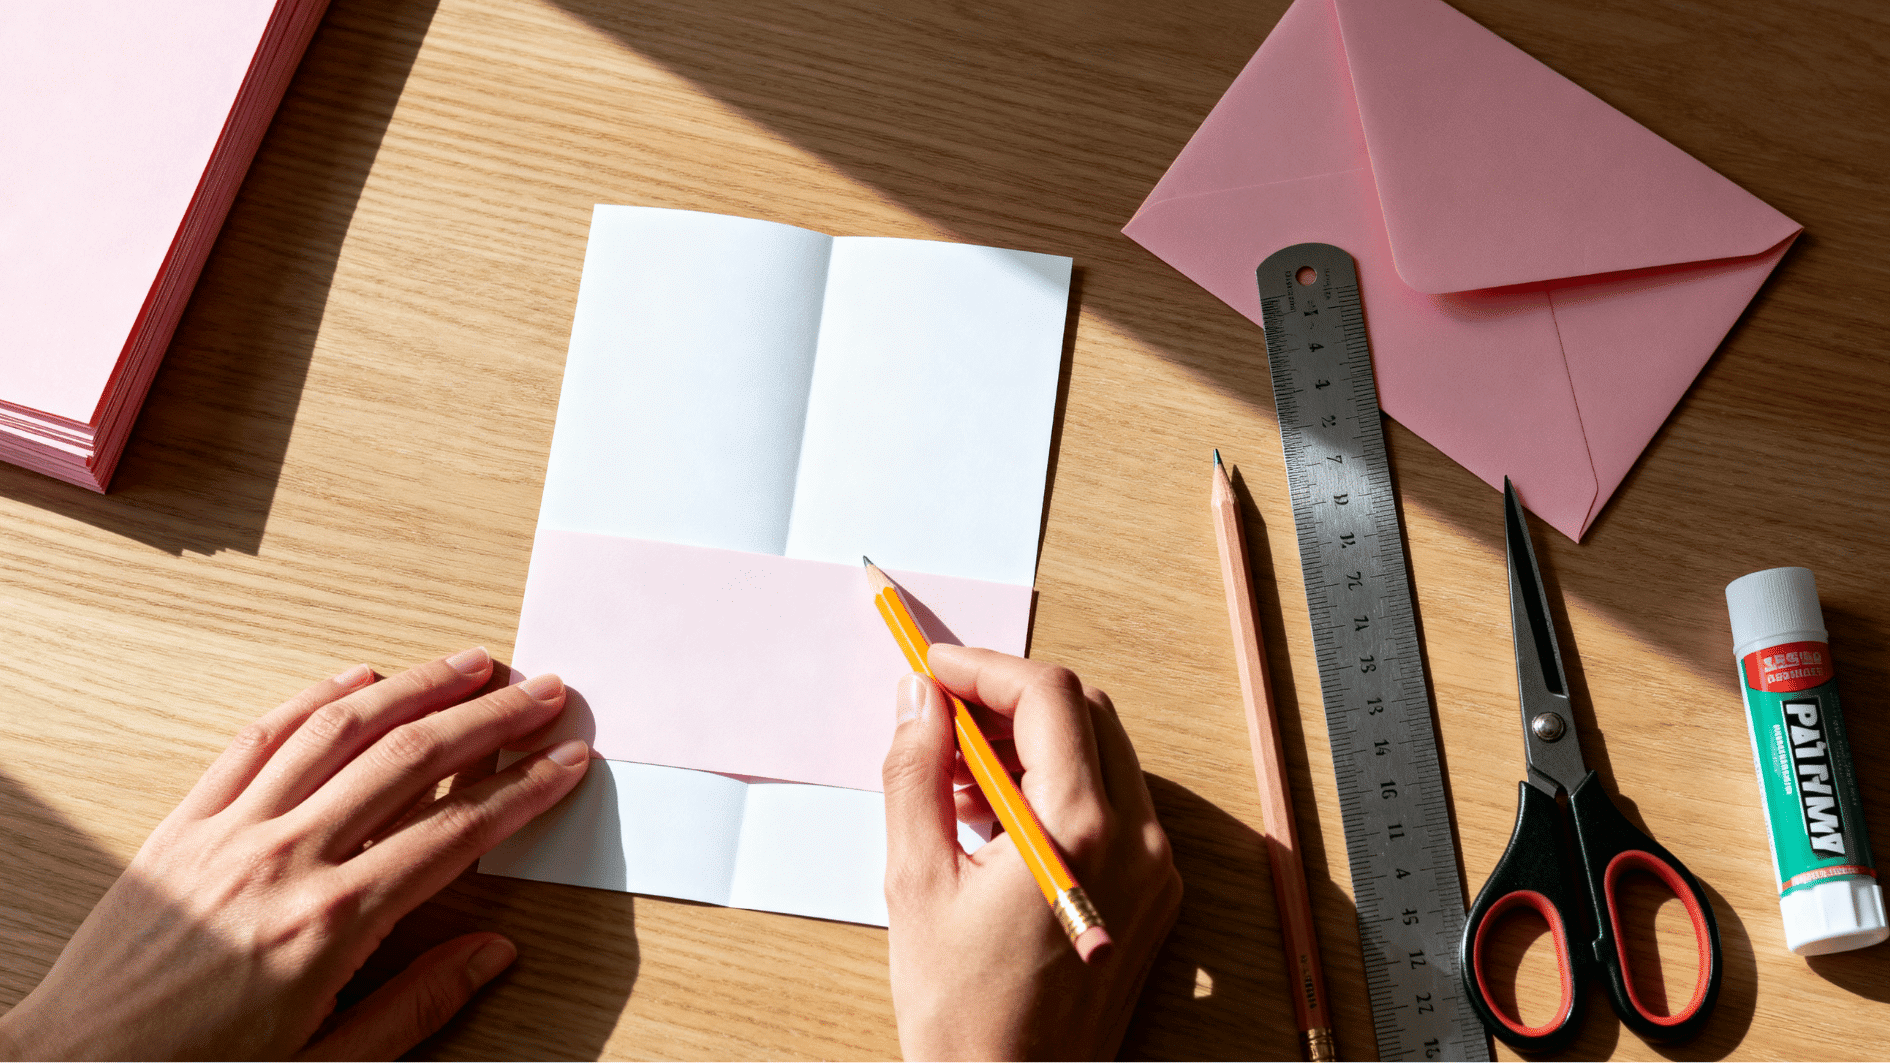
Before the glue comes out, move your pieces around and see what feels right.
- Choose one main design for the front.
- Place it in the center or lower third of the card.
- Add one smaller detail near a corner.
- Leave blank space so the card does not feel packed.
- Use light pencil marks if you need help with spacing.
- Take a quick phone photo before gluing so you can copy the layout.
Little Maker Note: Think of blank space as breathing room. It lets your cute paper heart, button flower, or hand-drawn word get noticed.
Step 4: Add the Fun Little Details
This is where plain paper starts to feel handmade.
- Add a smaller paper layer over the card base.
- Use ribbon as a border or tiny bow.
- Turn buttons into balloons, flower centers, or dots.
- Cut fabric scraps into hearts, flags, pockets, or gift shapes.
- Use washi tape to frame the card.
- Keep thick pieces away from the fold so the card closes well.
Little Maker Note: Pick only one or two extras for your first card. Too many cute things can start fighting for attention.
Step 5: Write a Message That Sounds Like You
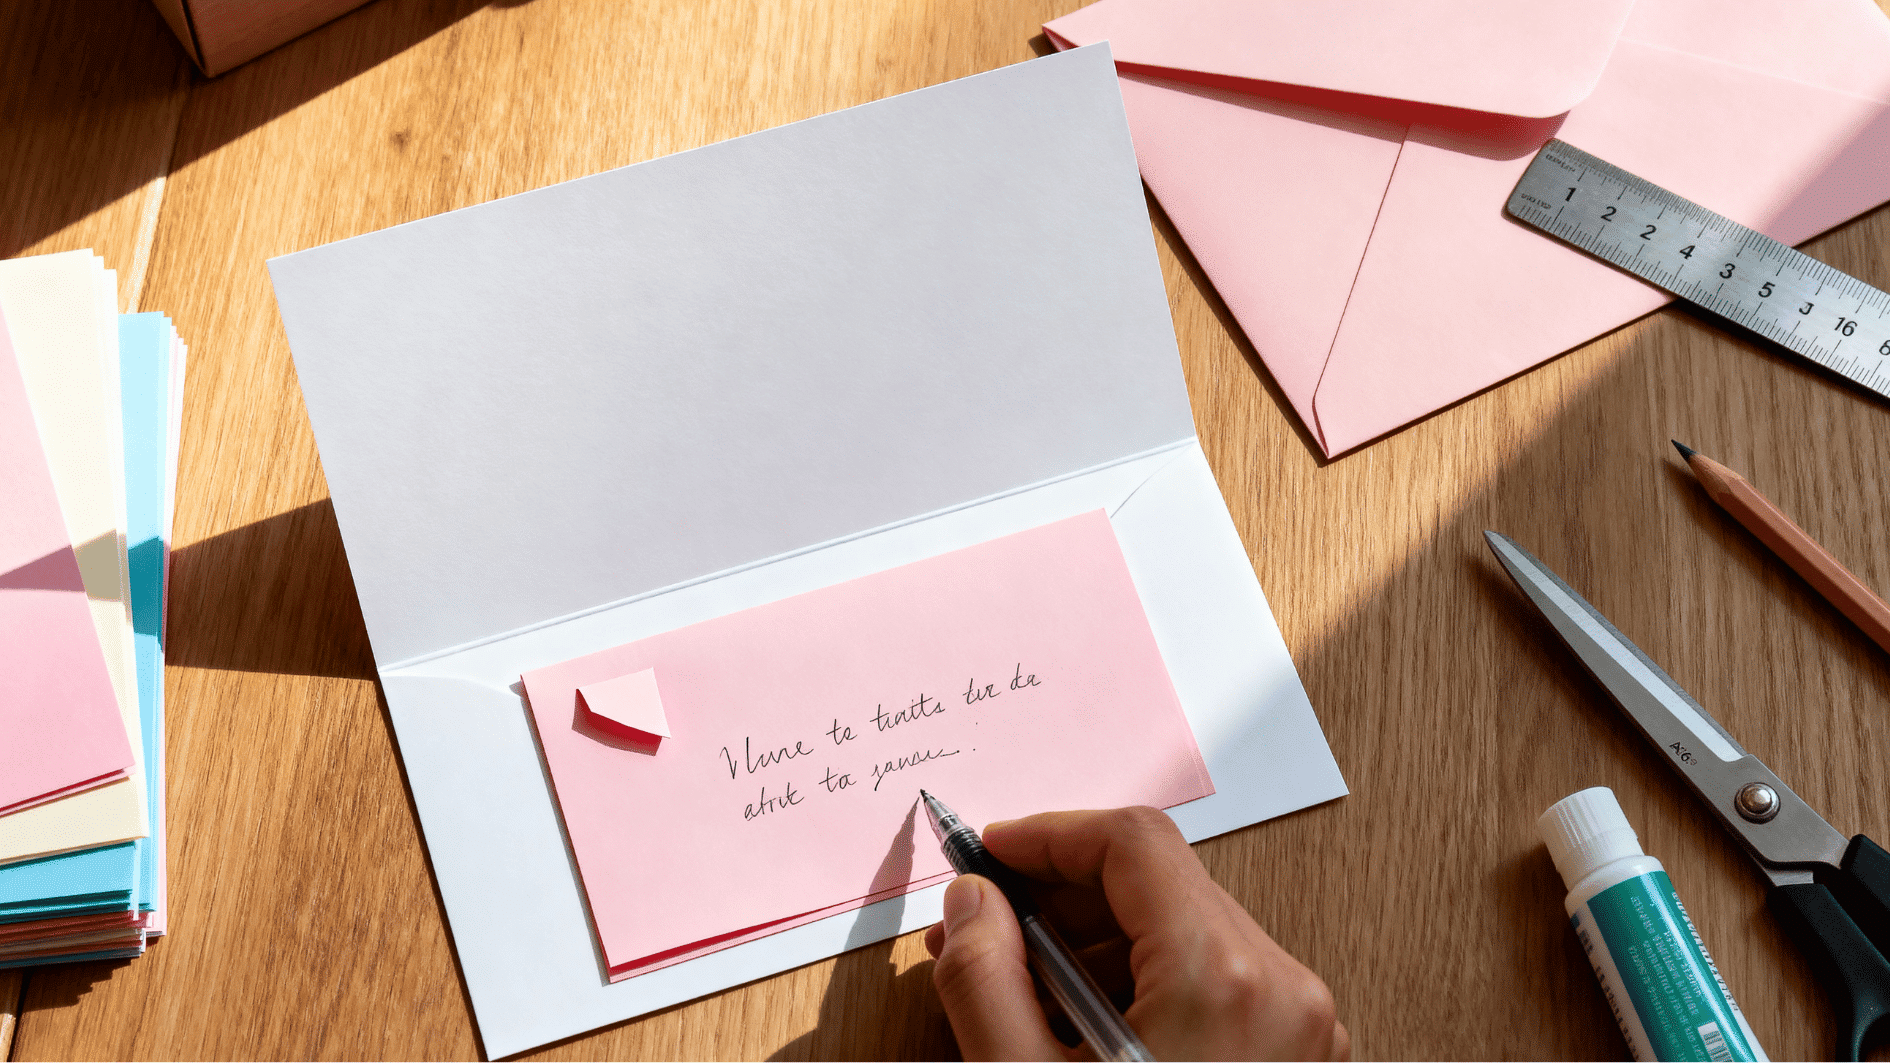
The note inside does not need to be long. A few kind words can make the card feel complete.
- “So happy for you.”
- “Sending a little handmade cheer.”
- “You make ordinary days brighter.”
- “Thank you for being so kind.”
- “Hope this brings a smile to your day.”
Little Maker Note: Write the message on scrap paper first. Once it sounds right, copy it into the card slowly.
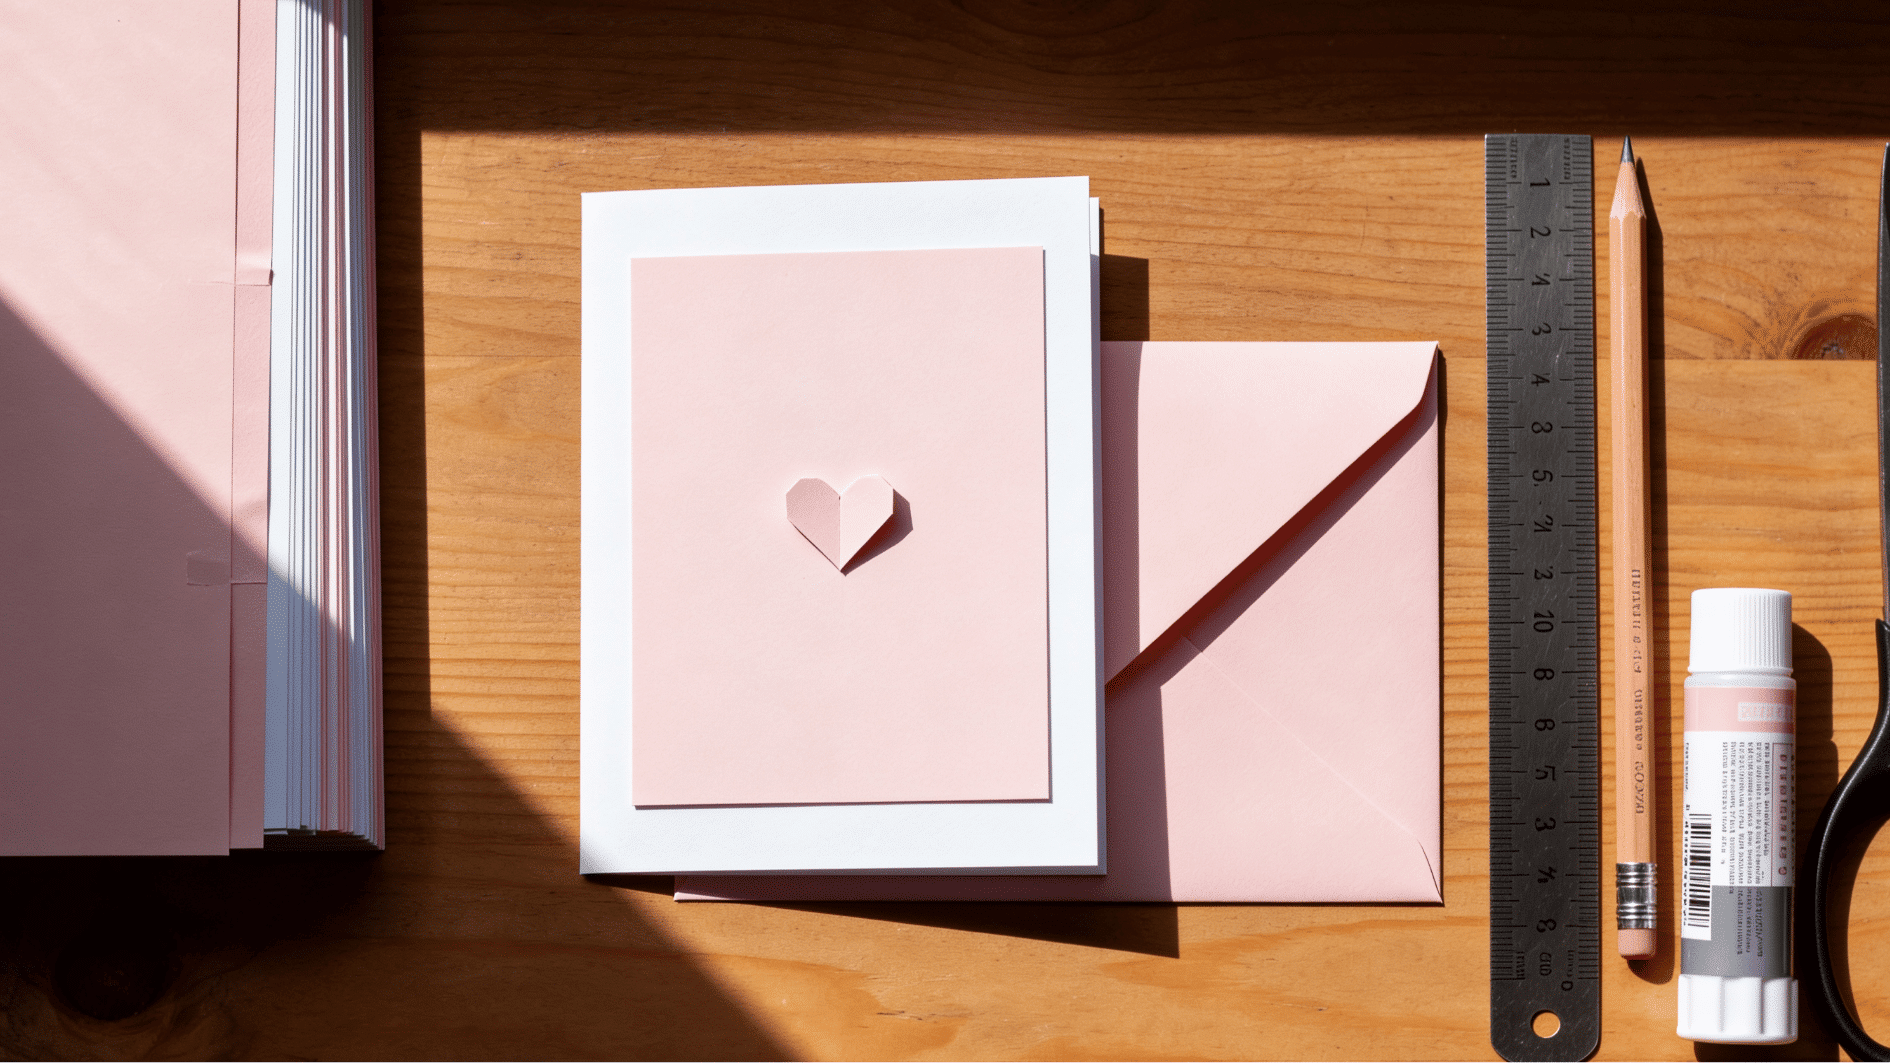
Step 6: Give Your Card a Final Tidy-Up
Before the card is ready to give, do one last check.
- Look for wet glue or loose corners.
- Make sure the ink is dry.
- Trim any rough paper edges.
- Check that the card fits inside the envelope.
- Place it under a book for a few minutes if the paper curls.
Little Maker Note: This last check is like brushing crumbs off a homemade cake. The card is already sweet, but this makes it feel ready to hand over.
Easy Card Styles Beginners Can Try
Now that you know the basic card-making flow, you can pick a style that feels fun and easy. These ideas are simple enough for beginners, but each one still gives your card a different handmade look.
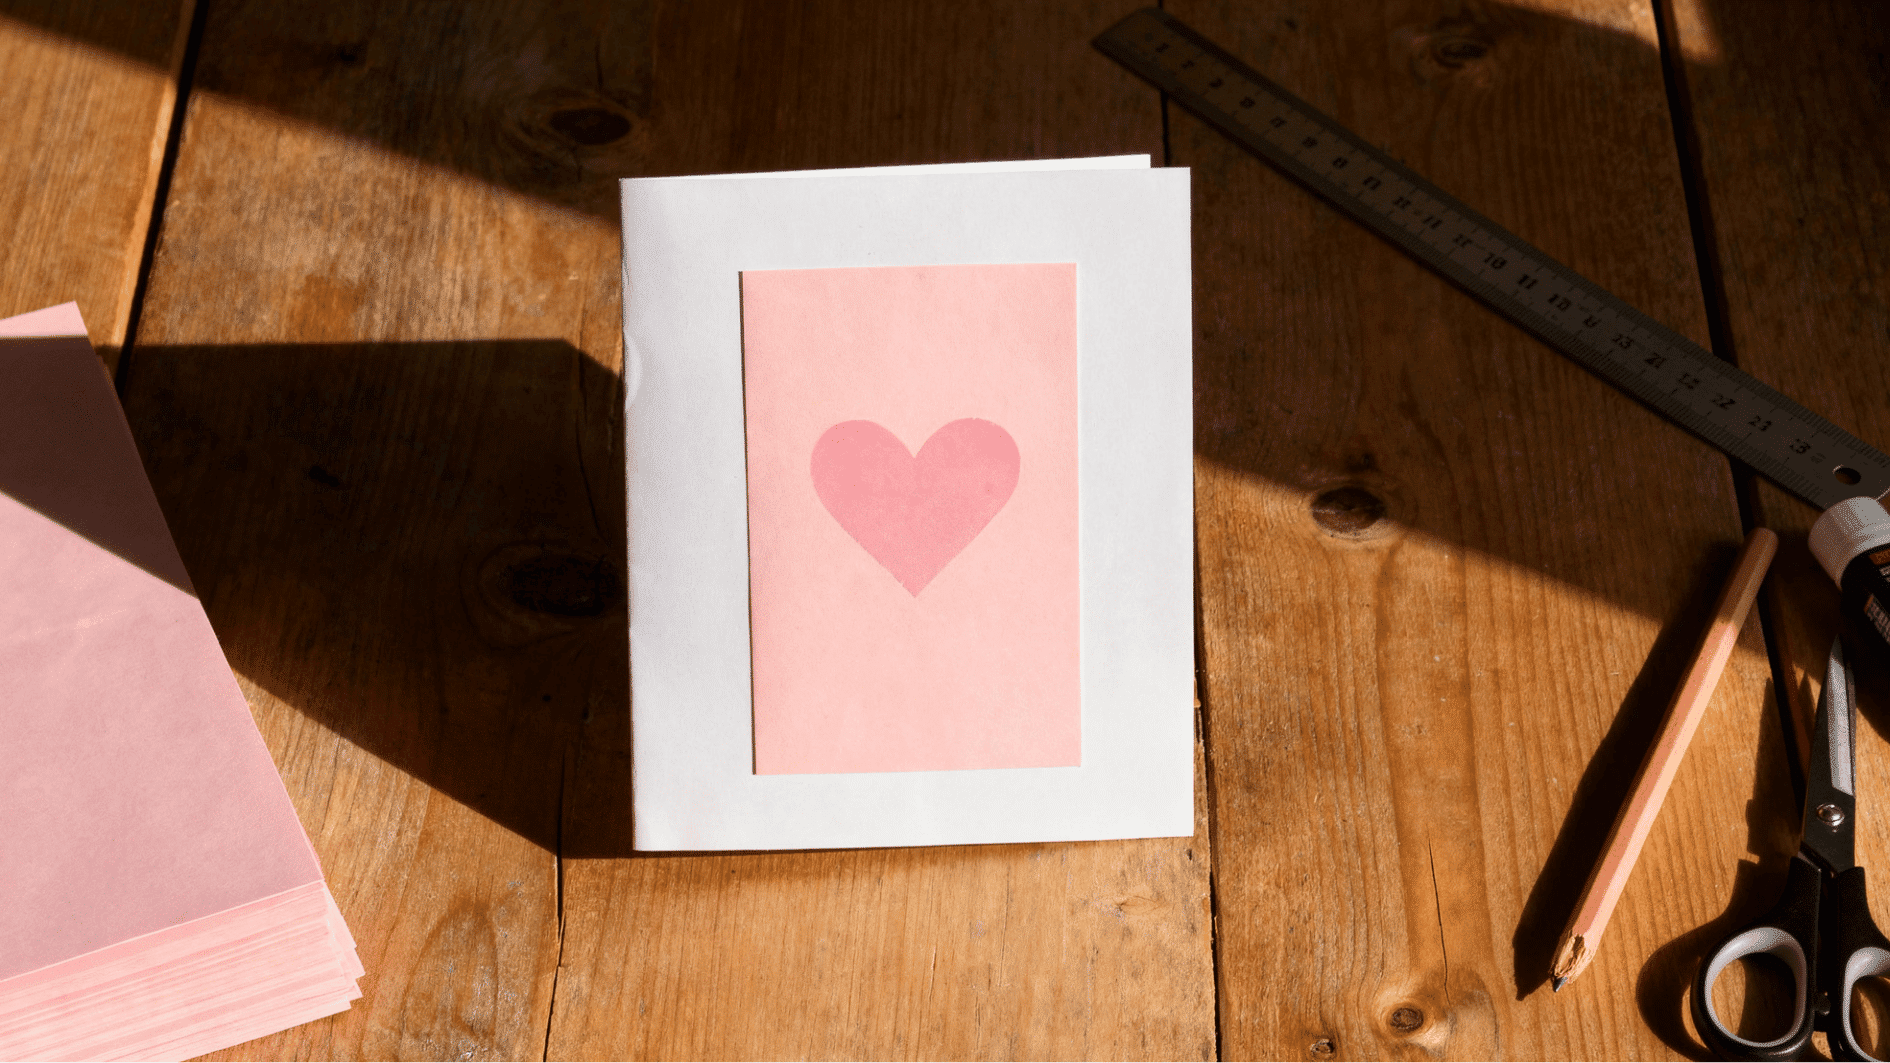
1. Classic Fold-and-Smile Card
A classic folded card is the easiest style for beginners because it works for almost any occasion. Use cardstock, fold it neatly, and keep the front simple with one cute detail like a heart, flower, star, or balloon.
Add a short message on the front and a personal note inside. I like this style because even a simple card feels thoughtful when the colors and message match.
2. Layered Frame Card
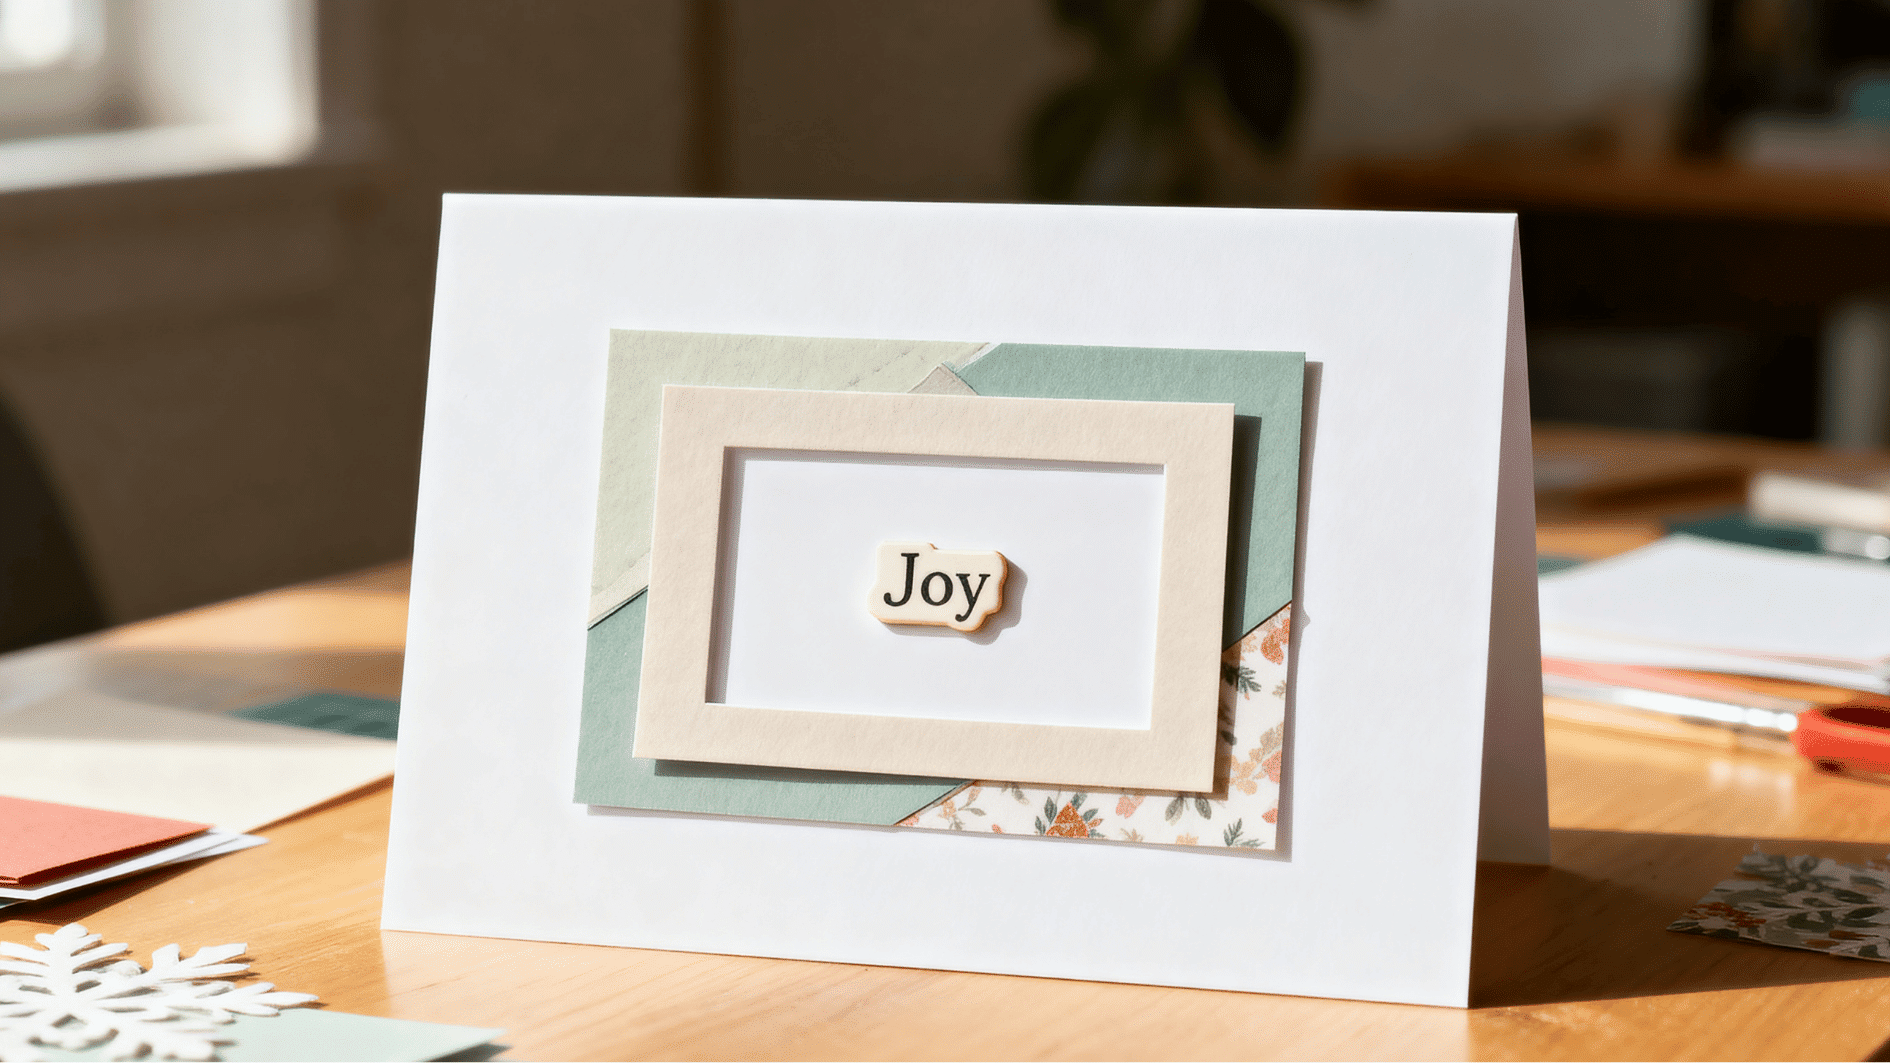
A layered frame card looks neat and slightly more detailed, but it is still very easy for beginners. Start with a card base, then add two or three smaller paper layers in the center to create a framed look.
You can mix plain and patterned paper for soft contrast. Finish with a small word, shape, or symbol on top. This style feels special because the layers naturally draw attention to the center.
3. Button Accent Card
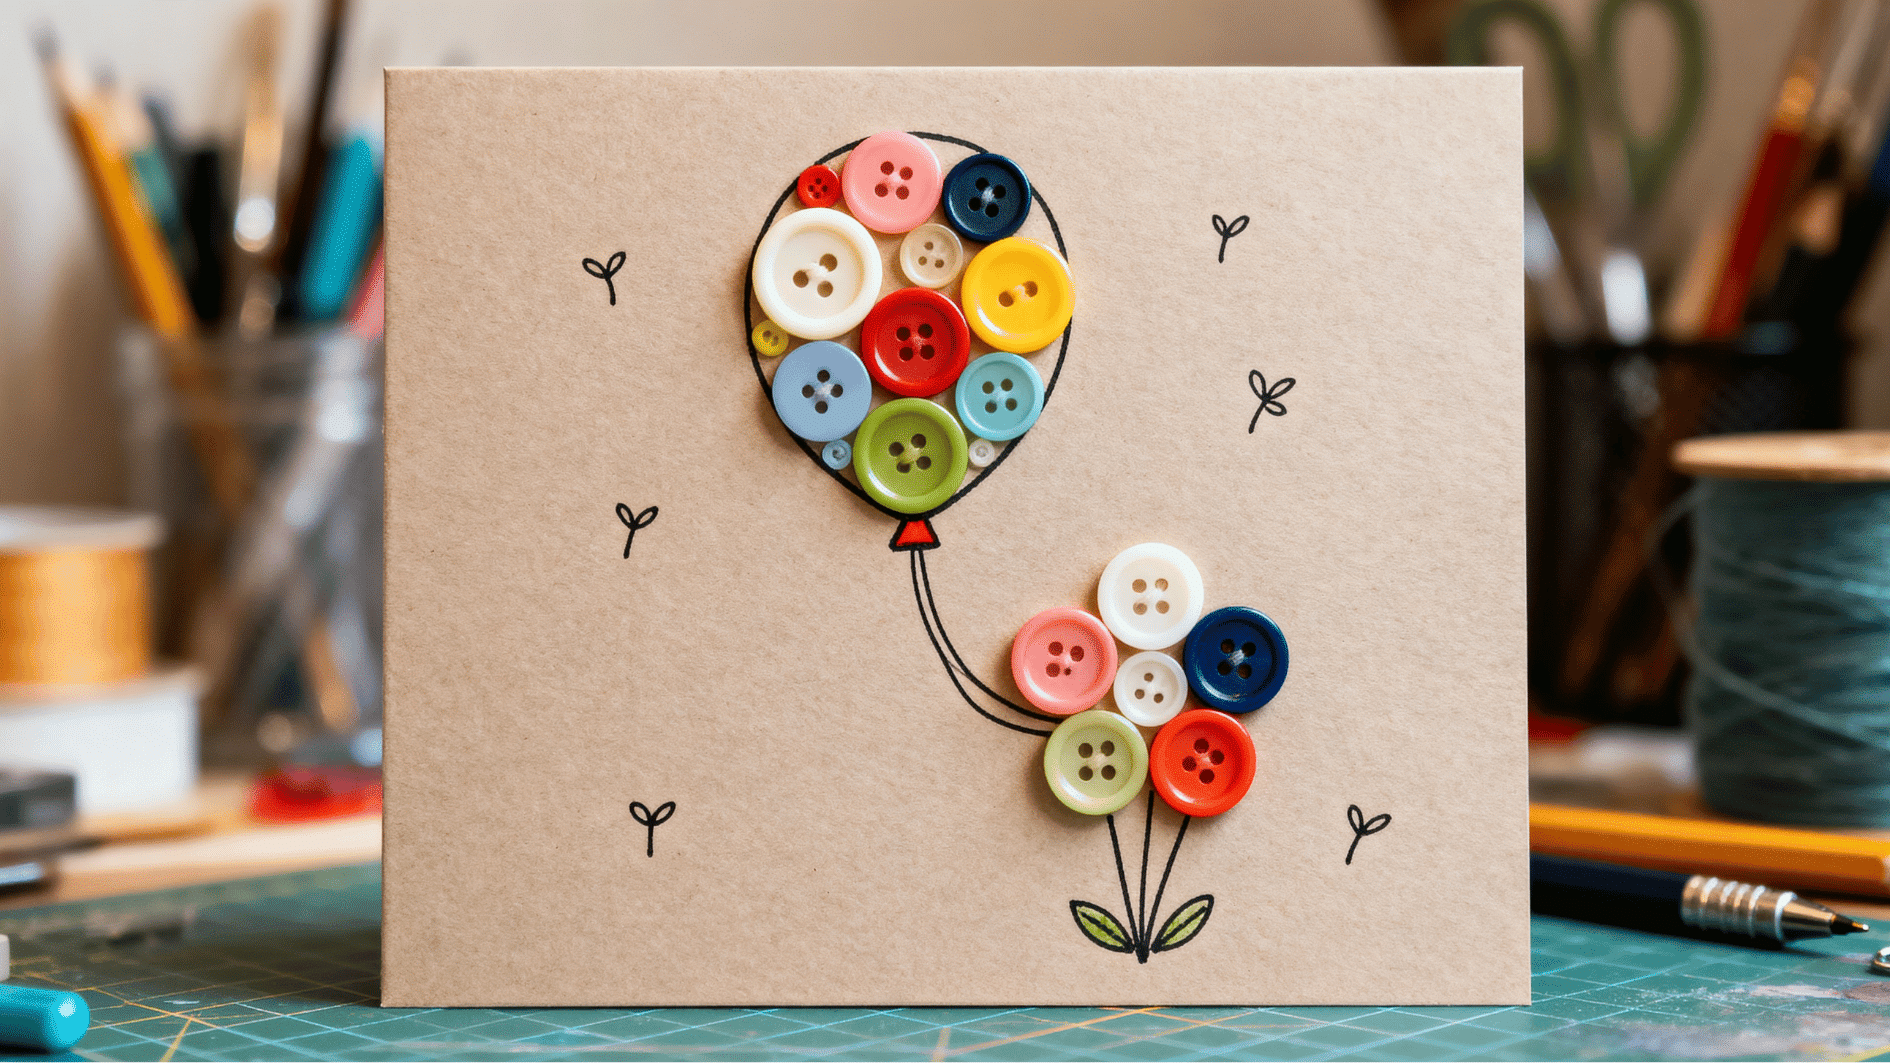
A button accent card is a fun way to turn simple materials into something creative and playful. Use a plain card base and arrange a few buttons into small shapes like balloons, flowers, or clusters.
Glue them down and add tiny drawn details like stems or strings using a pen. I like this style because it adds texture and makes the card feel lively without needing complicated steps.
4. Fabric Scrap Card
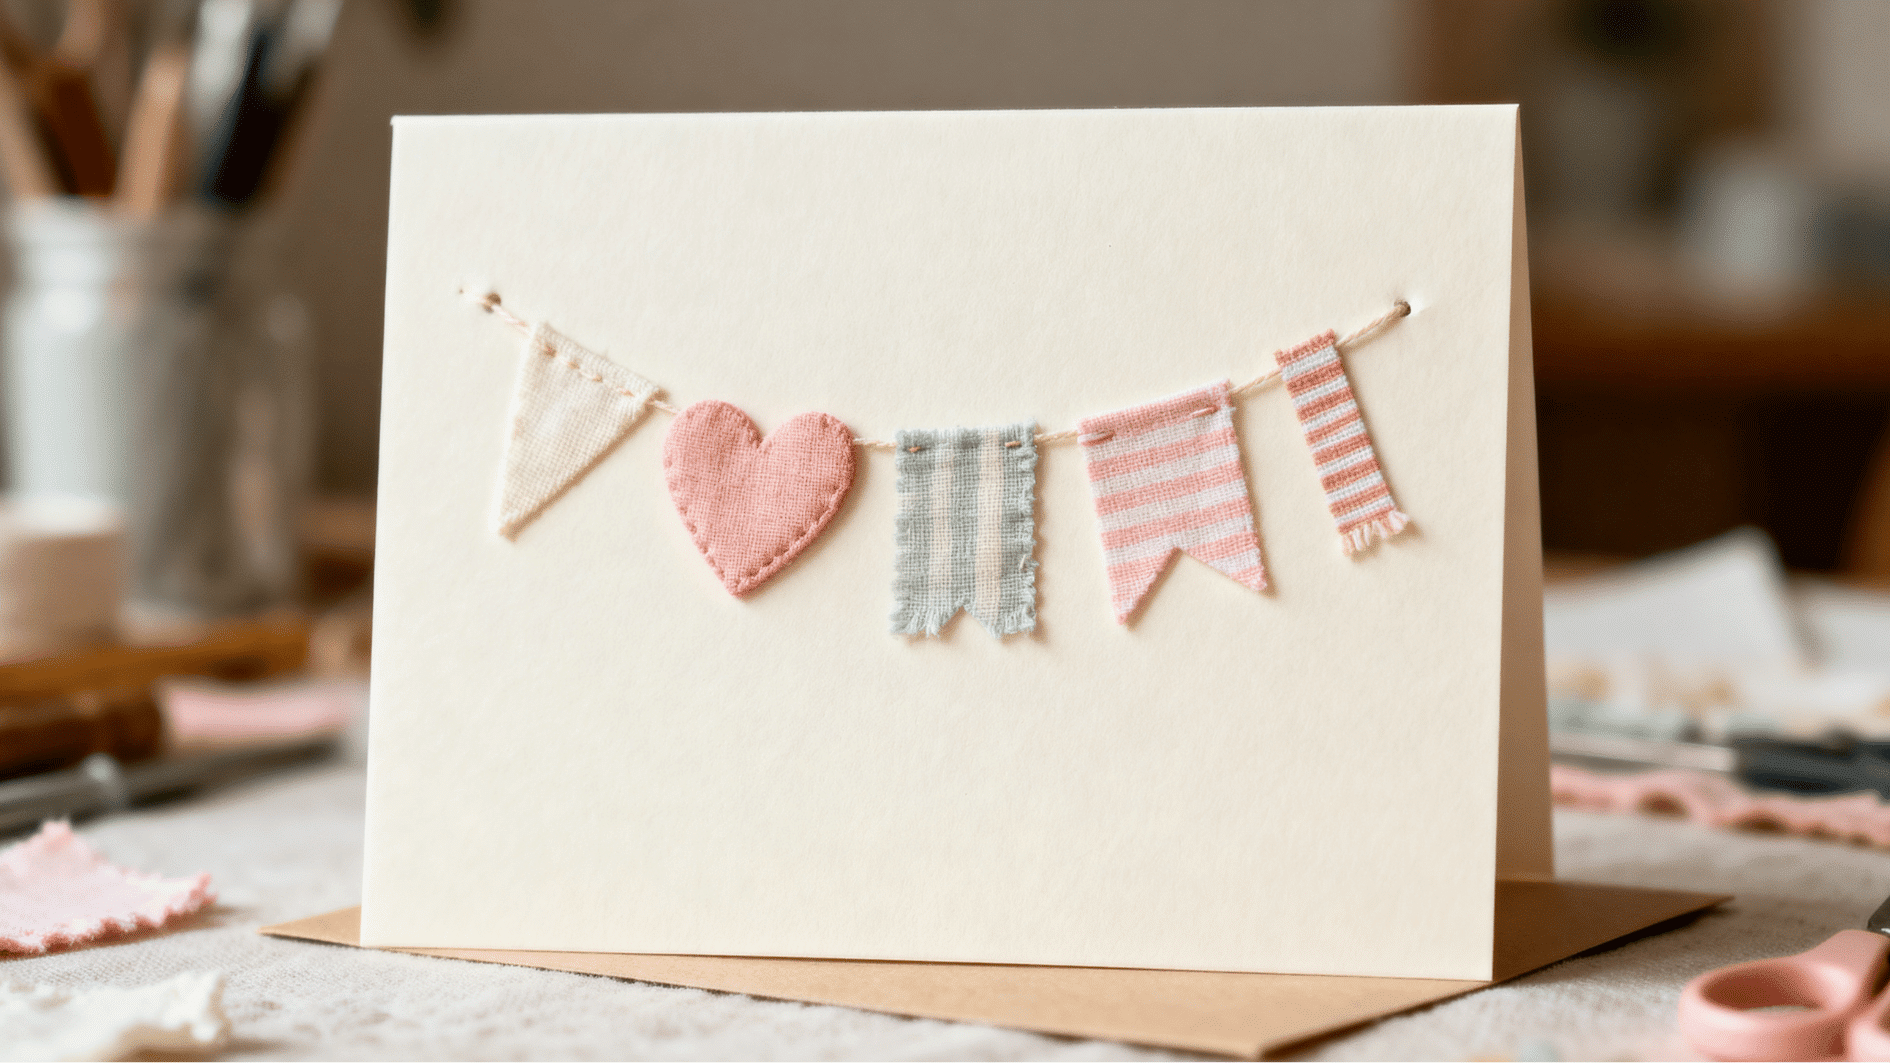
A fabric scrap card uses soft materials to create a warm, handmade feel. Take small pieces of fabric and cut them into simple shapes like hearts, flags, or strips.
Place them on a plain cardstock base and glue them gently so the texture stands out. Keep the design minimal so it does not feel crowded. This style feels special because every fabric piece adds a different personality to the card.
5. Edge-Doodle Card
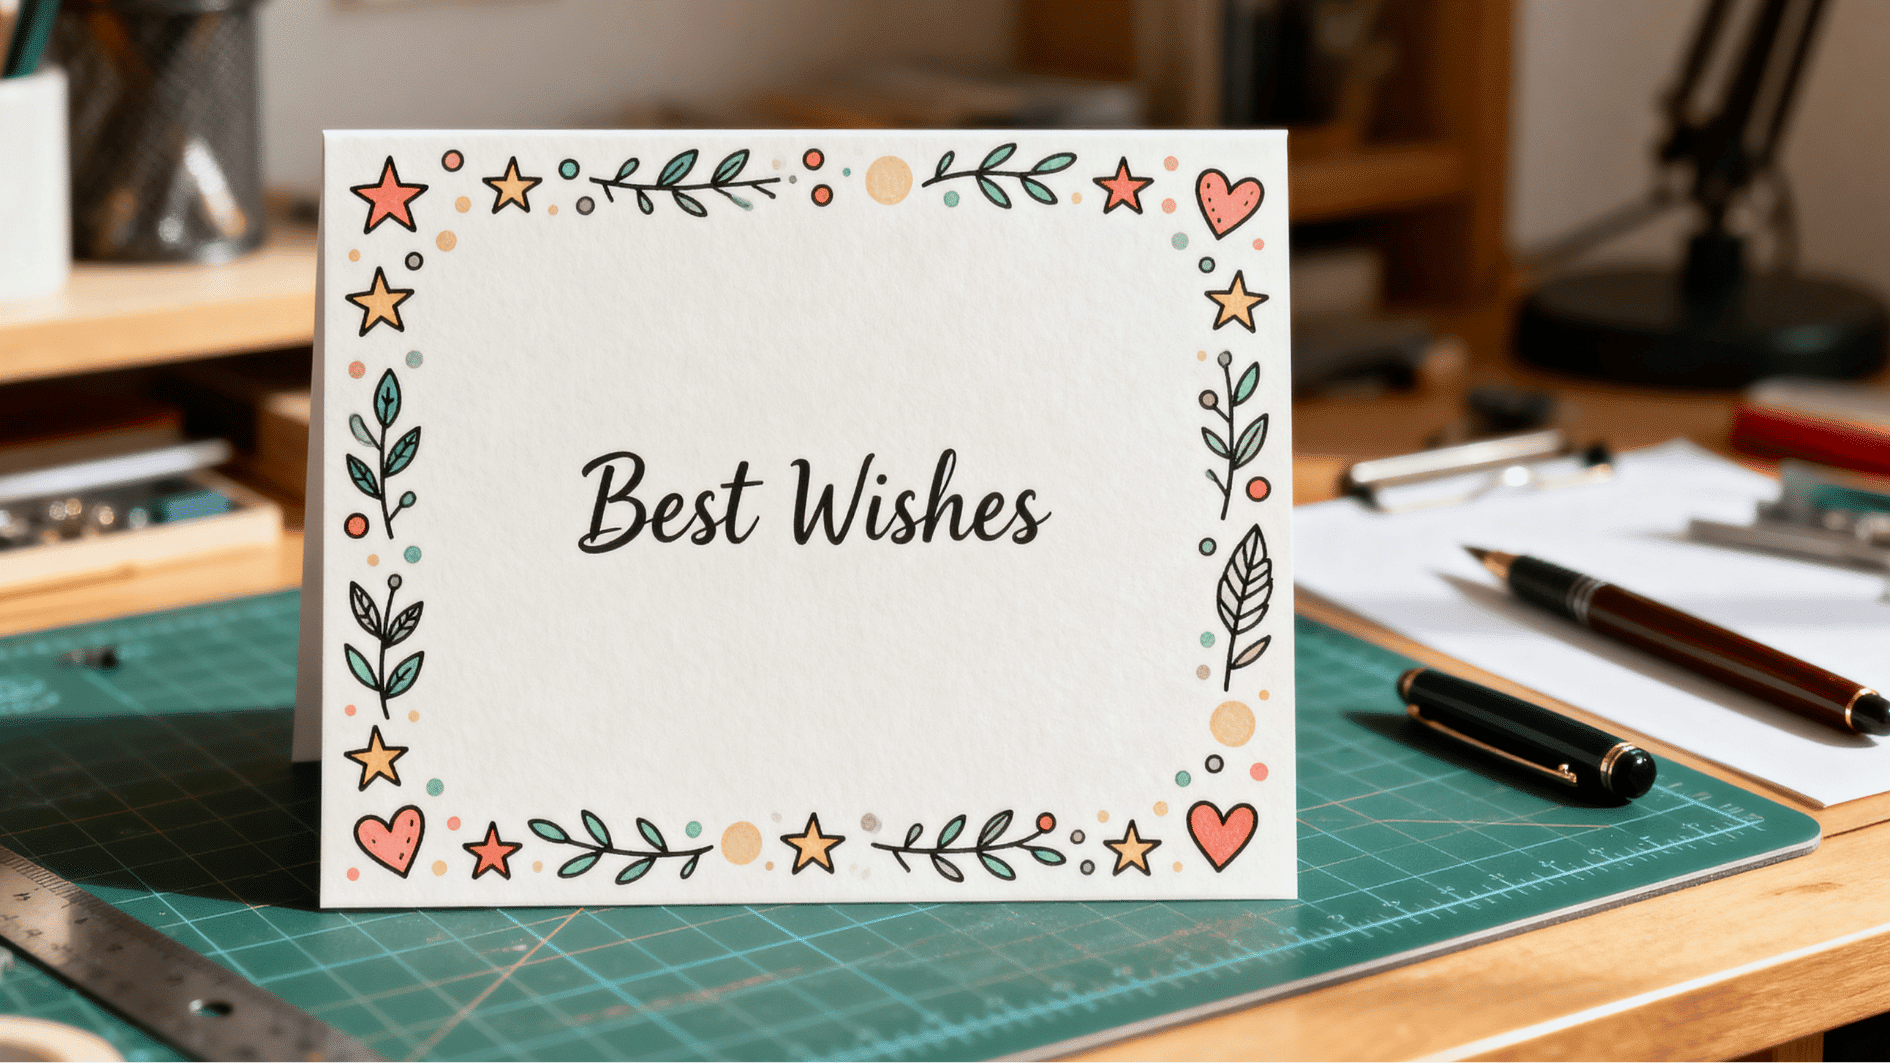
An edge-doodle card focuses on drawing instead of heavy decoration. Keep the center of the card clean and write your message there, then decorate only the borders with tiny doodles like stars, dots, leaves, or hearts.
Use one or two colors to keep it simple and balanced. This style is great because even beginners can create a neat and creative look just with a pen.
Tiny Details That Make or Break Greeting Cards
Small design choices can make a beginner card feel cleaner, warmer, and more thoughtful. Think of these as tiny card-making habits that help your design look sweet without adding more work.
| Design Tip | What to Do | Why It Helps | Quick Example |
|---|---|---|---|
| Start With a Simple Color Story | Pick one main color, one soft shade, and one small accent color | Keeps the card from looking too busy | Soft pink + cream + gold dots |
| Let Odd Numbers Do the Balancing | Use small details in groups of 3 or 5 | Makes decorations look more natural | Three buttons or five tiny flowers |
| Give the Design Room to Breathe | Leave some blank space around the main design | Helps the message and design stand out | One flower with a short front message |
| Add One Detail Made Just for Them | Include a color, symbol, or note linked to the person | Makes the card feel more personal | A paw print for a pet lover |
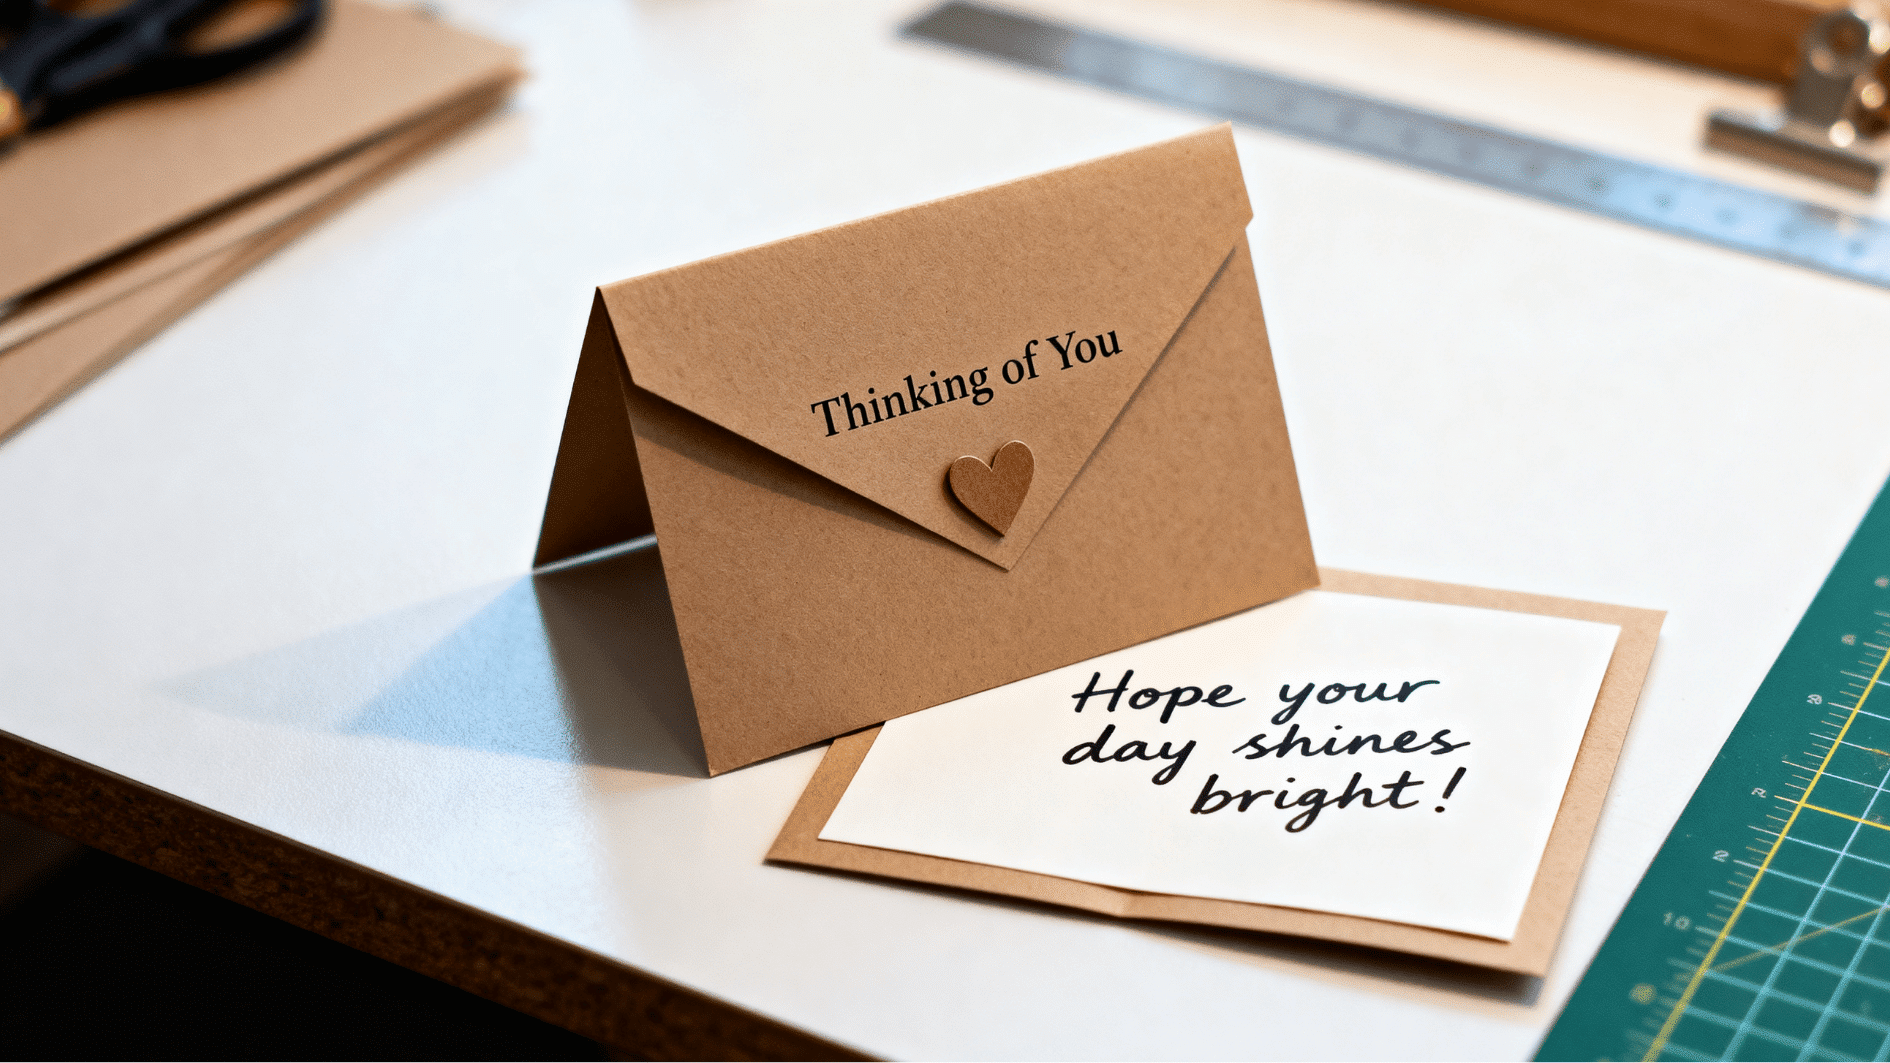
Common Beginner Mistakes to Avoid
Even simple cards can go a little wonky, and that is totally normal. The good news is that most beginner mistakes are easy to fix before they ruin the card.
|
Problem #1: Too Much Glue The Easy Fix: Use a thin layer of glue, or try double-sided tape for paper layers. For buttons, ribbon, or fabric, use a small dot of stronger glue and let it dry fully. |
|
Problem #2: Too Many Details The Easy Fix: Pick one main design and let it stand out. A simple flower, button balloon, or paper heart can look better than a front filled with too many pieces. |
|
Problem #3: Forgetting the Envelope The Easy Fix: Choose the envelope before cutting or decorating the card. If you want to add thick details, keep them small or use a slightly larger envelope. |
|
Problem #4: Writing with the Wrong Pen The Easy Fix: Test your pen on a scrap piece of the same paper first. Let the ink dry for a few seconds, then check if it smears or shows through. |
|
Problem #5: Rushing the Final Check The Easy Fix: Give the card one last look before you close it. Trim rough edges, press down loose spots, and let everything dry before placing it in the envelope. |
Quick Tips for a Fun Card-Making Session
A good card-making session should feel light, not messy or stressful. These small habits can help beginners enjoy the process from the first cut to the final note.
- Set Up a Small Craft Zone: Keep your paper, glue, pens, and extras in one spot so you are not searching for things while making the card.
- Make One Card At a Time: Finish one card before starting another. This keeps the table cleaner and helps you focus on one idea.
- Keep A Scrap Test Corner: Use one small piece of paper to test pen colors, glue, stamps, or doodles before adding them to the real card.
- Let Glue Dry Before Moving On: Give glued pieces a little time to set. This helps stop sliding, smudging, and bent corners.
- Use a Tray for Tiny Pieces: Buttons, stickers, paper shapes, and small cutouts can roll or disappear fast. A tray keeps them easy to grab.
- Stop Before It Feels Overdone: When the card looks sweet and clear, let it be done. Handmade cards do not need a lot to feel special.
Conclusion
And that is how to make greeting cards without turning your table into a craft disaster.
You have the basics now: gather simple supplies, fold a neat card, choose a mood, add playful details, try easy styles, and skip the little mistakes that can wrinkle paper or crowd the design.
The fun part is that no two cards have to look the same. One may have buttons, another may have doodles, and another may have a tiny fabric heart.
Start small, enjoy the messy bits, and turn one plain card into a sweet paper surprise.
Frequently Asked Questions
How Long Does It Take to Make a Greeting Card?
A simple handmade card can take about 10 to 20 minutes. More layered cards with buttons, fabric, or drawings may take a little longer.
Can I Mail a Handmade Greeting Card?
Yes, you can mail a handmade card. Keep thick items like buttons or bows flat, and use a padded envelope if the card has raised details.
How Should I Store Handmade Greeting Cards?
Store finished cards in a dry box or folder so they stay flat and clean. Keep them away from damp spots to protect the paper.
Can Kids Help Make Greeting Cards?
Yes, kids can help with folding, coloring, stickers, and simple paper shapes. Adults should handle sharp scissors or strong glue when needed.