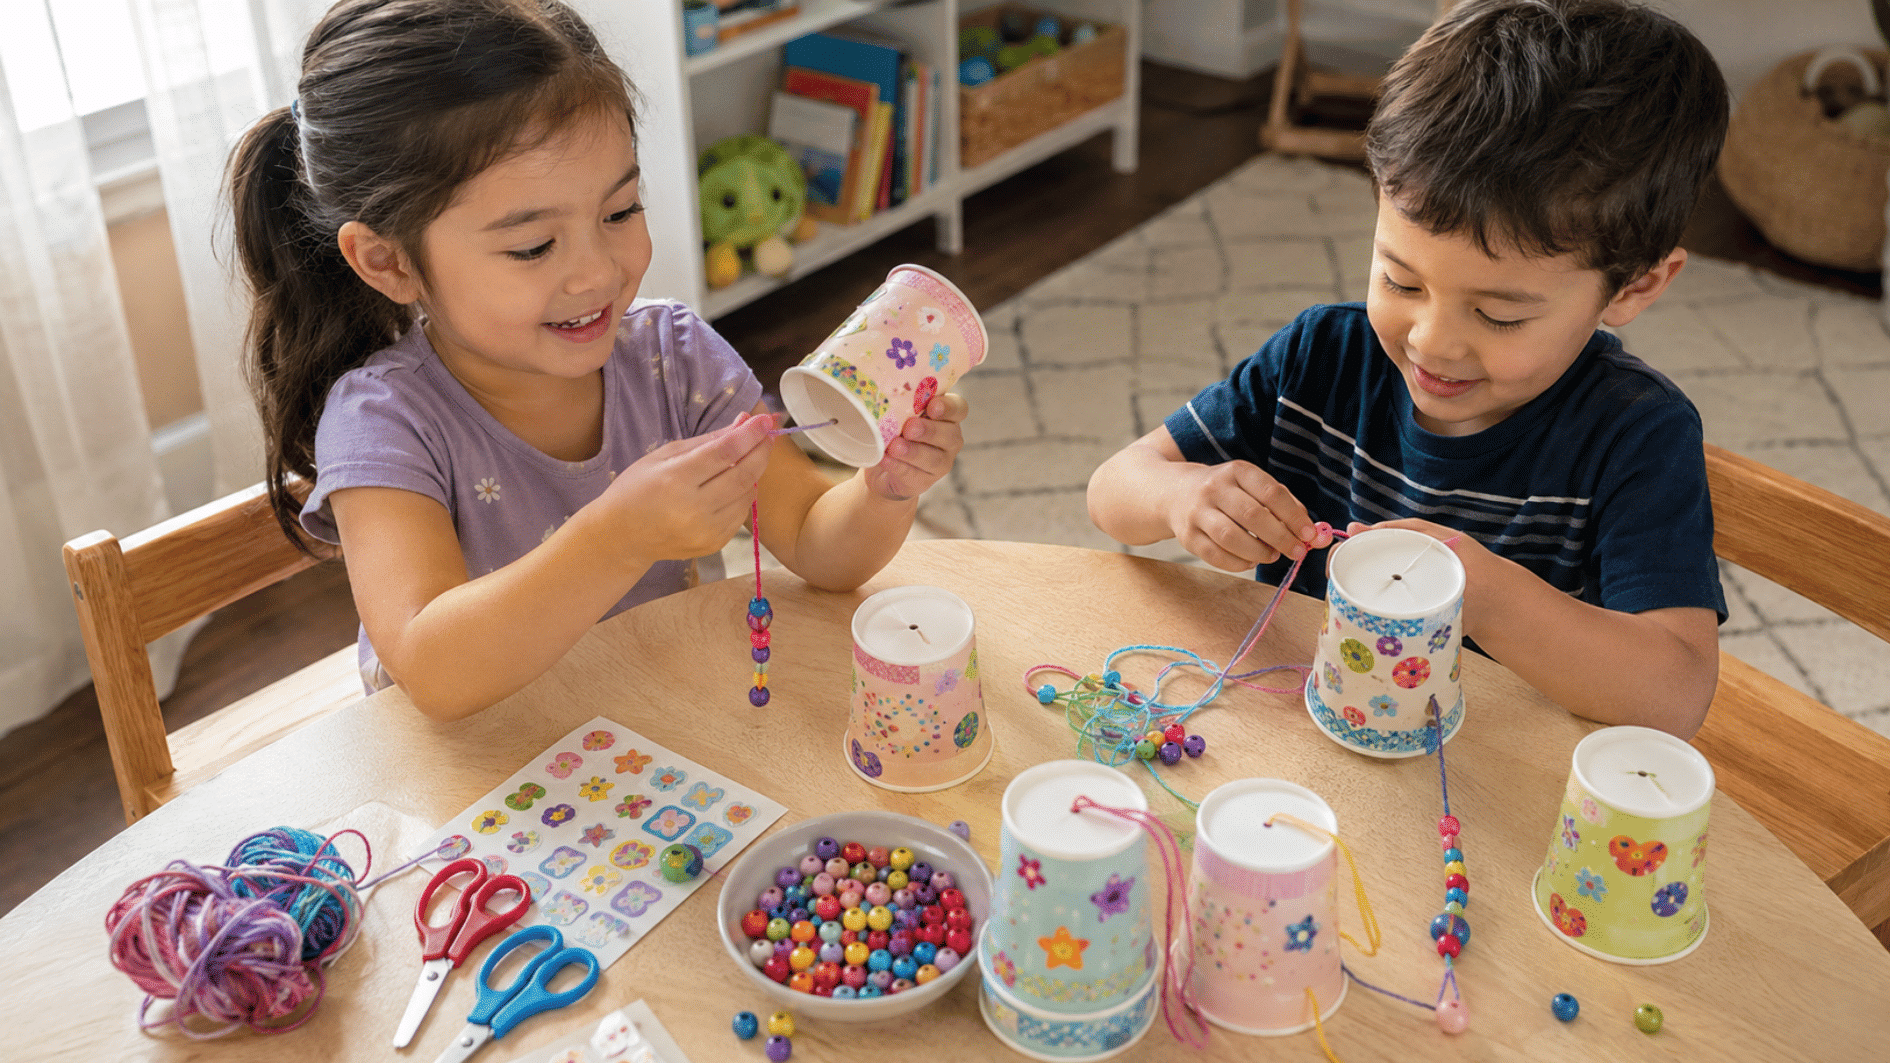
Keeping young children busy does not require expensive kits or a long supply list. Paper, washable paint, cardboard, tape, and a few household items can provide plenty of creative play.
These easy crafts for preschoolers focus on painting, tearing, pressing, folding, and arranging materials. Each activity can be adjusted to match a child’s attention span and motor skills.
The toddler section uses larger materials and shorter steps. Adult supervision is required for every activity, especially when scissors, tape, paint, plastic bags, or small craft pieces are involved.
Important safety note: Ages are general suggestions, not strict rules. Choose activities based on your child’s current abilities and tendency to place objects in their mouth. Stay within arm’s reach and complete all cutting, hot-glue work, puncturing, and material preparation yourself.
How Craft Play Supports Early Childhood Development
Craft play supports early childhood development by improving fine motor skills, hand-eye coordination, focus, creativity, and problem-solving.
For children ages 2 to 5, activities such as cutting, gluing, painting, tearing, sorting, and placing small objects strengthen the hand and finger muscles needed for writing and everyday tasks.
Craft play also helps children practice patience, follow simple steps, make choices, and complete projects independently.
As they count materials, match colors, spot patterns, and arrange shapes, they build early math and recognition skills through play.
Open-ended craft activities encourage children to test ideas, express emotions, and find their own solutions. Regular craft time can also build confidence because children see the results of their effort while learning in a relaxed, enjoyable setting.
Creative Craft Activities for Preschoolers
Easy crafts for 3–5-year-olds bring simple, hands-on play that keeps little minds active and curious. These activities turn everyday materials into fun learning moments without any complicated setup.
1. Bubble Wrap Painting
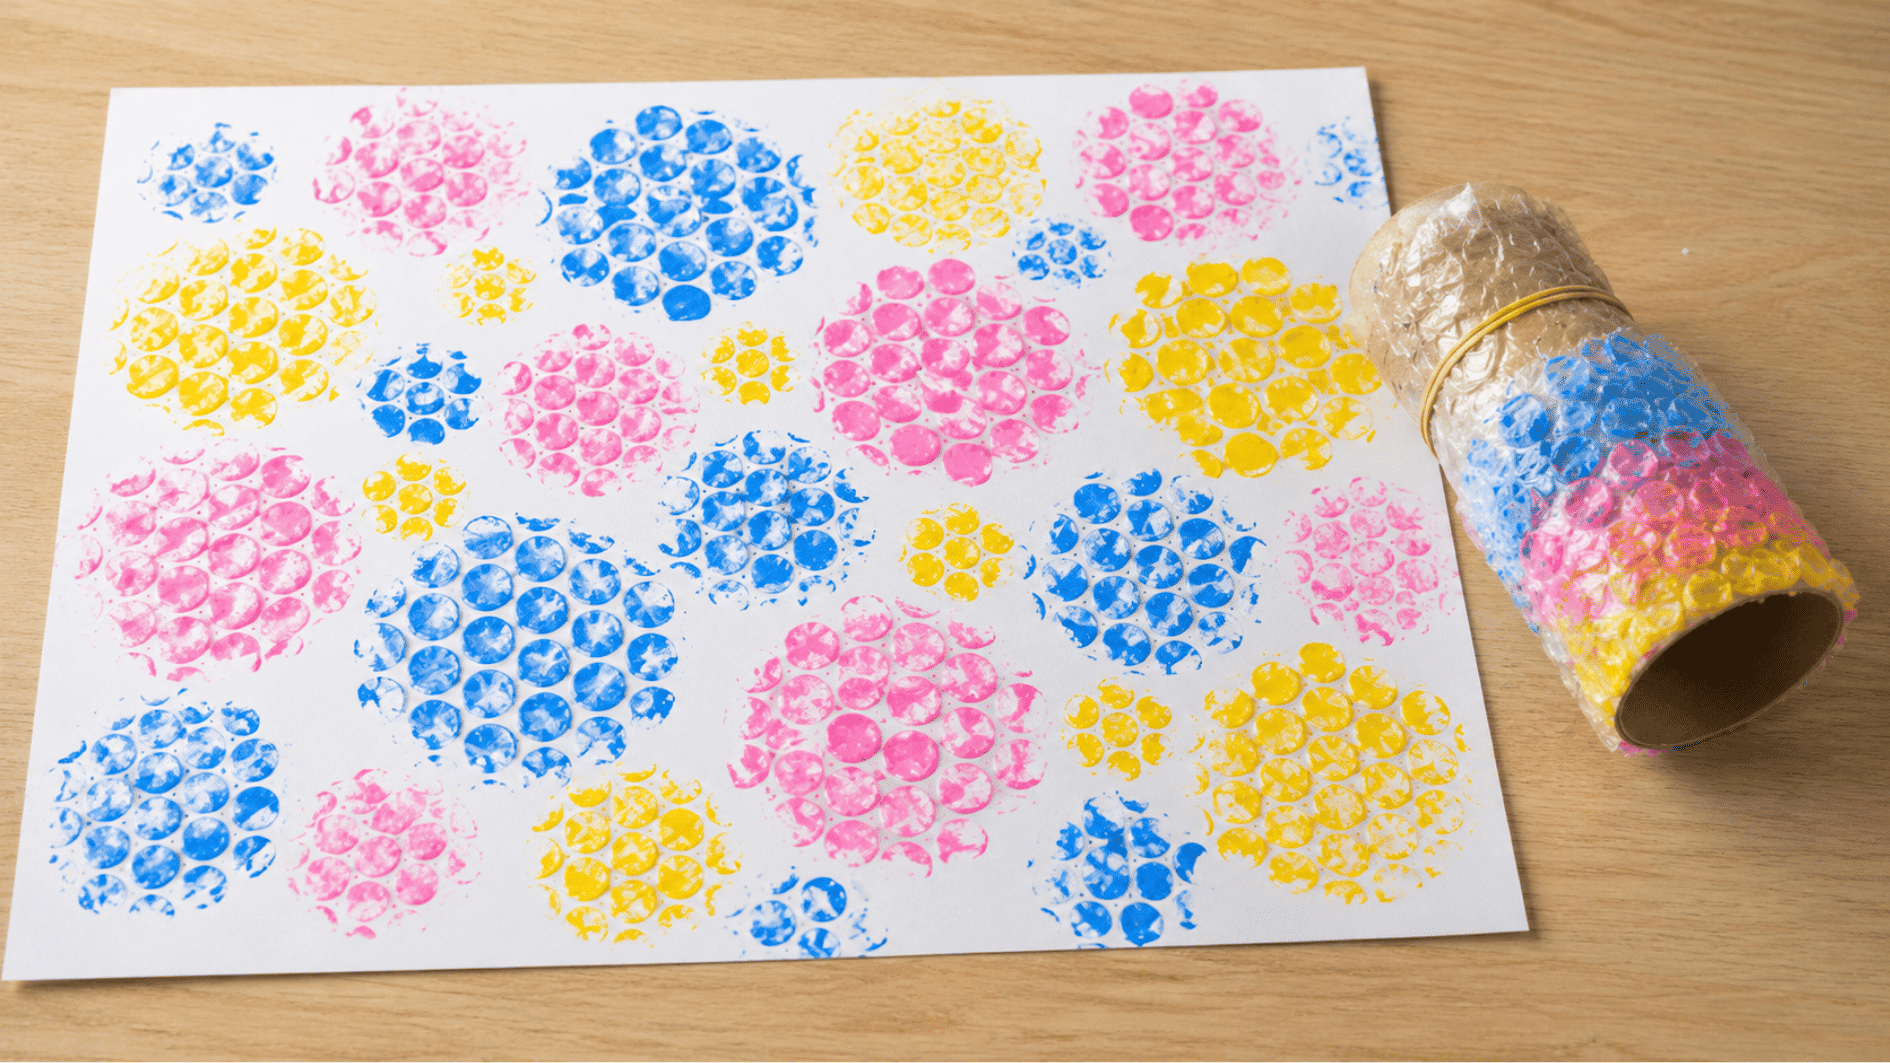
Turn an ordinary roll of bubble wrap into a one-of-a-kind polka-dot masterpiece; this one’s so easy even first-time painters get an instant “wow” moment.
| Materials | Quantity | Purpose |
|---|---|---|
| Bubble wrap | 1 small sheet | Creates a textured stamping effect |
| Paper towel roll/wood block | 1 | Base to wrap bubble wrap around |
| Tape | A few strips | Secures bubble wrap to the holder |
| Tempera paint | 2–3 colors | Provides color for stamping design |
| Paper | 1 sheet | Surface for printing artwork |
Steps:
- Tape the bubble wrap around the roll, bumpy side out.
- Pour a little paint into a shallow tray.
- Press the roll into the paint, then stamp it onto paper, switching colors as you go.
- Lay flat to dry for about an hour.
2. Salt Painting
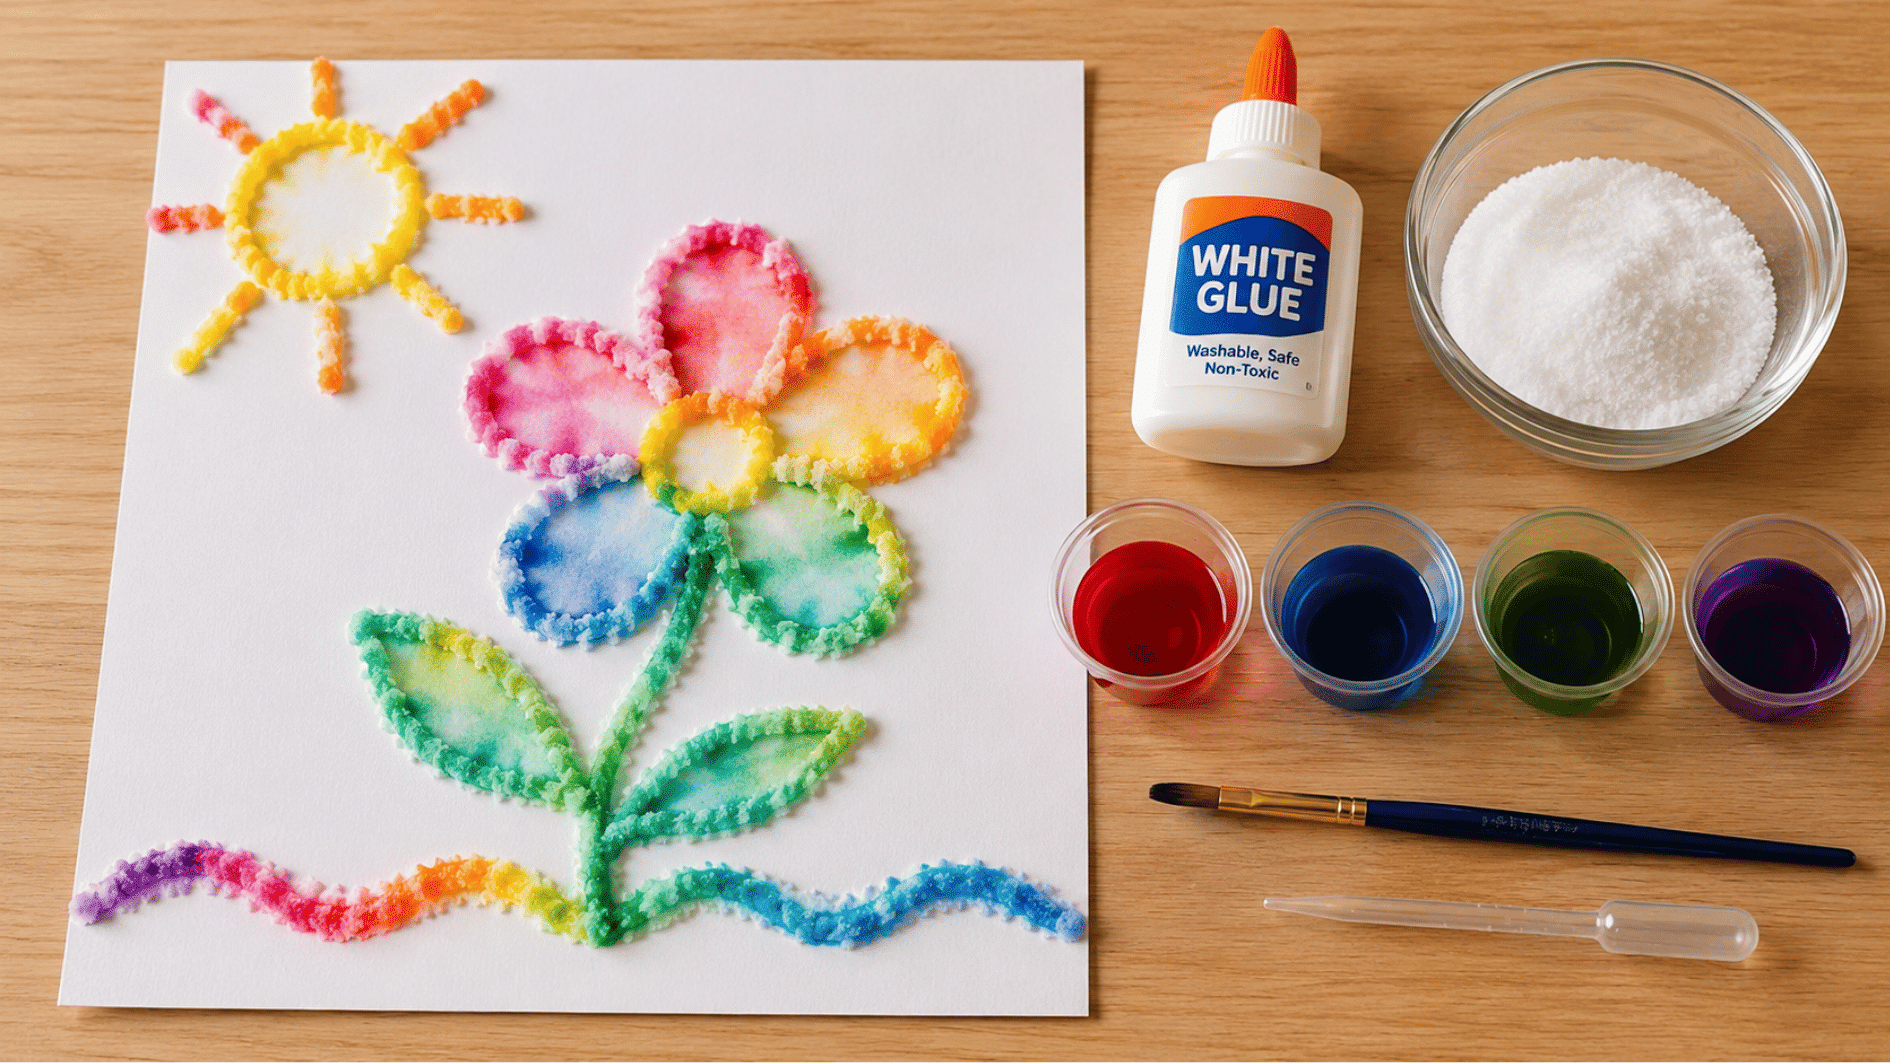
Watch color seem to come alive as it creeps and blooms across a trail of salt; this one feels like real magic to a preschooler.
| Materials | Quantity | Purpose |
|---|---|---|
| Card stock | 1 sheet | Sturdy base to hold the salt design |
| White glue | 1 small bottle | Creates a raised outline for salt |
| Table salt | ~¼ cup | Forms texture for color diffusion |
| Liquid watercolor/food coloring water | 3–4 colors | Adds flowing color effect |
| Paintbrush/eyedropper | 1 | Applies color precisely onto salt |
Steps:
- Squeeze glue along the outline of a shape.
- Pour salt generously over the wet glue, then tip the excess into a bowl.
- Touch a loaded brush or dropper to the salt line and watch the color wick along it.
- Let dry flat overnight before moving.
3. Frozen Paint Cube Art
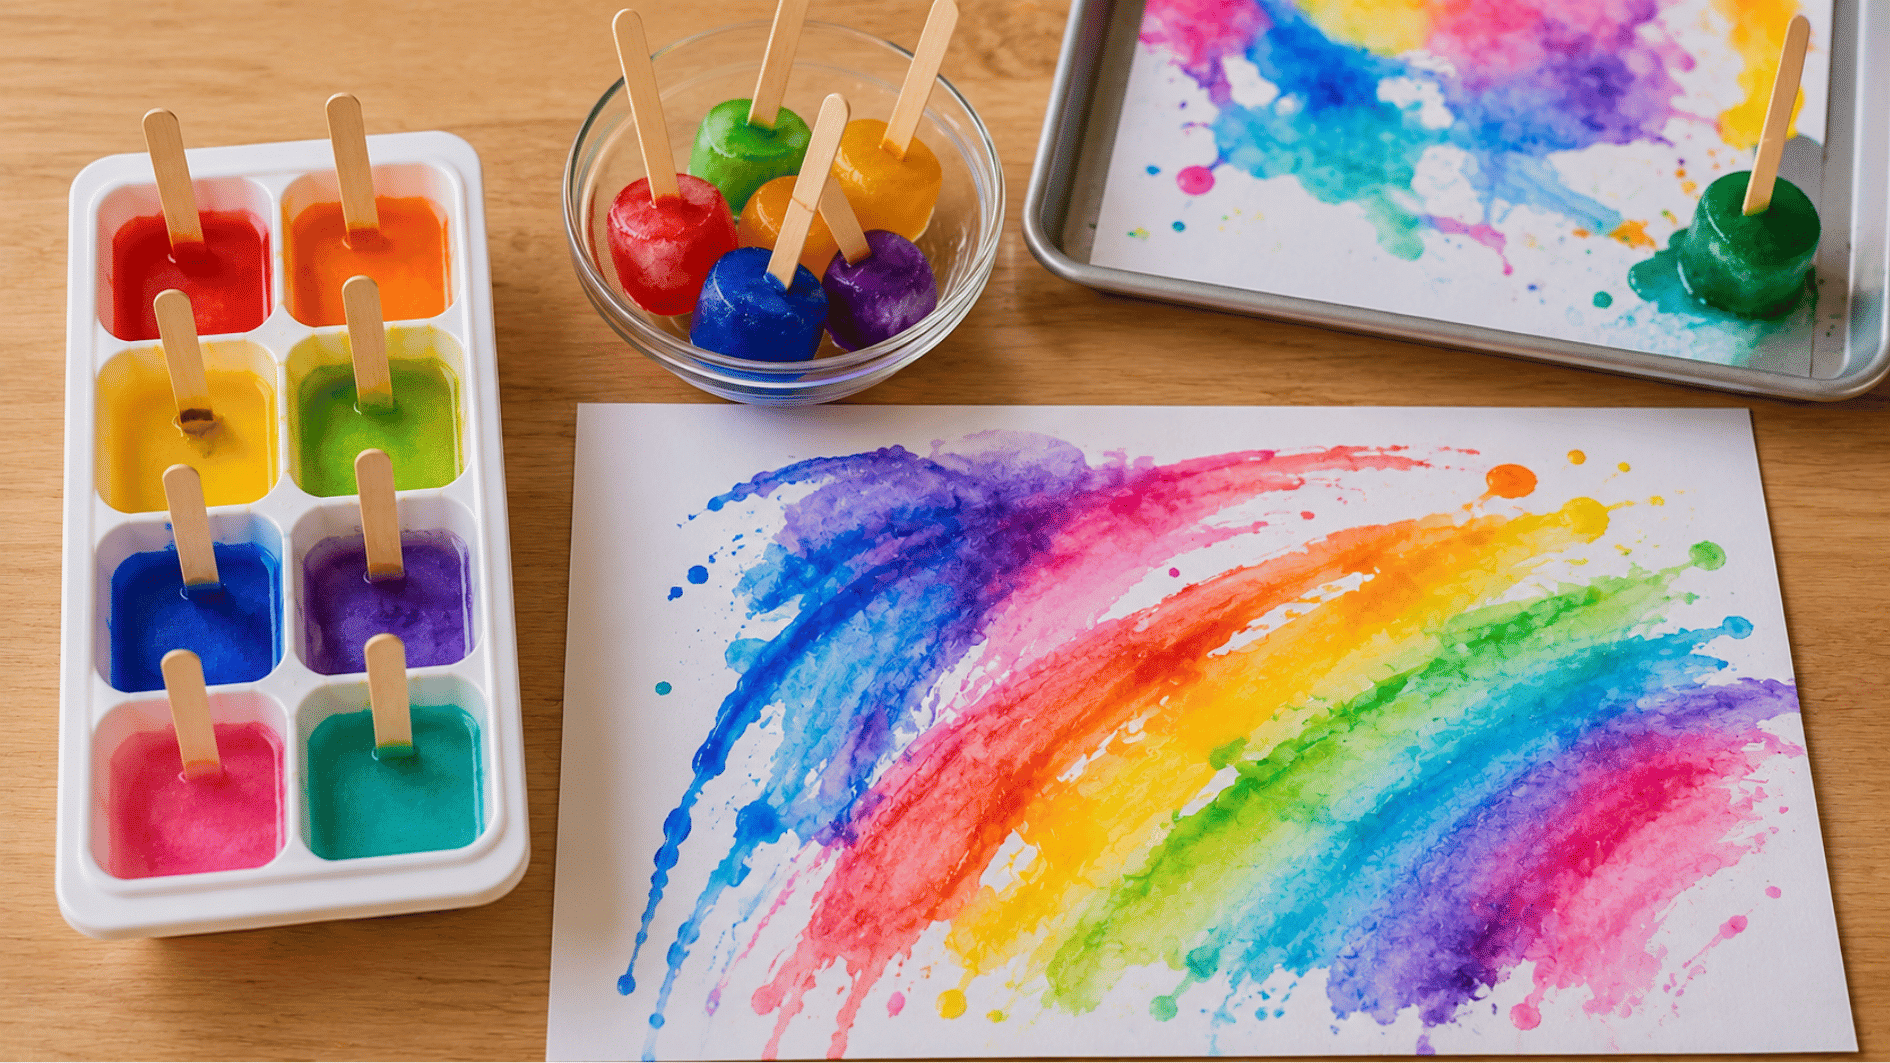
Painting with a melting ice cube sounds impossible until you try it- a cool, slippery twist that’s perfect for a hot afternoon.
| Materials | Quantity | Purpose |
|---|---|---|
| Ice cube tray | 1 | Mold to freeze paint cubes |
| Tempera paint | 3–4 colors | Creates colorful ice painting effect |
| Water | A splash per color | Dilutes paint for smoother freezing |
| Popsicle sticks | 1 per cube | Handle for holding ice paint |
| Thick paper (cardstock) | 1–2 sheets | Surface for melting artwork |
Steps:
- Mix paint with a little water so it’s pourable.
- Fill the tray, add a stick to each cube, and freeze for at least 4 hours.
- Pop out a cube and let kids glide it over paper like a crayon.
- Keep a tray nearby to catch drips.
4. Marble Roll Painting
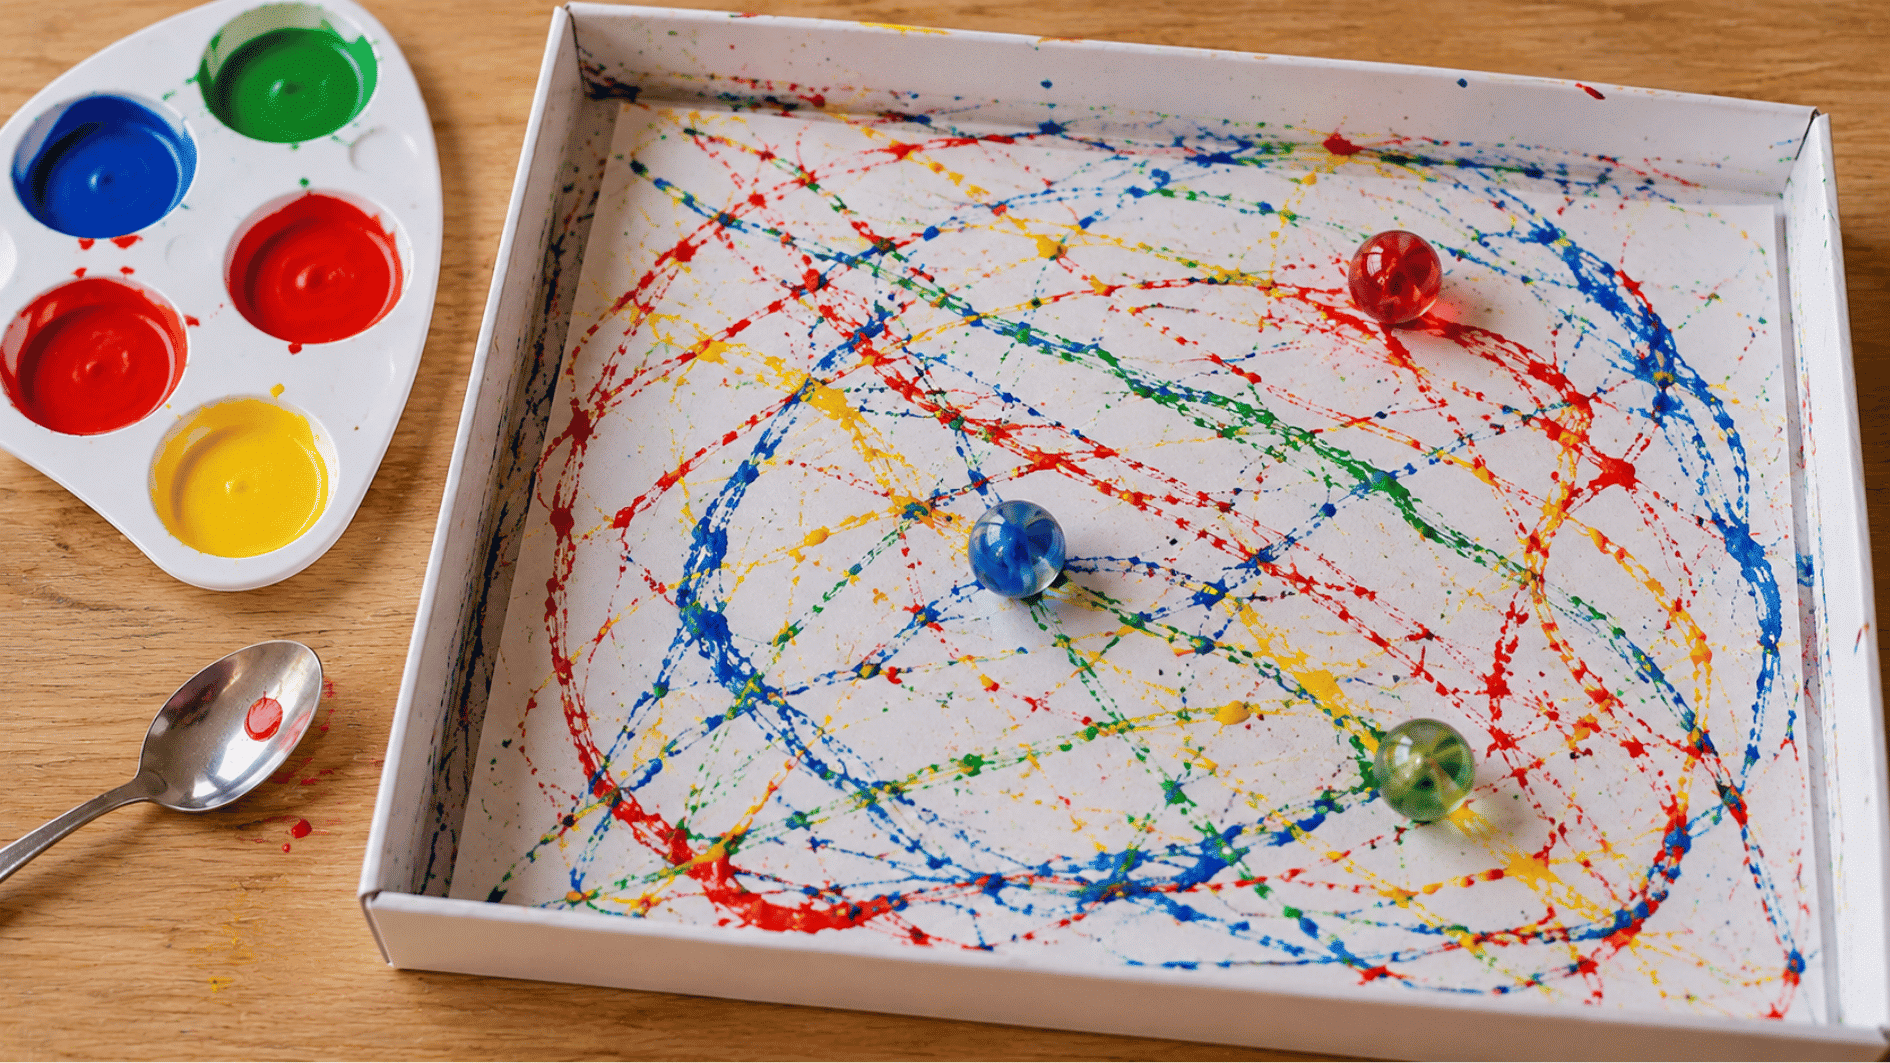
No brush, no mess on tiny fingers, just a few marbles, a tilt of the tray, and swirly trails that feel like a tiny science experiment.
| Materials | Quantity | Purpose |
|---|---|---|
| Shallow tray / box lid | 1 | Container for rolling marbles |
| Paper | 1 sheet | Base for capturing paint patterns |
| Marbles | 2–3 | Rolling tool to create abstract patterns |
| Tempera paint | 2–3 colors | Adds color trails while rolling |
| Spoon | 1 | Helps place paint onto paper |
Steps:
- Line the tray with paper.
- Spoon a few dots of paint onto the paper.
- Drop in 2-3 marbles and tilt the tray side to side to roll them through the paint.
- Lift the paper out carefully to dry.
5. Torn Paper Mosaics
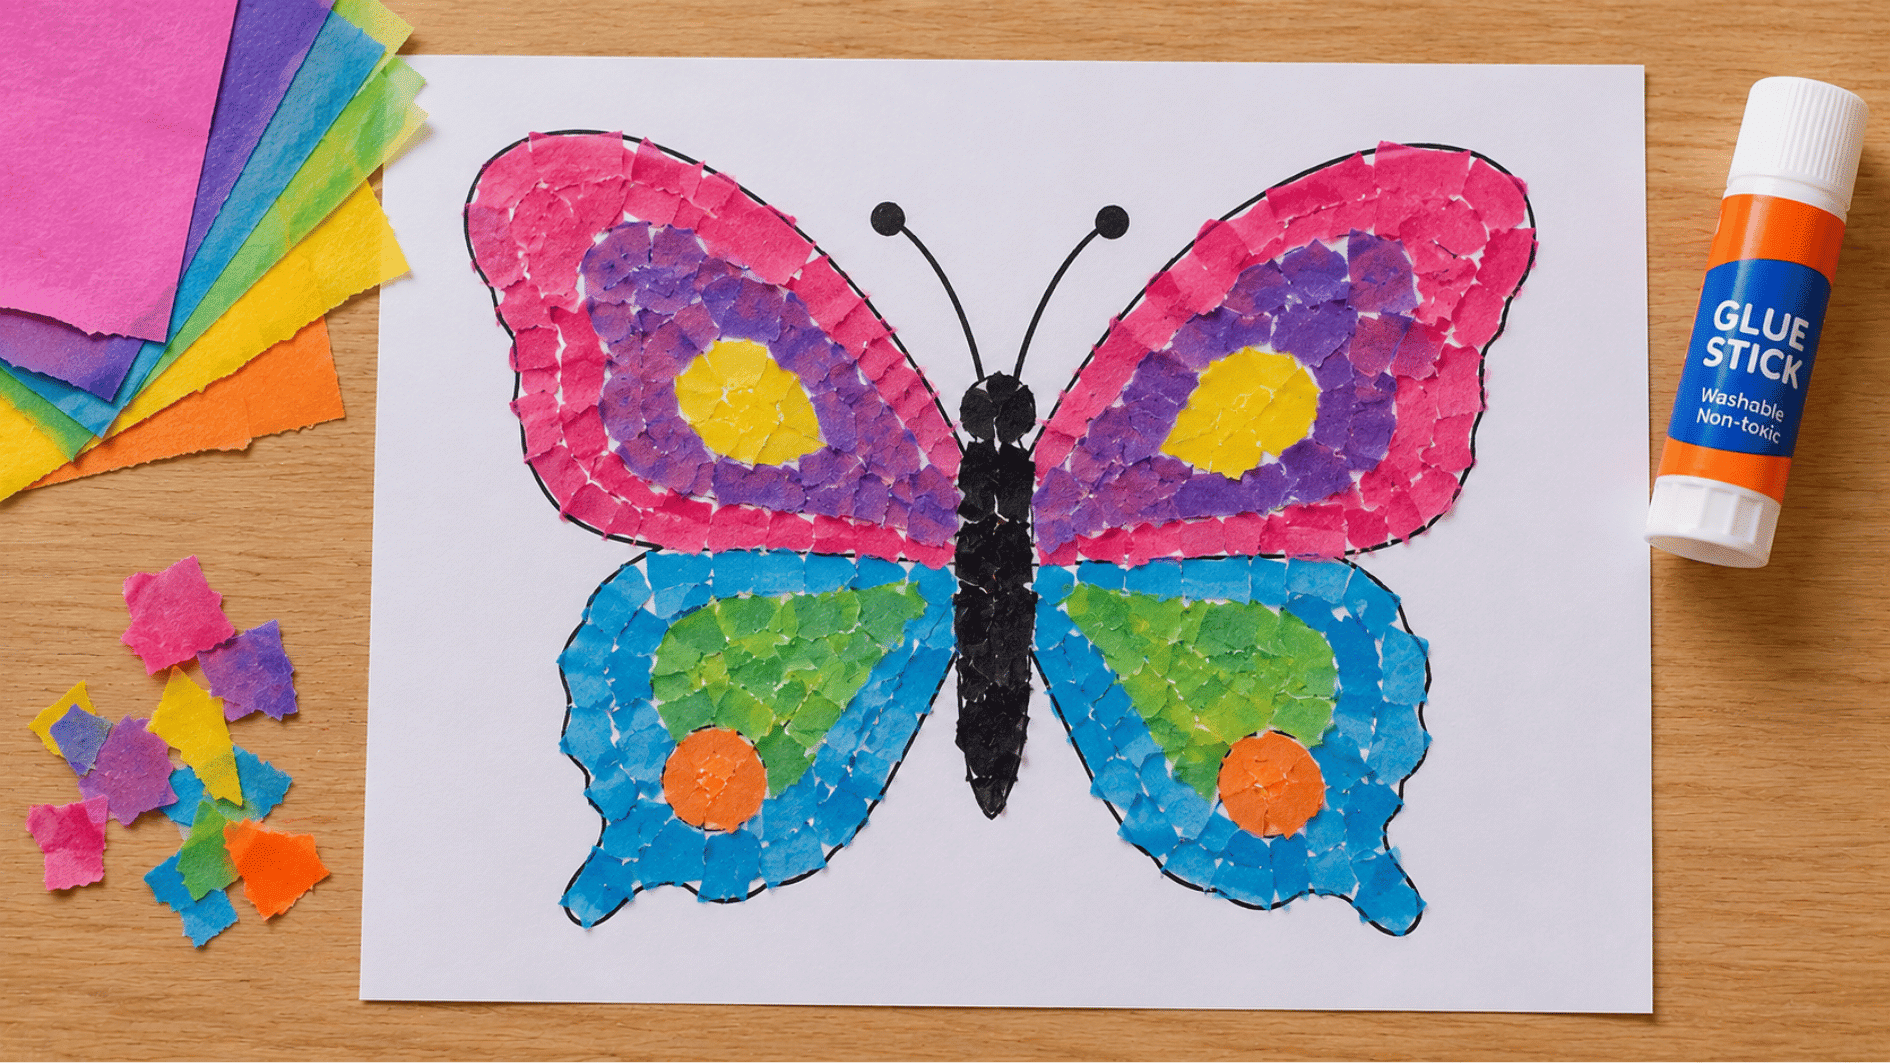
Forget the scissors, ripping paper into colorful confetti and piecing it back together is oddly satisfying, even for the littlest hands.
| Materials | Quantity | Purpose |
|---|---|---|
| Construction/tissue paper | 3–4 colors | Provides material for collage design |
| Glue stick | 1 | Binds torn paper to base |
| Printed outline | 1 | Guides shape for mosaic filling |
Steps:
- Tear colored paper into small pieces.
- Spread glue inside the outline, a section at a time.
- Press torn pieces onto the sticky area until it’s filled in.
- Let dry flat for about 20 minutes before moving.
6. Paper Plate Suncatchers
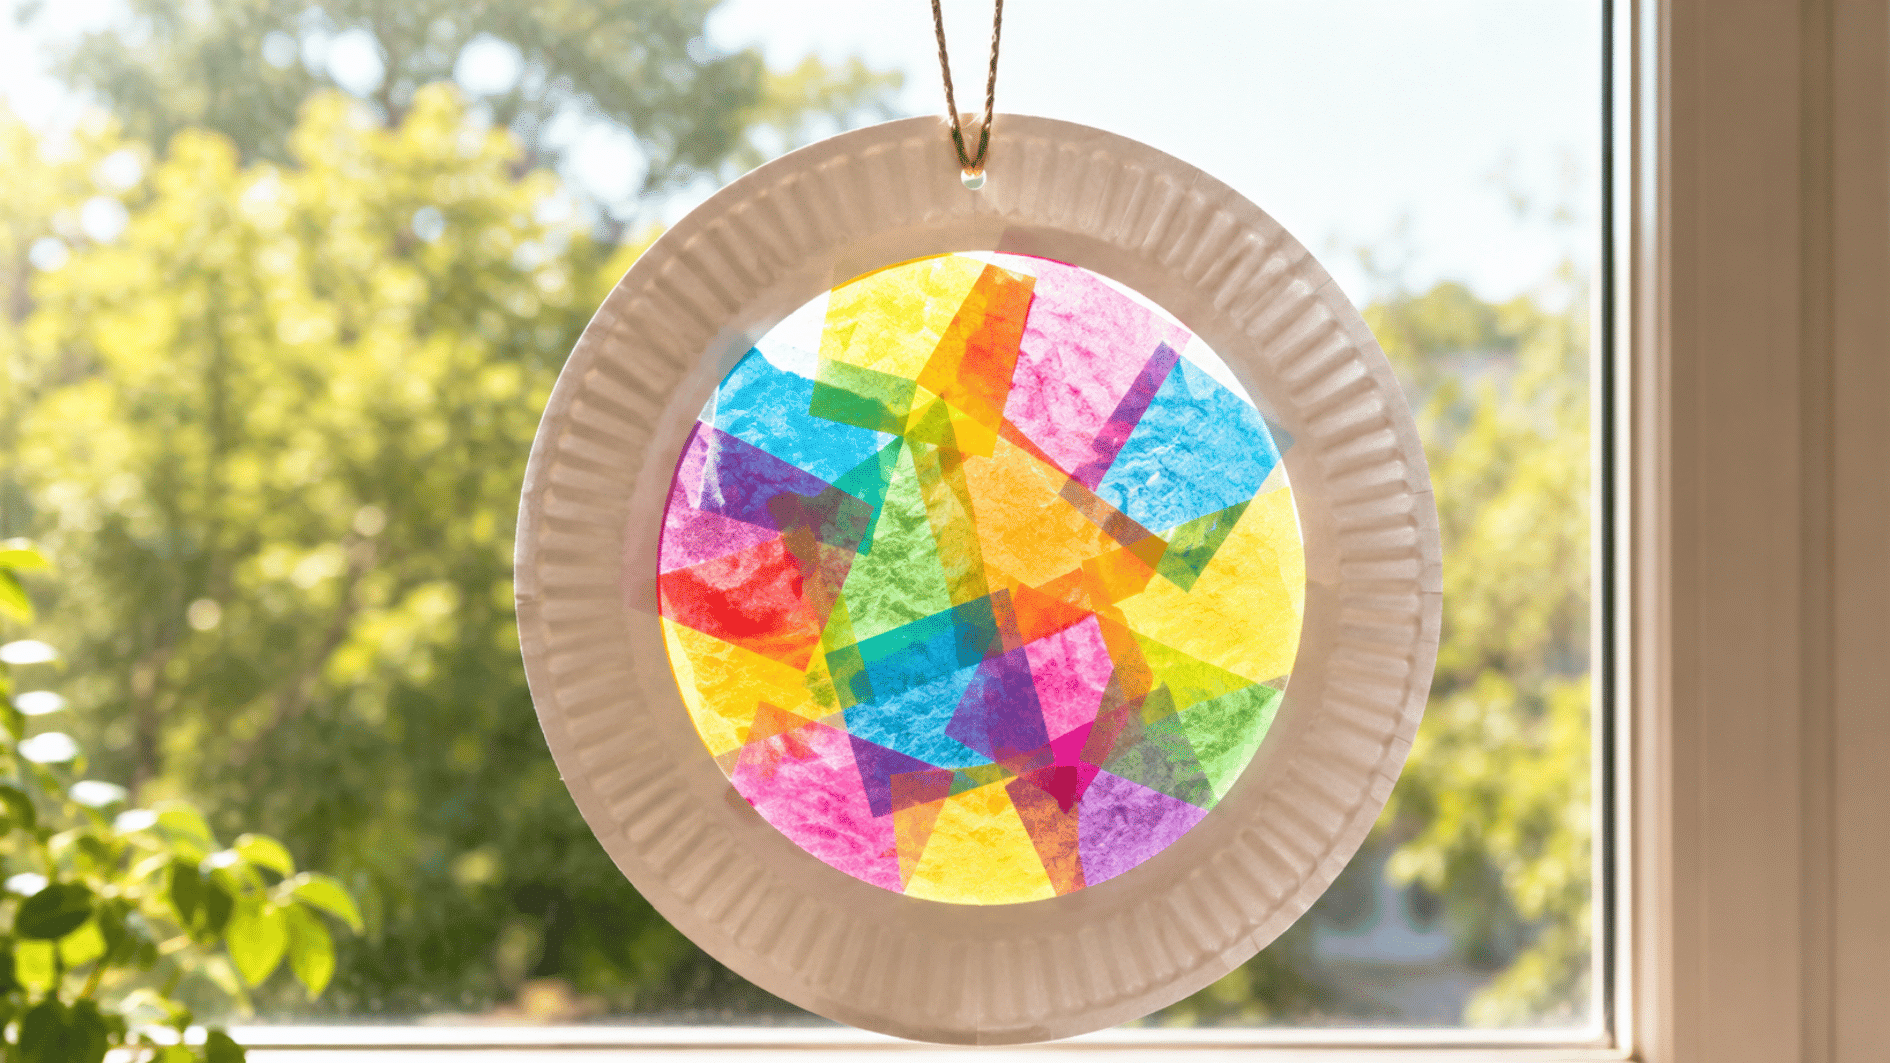
A plain paper plate becomes a glowing window decoration with nothing more than a glue stick and a handful of colorful tissue scraps.
| Materials | Quantity | Purpose |
|---|---|---|
| Paper plate | 1 | Base frame for suncatcher |
| Tissue paper squares | A handful | Creates colorful light effect |
| Glue stick | 1 | Holds tissue pieces in place |
| Scissors | 1 | Cuts center of plate (adult use) |
| String/yarn | 1 short piece | Used for hanging decoration |
Steps:
- Cut out the inner circle of the plate before handing it over.
- Glue tissue squares across the open ring until it’s covered.
- Trim any overhang once dry.
- Punch a hole at the top and loop string through to hang.
7. Accordion Paper Caterpillars
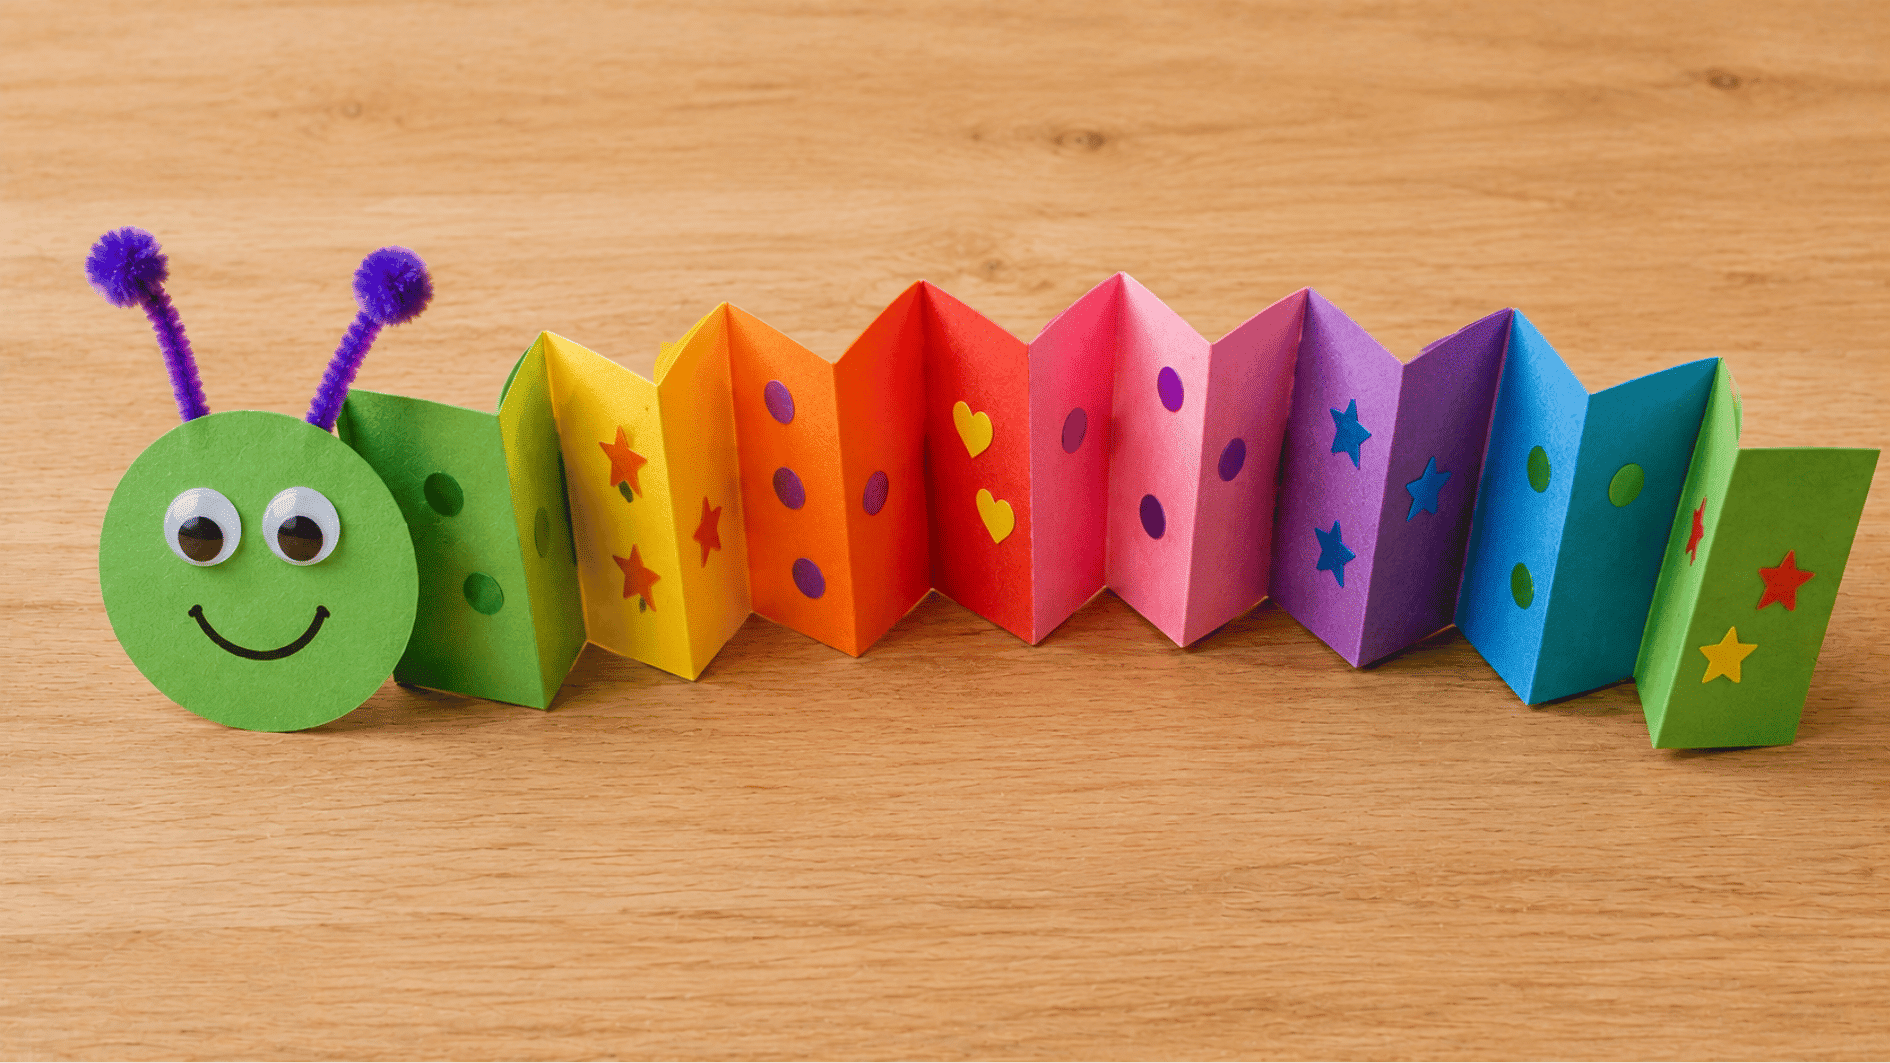
A simple zig-zag fold turns a flat paper strip into a wiggly little character with a personality all its own.
| Materials | Quantity | Purpose |
|---|---|---|
| Construction paper strip | 1 long strip | Forms accordion body |
| Googly eyes | 2 | Creates the face of a caterpillar |
| Glue | 1 small bottle | Attaches facial features |
| Markers/stickers | A few | Adds decoration and details |
Steps:
- Fold the strip back and forth like a fan.
- Gently scrunch it slightly to give it a caterpillar curve.
- Glue on eyes at one end.
- Decorate the segments with markers or stickers.
8. Egg Carton Flowers
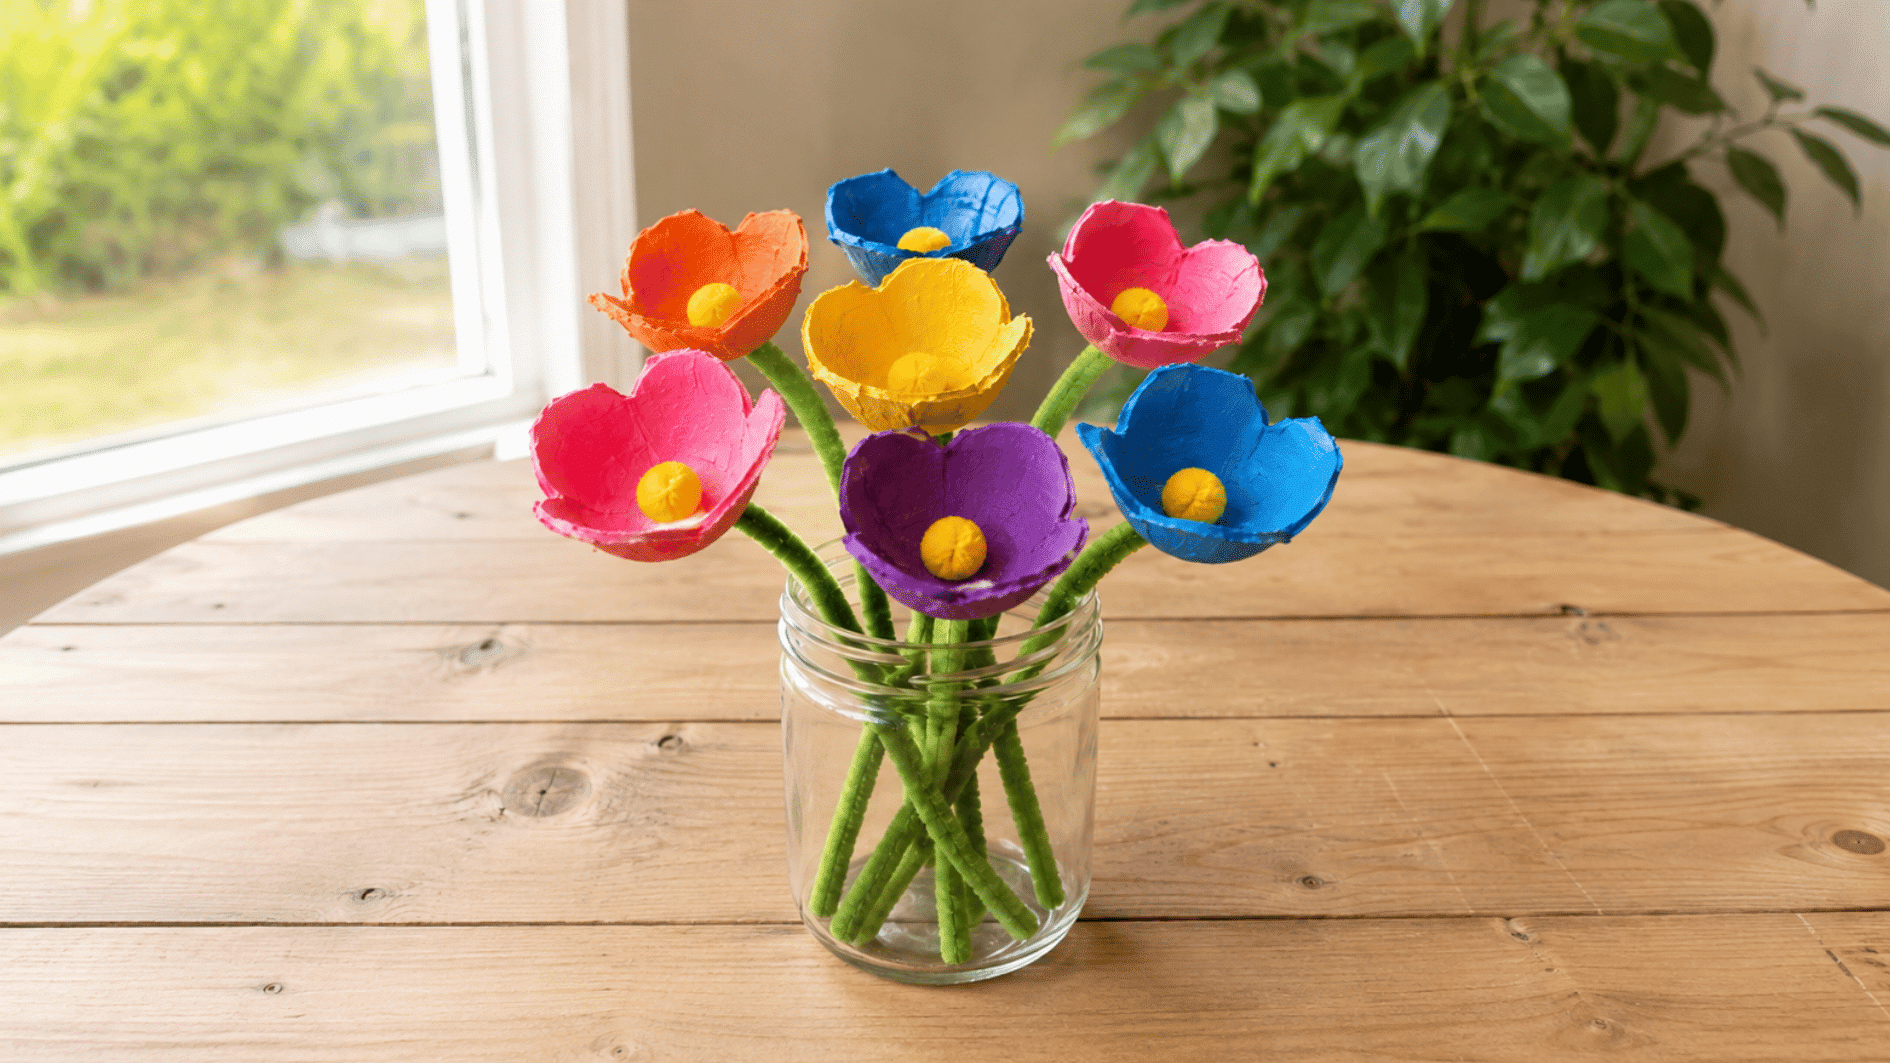
An empty egg carton gets a second life as a cheerful little flower bed, proof that the recycling bin is basically a craft drawer in disguise.
| Materials | Quantity | Purpose |
|---|---|---|
| Egg carton | 1 | Base material for flower petals |
| Scissors | 1 | Cuts and shapes the petals |
| Paint | 2–3 colors | Adds a floral color design |
| Pipe cleaners | 1 per flower | Acts as a flower stem |
| Glue | 1 small bottle | Secures flower parts |
Steps:
- Cut single cups apart from the carton.
- Snip four small slits around the rim of each cup to form petals (adult step).
- Let kids paint the inside and outside of each cup, then let it dry.
- Poke a pipe cleaner through the bottom and knot it inside to hold.
9. Shaving Cream Cloud Dough
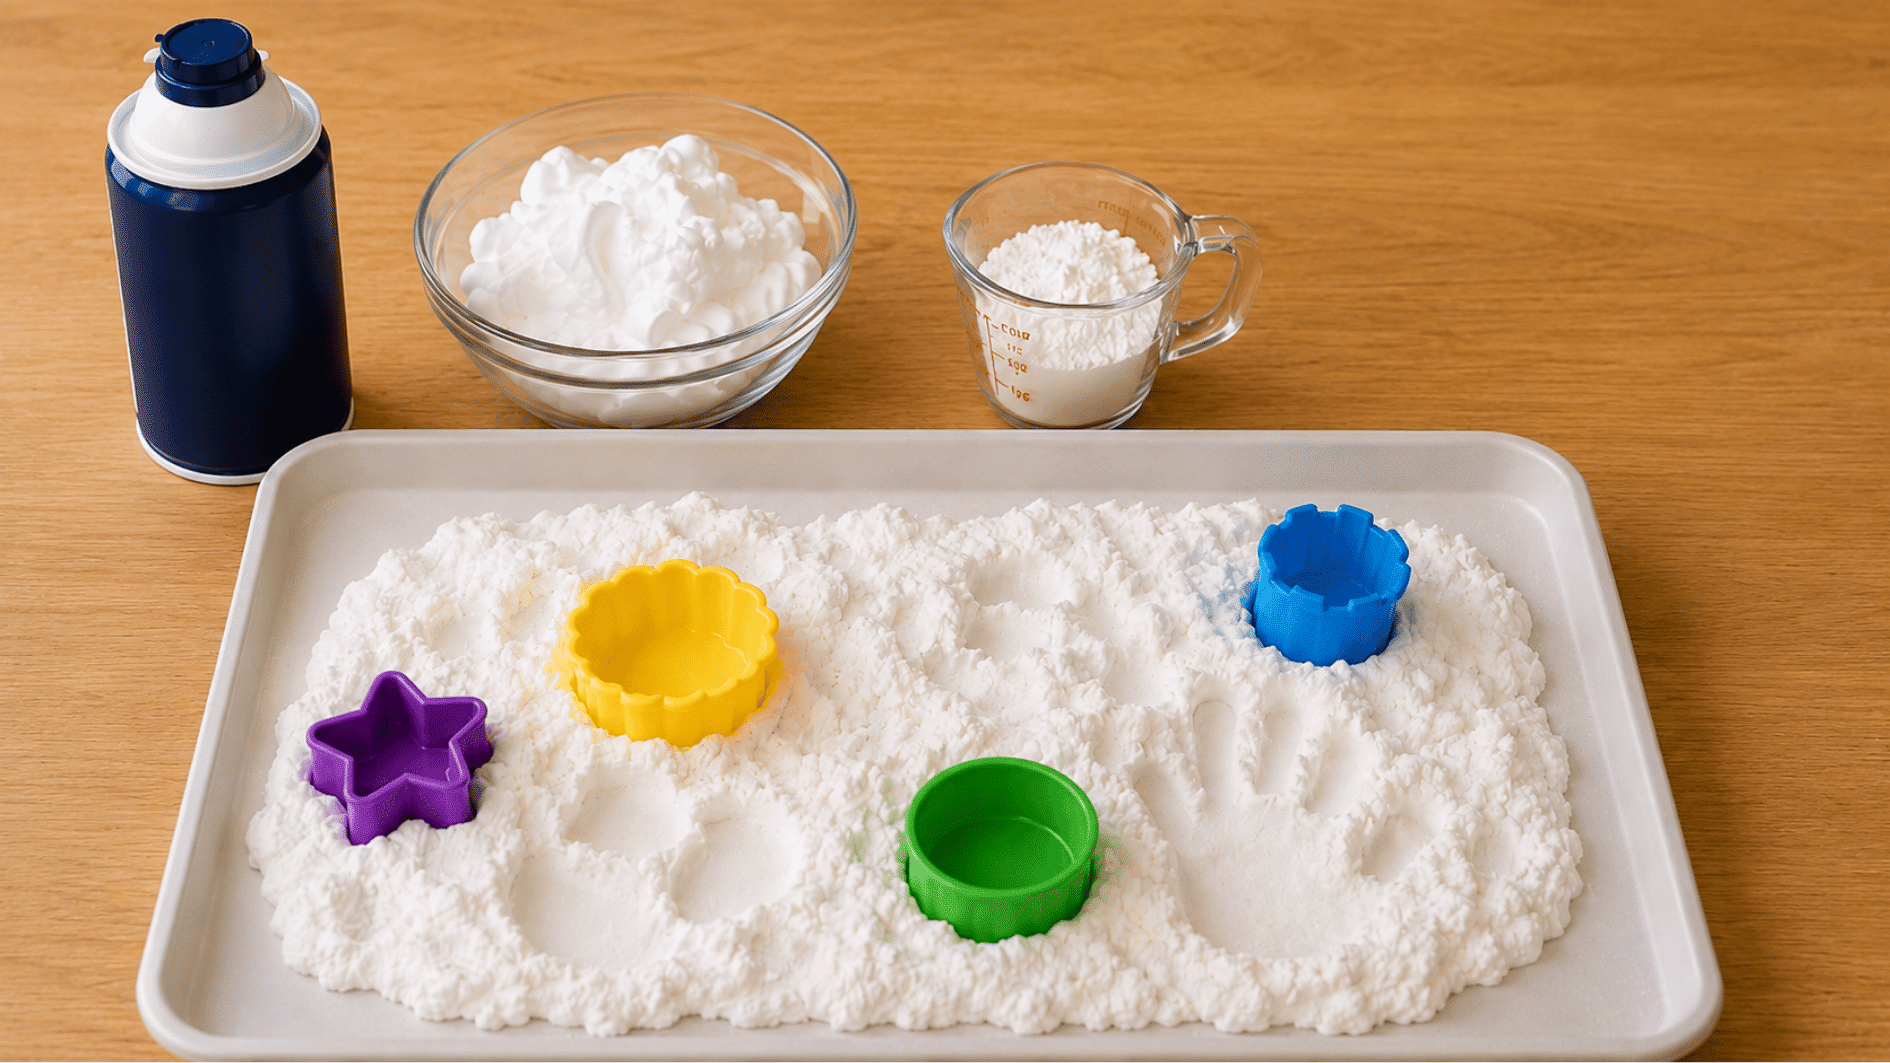
Light, fluffy, and endlessly squishable, this “cloud” is the kind of mess that’s actually encouraged.
| Materials | Quantity | Purpose |
|---|---|---|
| Shaving cream (foam) | 1 cup | Provides fluffy texture |
| Cornstarch | ⅓ cup | Gives moldable dough consistency |
| Mixing bowl | 1 | Used for blending ingredients |
| Tray | 1 | Surface for sensory play |
Steps:
- Combine roughly 3 parts shaving cream to 1 part cornstarch in a bowl.
- Stir until it holds a soft shape.
- Spread it onto a tray.
- Let kids squish, poke craters, and mold it with their hands or small cups.
10. Rainbow Rice Sensory Bin
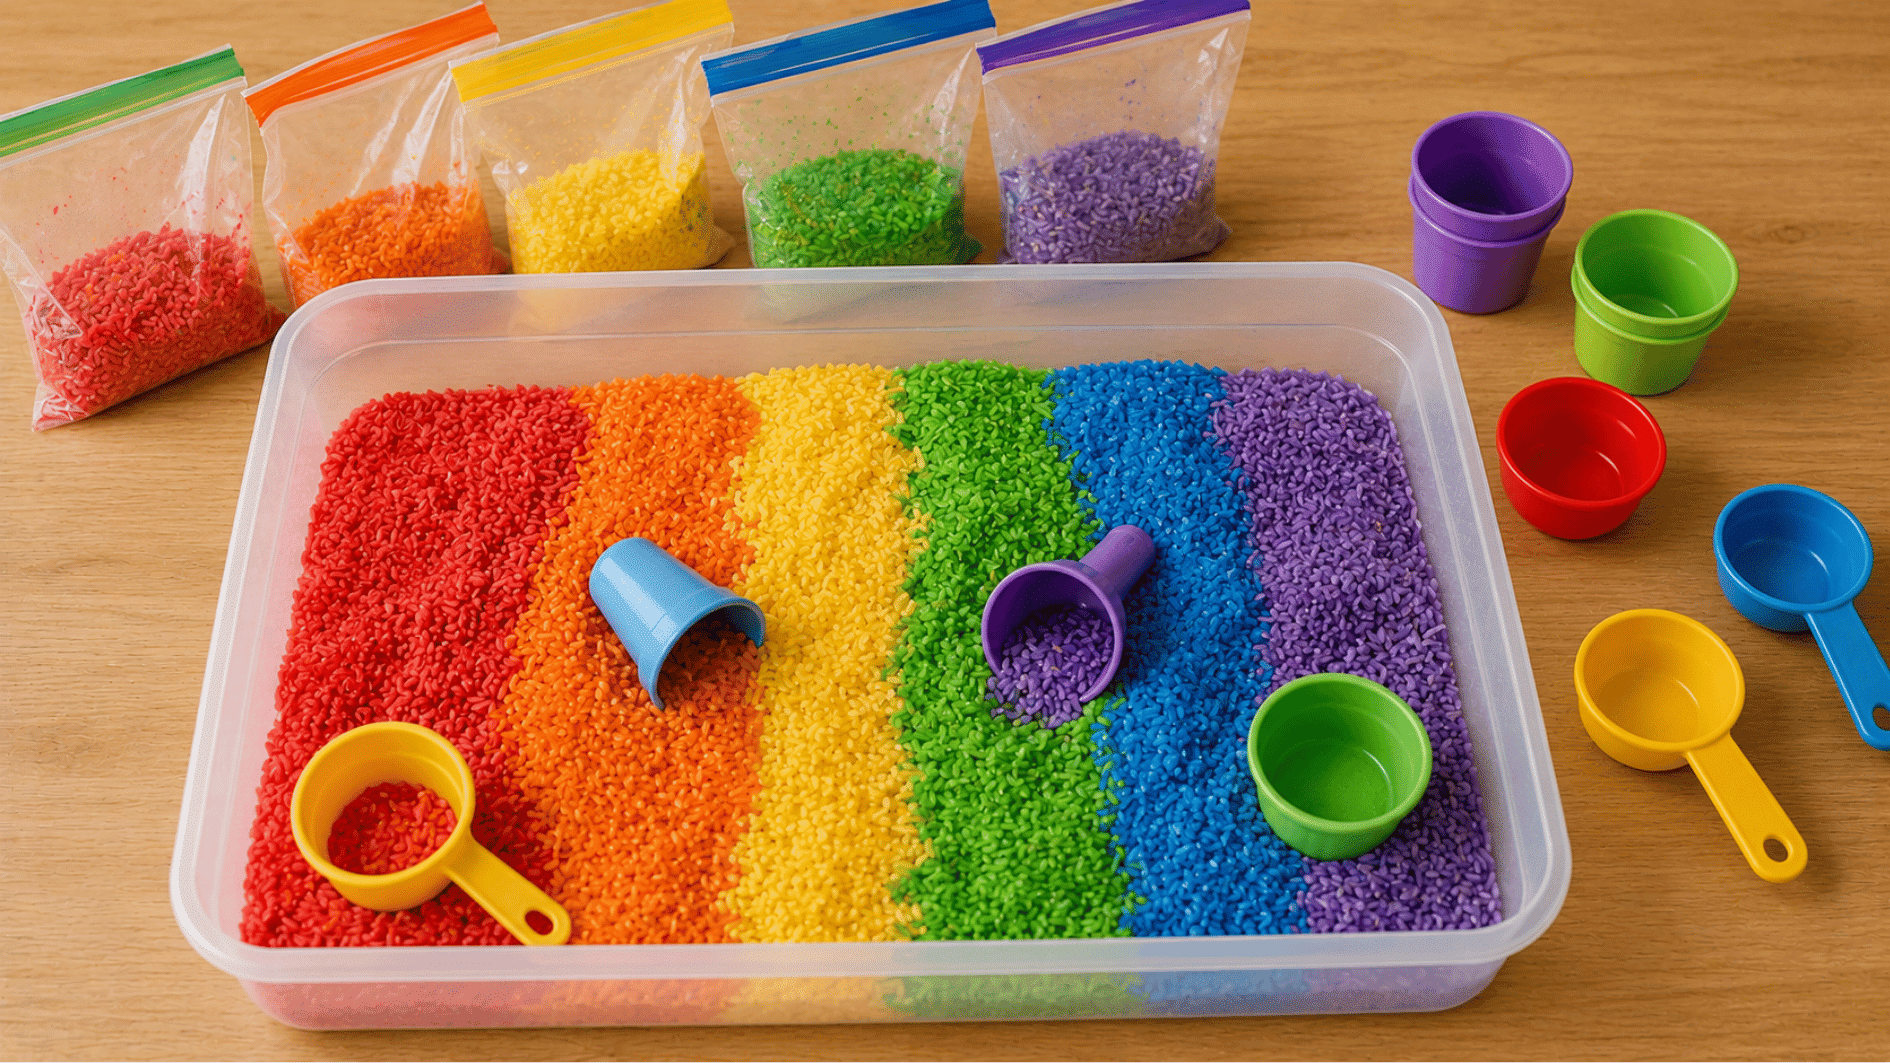
A whole rainbow of dyed rice turns scooping, pouring, and digging into a colorful little world of its own.
| Materials | Quantity | Purpose |
|---|---|---|
| Dry white rice | 2 cups | Base sensory material |
| Food coloring | 4–5 colors | Adds vibrant color to rice |
| White vinegar | 1 tsp per color | Helps dye stick to rice |
| Zip-top bags | 1 per color | Used for dyeing rice safely |
| Large bin | 1 | Container for sensory play |
| Scoops/cups | A few | Used for pouring and sorting |
Steps:
- Add rice, a few drops of food coloring, and a splash of vinegar to a zip-top bag.
- Shake to coat, then spread on a tray to dry for a few hours.
- Repeat with different colors.
- Combine all the colors in a bin and add scoops for pouring and sorting.
11. Texture Rubbing Plates
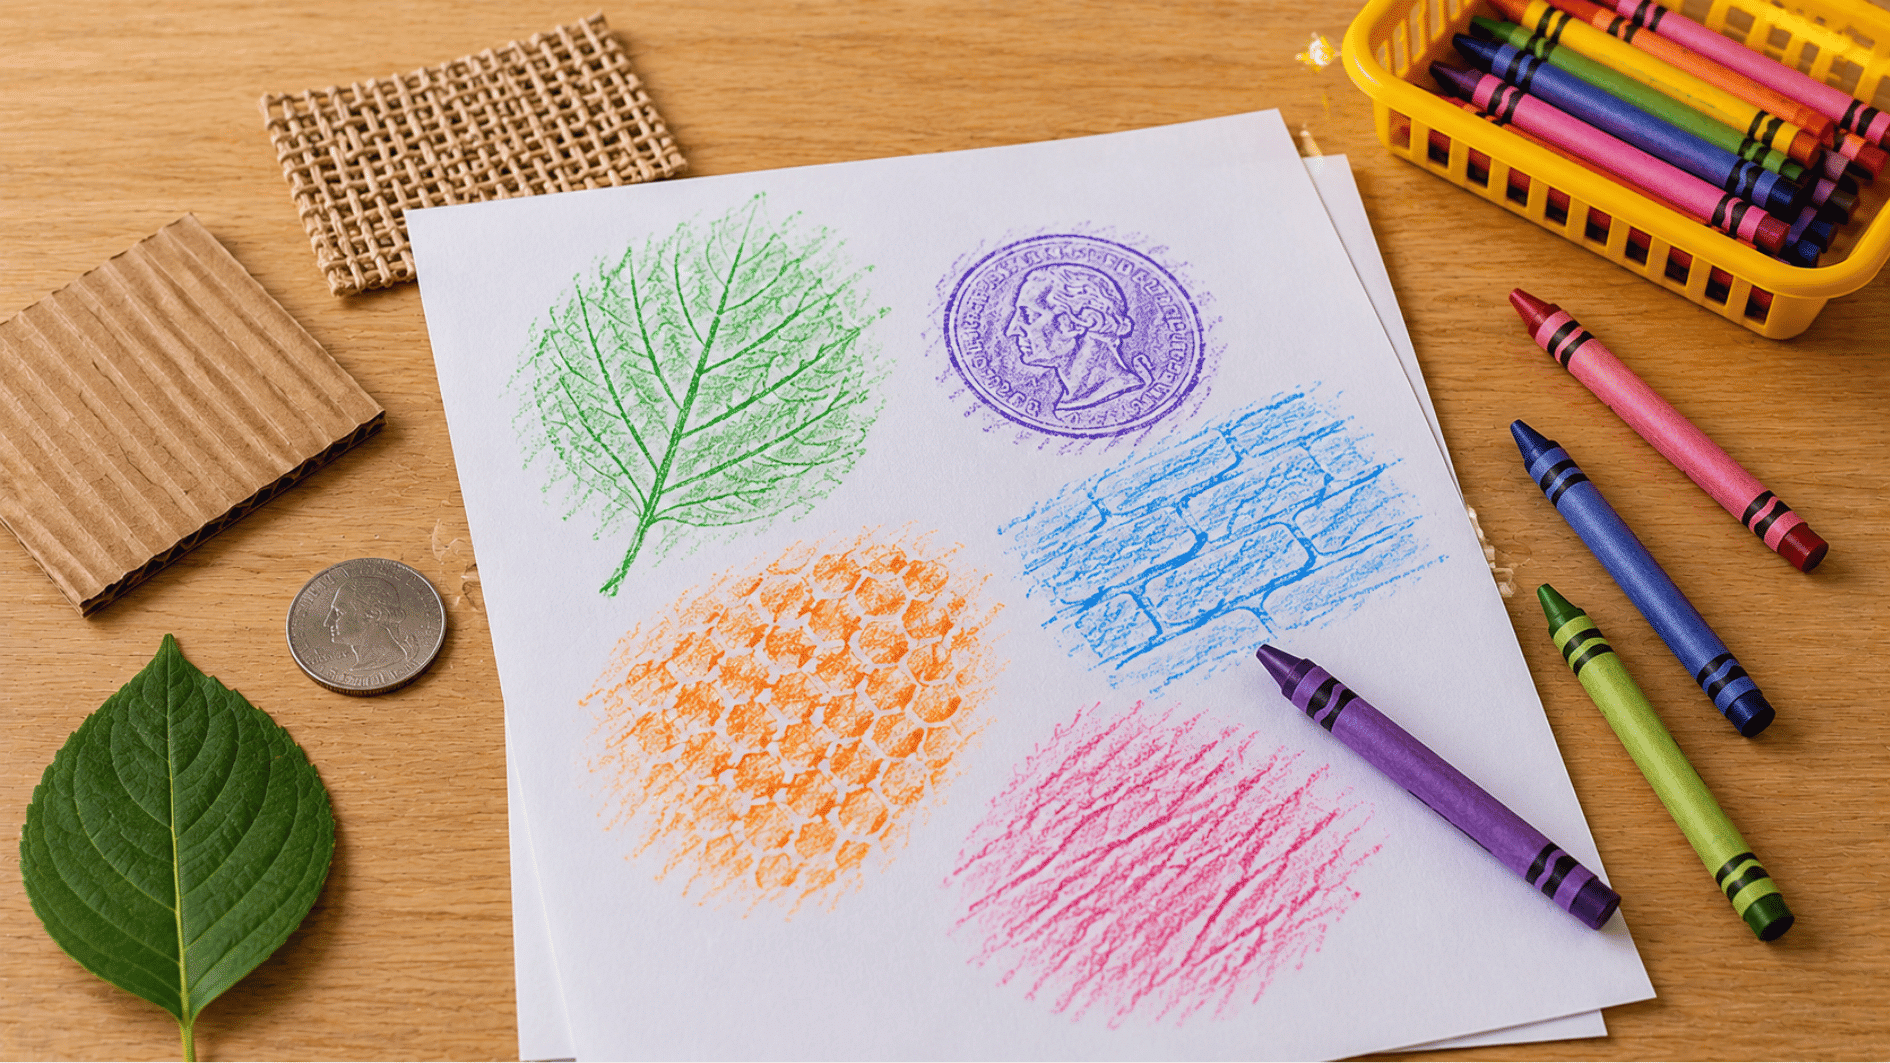
A crayon and a hidden object underneath the paper are all it takes to reveal a pattern that feels like a treasure hunt.
| Materials | Quantity | Purpose |
|---|---|---|
| Thin paper | A few sheets | Surface for rubbing textures |
| Crayons (unwrapped) | 2–3 | Transfers texture patterns |
| Textured objects | 3–4 | Creates varied rubbing patterns |
Steps:
- Choose a textured object, like a leaf, coin, or piece of cardboard.
- Lay the object under a sheet of thin paper and hold both still.
- Rub the side of a crayon firmly and steadily over the area until the texture appears.
- Try a few more objects on the same page for a mixed-pattern effect.
12. Sticky Wall Collage
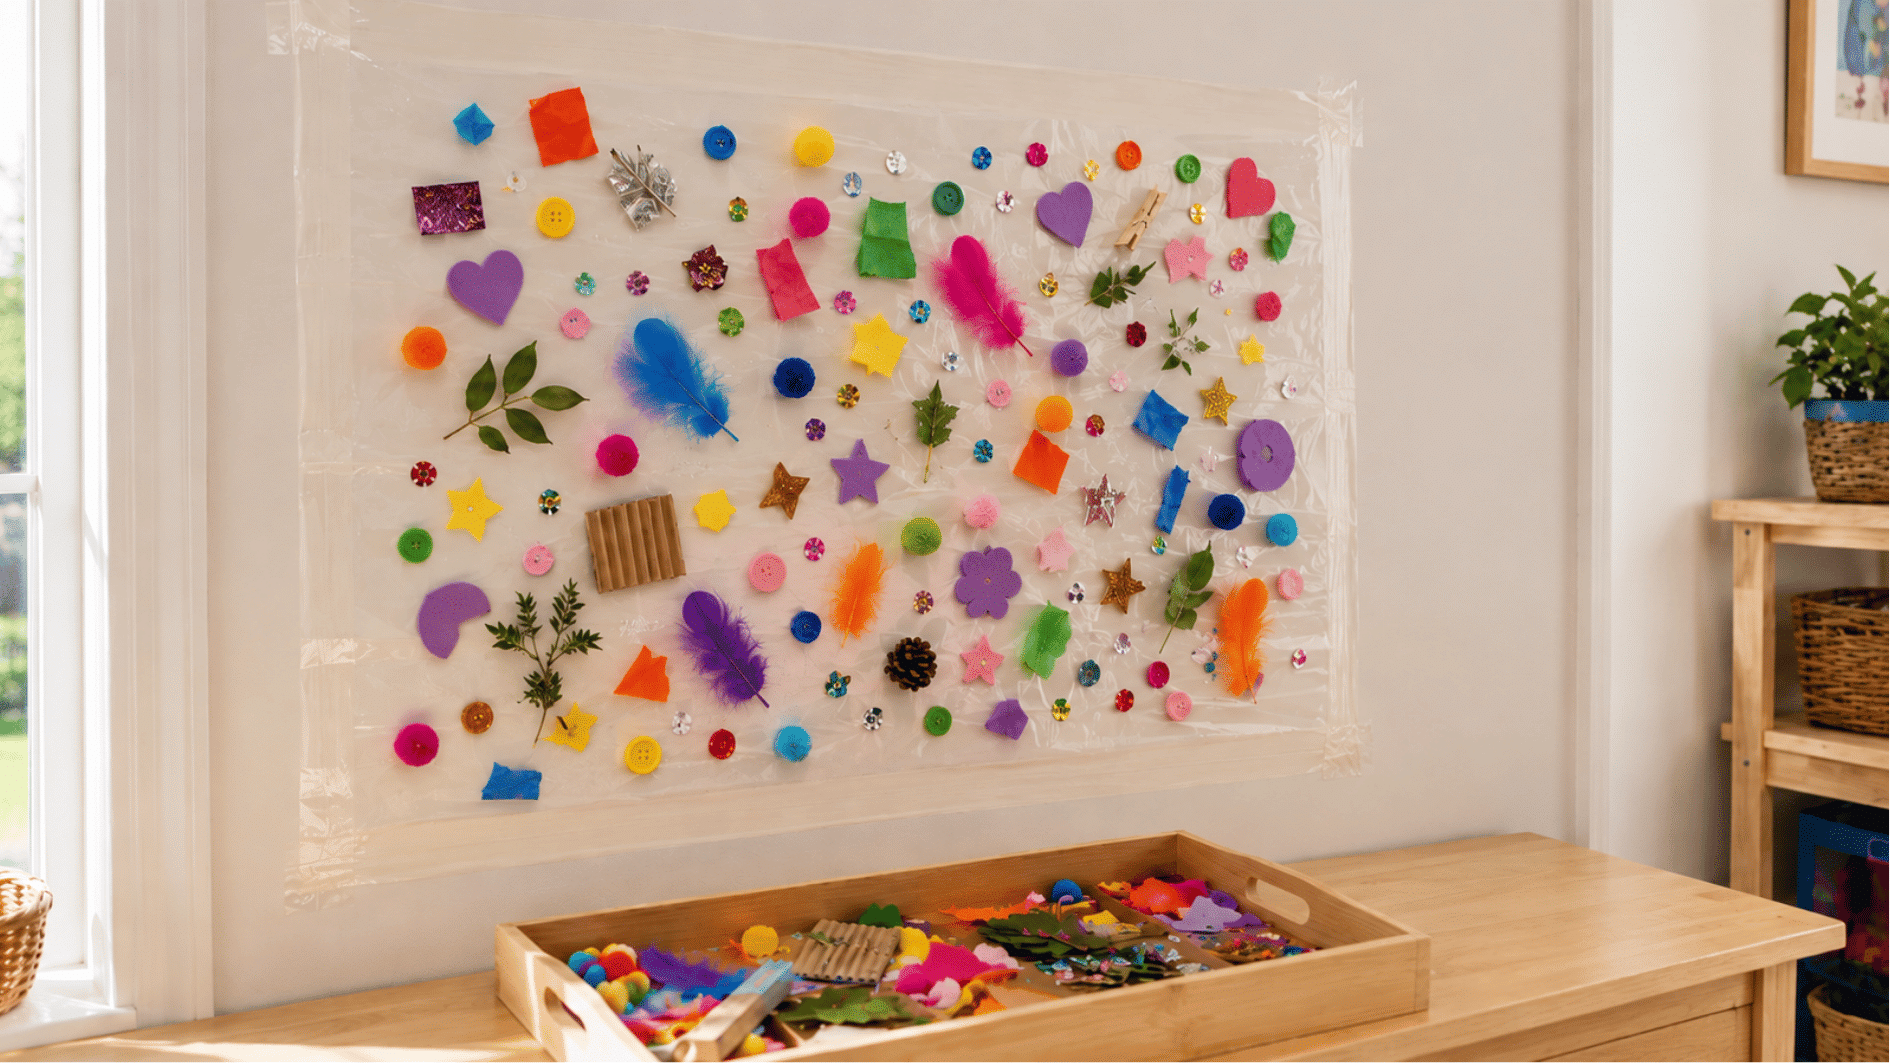
A wall of sticky tape becomes an instant, no-glue canvas where anything goes and nothing’s permanent.
| Materials | Quantity | Purpose |
|---|---|---|
| Clear packing tape | 1 large sheet | Sticky base for collage |
| Wall/window space | 1 | Surface for mounting collage |
| Light craft materials | A tray full | Items for sticking and decorating |
Steps:
- Tape a large piece of tape to the surface, sticky side facing out, securing all four edges.
- Set the tray within reach.
- Let kids press pieces anywhere they like.
- Peel the whole thing down in one piece when finished.
13. Recycled Box Robots
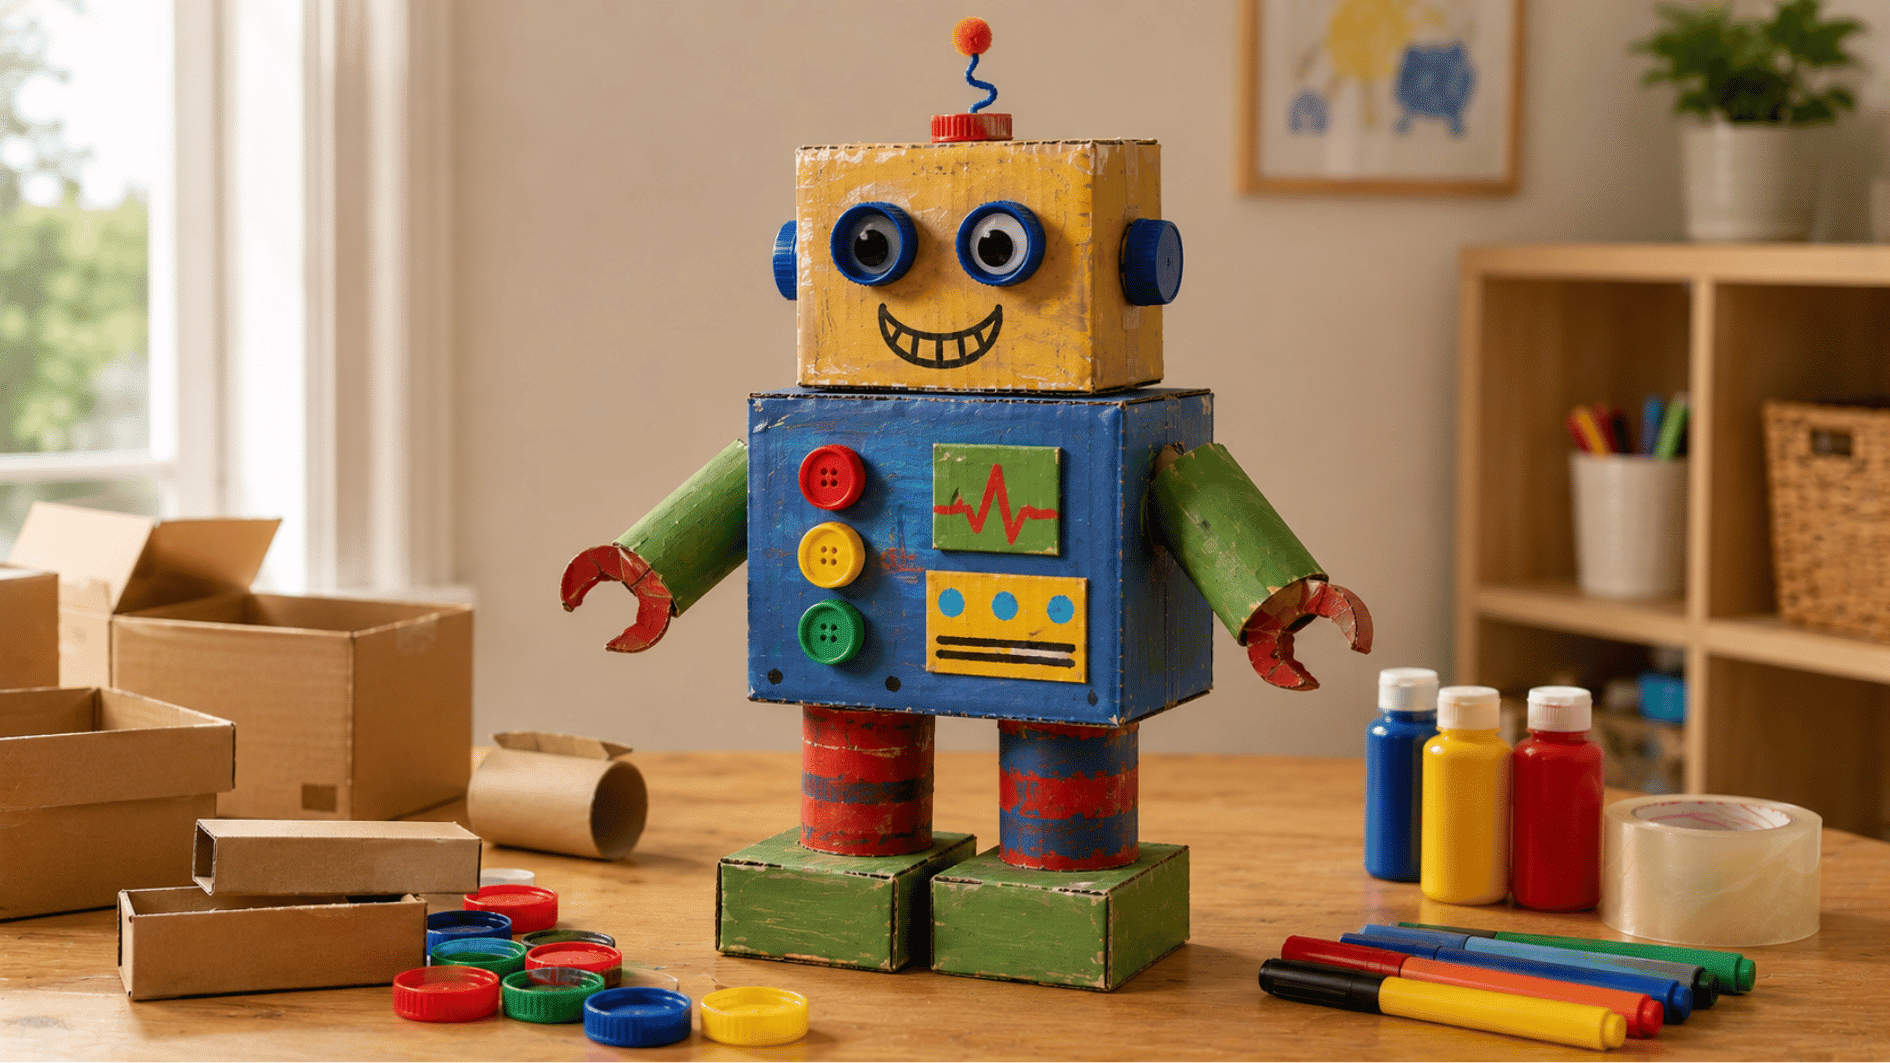
Cardboard scraps that were headed for the recycling bin get reassembled into a robot with its very own personality.
| Materials | Quantity | Purpose |
|---|---|---|
| Small boxes | 3–4 | Forms robot body parts |
| Toilet paper rolls | 2 | Used as arms or legs |
| Bottle caps | A handful | Decorative buttons/eyes |
| Tape | A few strips | Holds the robot structure together |
| Paint/markers | 2–3 colors | Adds design and personality |
Steps:
- Let kids paint the pieces first and set them aside to dry.
- Stack and tape boxes into a robot body.
- Attach rolls as arms or legs.
- Add caps as buttons or eyes.
14. Leaf and Stick Stick-Puppets
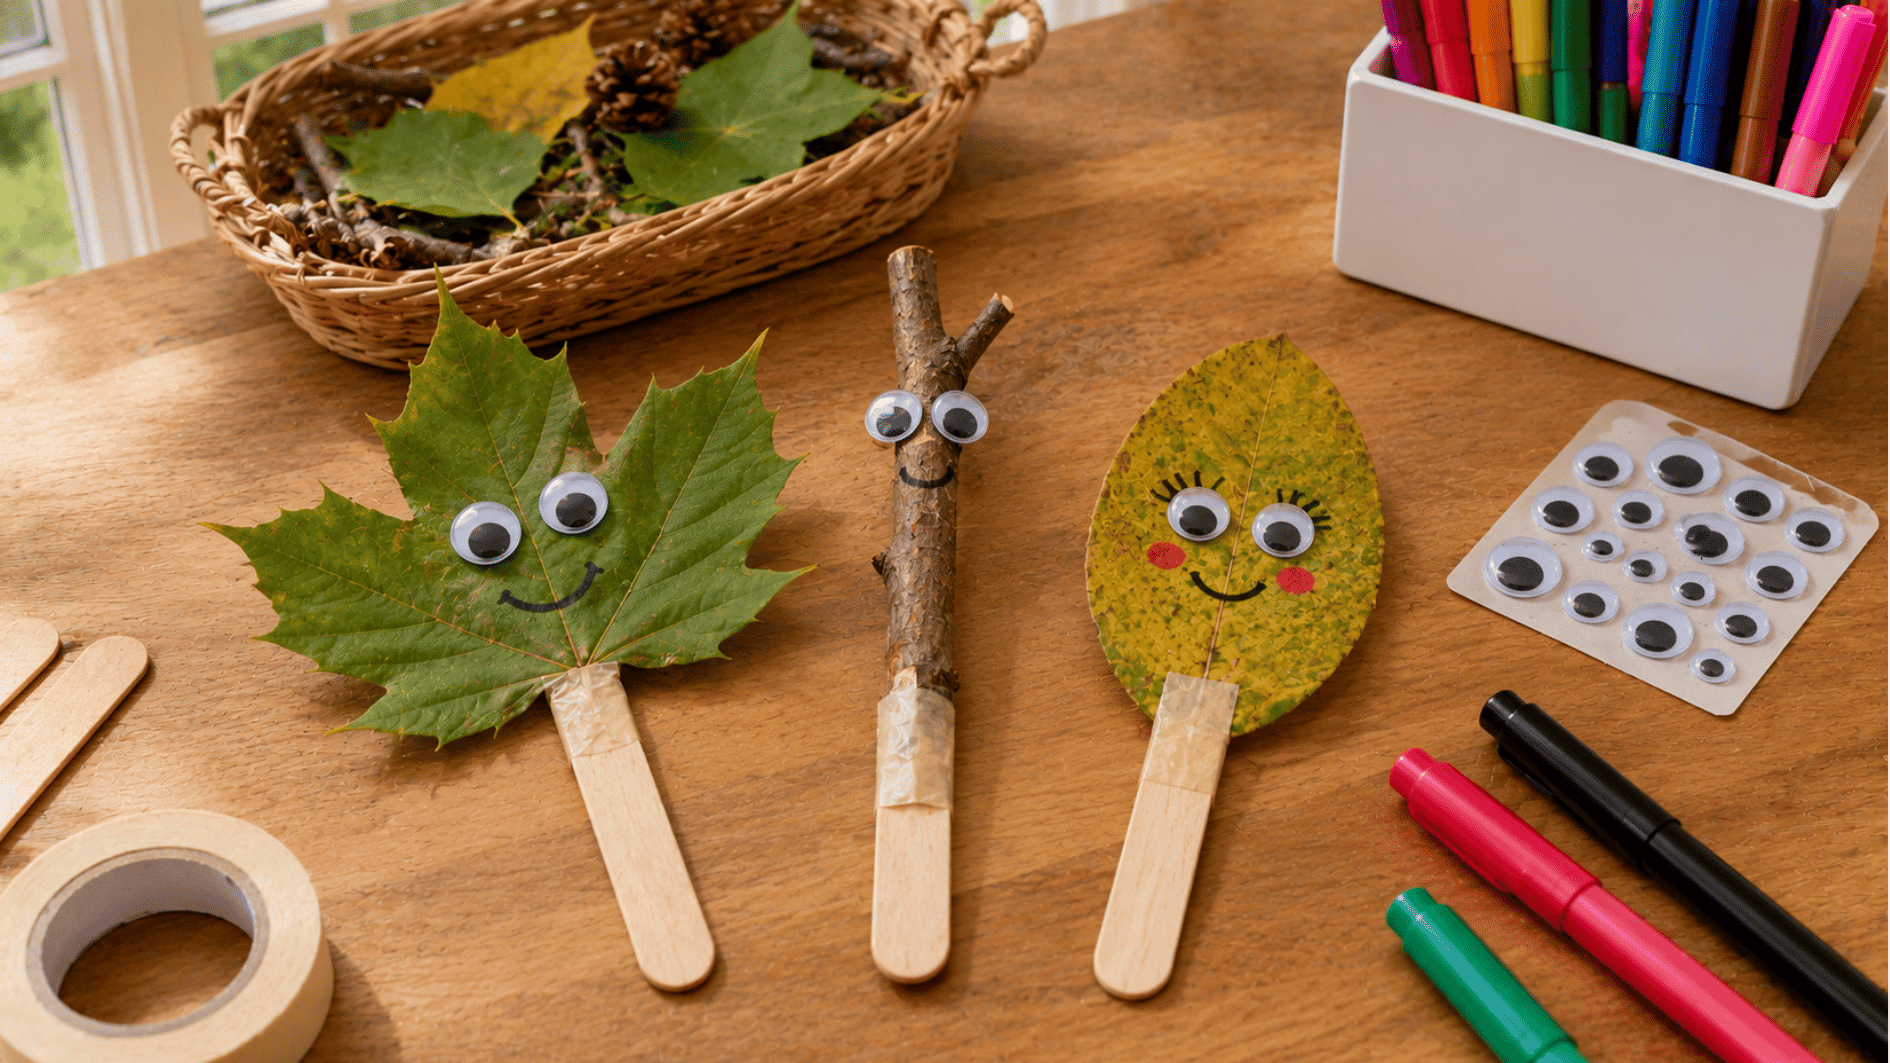
A leaf or twig picked up on a walk gets a face, a name, and a starring role in pretend play once you’re back inside.
| Materials | Quantity | Purpose |
|---|---|---|
| Leaves/sticks | 2–3 | Main puppet body elements |
| Craft sticks | 2–3 | Handles for puppets |
| Tape/glue | 1 | Attaches natural materials |
| Googly eyes | 1 pair per puppet | Adds facial expression |
| Markers | A few | Draws facial details |
Steps:
- Go on a short walk to collect a few favorite leaves or sticks.
- Tape each one to a craft stick handle.
- Glue on googly eyes.
- Add a face or pattern with markers.
Creative Activities for Two-Year-Olds
Toddlers this age are still building basic motor control, so the best crafts for 2-year-olds lean on big movements, large pieces, and almost no waiting for things to dry.
15. Water Cup Play Station
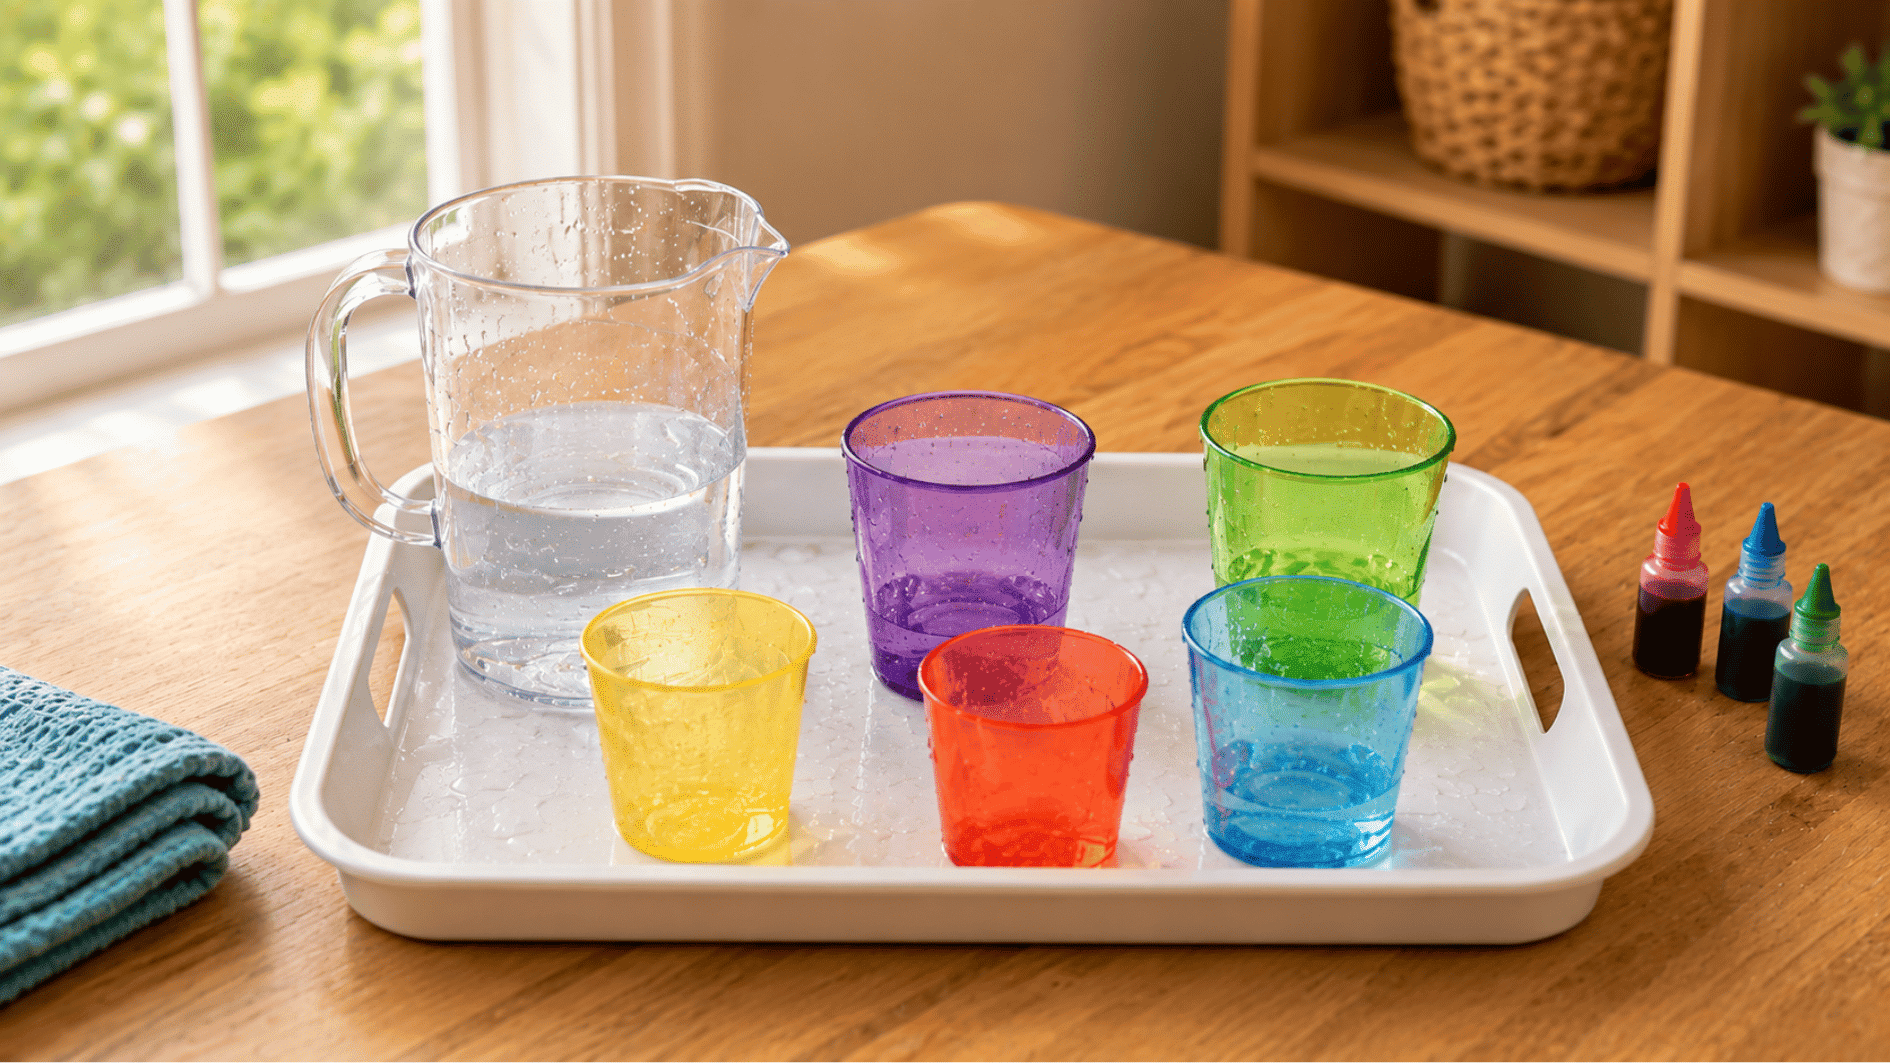
It feels like simple play, but quietly pouring water between cups builds focus, coordination, and a calming rhythm that kids return to again and again.
| Materials | Quantity | Purpose |
|---|---|---|
| Cups of different sizes | 3–4 | Builds pouring and hand coordination |
| Jug of water | 1 | Main water source for pouring play |
| Tray | 1 | Contains spills and keeps the area organized |
| Food coloring (optional) | A few drops | Adds visual interest |
Steps:
- Set up a small tray with cups of different sizes and a jug of water.
- Let children pour, fill, and transfer water between containers at their own pace.
- Add a few drops of food coloring for extra visual interest, if you like.
- Let them repeat freely; the repetition is part of the activity.
16. Large Block Stacking
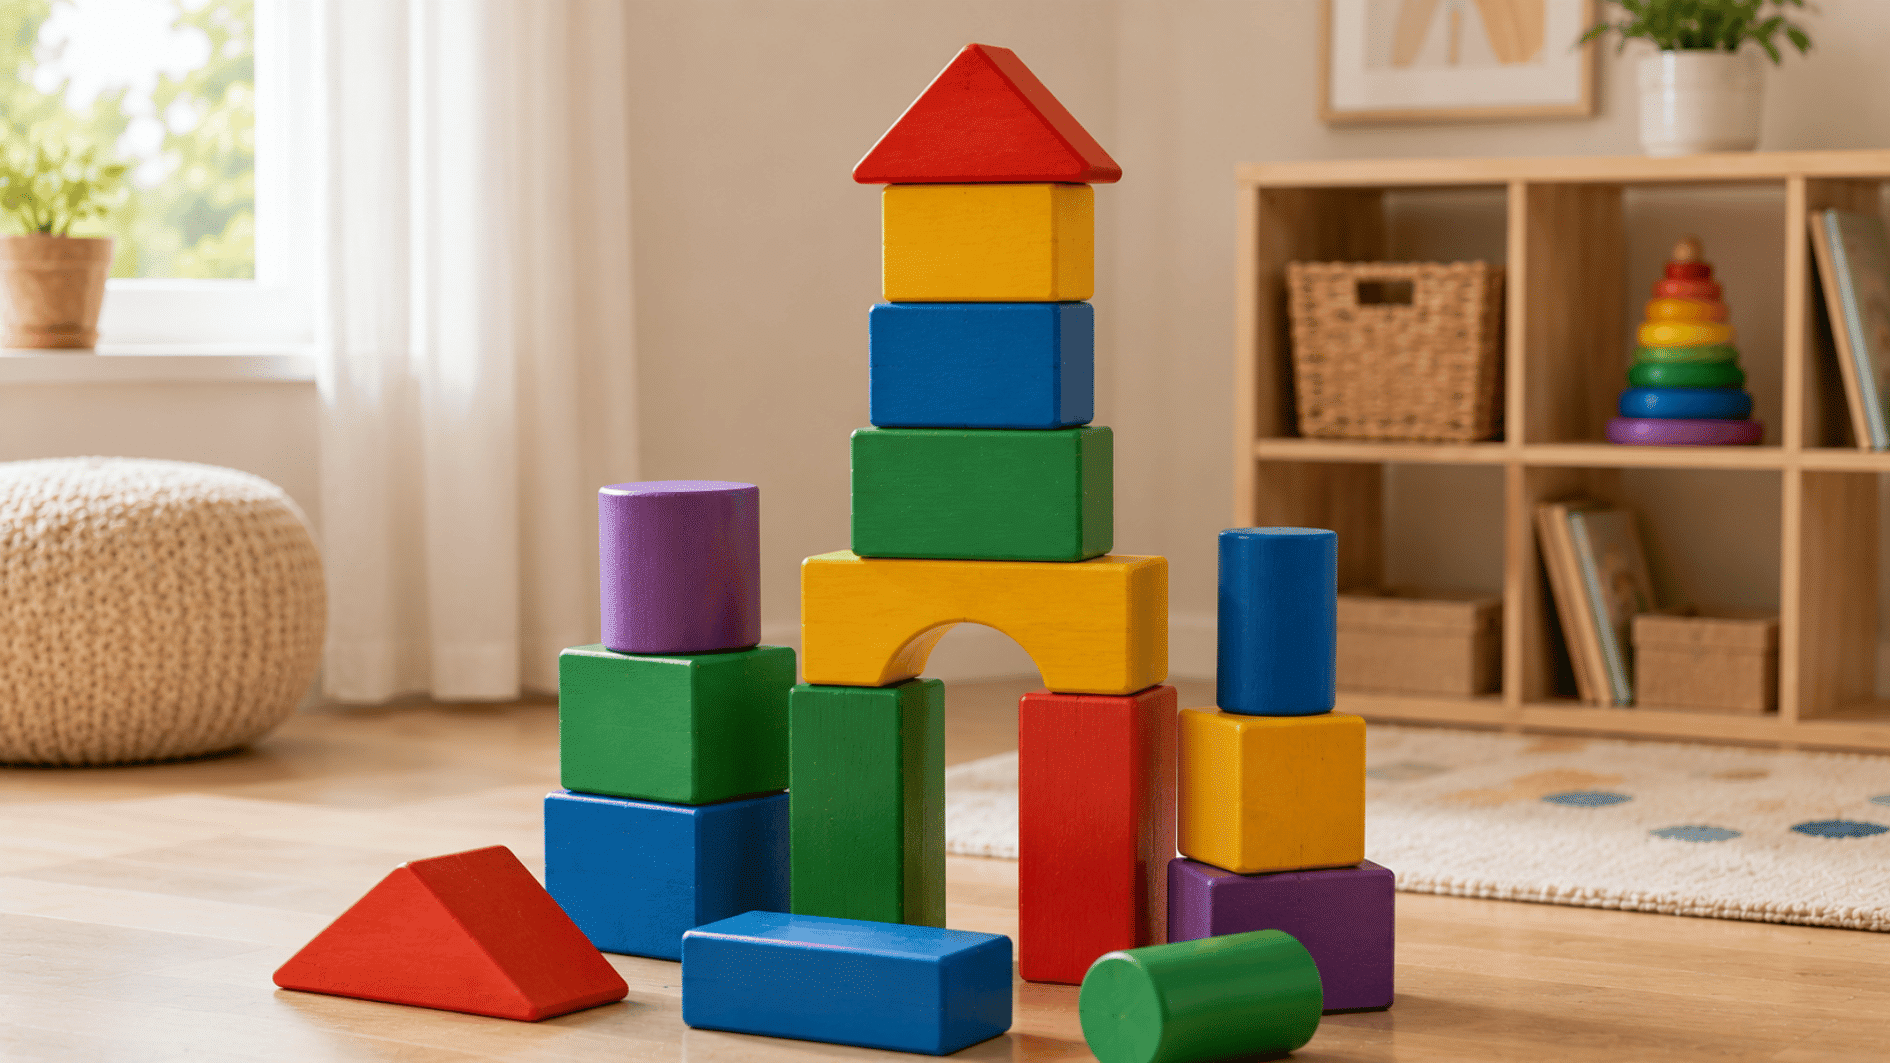
Bigger blocks mean fewer frustrated tumbles and more confident towers, a hands-on way for kids to discover balance on their own terms.
| Materials | Quantity | Purpose |
|---|---|---|
| Oversized soft/wooden blocks | 6–8 | Develops balance, spatial awareness, and motor control |
| Open floor space | 1 area | Safe area for free movement and stacking |
Steps:
- Provide soft or wooden oversized blocks on a clear, open floor space.
- Let children stack them freely into towers, bridges, or shapes.
- Let blocks fall and encourage rebuilding as part of the process.
- Repeat with taller or different arrangements as confidence grows.
17. Homemade Play Dough Molding
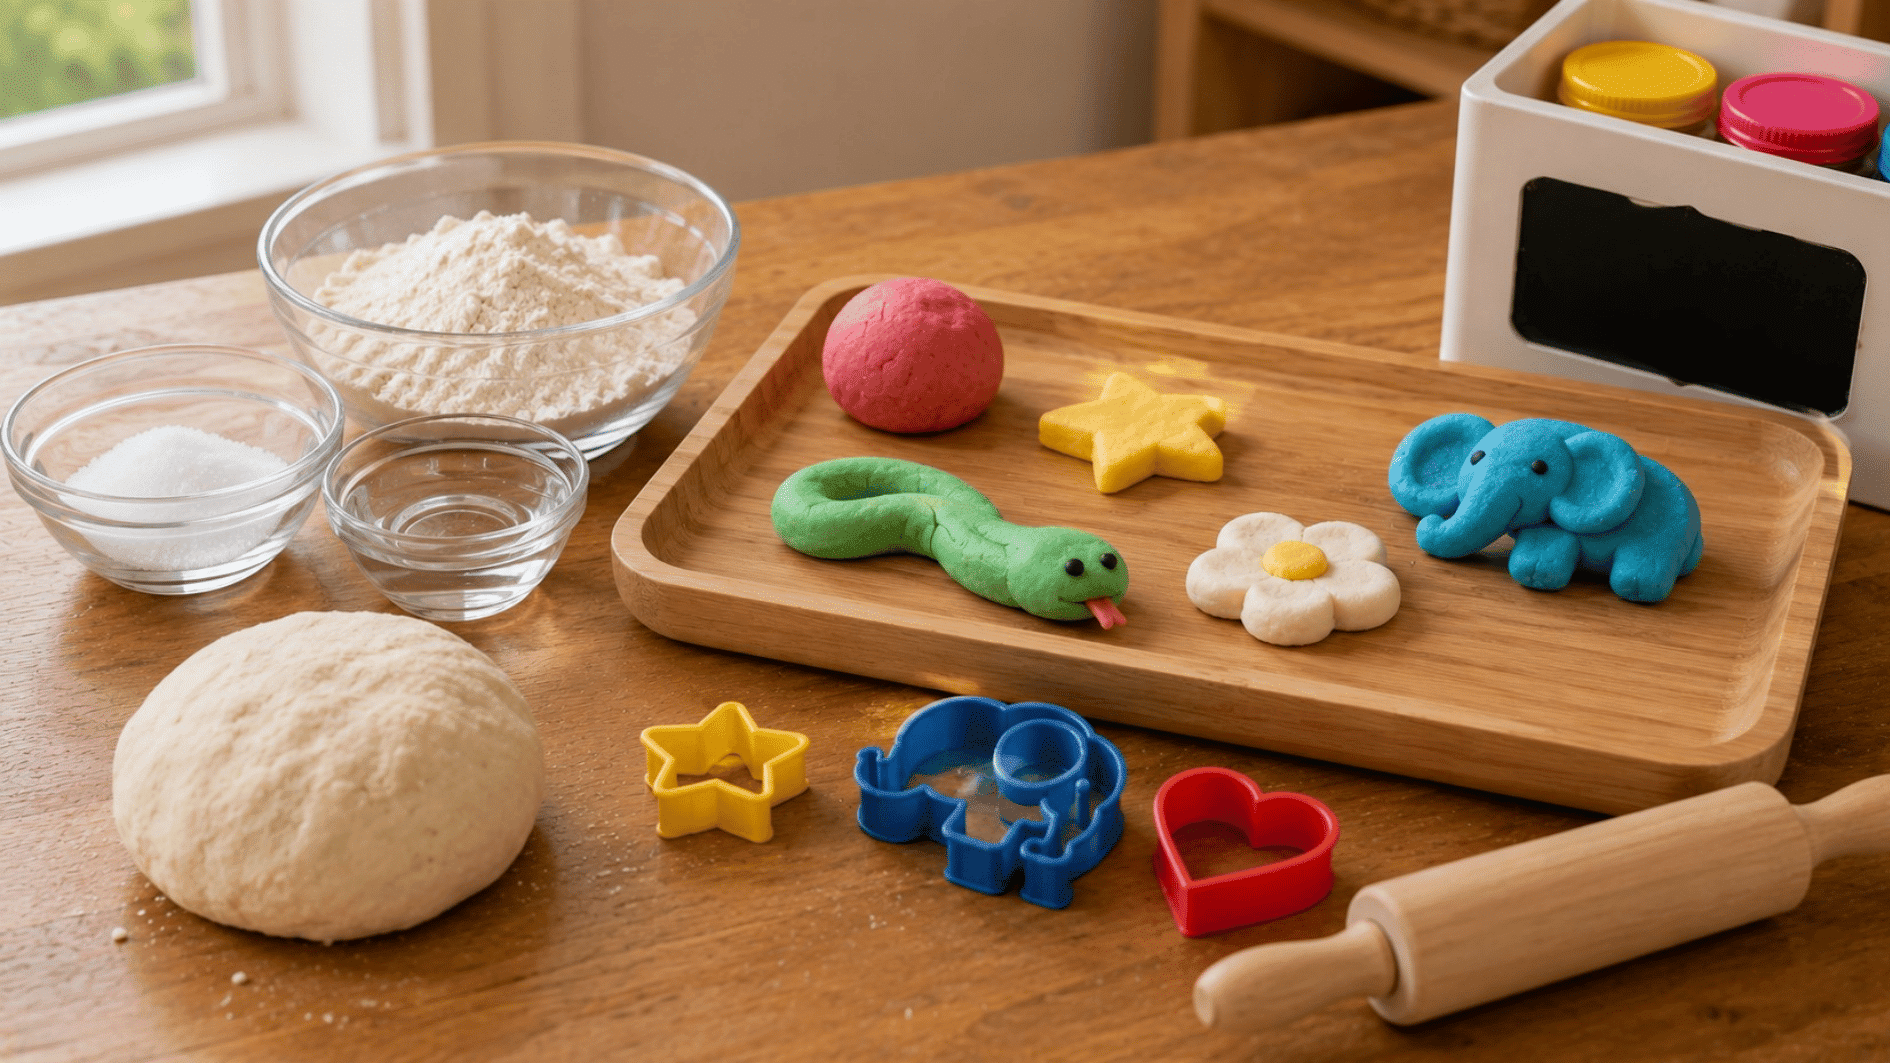
Made from pantry staples and safe even for curious mouths, this dough turns squeezing and rolling into a worry-free sensory adventure.
| Materials | Quantity | Purpose |
|---|---|---|
| Flour | 2 cups | Forms the base of edible dough |
| Salt | ½ cup | Helps preserve texture and structure |
| Water | ~1 cup | Binds ingredients into moldable dough |
Steps:
- Mix flour, salt, and water at home into a soft, pliable dough.
- Let kids press, roll, and shape it into simple forms.
- Encourage shapes like balls, snakes, or simple animals.
- Store in an airtight container to reuse for the next session.
18. Sensory Zip Bags
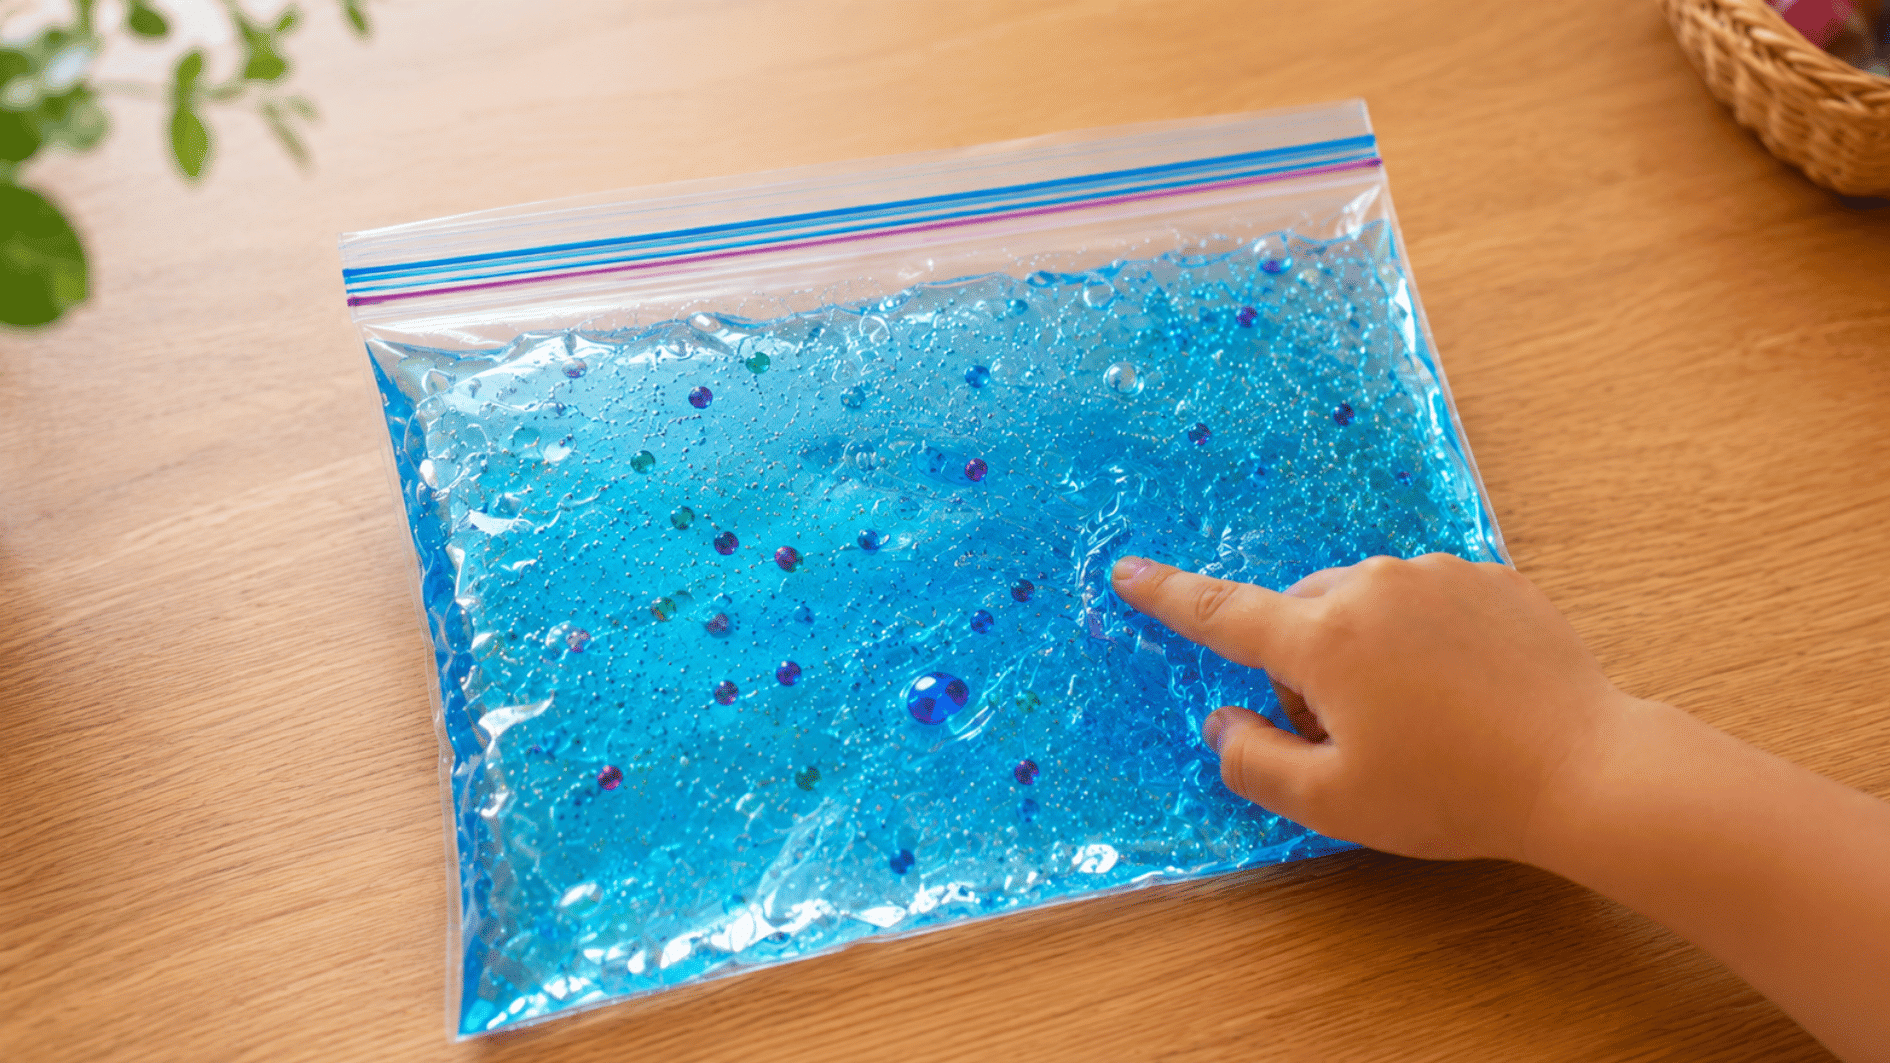
A mess-free pouch of shifting gel and glitter turns finger-pressing into a quietly mesmerizing little world kids can explore with zero cleanup.
| Materials | Quantity | Purpose |
|---|---|---|
| Hair gel / clear gel | ½ cup | Creates smooth sensory movement |
| Small beads or glitter | A handful | Adds visual stimulation |
| Zip-top bag | 1 | Contains sensory materials safely |
| Tape | A few strips | Secures bag in place |
Steps:
- Fill a zip bag with gel, then add small beads or glitter.
- Seal the bag tightly, pressing out excess air.
- Tape it onto a flat surface so it stays in place.
- Let kids press and move the contents with their fingers from outside the bag.
19. Oversized Sponge Printing
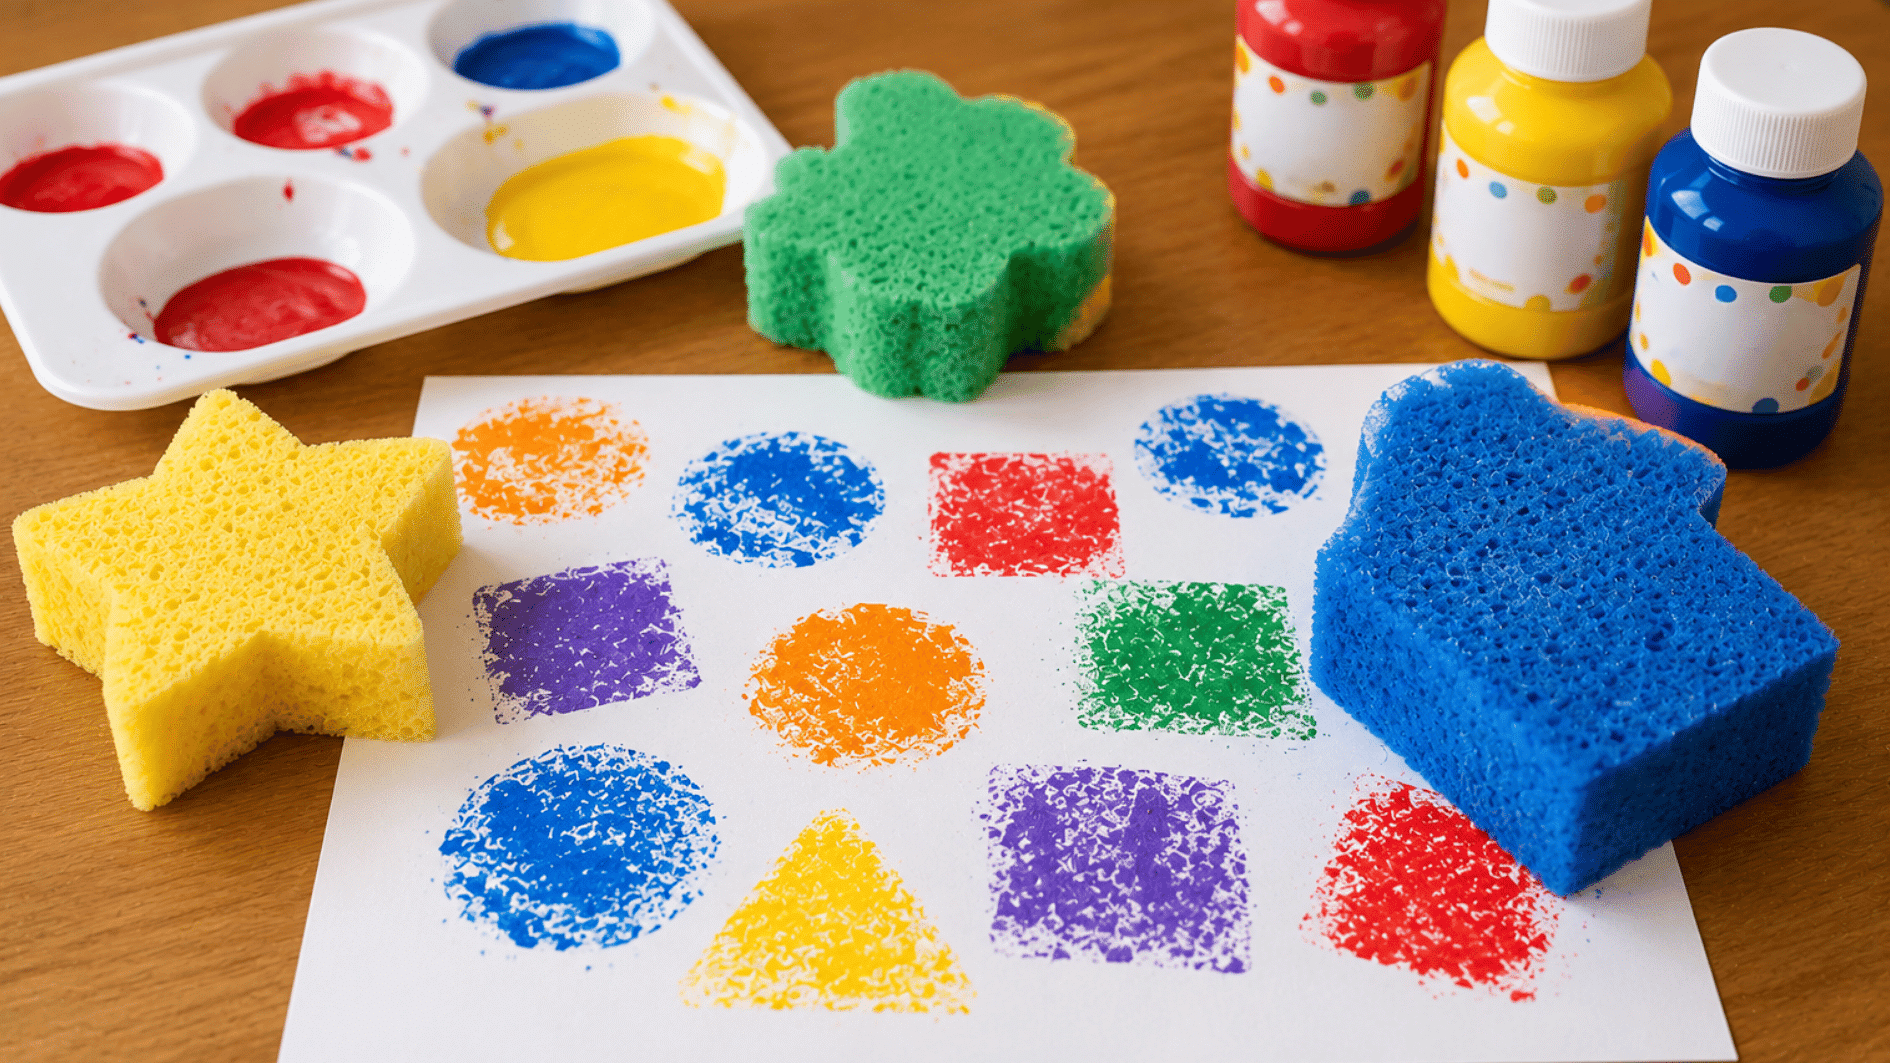
Big sponges are easy for little hands to grip, so bold, colorful prints come together quickly and keep kids excited to try again.
| Materials | Quantity | Purpose |
|---|---|---|
| Oversized sponges | 2–3 | Easy stamping tool for toddlers |
| Washable paint | 2–3 colors | Creates bold prints |
| Paper | 1–2 sheets | Surface for stamping activity |
Steps:
- Cut or use large sponges sized for a toddler’s grip.
- Dip a sponge into washable paint.
- Press it onto paper to create a shape or texture.
- Repeat with different sponges and colors to build a pattern.
Practical Craft Setup Tips
A simple setup can make craft time safer, calmer, and easier to manage. Preparing the space in advance also gives you more time to supervise and support your child.
- Prepare Everything First: Open the paint, cut the paper, cover the table, and keep cleaning supplies nearby before your child starts. This reduces waiting and helps you stay focused on supervision.
- Offer Fewer Materials: Start with two paint colors and one or two tools. A smaller selection keeps the activity manageable and prevents young children from feeling distracted or overwhelmed.
- Protect the Work Area: Cover the table or floor with a washable mat, old shower curtain, or plastic tablecloth. Keep a damp cloth and a dry towel close for quick cleanup.
- Describe Rather Than Correct: Talk about what your child is doing instead of changing their artwork. Comments such as “You mixed two colors” or “That paper feels rough” support language and observation skills.
- Let Children Make Their Own Choices: Avoid moving pieces, fixing uneven lines, or asking the child to copy a sample exactly. Let them choose colors, shapes, and placements independently.
Final Thoughts
Trying out easy crafts for 3-5-year-olds can turn ordinary days into small moments of creativity, learning, and connection at home.
These simple activities don’t need perfect setups, just a few basic materials and a little time together. You can also mix in a craft from the list for a 2-year-old to keep younger toddlers included in the fun.
Start with one or two ideas that match your child’s interest and slowly build a routine around playful crafting. The goal isn’t perfection, but shared discovery and happy little hands at work.
Frequently Asked Questions
What Craft Supplies are Safe for Toddlers?
Use washable, non-toxic supplies, large materials, blunt tools, and age-appropriate items under close adult supervision.
Can Children with Sensitive Skin Take Part in Crafts?
Yes, but use fragrance-free, water-based products, test unfamiliar products on a small area of skin, and stop if redness, itching, or irritation occurs.
Can Crafts Help Identify Developmental Delays?
Crafts may help parents observe how a child grips, coordinates, communicates, and follows directions, but they cannot diagnose a developmental delay.