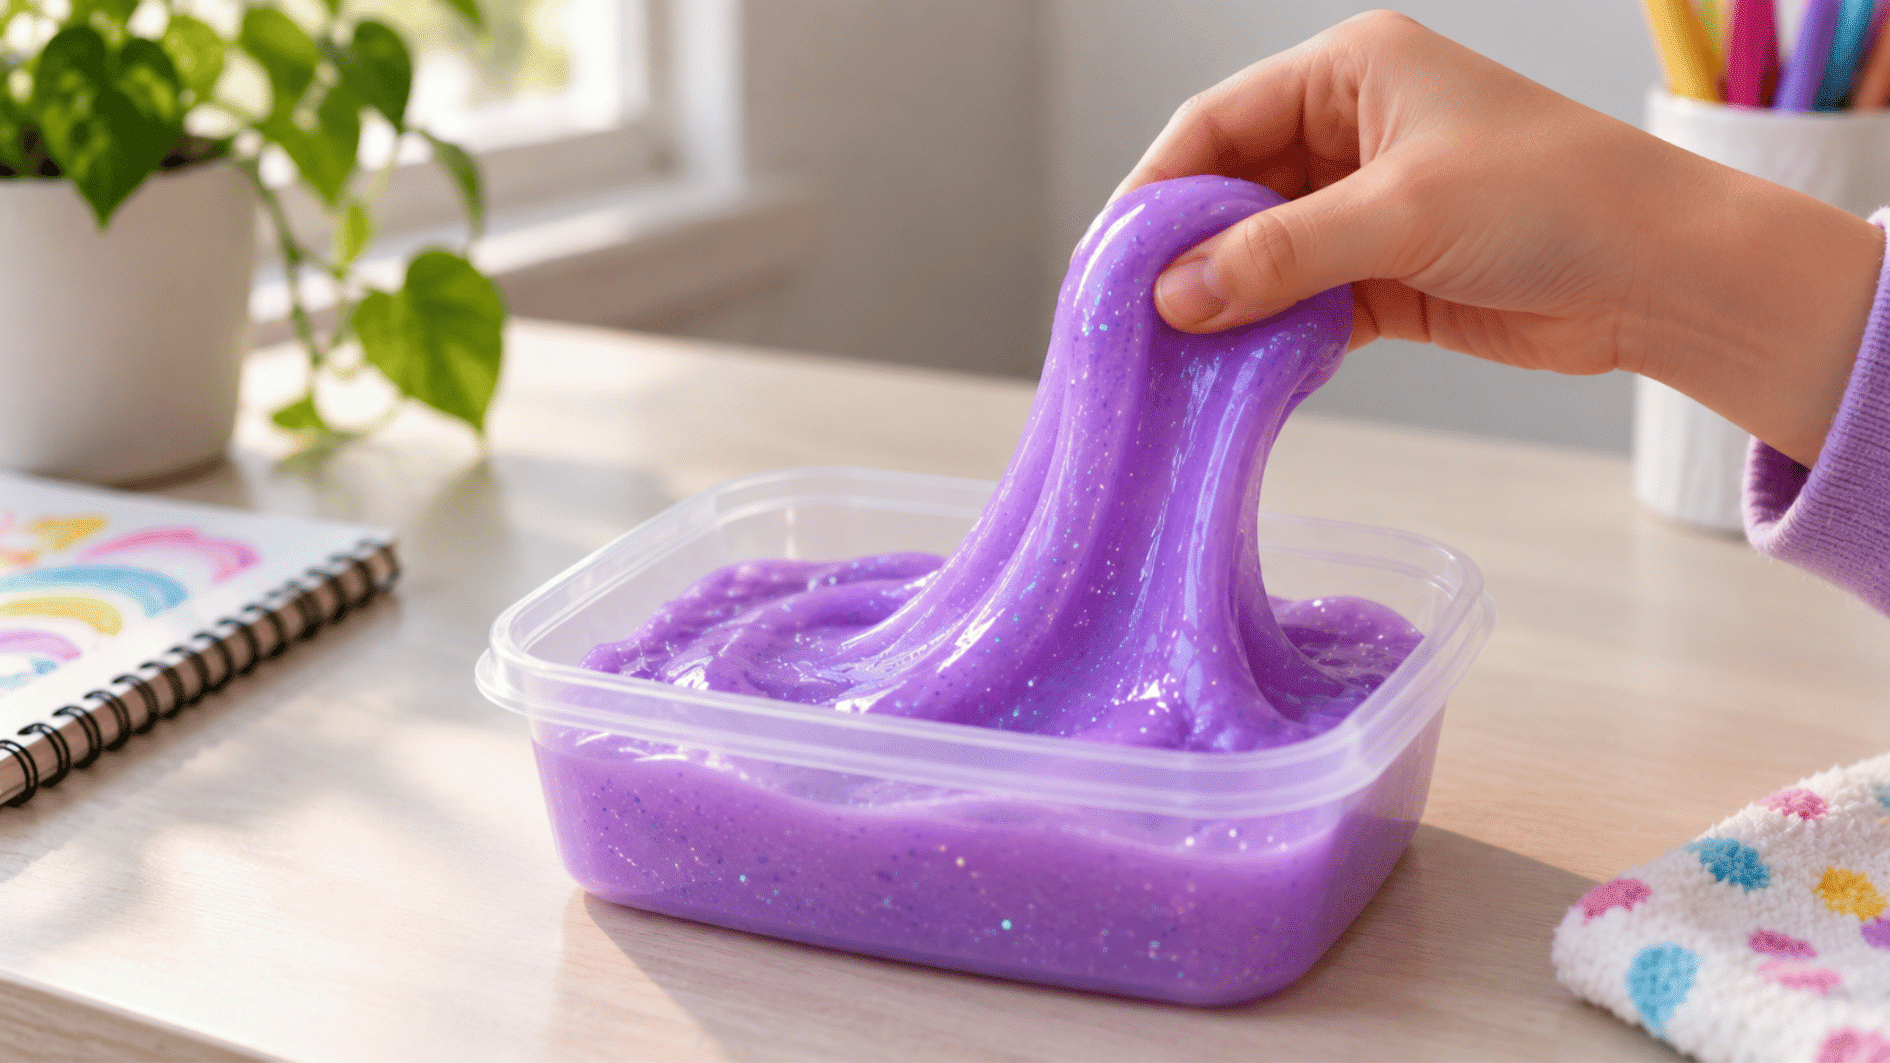
Making slime at home can seem messy or complicated at first, but the process gets much easier once you understand what each ingredient is doing.
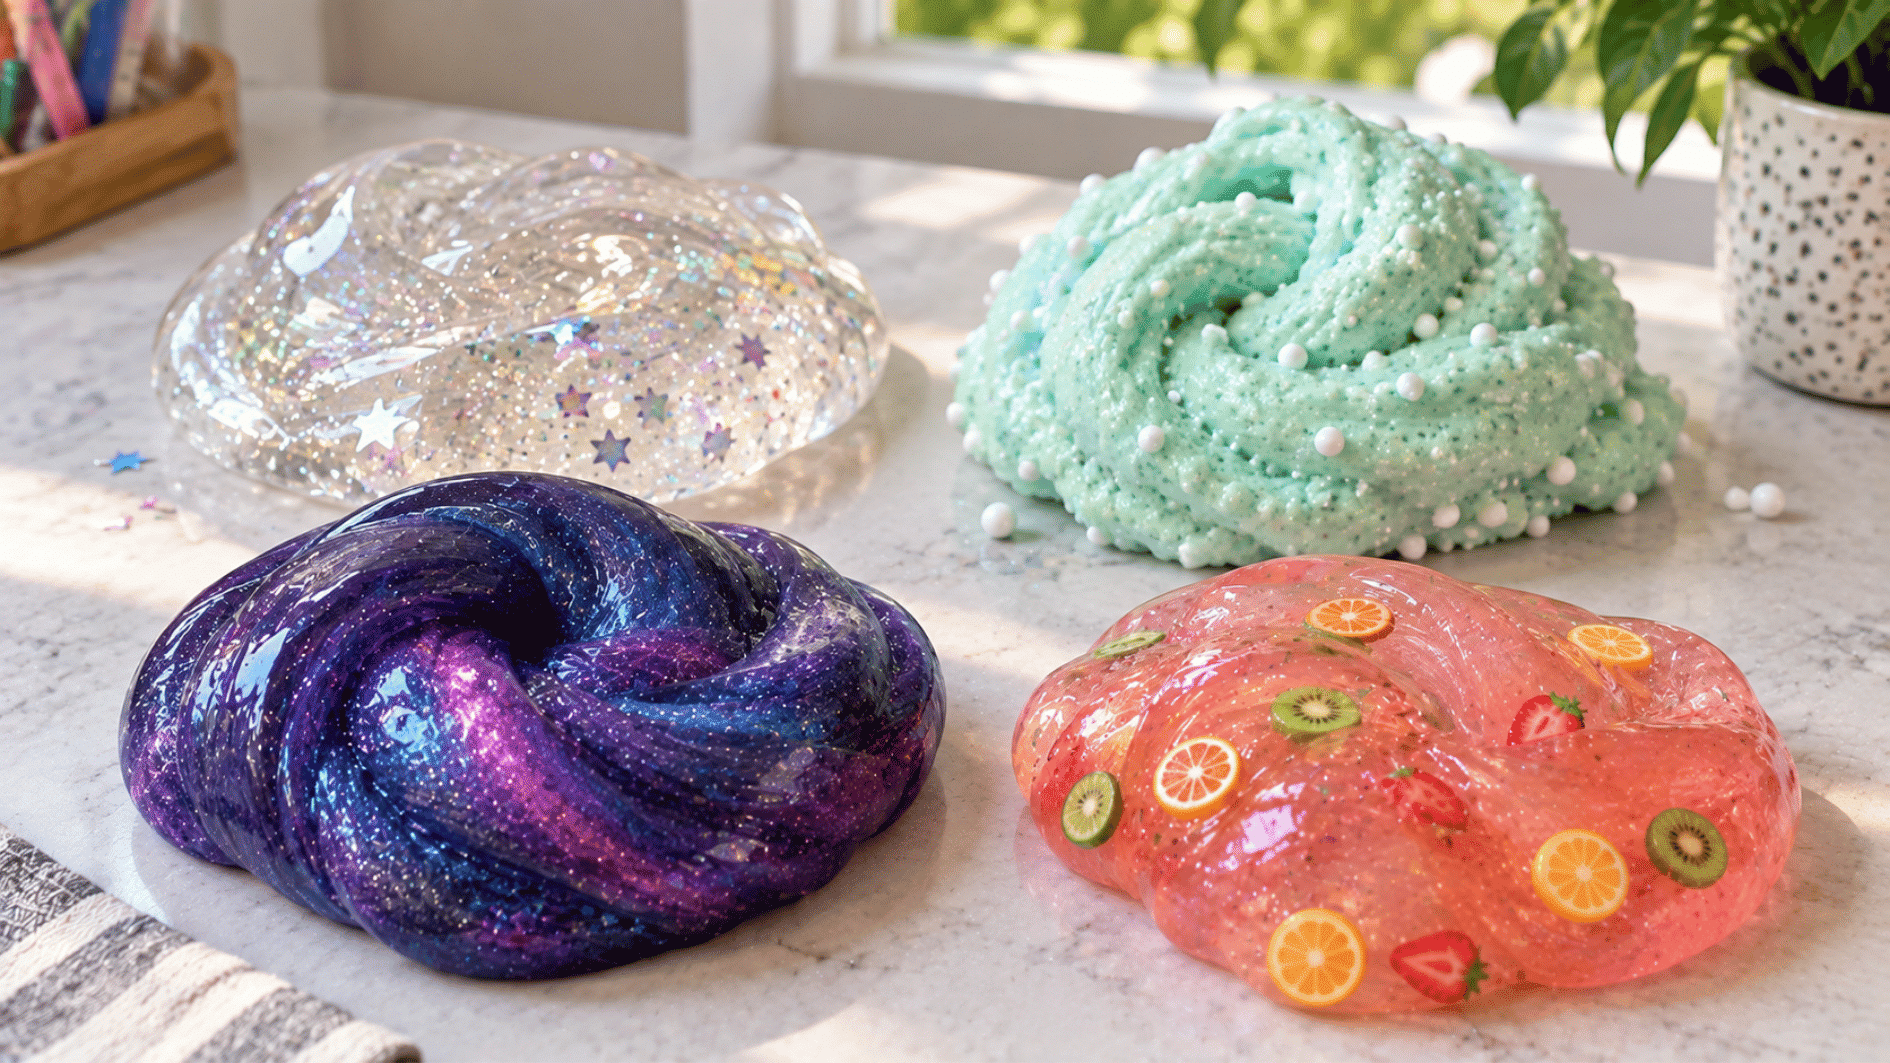
Slime making also leaves plenty of room for creativity, since small changes in color, add-ins, or texture can make each batch feel different. Learning about the different types of slime can also give you ideas for textures and add-ins to try once you understand the basic recipe.
Beginners usually get better results by working slowly, especially when adding activator, because too much at once can quickly make the slime stiff. Once you learn how the mixture should look and feel, the next batch becomes much easier to judge.
Ingredients & Materials List to Get Started
|
Ingredient or Supply |
Amount |
Purpose |
|---|---|---|
|
White school glue |
1/2 cup |
Creates the main slime base |
|
Baking soda |
1/2 teaspoon |
Helps thicken the mixture |
|
Contact lens solution |
1–2 tablespoons |
Activates the glue and forms slime |
|
Food coloring |
A few drops |
Adds color to the slime |
|
Mixing bowl |
1 |
Holds the ingredients while mixing |
|
Spoon or craft stick |
1 |
Helps combine the ingredients evenly |
|
Glitter or foam beads |
Optional |
Adds texture and decoration |
Note: Check that your contact lens solution lists boric acid or sodium borate on the label; without it, it won’t activate the slime. If you’d rather skip boric-acid activators altogether, see the borax-free variation further down.
How to Make Slime at Home: Step-by-Step Guide
Making slime works best when you add each ingredient in the right order and adjust the texture gradually. These five steps keep the process simple and easy to follow.
Step 1: Pour the Glue Into a Bowl
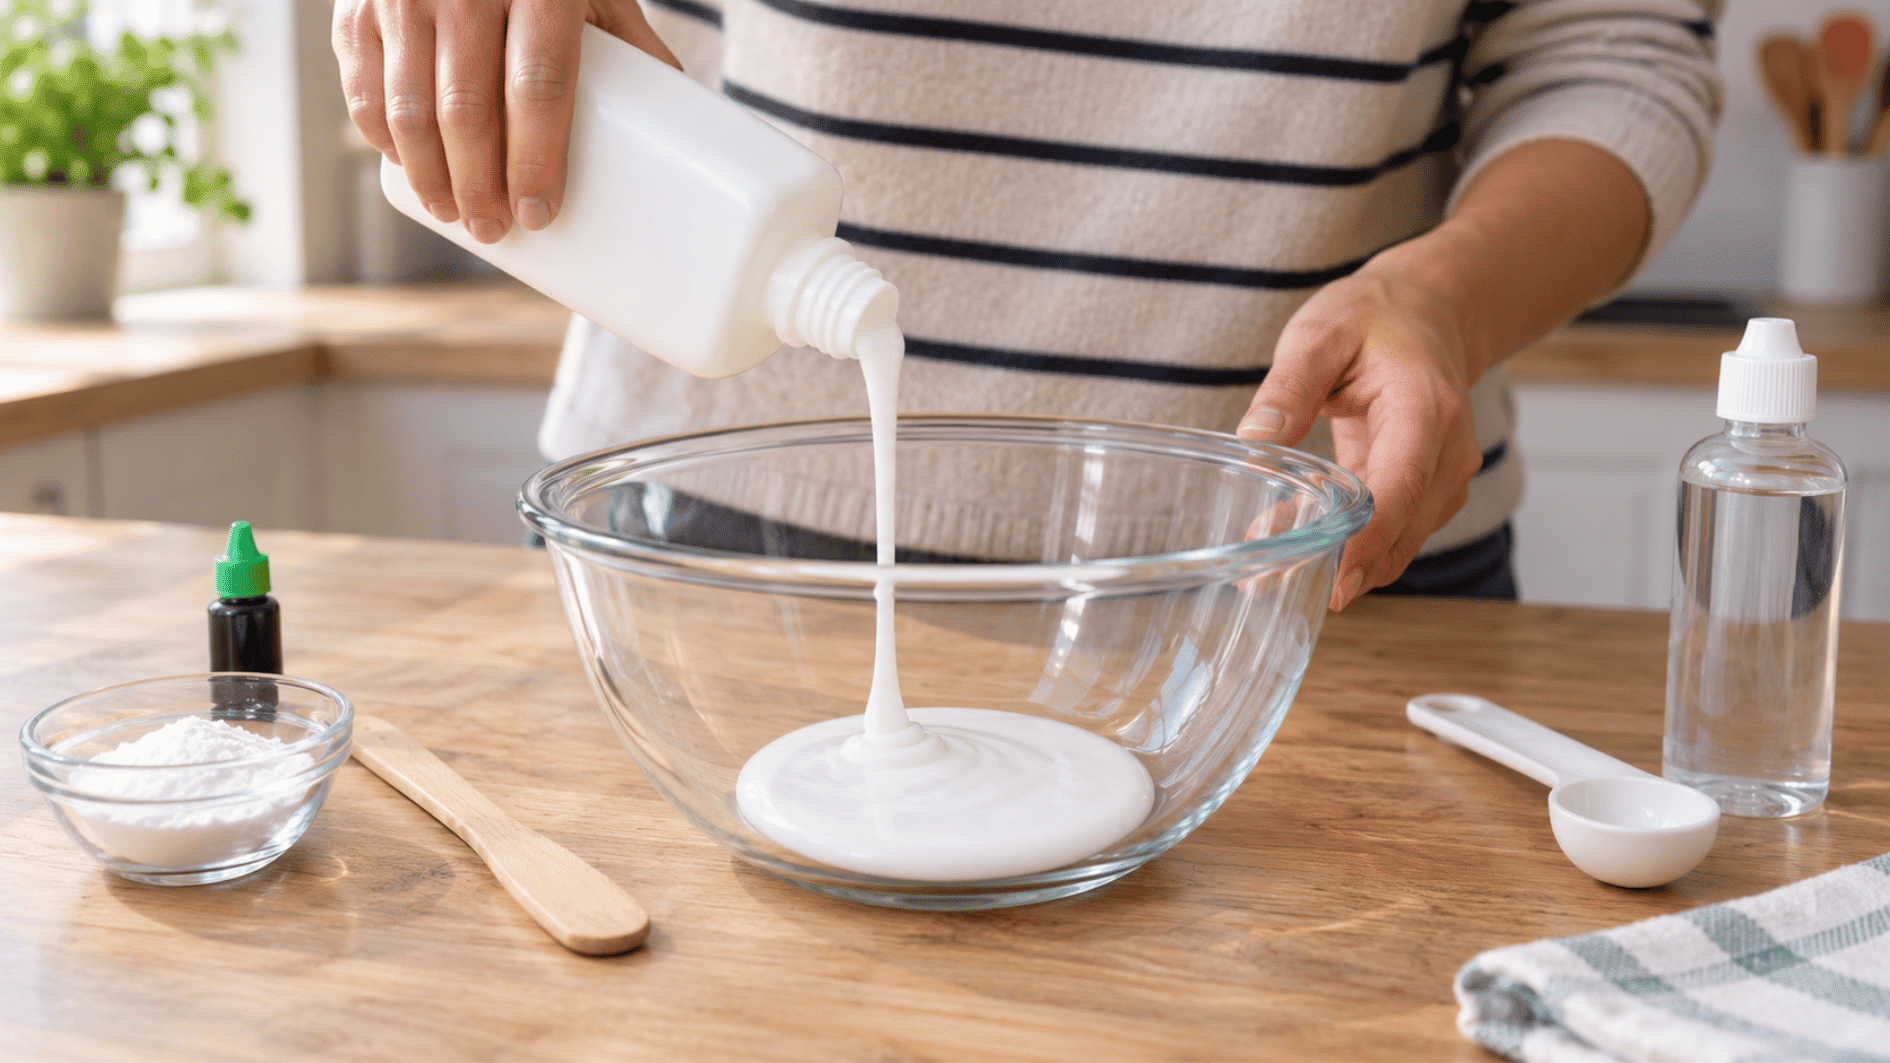
Add 1/2 cup of white school glue to a clean mixing bowl. Choose a bowl with enough extra space so stirring does not send the mixture over the sides.
Before moving on:
- Use washable glue: Plain white school glue works well for basic slime.
- Choose a wide bowl: It gives you more room for mixing.
- Keep tools nearby: Have your spoon and measuring tools ready.
Step 2: Mix in Baking Soda and Color
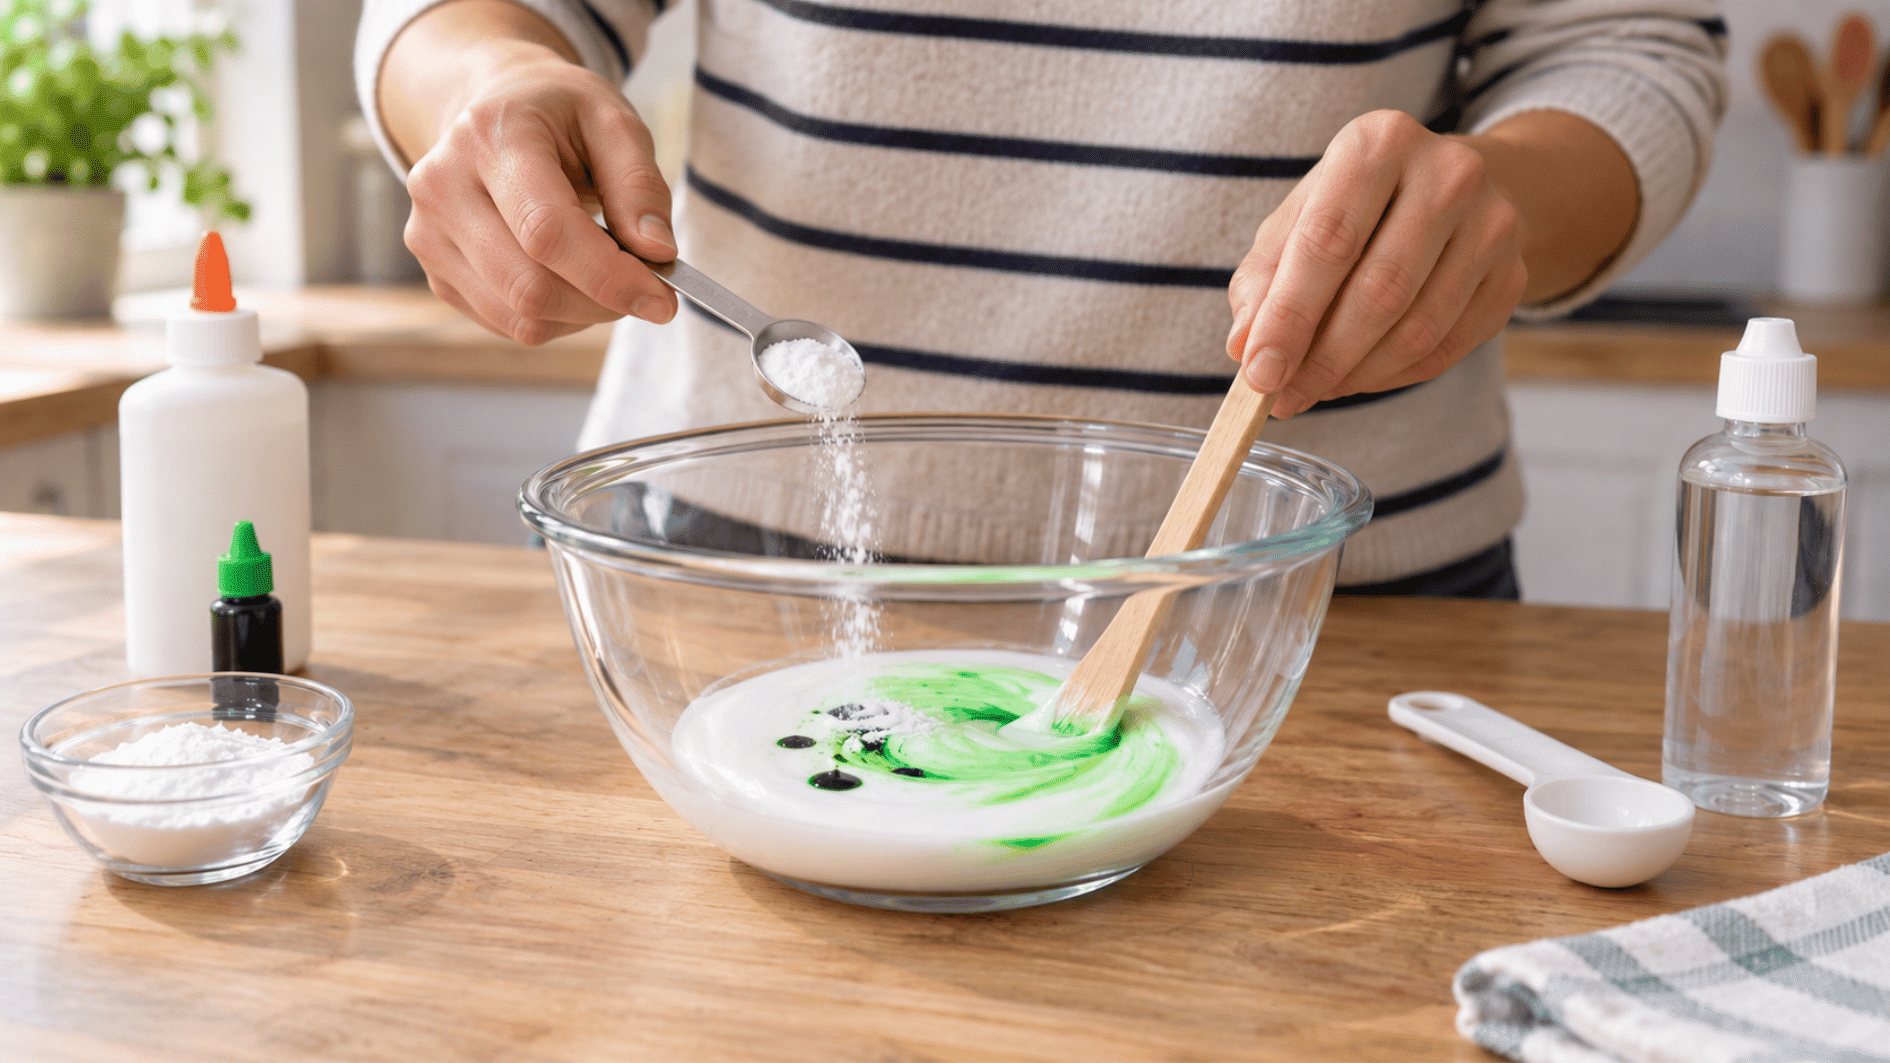
Stir 1/2 teaspoon of baking soda and 1/4 cup of water into the glue until the mixture looks smooth and even. Add food coloring now if you want to customize the finished slime.
For better results:
- Blend thoroughly: Break up any small lumps you notice.
- Control the shade: Add color one drop at a time.
- Try add-ins: Glitter can also be mixed in at this stage.
Tip: A small amount of food coloring is usually enough, so start lightly to avoid staining hands or surfaces.
Step 3: Add the Slime Activator Slowly
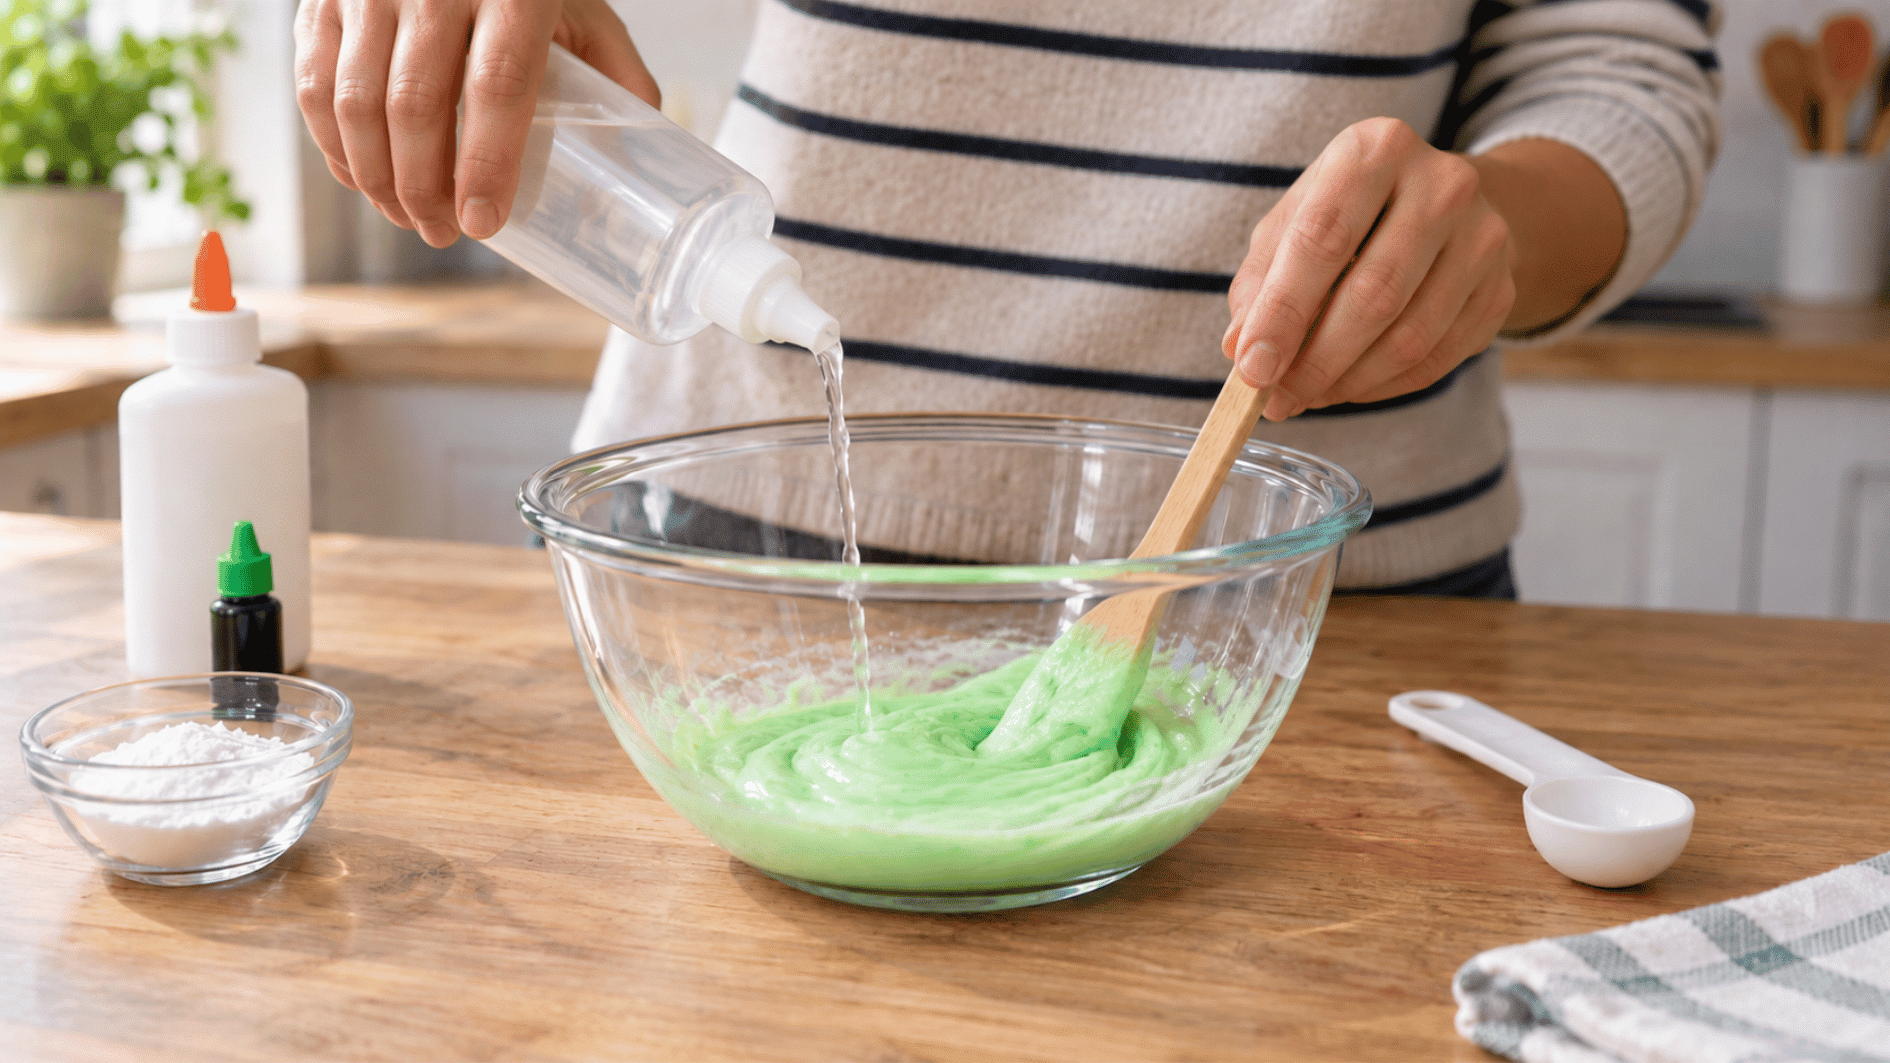
Add about 1 tablespoon of contact lens solution containing boric acid or sodium borate. The mixture should begin thickening and pulling away from the bowl as you stir.
Watch for these signs:
- Edges pull inward: The mixture starts leaving the sides of the bowl.
- Texture firms up: It becomes less liquid and more elastic.
- Sticky spots reduce: The slime begins holding together as one mass.
Step 4: Knead Until the Slime Feels Smooth
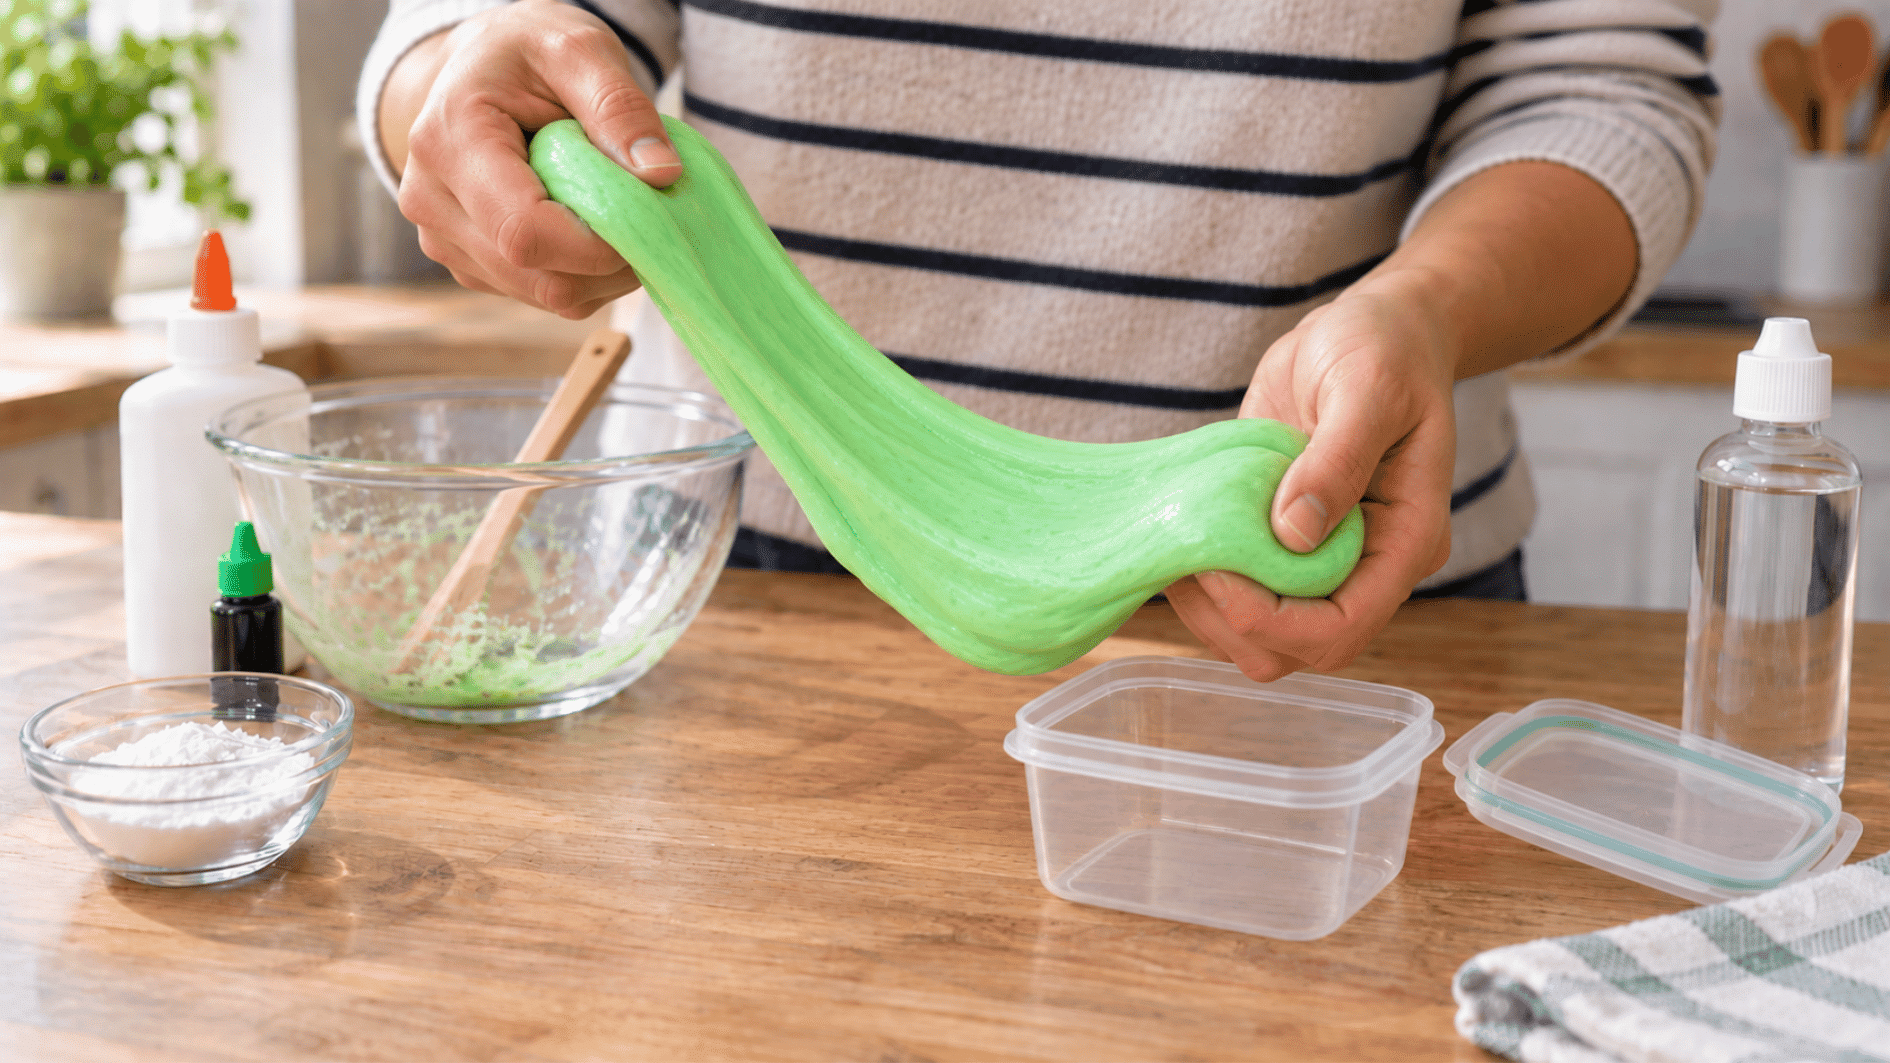
Lift the mixture from the bowl once it holds together and work it gently between your hands. Kneading helps finish the texture and makes the slime easier to stretch.
Focus on texture:
- Fold repeatedly: Fold the slime over itself as you work.
- Avoid pulling too hard: Gentle stretching helps prevent tearing.
- Give it time: Slight stickiness often improves after a minute or two of kneading.
Step 5: Test and Store the Finished Slime
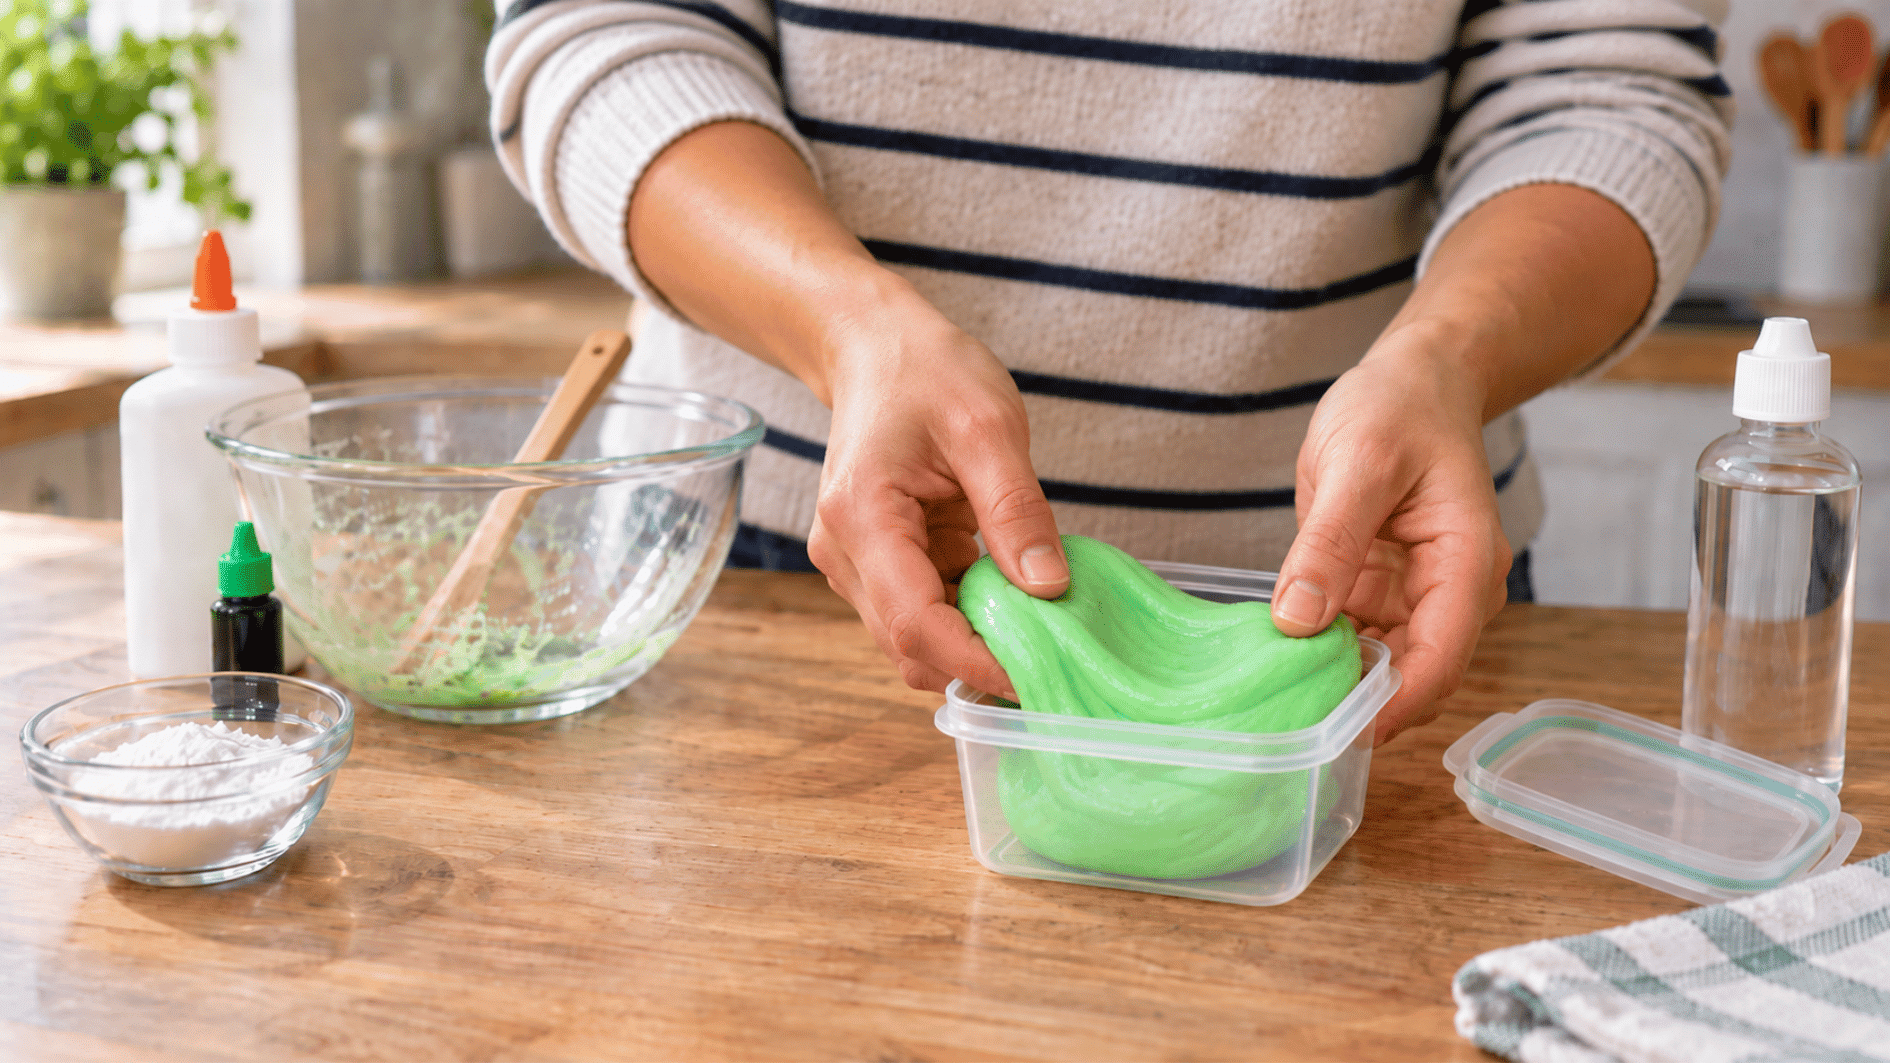
The finished slime should feel soft, flexible, and easy to handle without leaving a heavy sticky coating on your fingers. Store it as soon as playtime ends.
Keep it fresh:
- Use an airtight container: This slows moisture loss.
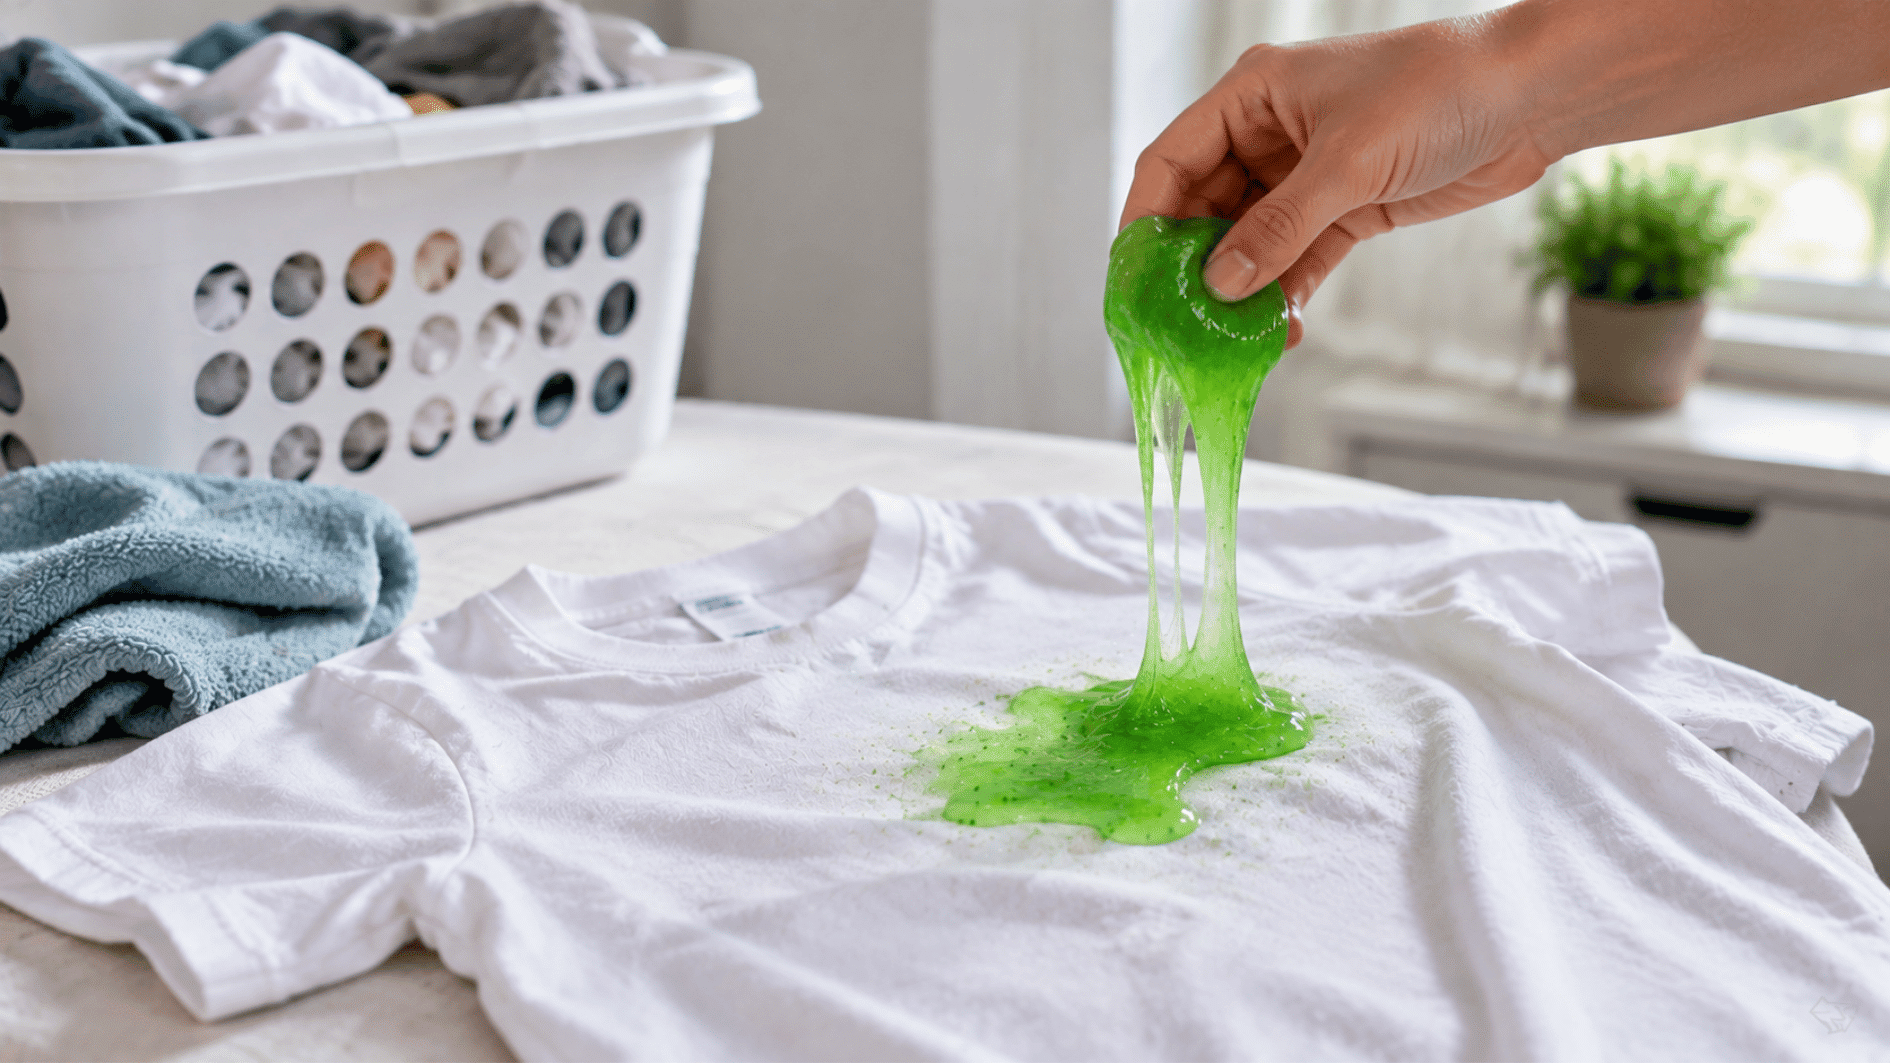
- Keep it off fabric: Slime can stick to carpet, upholstery, and clothing.
- Check before reuse: Throw it away if it becomes dirty, develops an unusual smell, or changes noticeably.
Tip: Have kids wash their hands after playing and keep slime away from the mouth, eyes, pets, and very young children.
Which Slime Activator Should You Use?
Different activators can change how your slime feels, stretches, and holds together. Knowing the basic differences makes it easier to choose one that suits the result you want.
|
Activator |
Texture Result |
Notes |
|---|---|---|
|
Contact lens solution |
Stretchy, classic slime |
Check for boric acid or sodium borate |
|
Borax solution |
Firmer, slightly rubbery |
Dilute in water and use sparingly |
|
Liquid starch |
Soft and glossy |
Beginner-friendly; may need extra kneading |
|
Dish soap + cornstarch |
Dough-like, less stretchy |
Boric acid-free option |
How to Fix Sticky, Runny, or Stiff Slime
Slime texture can change quickly if the ingredient balance is slightly off. Small adjustments usually work better than adding a large amount of anything at once.
Too sticky
Fix: Add activator a few drops at a time, then knead well before adding more.
Too stiff
Fix: Knead thoroughly and work in a small amount of glue to soften the slime.
Tears when stretched
Fix: Knead longer and stretch slowly to help loosen the firm texture.
Too runny
Fix: Add a small amount of activator, stir well, and check the consistency before adding more.
Feels lumpy
Fix: Keep kneading until the ingredients fully combine and the texture becomes smoother.
Dries out quickly
Fix: Store the slime in an airtight container immediately after use to limit air exposure.
Storage Tips to Make Homemade Slime Last Longer
Homemade slime can lose its soft, stretchy feel if you leave it uncovered or handle it with dirty hands. Storing it properly helps protect the texture and keeps each batch cleaner between play sessions.
- Use an airtight container: Keep slime in a sealed plastic container or zip-top bag after every use.
- Keep it away from heat: Store it at normal room temperature and out of direct sunlight.
- Use clean hands: Wash and dry hands before playing to reduce dirt and debris.
- Avoid fabric surfaces: Carpet, blankets, and upholstery can trap slime and make cleanup difficult.
- Check it before reuse: Throw slime away if you notice mold, a strong odor, or an unusual texture change.
- Keep batches separate: Different slime mixtures can react when stored together, so use separate containers.
Final Thoughts
Once you understand the basic method, you can adjust the texture, color, and add-ins to suit different preferences. If your kids enjoy mixing and shaping materials, homemade air-dry clay offers another hands-on project using a different texture.
I recommend starting with one easy batch before trying more easy slime recipes for kids. Keep the measurements steady, make small adjustments, and store each batch properly after play.
You can also rotate slime-making with other easy hands-on crafts for kids when you want a different activity.
Now gather your supplies, choose a recipe, and try making your own slime today.
Frequently Asked Questions
Can I Use Clear Glue Instead of White School Glue?
Yes, clear PVA school glue can work, but the finished slime may look and feel slightly different.
Does Room Temperature Affect Homemade Slime?
Yes, very warm or cold conditions can change slime consistency, so let ingredients reach room temperature before mixing.
Can I Make Slime Ahead of Time for a Party?
Yes, prepare it beforehand, seal each batch in an airtight container, and check the texture before handing it out.
Do Different Glue Brands Change Slime Texture?
They can. PVA formulas vary by brand, so one glue may need slightly more or less activator.