Have you ever looked at a candle and wondered how that tiny wick keeps the whole thing going? I have, and once you see how simple it can be, making your own starts to feel surprisingly doable.
You probably already have something at home that can work. Like many simple craft projects, making a candle wick starts with basic materials and a little preparation.
If you are curious about how to make a candle wick, you are closer than you think, and the process starts pretty simply.
What Are Candle Wicks Made Of?
Most candle wicks are made from cotton fibers that are braided or knitted together. Some commercial wicks also include paper threads, while others are made from thin strips of wood.
So, what are candle wicks made of for homemade candles? In most cases, simple natural materials work best. Cotton is popular because its fibers can pull melted wax upward toward the flame. This movement is called capillary action, and it is what keeps the candle burning.
The wick does not act like a match that simply burns away. Instead, it carries melted wax to the flame, where the wax becomes the main fuel.
For a homemade wick, you can usually work with:
- 100% cotton string
- Cotton butcher’s twine
- Untreated cotton cord
- Thin, untreated wood strips
Avoid synthetic string or coated fibers. They can melt or burn differently from natural materials and may create unwanted smoke or fumes.
How to Make a Candle Wick With Cotton String
If you are learning how to make a candle wick, cotton string is one of the easiest materials to start with. You only need a few simple steps before the wick is ready to use.
Gather Your Supplies
|
What You Need |
Quick Tip |
|---|---|
|
100% cotton string |
Avoid synthetic fibers |
|
Candle wax |
Use the same wax if possible |
|
Scissors |
Leave 1–2 extra inches |
|
Tweezers or tongs |
Useful around hot wax |
|
Heat-safe container |
Choose one made for heat |
|
Parchment paper |
Helps prevent sticking |
|
Wick tab |
Optional for jar candles |
Note: If you plan to reuse an old candle jar, remove the remaining wax and clean the container before setting up your new wick.
Step 1: Choose and Cut the Cotton String
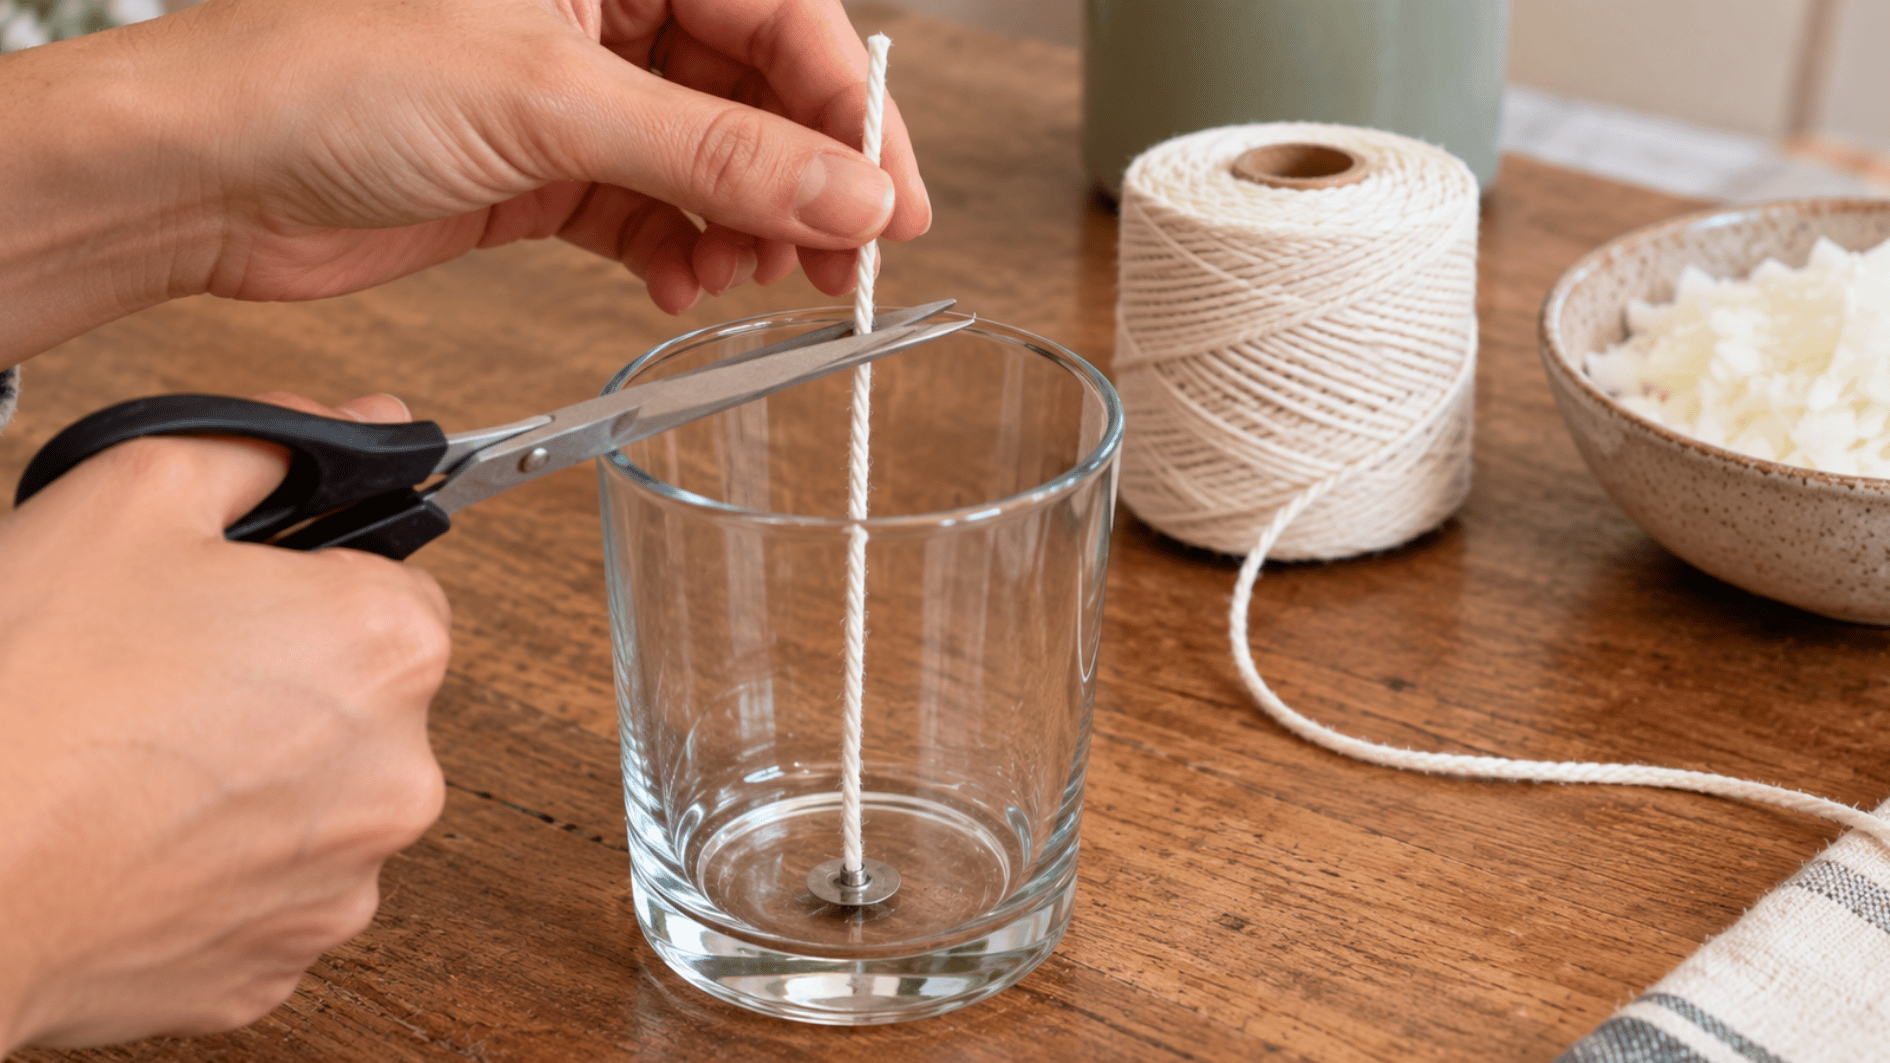
Start with plain 100% cotton string, since natural cotton fibers can absorb melted wax and carry it toward the flame. Choose untreated cotton butcher’s twine or cord, avoiding synthetic, coated, or decorative string.
Once you have the right string, measure it against your candle jar or mold. Cut it about 1 to 2 inches longer than the container so you have enough length for centering and securing the wick. Leave the final trimming until the candle is finished.
Step 2: Melt a Small Amount of Wax

Melt enough candle wax to coat the full length of your string. This coating helps fill the cotton fibers with wax and prepares the wick for use inside your homemade candle.
- Use a heat-safe container
- Melt the wax with a proper candle-making setup
- Keep open flames away
- Never leave heating wax unattended
Step 3: Coat the Cotton String
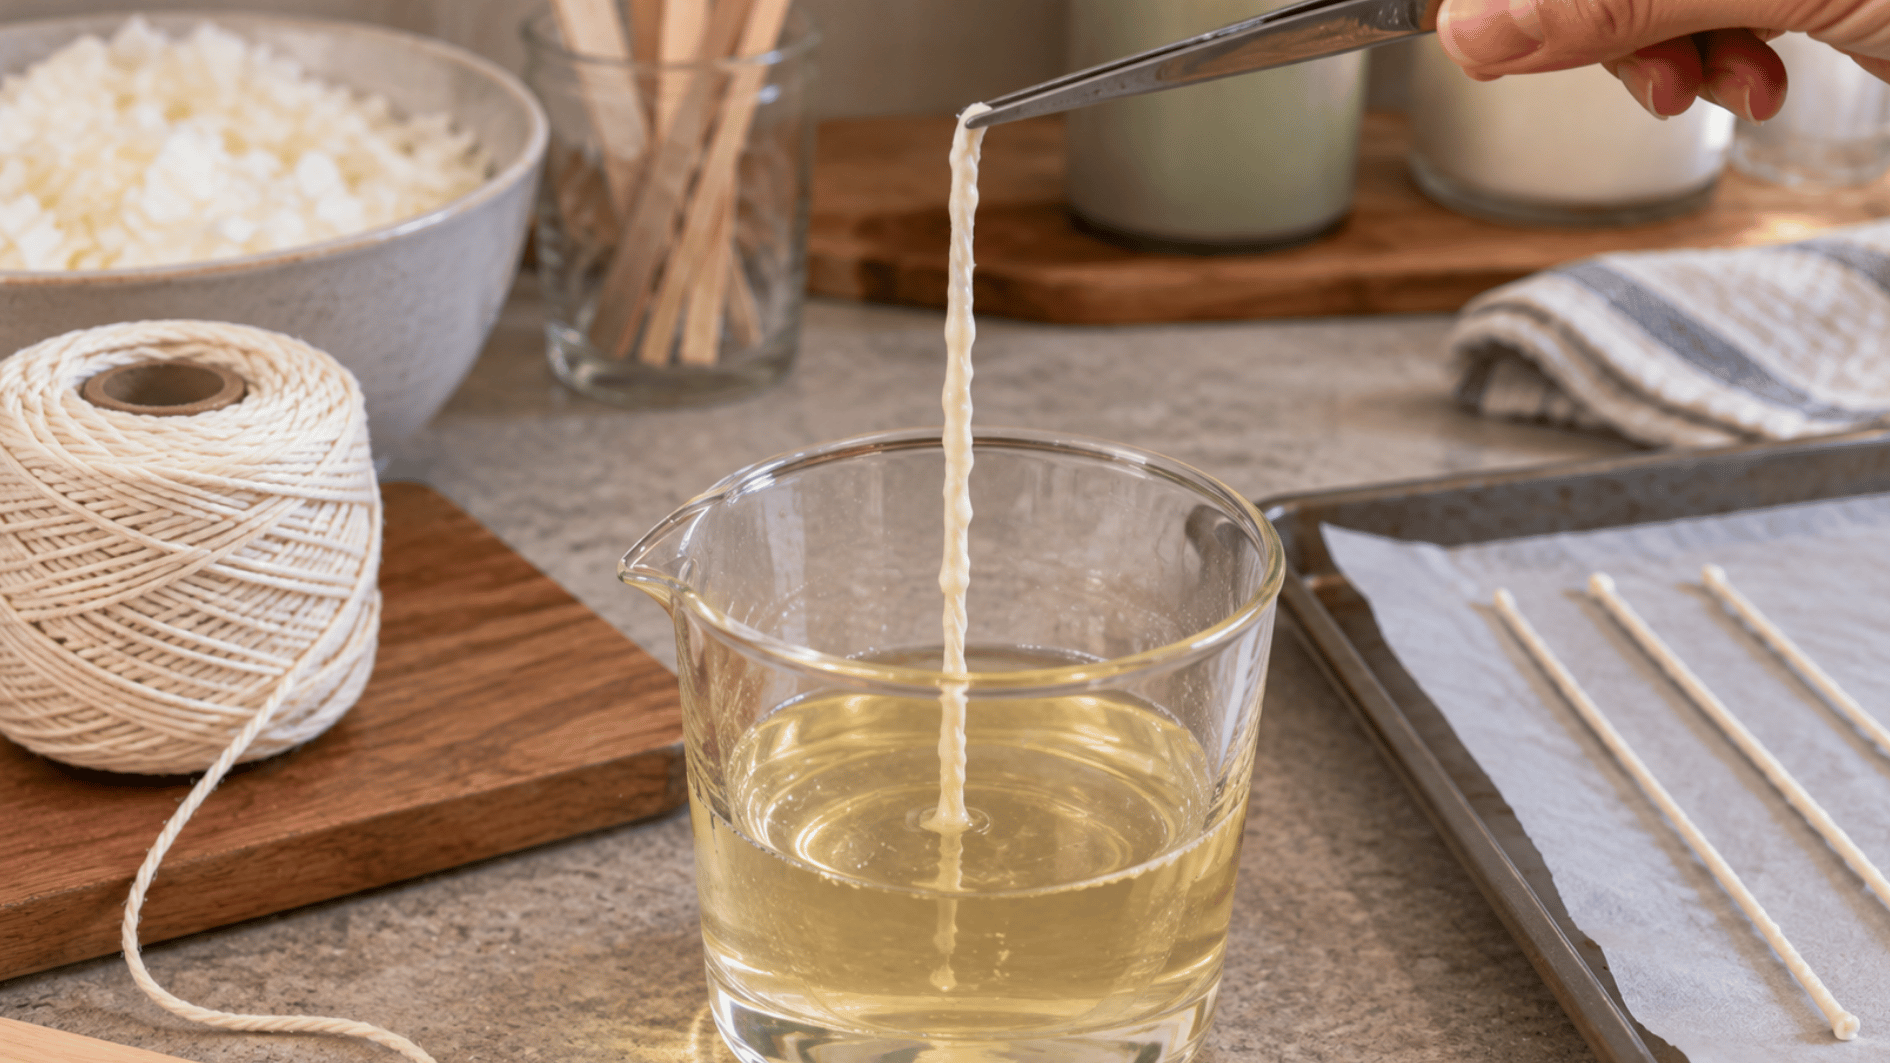
Once the wax is fully melted, dip the string from end to end. You want the fibers evenly covered without leaving thick blobs that can make the wick stiff or difficult to straighten.
- Lower the string into the melted wax.
- Let the fibers soak up the wax.
- Lift it out with tweezers or tongs.
- Let excess wax drip off.
- Dip again if dry areas remain.
Tip: A thin, even coating works better than adding a heavy layer of wax.
Step 4: Straighten and Let It Harden
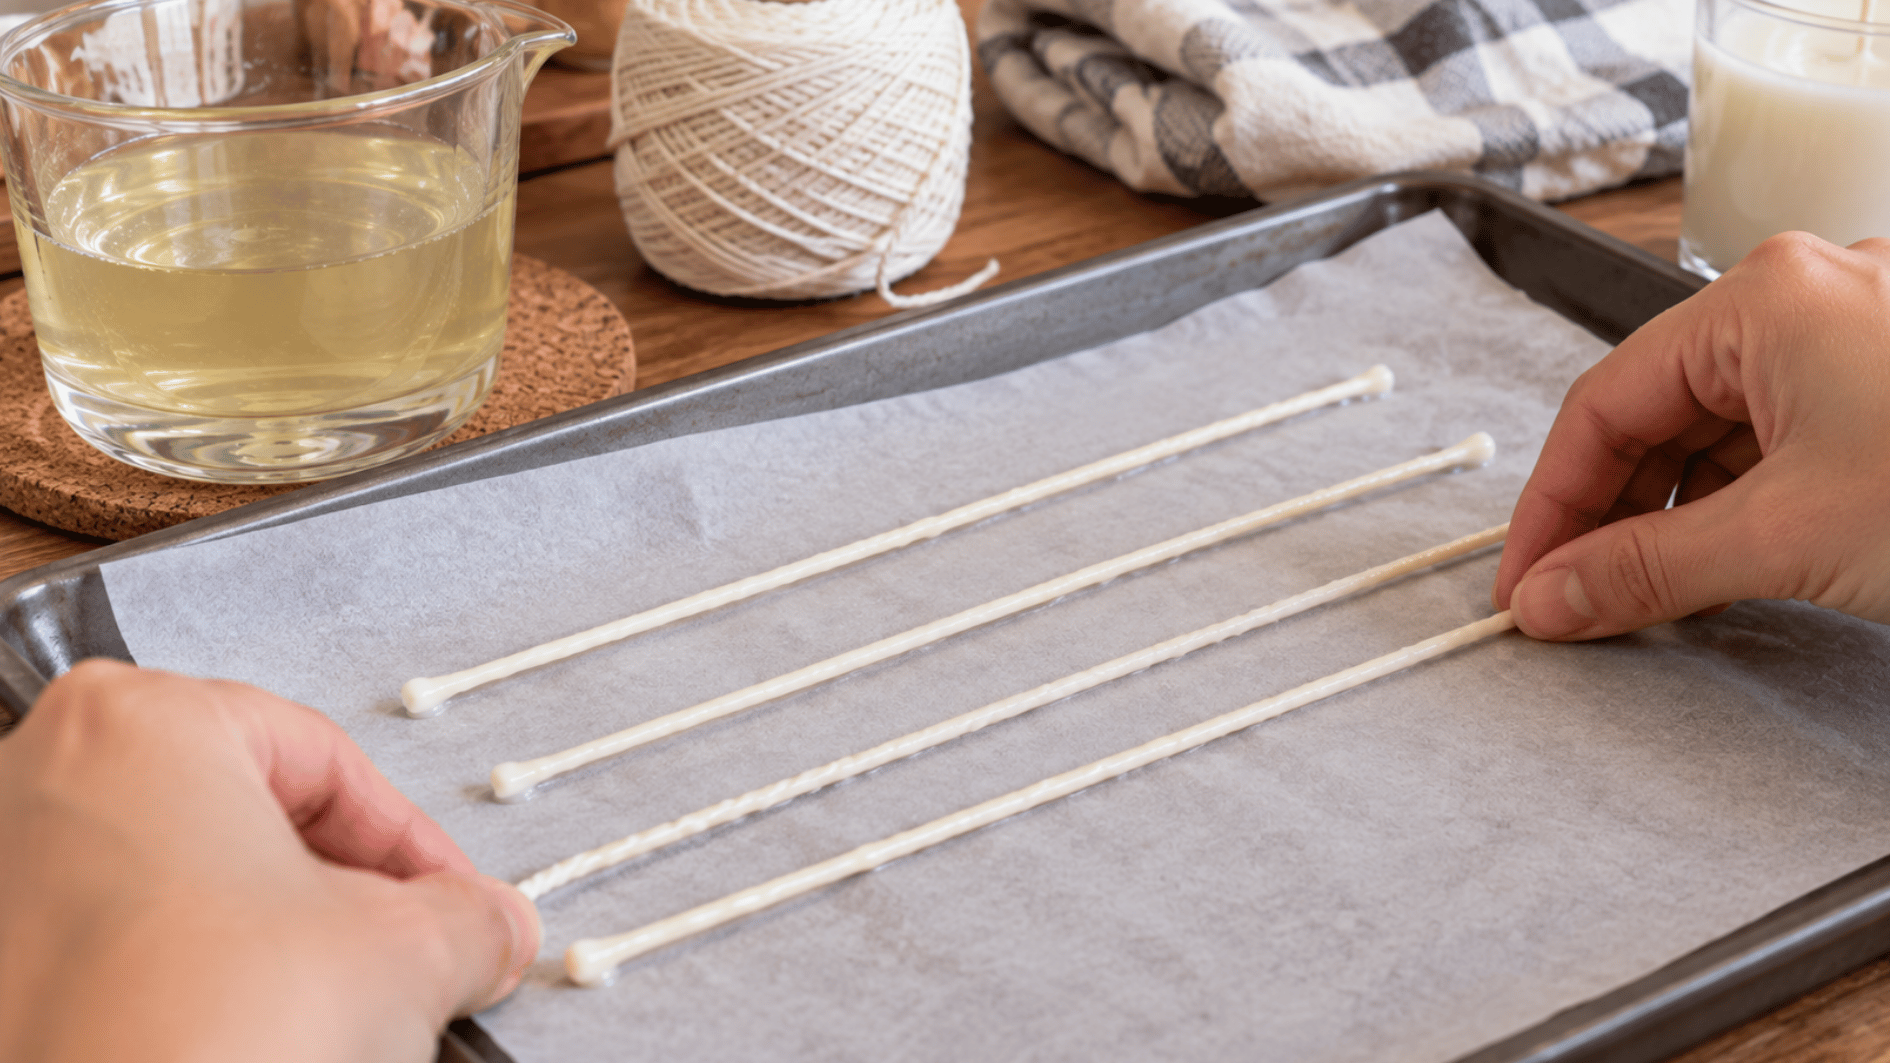
Place the coated string on parchment paper while the wax is still slightly soft. Keeping the wick straight as it cools makes it easier to position neatly inside your candle later.
- Lay the wick flat and straight
- Gently pull it taut if needed
- Let the wax cool completely
- Remove uneven wax buildup
Once the coating feels firm, your homemade cotton wick is ready to center and secure inside your candle.
How to Attach a Homemade Wick to a Candle?
Once your wick is ready, it needs to stay straight and centered while the candle wax cools. A wick that shifts too far to one side can make the candle burn unevenly later.
For a container candle, secure the bottom of the wick with a wick tab if you have one, then place it in the center of the jar. Hold the top steady with a wick bar, clothespin, or centering tool.
For a molded candle, thread the wick through the center of the mold before pouring the wax. Keep it gently taut so it stays in place as the candle sets.
- Keep the wick as centered as possible
- Make sure it stays upright while pouring
- Avoid pulling it so tight that it bends or shifts
- Trim it only after the candle has fully set
How to Make a Wooden Candle Wick: Simple Steps
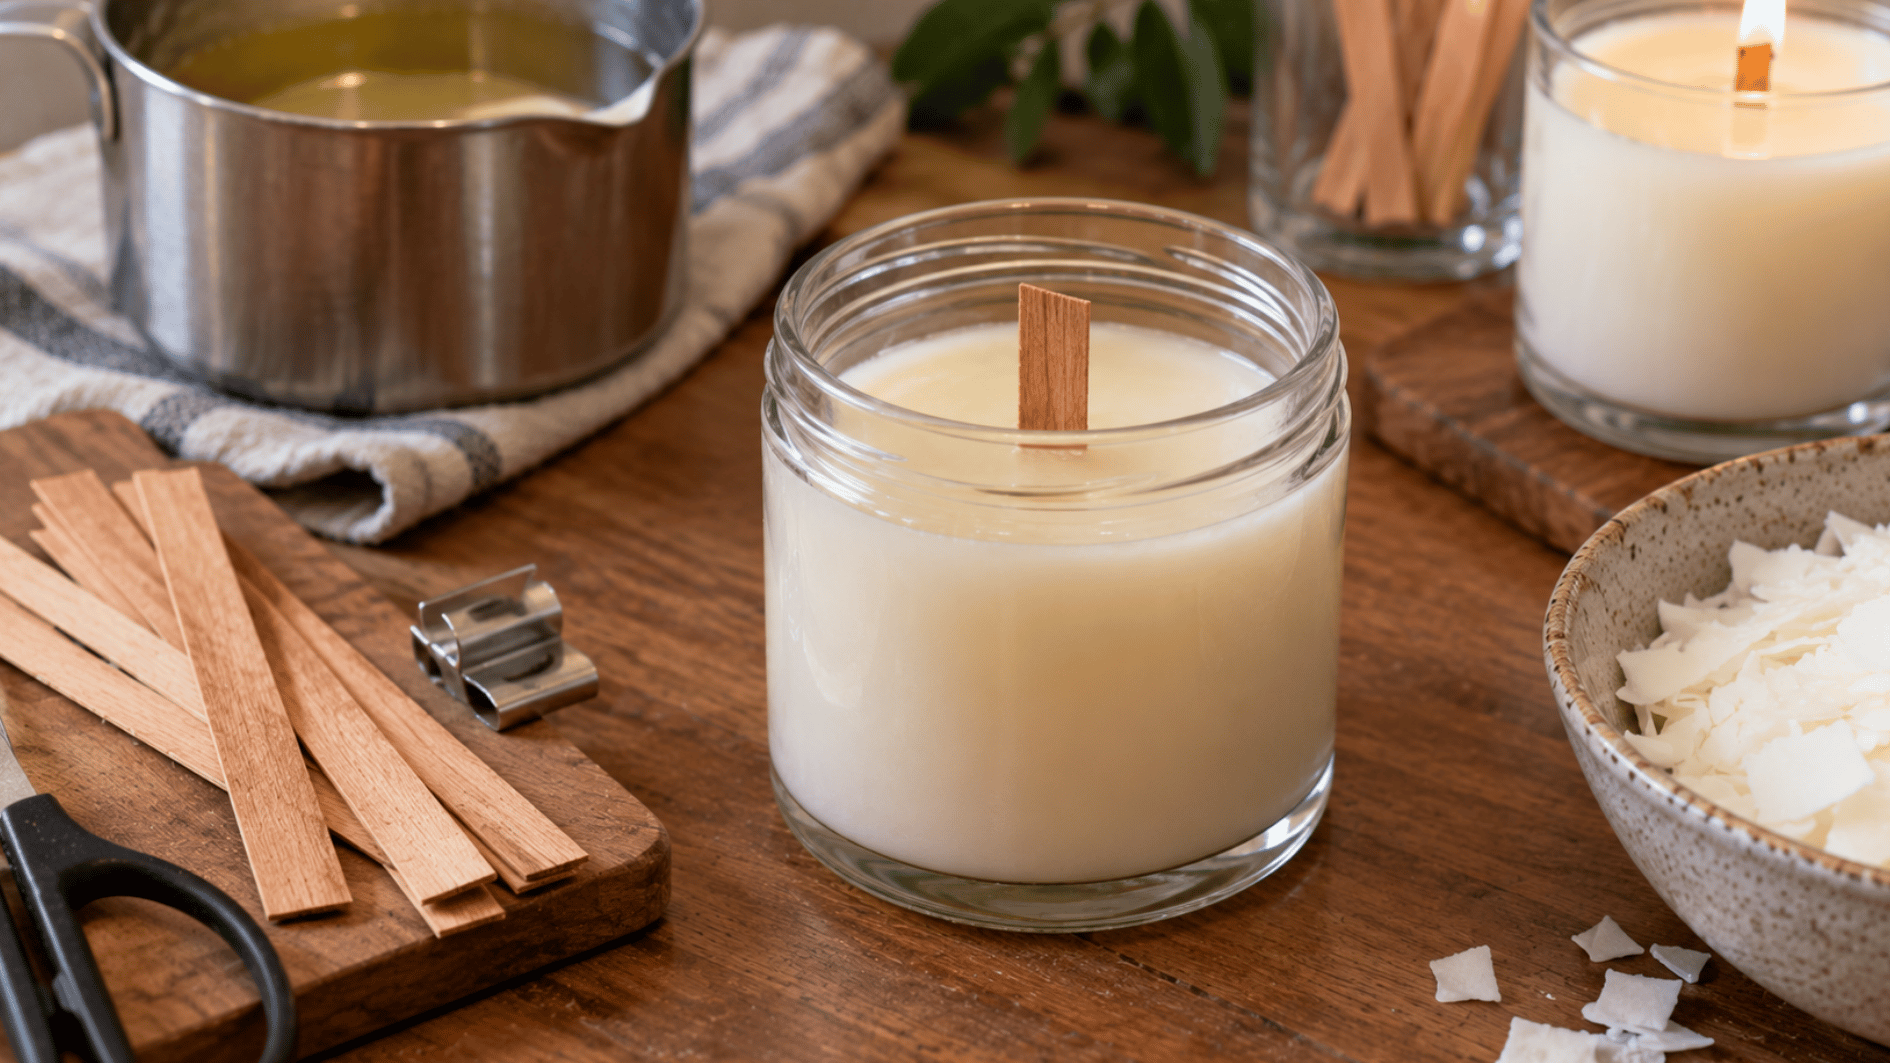
Choose Thin, Untreated Wood
Use a clean strip of wood with no paint, stain, glue, varnish, or other coating. The strip should be thin enough to fit your container and stand upright without taking up too much space.
Commercial wooden wicks are made in specific widths and thicknesses because size affects the flame. A homemade strip may behave differently, so it is best to test one candle before making several.
Cut and Fit the Wood Wick
Cut the strip a little longer than the finished candle height so you have room to adjust it later. Place the base into a wooden wick clip if you have one, then set it in the center of the container.
Pour the wax while keeping the wick upright, then let the candle cool completely. Trim the wick before the first burn so only a short section remains above the wax.
Tip: Avoid using random craft scraps unless you know the wood is untreated and suitable for burning. A piece that looks similar to a candle wick may still burn very differently.
How to Choose the Right Wick Size?
Wick size can change how evenly your candle burns. A wick that is too small may struggle to melt enough wax, while one that is too large can create a taller flame and extra heat.
|
Wick Size |
What You May Notice |
What It Can Mean |
|---|---|---|
|
Too small |
Weak flame, tunneling, or wick going out |
Wick may not produce enough heat |
|
About right |
Steady flame and fairly even melting |
Wick size may suit the candle |
|
Too large |
Tall flame, soot, or too much heat |
Wick may be oversized |
No single cotton-string thickness works for every candle. Start with one test candle and use its burn behavior to decide if the wick needs adjusting.
Testing Your Homemade Candle Wick
Once you know how to make a candle wick, the next step is checking how it burns. Light the candle and watch how the flame, wax, and wick behave together.
- Check the flame: It should stay steady and not grow unusually tall.
- Watch the wax: It should melt outward instead of forming a deep tunnel.
- Look for soot: Heavy black smoke or soot can point to a wick that is too large or poorly matched.
- Check the wick: It should stay lit without drowning in melted wax.
- Watch the wick tip: Heavy carbon buildup can mean the wick needs trimming or resizing.
- Check the melt pattern: Too much wax left around the sides can mean the wick is too small.
Note: Extinguish the candle if the flame becomes unusually large, heavy soot appears, or the container gets excessively hot.
Common Homemade Candle Wick Problems & Their Fixes
A homemade wick may not burn perfectly on the first try, but the problem you notice can usually give you a clear clue about what needs to be adjusted next.
Problem #1: Candle Tunnels
Fix: The wick may not produce enough heat. Size up slightly and retest.
Problem #2: Heavy Soot
Fix: The wick may be oversized. Stop burning the candle and test a smaller wick.
Problem #3: Wick Curls
Fix: The cord may not suit the candle. Try a different cotton cord.
Problem #4: Wick Leans Over
Fix: The wick may not be supported properly. Recenter and secure it.
Problem #5: Wick Drowns
Fix: The wick may be too small or weak. Test a different size.
Candle Wick Safety Tips
Homemade candle wicks involve hot wax and an open flame, so it is important to test them carefully and use materials that are safe for candle making.
- Use untreated materials: Stick with clean cotton or suitable untreated wood.
- Avoid synthetic fibers: Skip plastic-coated, metallic, painted, or decorative materials.
- Melt wax carefully: Keep open flames away and never leave heating wax unattended.
- Test one candle first: Check a new wick before using the same setup for several candles.
- Watch the flame: Put the candle out if the flame becomes unusually tall or unstable.
- Check for soot: Heavy black smoke or soot means the wick may need adjusting.
- Keep the area clear: Place candles away from curtains, paper, drafts, children, and pets.
- Stay nearby: Never leave a burning candle unattended.
Conclusion
Making your own wick can feel like one of those tiny projects that turns out more satisfying than expected. I like that something so simple can make you look at an everyday candle a little differently afterward too.
Once you have tried it once, the process feels far less mysterious. You may even start noticing small candle details you never paid much attention to before.
If you are curious about how to make a candle wick, give it a try and see where your next candle begins.
Frequently Asked Questions
Can You Make Homemade Candle Wicks Ahead of Time?
You can prepare several homemade wicks ahead of time, then keep them clean, dry, and straight until your next candle project begins.
How Should You Store Homemade Candle Wicks?
Store finished wicks flat in a cool, dry place away from dust and sunlight so the wax coating stays firm and clean.
Can You Use Leftover Candle Wax to Prime a Wick?
Leftover clean candle wax can usually be used for priming if it has no debris, burned material, or unwanted residue in it.
Can You Braid Cotton String to Make a Candle Wick?
Cotton string can be braided before priming, but braiding changes thickness and burn behavior, so treat the finished wick as another test.