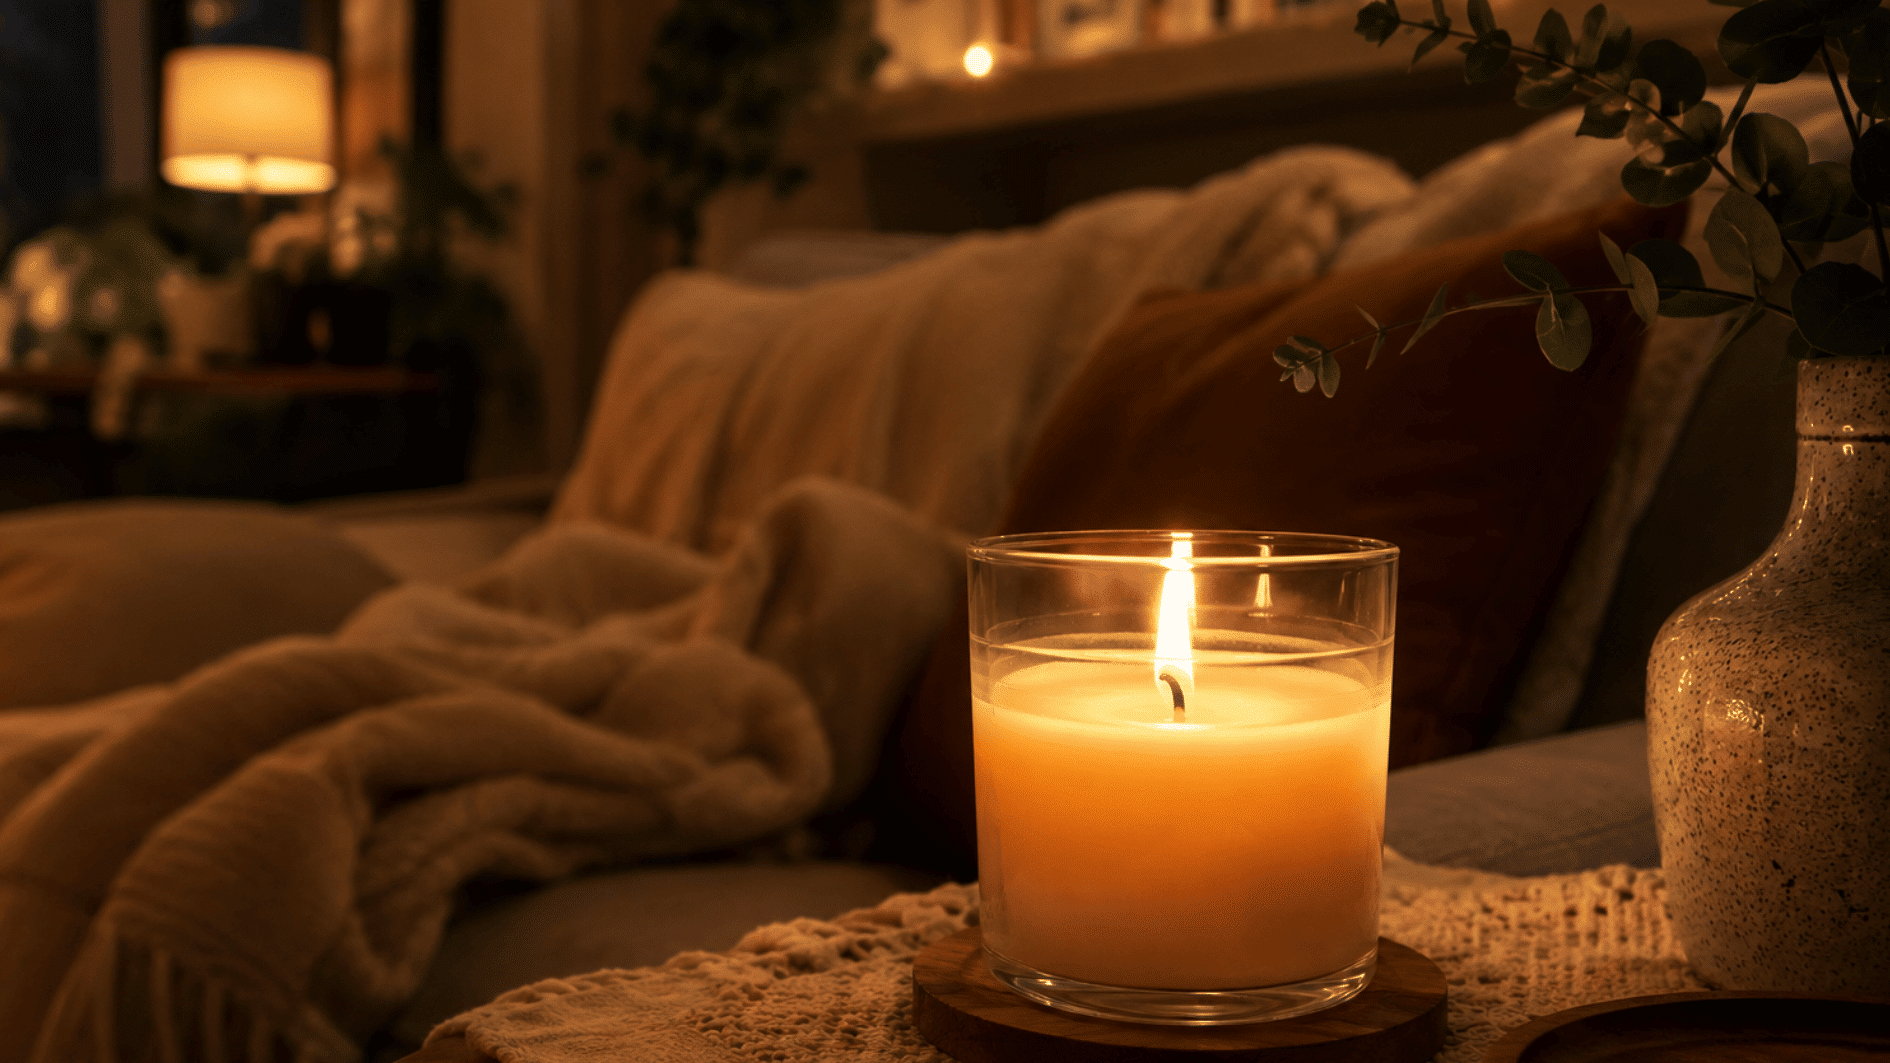
A finished candle often leaves behind a jar too useful to throw away, yet too messy to keep. The remaining wax, soot, wick base, and sticky label can make cleanup seem more difficult than it is.
The good news is that a candle jar can usually be cleared with household methods suited to different amounts of wax and container styles.
Some approaches work quickly, while others are better for delicate glass or stubborn buildup.
This blog explains how to get candle wax out of a jar safely, how to clean the container afterward, and how to reuse it once it is ready.
Why That Last Bit of Wax Won’t Just Pop Out
Candles rarely burn straight down to the glass. The wick usually drifts, tunnels, or gutters out early, leaving an uneven ring or a thick pool of hardened wax behind.
Few things are as frustrating as finishing a candle only to find a stubborn layer of hardened wax still clinging to the bottom of the jar, refusing to budge no matter how much scraping or shaking is attempted.
This happens to nearly every candle at some point, no matter the scent, the brand, or how carefully it was burned.
That is not a sign that something was done wrong, and it does not mean the jar has reached the end of its use.
It simply needs the right method instead of brute force, and the methods below will help identify the one that fits, whether the jar has a thin film or a thick block, so it ends up clean, spotless, and ready for its next use.
Practical Methods for Candle Wax Removal
Not all wax removal situations are the same; some jars have just a thin film left, while others are packed with a solid, stubborn block.
Method 1: The Freezer Method
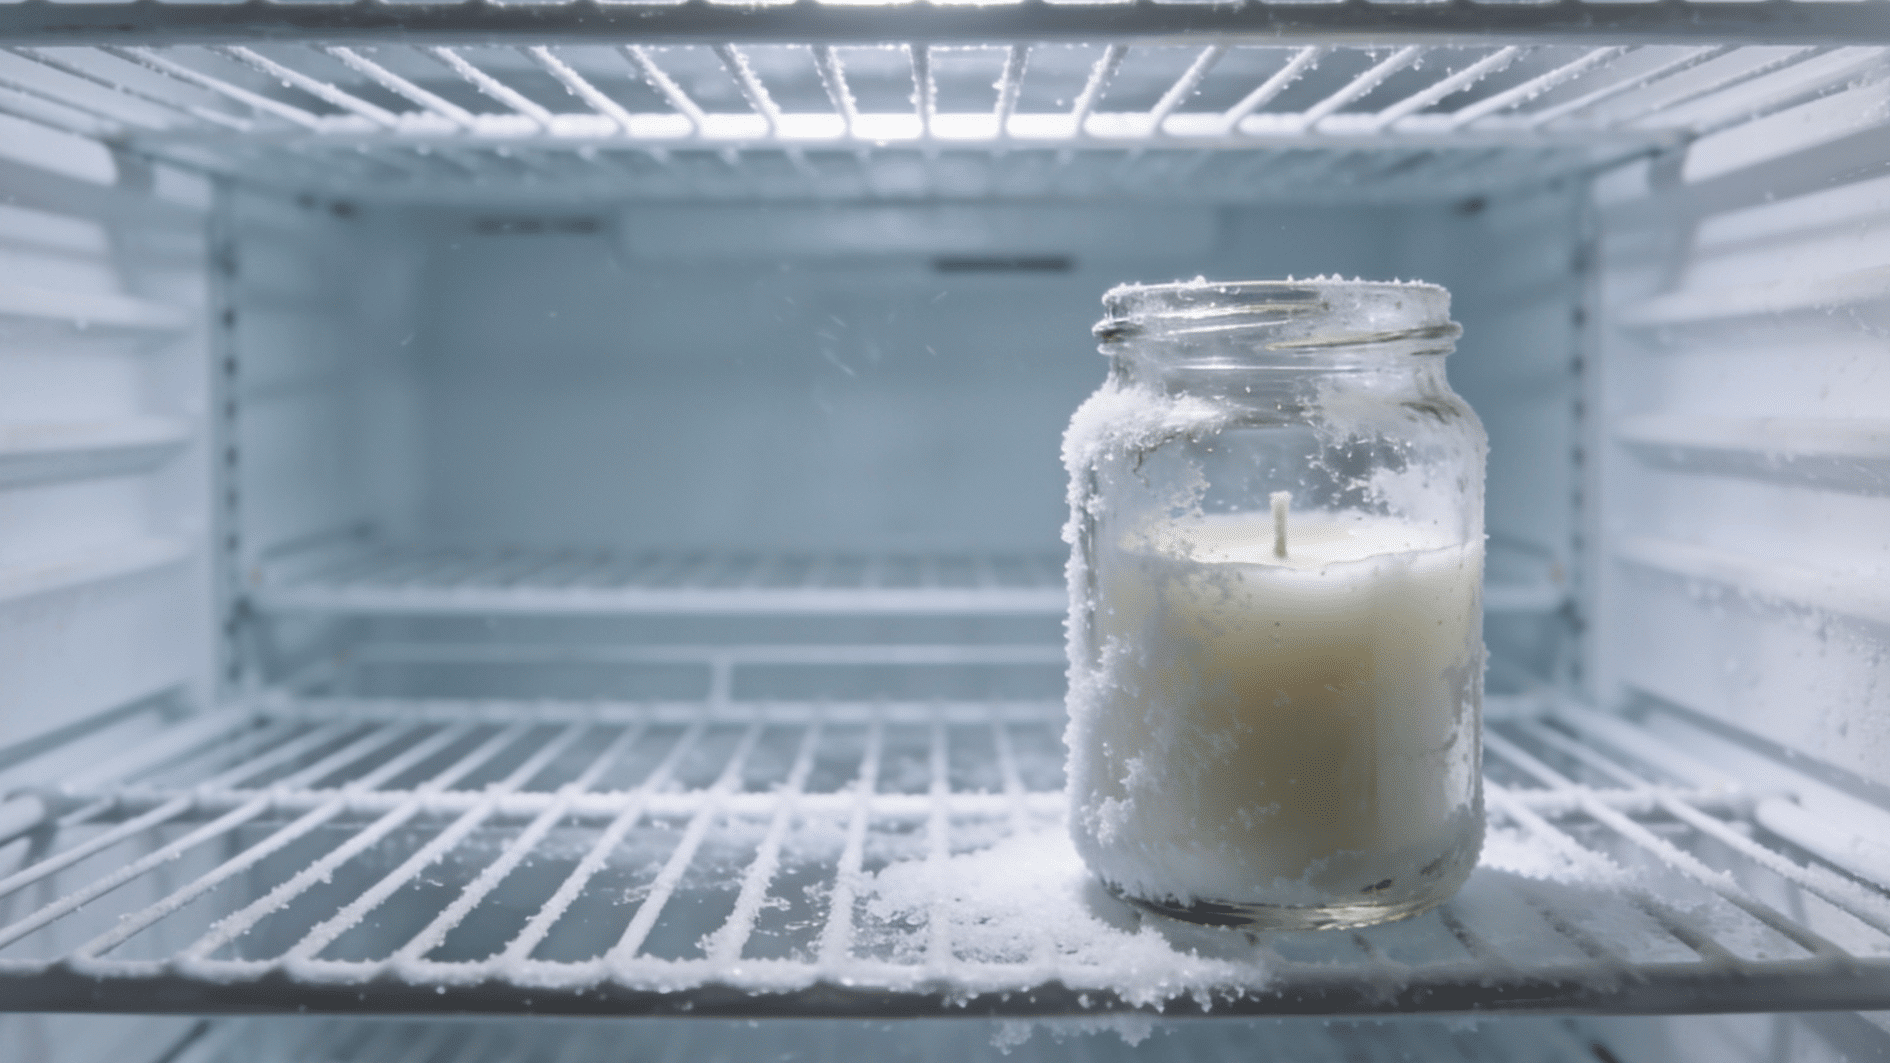
This approach relies entirely on temperature rather than tools or supervision. There is no need to monitor the jar or intervene at any stage during the process.
How to Do It:
- Remove any loose wick or metal tab first, so it doesn’t get in the way once the wax loosens.
- Place the jar upright in the freezer, making sure it’s stable.
- Leave it for 2–3 hours, or overnight if the wax layer is thick, giving it enough time to fully contract.
- Once frozen, flip the jar upside down over a trash bag or piece of paper to catch the wax as it releases.
- Tap the jar gently against a soft surface or run a butter knife along the edge to nudge the wax loose.
- The wax should slide or pop out in one solid piece, or in a few large chunks, ready to be tossed in the trash.
Things to Keep in Mind:
The freezer method works best for thin to moderate wax layers; thicker blocks may crack instead of popping out whole, which is still fine.
Plan on 2 hours for standard jars, or overnight for a thick pool. Just dry the jar first, don’t force the wax out early, and keep it upright so it contracts evenly.
Method 2: Boiling Water
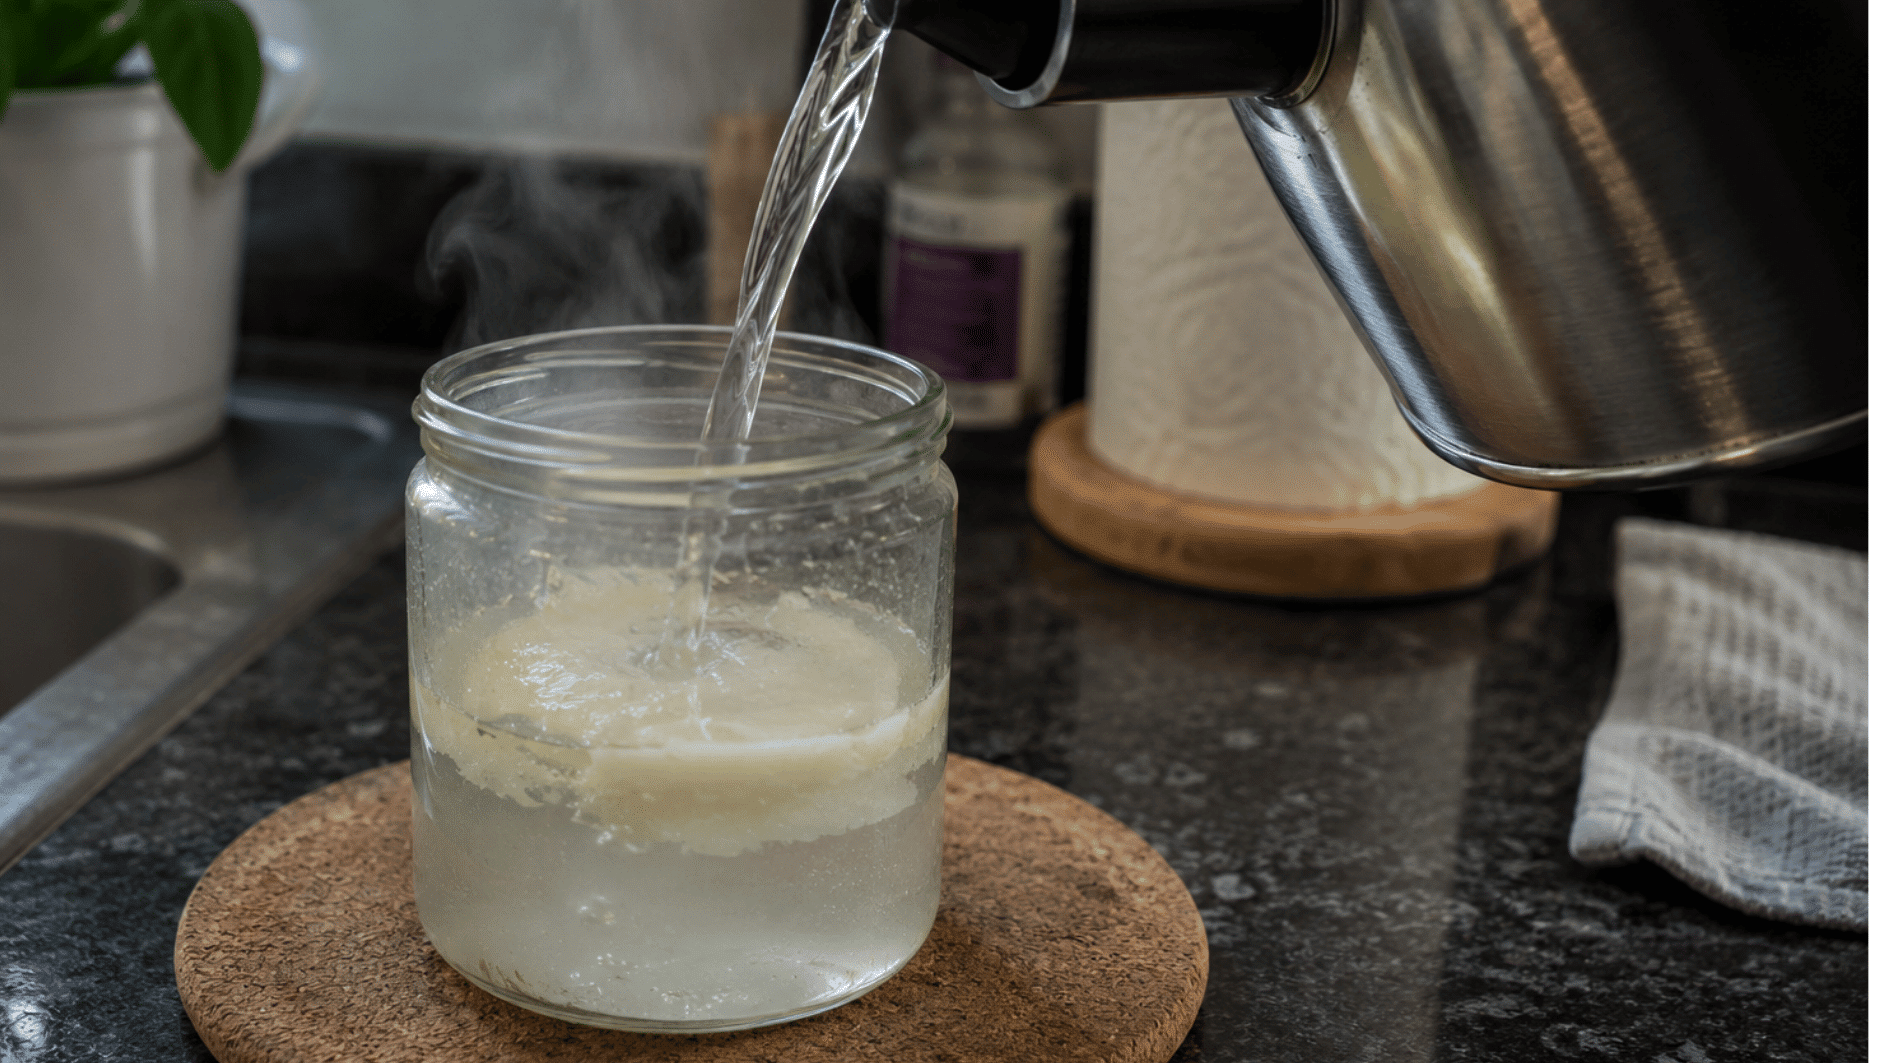
This method requires nothing beyond a pot already found in most kitchens, with no specialized equipment or appliance involved.
How to Do It:
- Boil a pot of water, enough to fill the jar about halfway.
- Set the candle jar in a heatproof bowl or the sink, just in case anything spills.
- Carefully pour the hot water in until it covers the wax.
- Give it 5–10 minutes, the wax will melt and float up to the top since it’s lighter than water.
- Let the water cool so the wax hardens back up on the surface, then just lift it off in one piece.
- Wipe out whatever’s left with a paper towel while the jar’s still warm.
Things to Keep in Mind:
The boiling water method works well for moderate-to-thick wax, making it a solid backup when freezing alone won’t pop it out.
It usually takes 5–10 minutes, up to 15 for thicker layers, or a second round if any residue remains.
Just use oven mitts, avoid sudden temperature shifts, and never pour melted wax down the sink.
Method 3: Oven Method
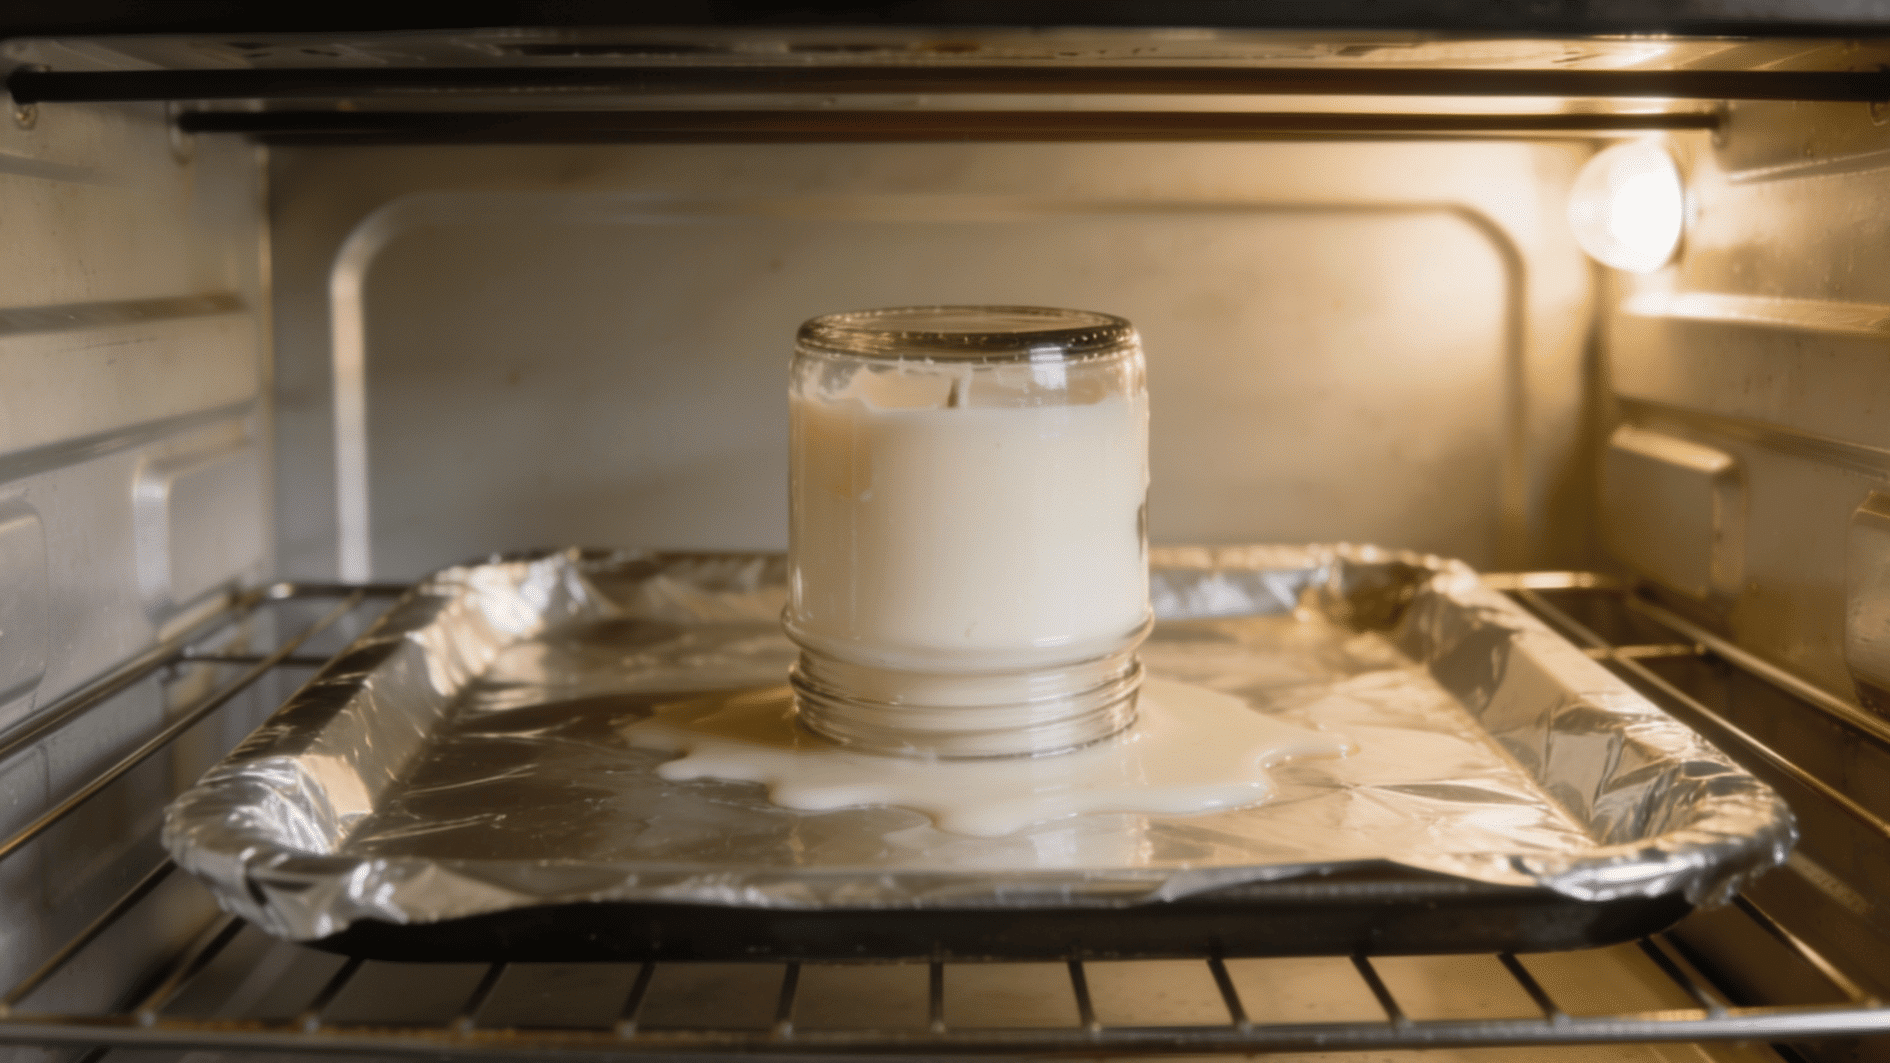
When several jars require attention at once, this method offers the most efficient use of time and effort.
How to Do It:
- Preheat your oven to a low temperature, around 175–200°F (80–95°C), no need to go higher.
- Line a baking sheet with foil or parchment paper so you don’t have to scrub drips off the pan later.
- Set the jar upside down on the tray, or right-side up if there’s only a little wax left.
- Bake for 10–15 minutes, checking in every so often, until the wax has fully melted and pooled onto the tray or jar bottom.
- Pull the tray out with oven mitts and give the jar a minute to cool before you handle it.
- Wipe out any remaining wax with a paper towel while it’s still warm and easy to clean.
Things to Keep in Mind:
The oven method suits moderate-to-thick wax and works especially well when you’re clearing multiple jars in a single batch.
It takes about 10–15 minutes at a low, steady temperature. Just never leave the oven unattended, stick to oven-safe glass, and keep a tray underneath to catch any drips.
Method 4: Microwave Method
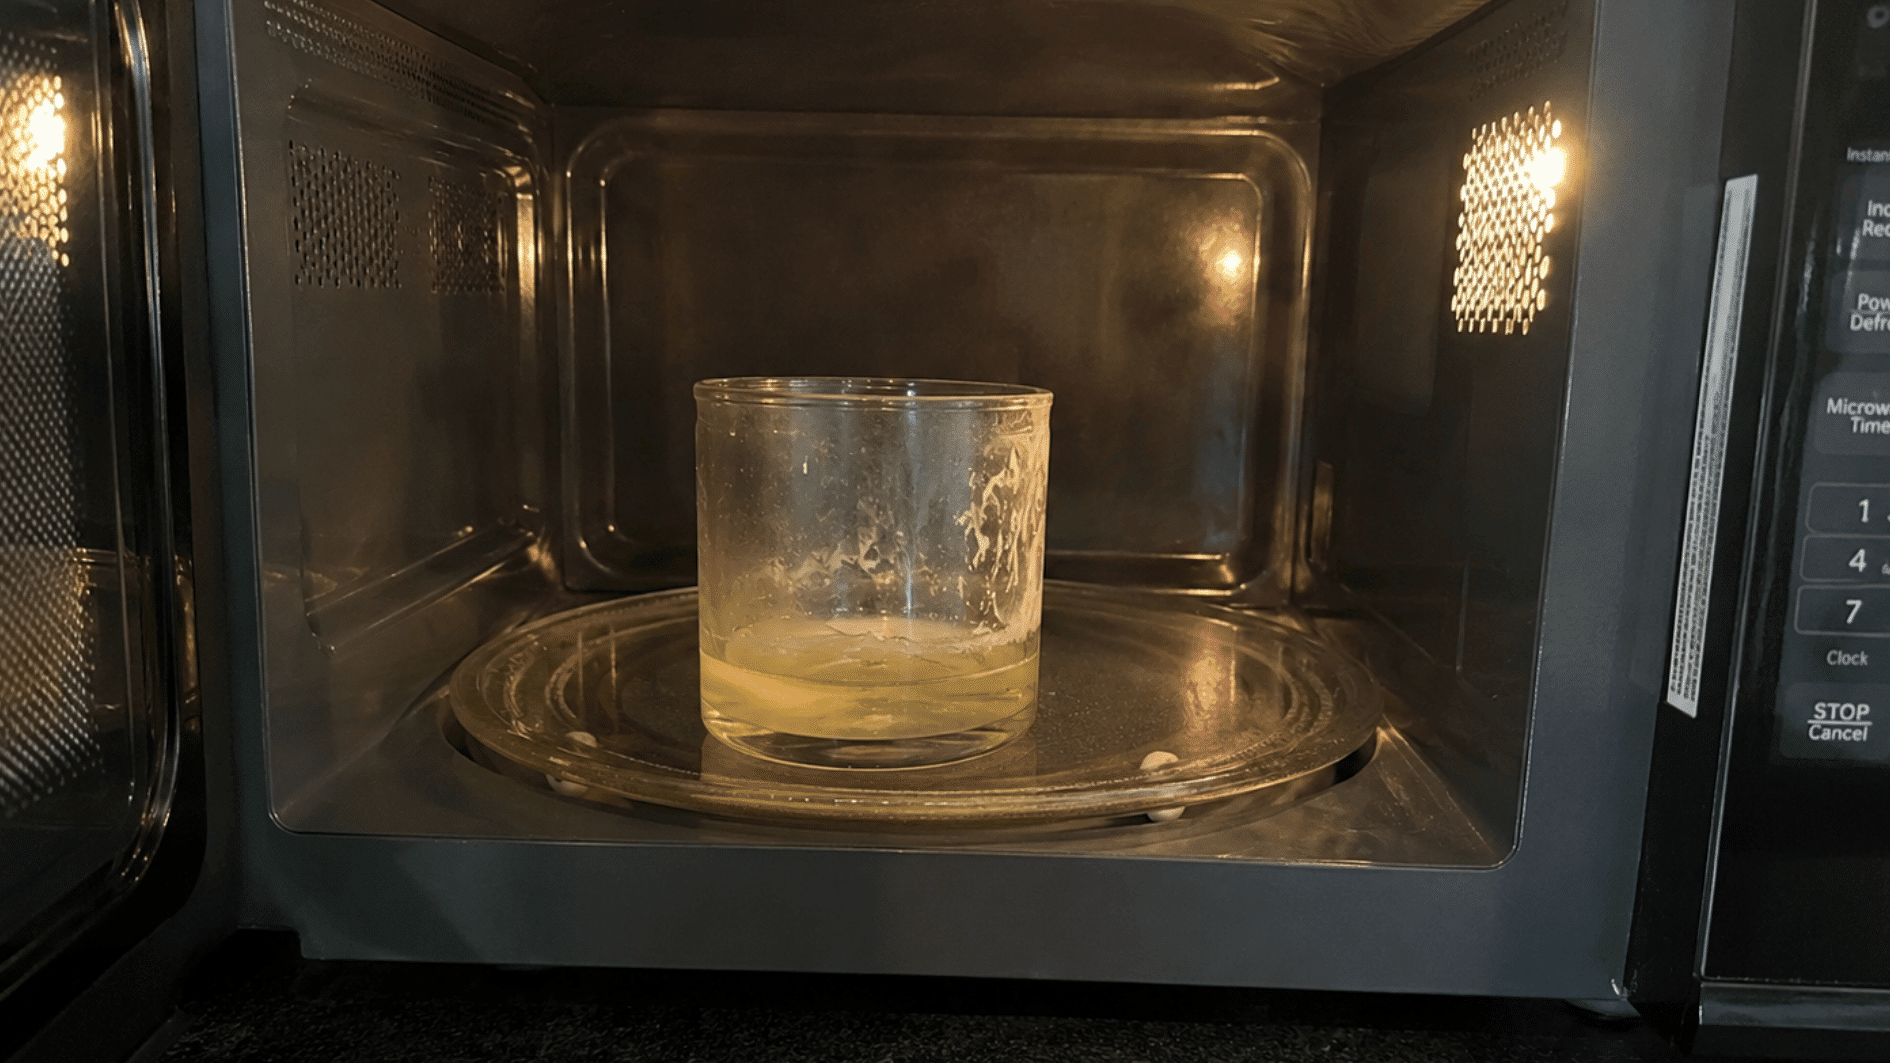
Unlike stovetop or oven-based approaches, this method needs no separate equipment beyond the microwave itself, making it the most immediately accessible option.
How to Do It:
- First, double-check the jar is microwave-safe; skip anything with metallic paint, decals, or a metal base.
- Pop it in the microwave and heat it in short 20–30-second bursts.
- Check on it between bursts; wax can overheat and splatter if you leave it in too long.
- Once it’s melted, carefully take the jar out with oven mitts.
- Pour the melted wax into a disposable container or onto some paper towels, then wipe the jar clean.
Things to Keep in Mind:
The microwave method is best for small amounts of leftover wax, not large blocks, and takes just 1–2 minutes total in short intervals.
Just avoid microwaving jars with any metal parts and let the jar cool briefly before touching it.
Method 5: Double Boiler Method
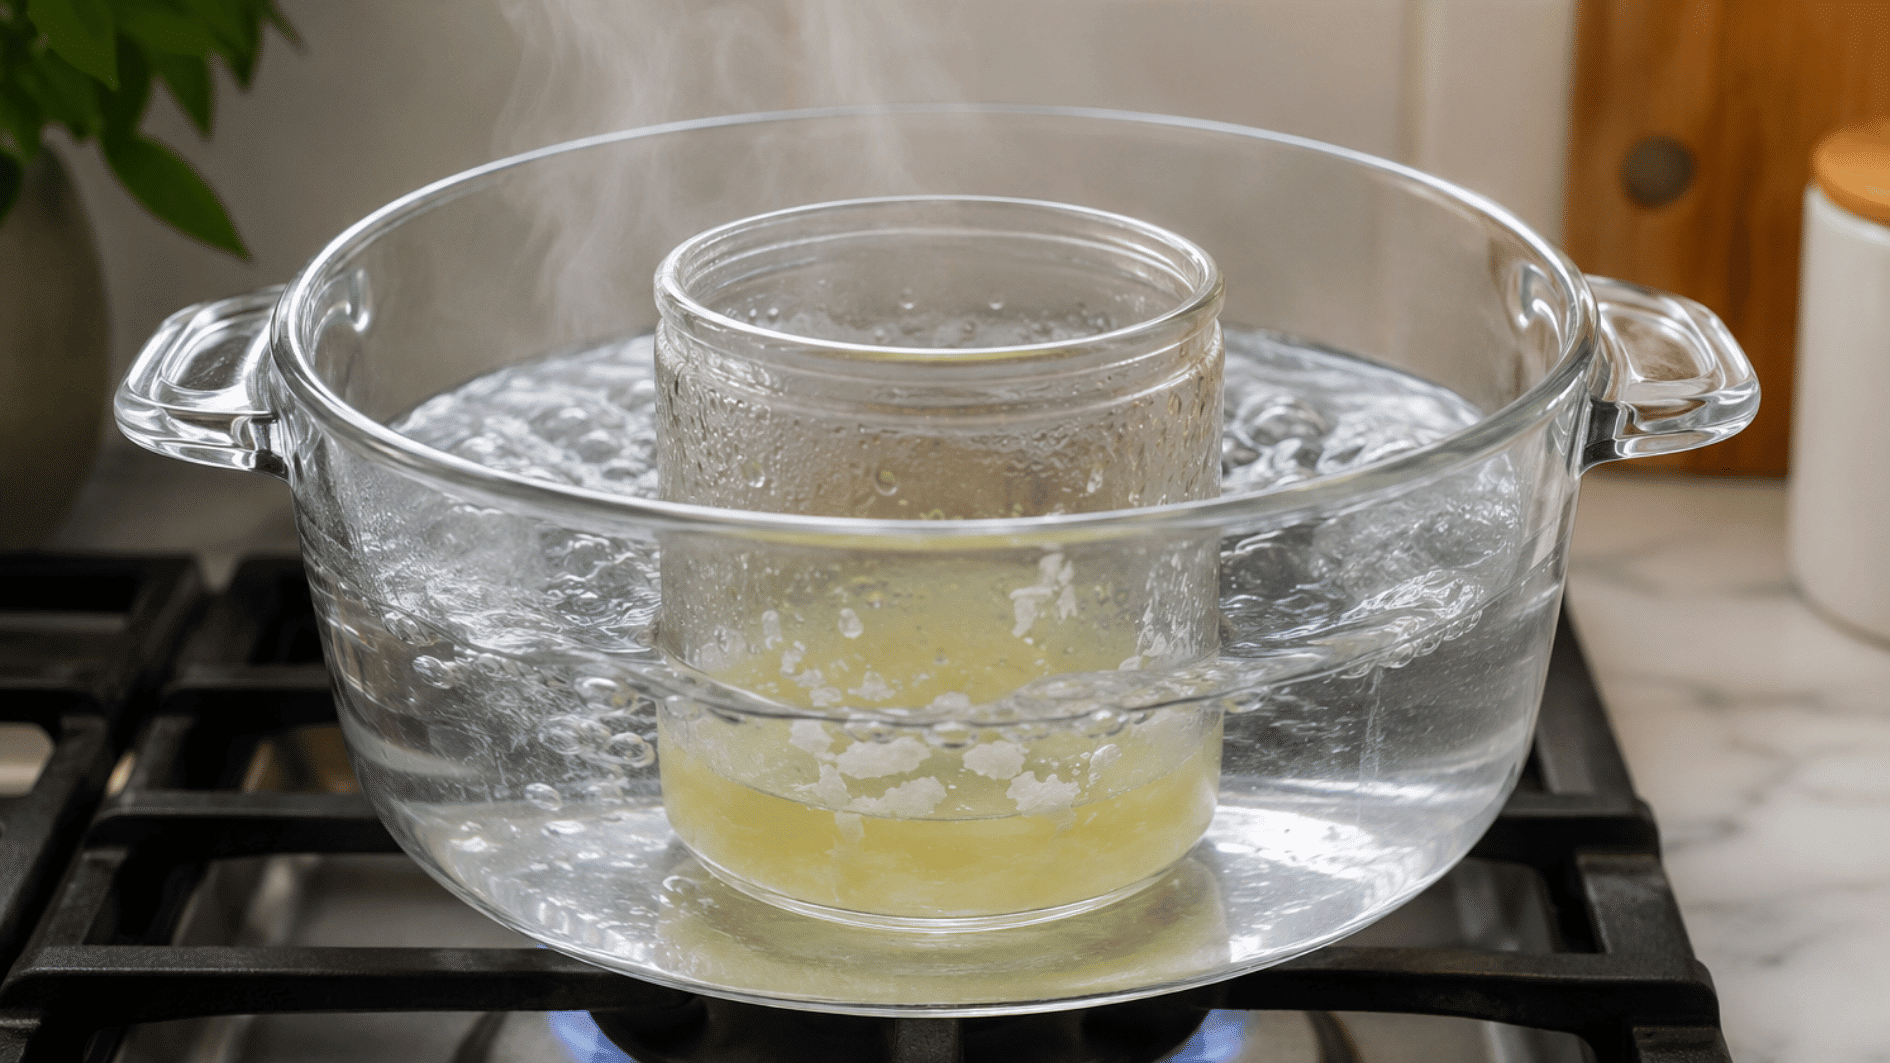
By keeping the jar out of direct contact with boiling water, this method reduces the risk of thermal shock that comes with more abrupt heat exposure. It requires the same level of stovetop supervision as boiling water, but with a gentler, more gradual melt.
How to Do It:
- Fill a saucepan with a couple of inches of water and bring it to a gentle simmer on the stove.
- Stand the jar upright in the water; just let it sit there rather than submerging it, so no water sneaks into the wax.
- Give it about 10–15 minutes; the heat will pass through the glass and slowly melt the wax inside.
- Once it’s fully liquefied, lift the jar out carefully using tongs or a heatproof cloth, it’ll be hot.
- Pour the melted wax into a disposable container or onto some paper towels, then wipe the jar clean while it’s still warm.
Things to Keep in Mind:
The double boiler method works well for moderate to thick wax, since the slow, steady heat melts it fully without rushing. It takes about 10–15 minutes of gentle simmering.
Just keep the water level below the jar’s rim to avoid spills and use tongs rather than bare hands to lift the hot jar.
Method 6: Hair Dryer or Heat Gun Method
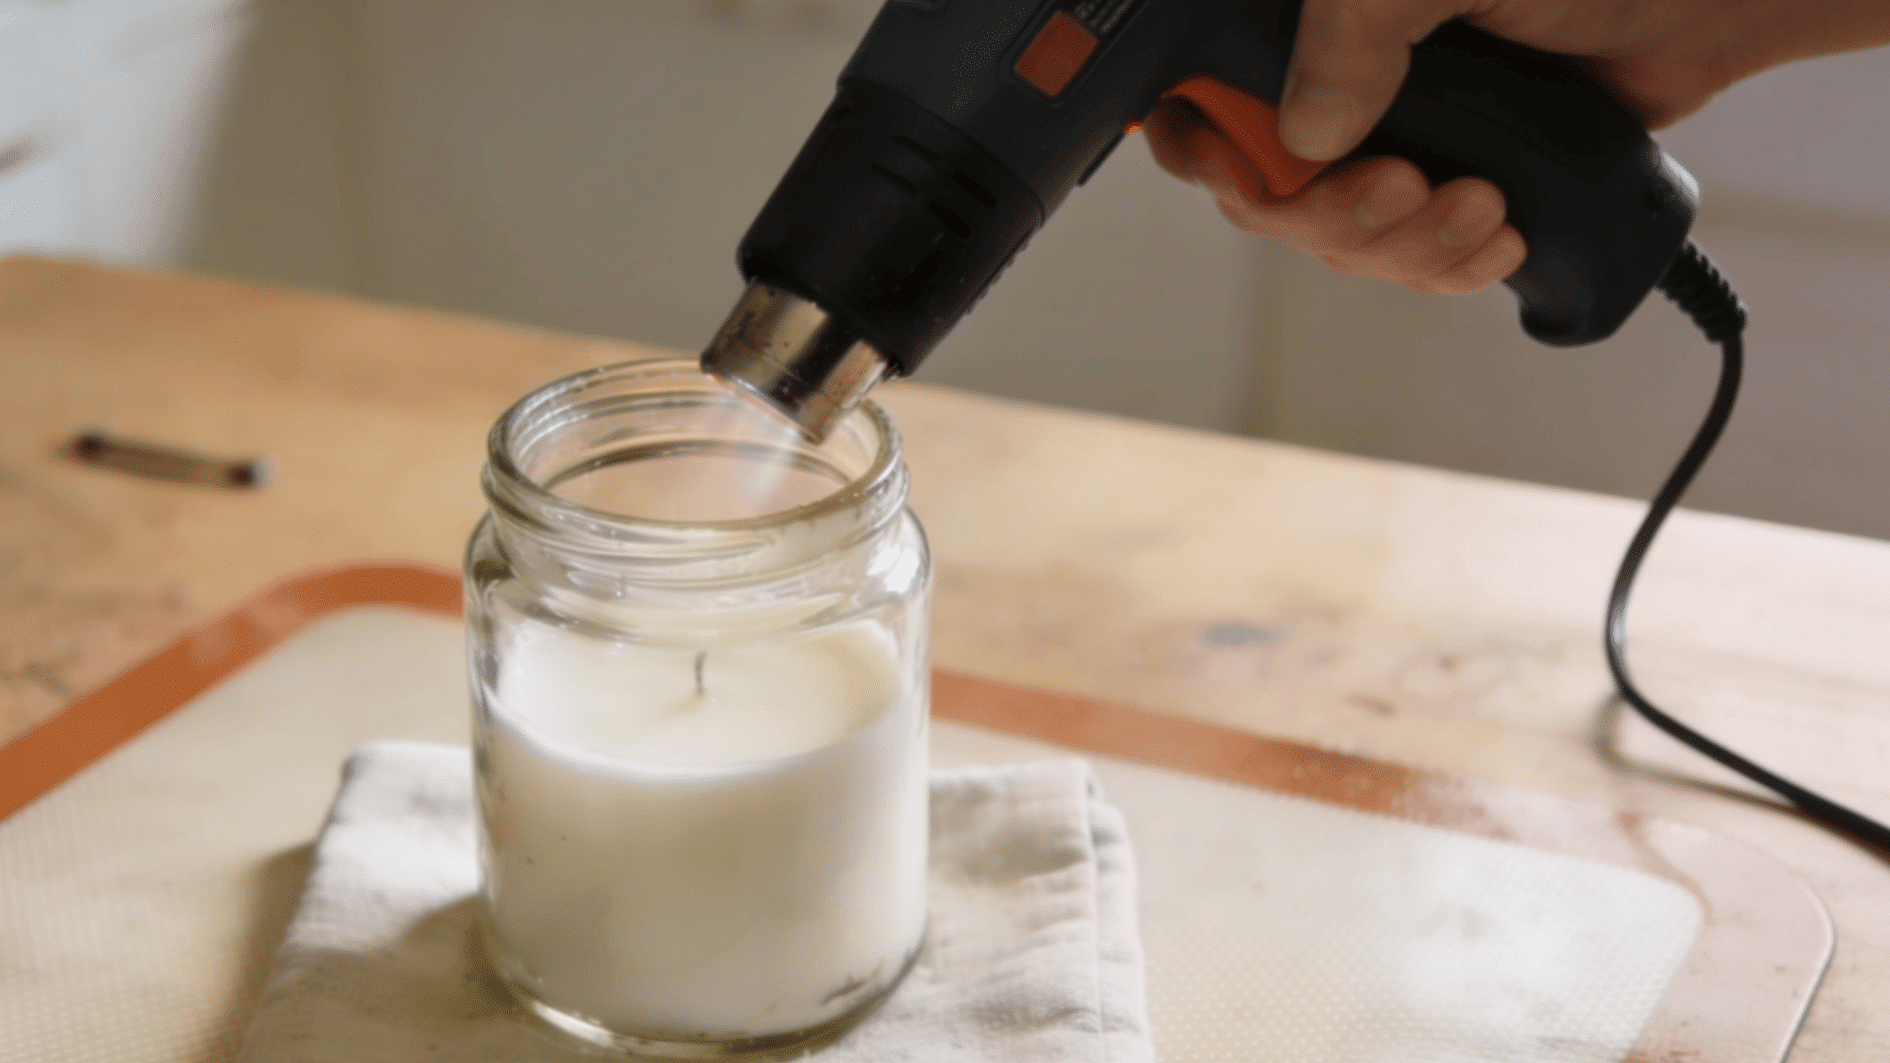
Unlike methods that require soaking, freezing, or waiting periods, this one produces results in real time, with no downtime built into the process. It also requires no stovetop, oven, or additional container, since the tool itself is the only equipment involved.
How to Do It:
- Set your hair dryer to its highest heat, or if you’re using a heat gun, dial it down to a low or medium setting so you don’t overdo it.
- Hold it a few inches away from the jar and move it slowly around the wax so the heat spreads evenly instead of concentrating in one spot.
- Give it about 3–5 minutes with a hair dryer, or just 1–2 with a heat gun, you’ll see the wax start to soften and pull away from the glass.
- Once it’s soft, wipe it out with a paper towel while everything’s still warm and easy to move.
- If there’s still wax left, just heat it again in short bursts rather than holding the tool in one place too long.
Things to Keep in Mind:
This method works best for thin to moderate wax layers, since thick blocks may need several rounds of heating to fully clear.
Expect about 3–5 minutes per round with a hair dryer, or less with a heat gun, which works faster.
Keep the tool moving to avoid overheating one spot, avoid touching the glass right after heating, and use a heat gun with extra caution since it reaches much higher temperatures than a hair dryer.
Method 7: Soaking Method
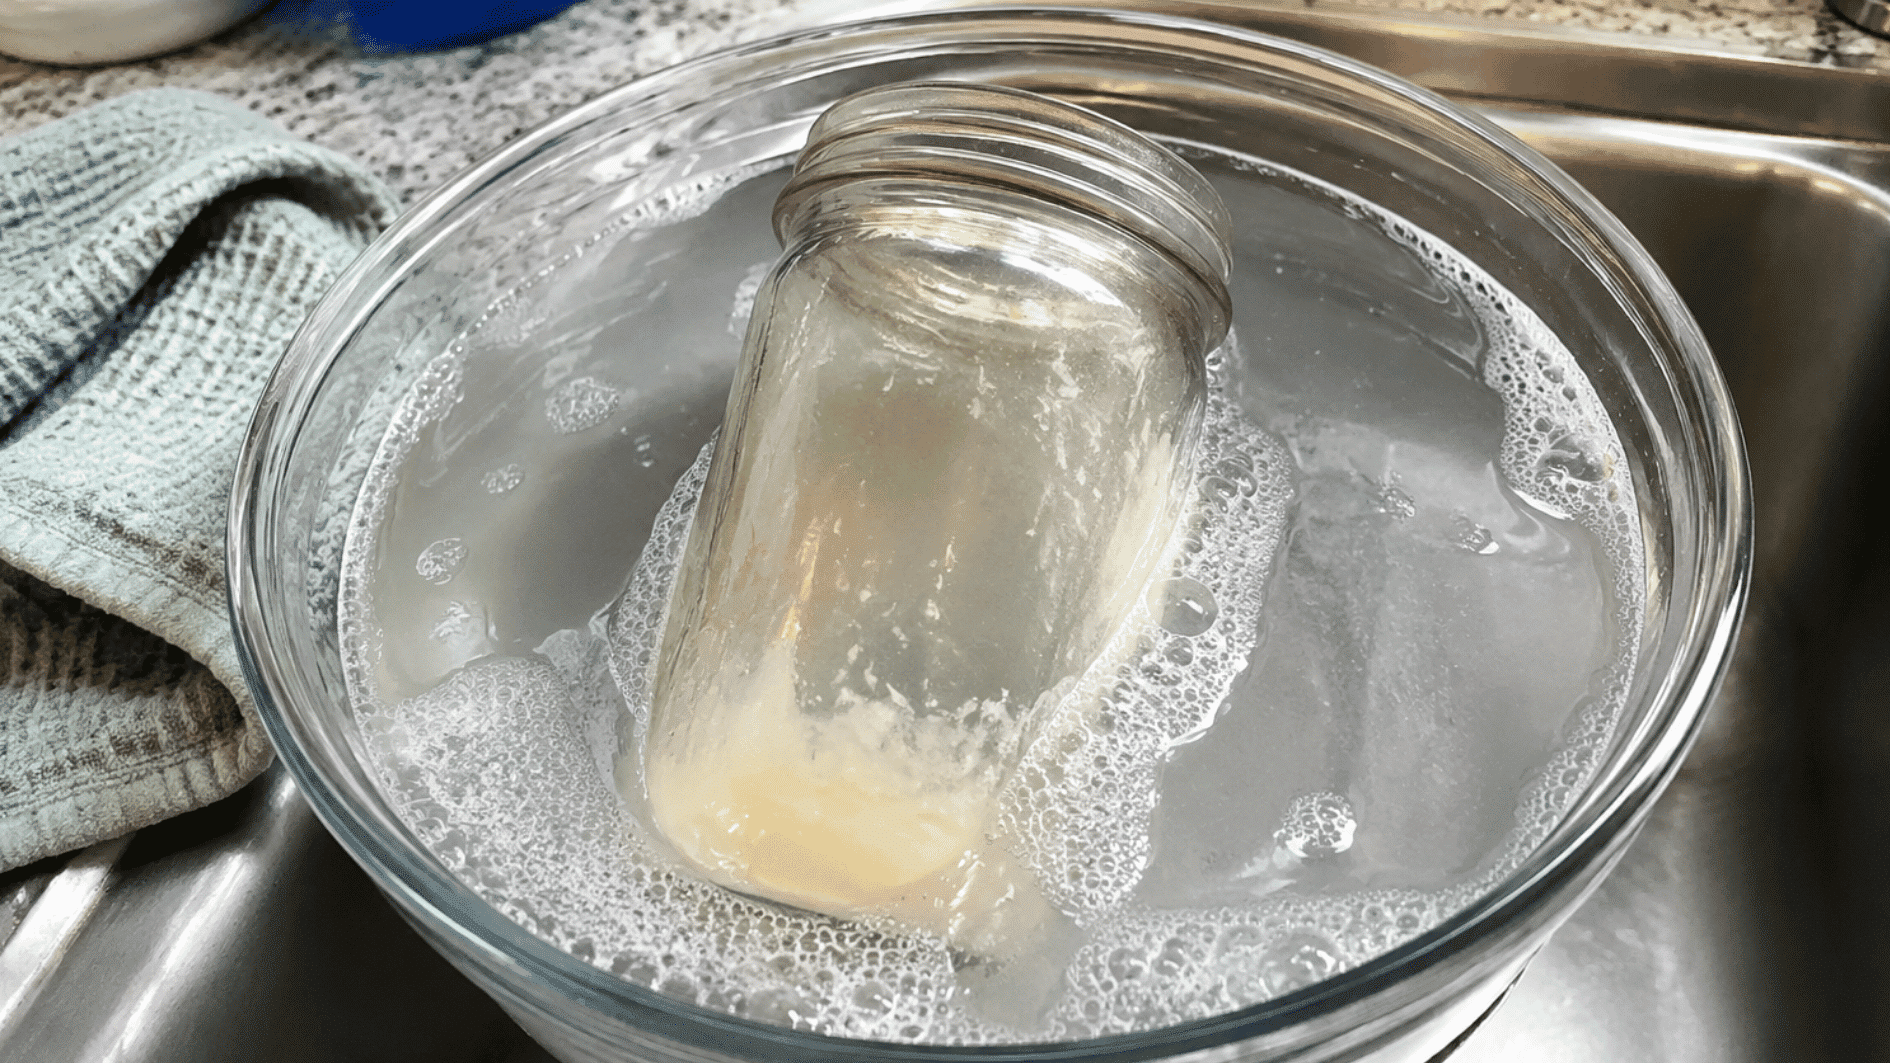
This method is generally reserved for jars considered delicate or of particular value, where a gentler process is preferred.
How to Do It:
- Fill a sink or basin with hot tap water and a few squirts of dish soap.
- Submerge the jar completely, and weigh it down with a plate if it keeps floating to the surface.
- Let it sit for at least 30 minutes, closer to 2–3 hours if there’s a thick layer of wax.
- Check back every 20–30 minutes; you’ll notice the wax gradually softening and lifting away from the glass.
- Once it’s loose, wipe out the softened wax with a cloth, then rinse the jar under warm water to clear any remaining films.
Things to Keep in Mind:
This method works well for light-to-moderate wax, especially on delicate or decorative jars.
It takes at least 30 minutes, longer if the wax layer is thick. Weigh the jar down if it keeps floating, and be patient; this approach is slower than others, but the safest choice for fragile glass.
How to Clean Out Your Candle Jar
Once the wax is removed, the jar may still have oily residue, soot, adhesive, or a glued wick holder. Cleaning these remaining marks prepares the container for safe reuse, recycling, or storage.
| Step | What to Do | Why It Matters |
|---|---|---|
| Remove leftover residue | Wipe away small wax pieces, soot, or oily buildup with a soft cloth or paper towel | Keeps loose debris from smearing during washing |
| Wash the jar | Clean the inside with warm water and dish soap | Clears dirt and leftover fragrance oils from the glass |
| Clear label marks | Scrub gently, use an adhesive remover, or soak in warm soapy water for 15–20 minutes | Leftover glue attracts dust and looks unfinished |
| Dry it completely | Let the jar air dry fully before storing or reusing it | Trapped moisture can lead to mold or a cloudy finish |
Practical Ways to Repurpose an Empty Candle Jar
A cleaned candle jar can become useful storage, decor, or gift packaging instead of going straight into the recycling bin. Check that the container has no cracks, chips, sharp edges, or lingering wax before choosing a new use.
1. Refill It with a New Candle
A clean candle jar can be reused to make a fresh candle with a new wick, wax, and fragrance. This is especially useful when the original container has a shape or color you like.
Check the glass carefully for cracks, chips, or heat damage before using it again, and make sure the jar was originally made to hold candles.
2. Store Bathroom Essentials
Use the jar to hold cotton balls, cotton swabs, hair ties, clips, makeup sponges, or other small bathroom items.
Clear glass keeps everything visible, while a lid helps protect the contents from dust and moisture. Smaller jars work well on vanity counters, while wider jars can hold larger everyday supplies.
3. Make a Small Planter
A candle jar can become a simple planter for a succulent, herb, or small indoor plant. Since most candle jars do not have drainage holes, place a nursery pot inside the jar or add a layer of stones at the bottom.
Choose plants that do not need frequent watering to reduce the chance of excess moisture collecting around the roots.
4. Organize Craft Supplies
Empty candle jars are useful for sorting buttons, beads, thread, sewing clips, paintbrushes, pens, and other small craft materials. Keeping similar items in separate jars makes supplies easier to find and prevents drawers from becoming cluttered. You can also label each jar if you use several of them in the same workspace.
5. Use It as a Utensil Holder
A wide and stable candle jar can hold forks, spoons, reusable straws, makeup brushes, paintbrushes, or writing tools. This works well in kitchens, bathrooms, offices, and craft rooms.
Avoid using the jar for drinks or uncovered food unless the manufacturer confirms that the glass is food-safe and free from decorative coatings.
6. Create a Small Gift Jar
Fill the cleaned jar with bath salts, wrapped candy, tea bags, cookies, self-care items, or small keepsakes.
Add a lid, ribbon, tag, or piece of fabric around the top to make the gift look more complete. The jar becomes part of the gift itself, giving the recipient a container they can continue using afterward.
Conclusion
Whichever method you reach for, freezing, boiling water, the oven, a quick microwave burst, or a slow soak, getting that last stubborn bit of wax out is something you can absolutely handle now. A wipe of the residue, a good wash, a full dry, and that jar goes from “empty candle” to genuinely ready for whatever comes next.
That’s the real answer to how to get candle wax out of a jar: match the method to the amount of wax you’re working with, follow through, and finish with a proper clean.
You now know exactly what to do, so that jar on your shelf doesn’t have to be trash. Give it a little care and let it live on.
Frequently Asked Questions
Can I Reuse Leftover Candle Wax Instead of Throwing It Away?
Yes. Clean leftover wax can be melted and reused to make new candles, wax melts, or fire starters, as long as it is free from dirt and debris.
Why Does My Candle Jar Turn Cloudy After Cleaning?
Cloudiness usually comes from mineral deposits or waxy residue. Washing the jar with warm soapy water and drying it with a microfiber cloth often restores clarity.
Is It Safe to Recycle Candle Jars?
Most glass candle jars can be recycled once all wax, wick pieces, and labels are removed. Always check your local recycling guidelines before disposing of them.