
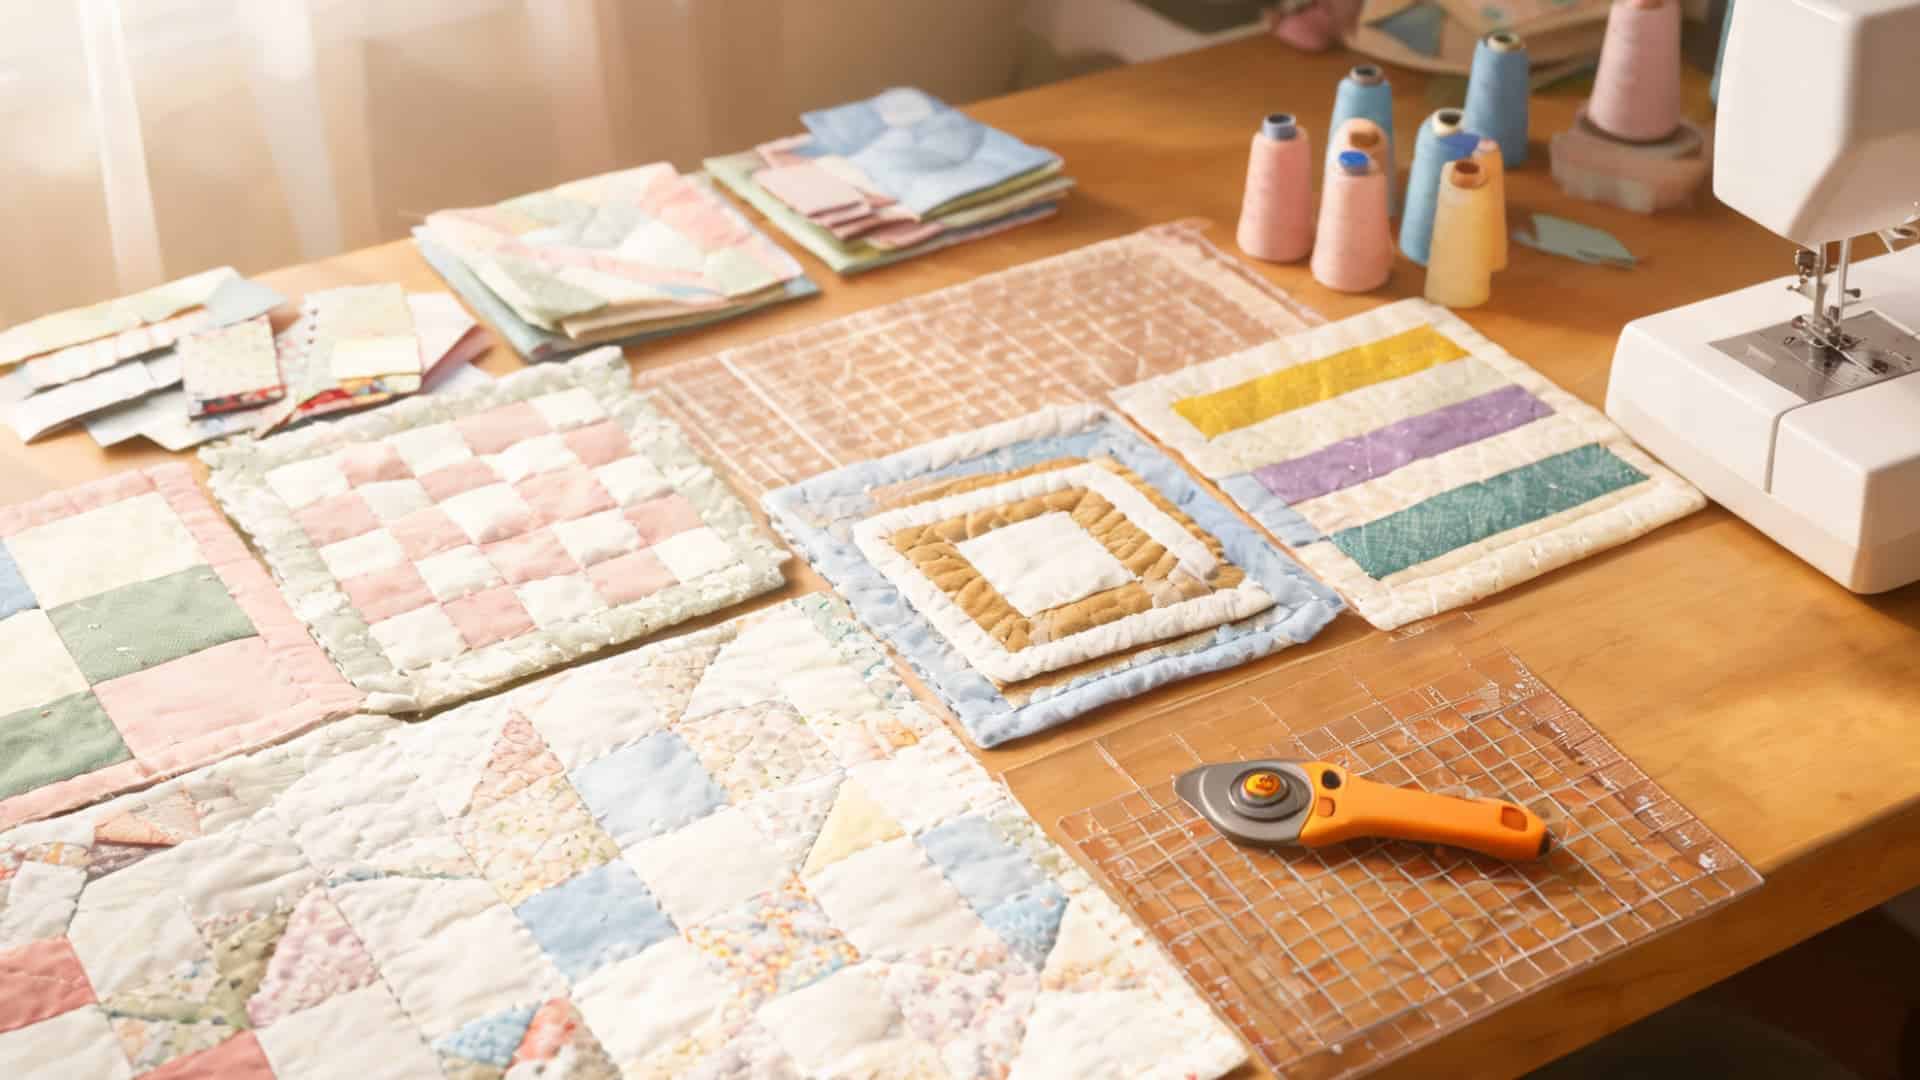
Every quilter remembers their first block. Mine was crooked, mismatched, and still one of my proudest projects. That’s the beauty of starting simple.
If you’re staring at fabric squares wondering where to begin, you’re not alone. Quilting can look complicated from the outside, all those points and seams lining up perfectly. But easy quilt patterns strip away that complexity.
You’ll learn how simple quilt blocks work, why beginners gravitate toward them, and what tools actually matter. You’ll also see how to recognize a project that matches your comfort level before you cut a single piece.
What Are the Easiest Quilt Patterns for Beginners?
The easiest quilt patterns rely on shapes you already know: squares, rectangles, and strips. No curves, no tricky angles, no guesswork.
This is where simple quilt blocks come in. Four-patch and nine-patch designs use basic grids, so you spend less time worrying about precision. Strip quilts take that idea further, letting you sew long fabric pieces before cutting them into sections.
What ties these easy quilt patterns together is repetition. You learn one straight seam, then repeat it. No advanced tools, no complicated math.
Before cutting a full project, checking a quilt size chart can also help you estimate how large your finished quilt should be and how much piecing you are taking on.
Basic Supplies Needed
Good tools make easy quilt patterns even easier. You don’t need a full craft room or expensive machines to start. A few reliable basics will carry you through most beginner projects, from simple quilt blocks to your first finished quilt top.
- Rotary cutter
- Self-healing cutting mat
- Quilting rulers
- Quality thread
- Sharp sewing needles
- Fabric scissors
- Pins
- A sewing machine with a straight stitch
Easy Quilt Patterns and Simple Quilt Blocks for Beginners
Choosing the right project matters just as much as choosing the right fabric. These easy quilt patterns range from basic squares to slightly more detailed blocks, giving you plenty of beginner-friendly options to practice on.
1. Four Patch Quilt Block
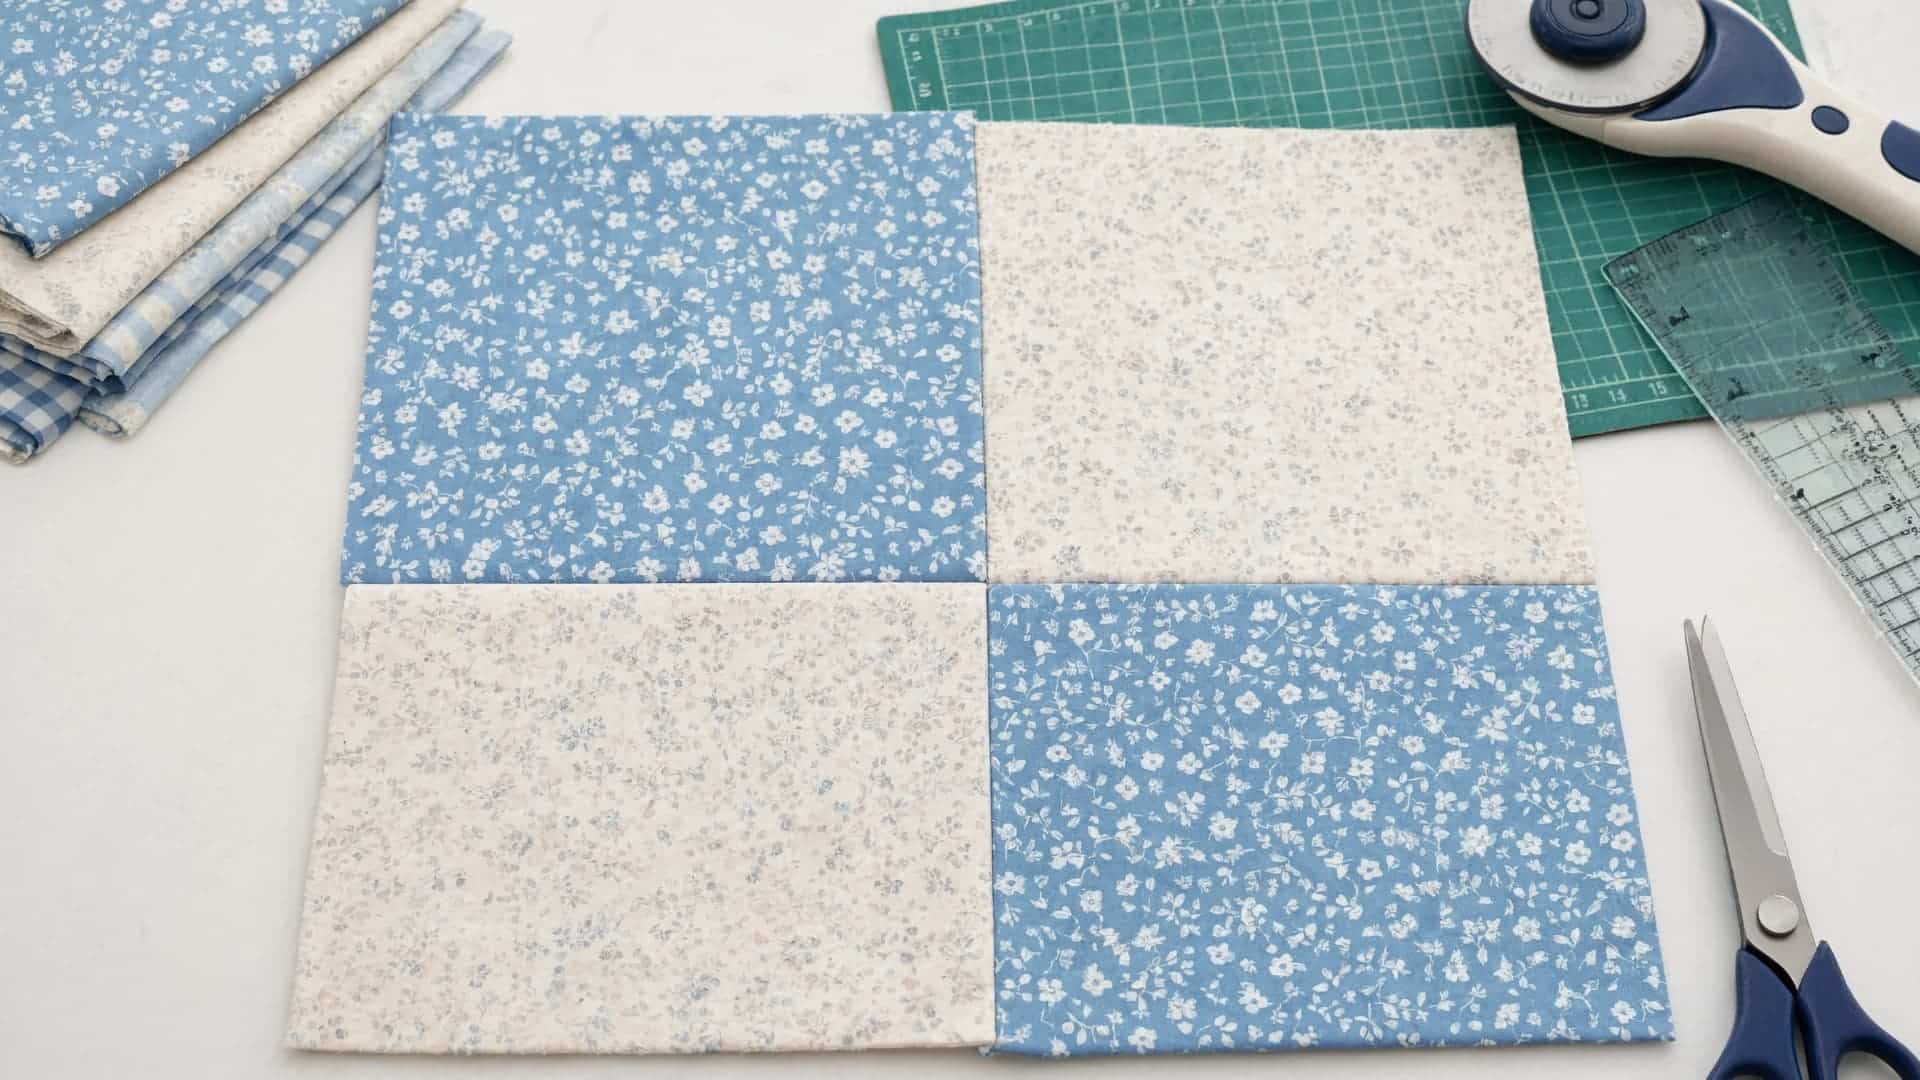
Four equal squares joined into one simple block, making it one of the easiest and most reliable starting points for brand-new quilters to build confidence.
Steps to Follow
- Cut four squares measuring 5 inches by 5 inches, two in each color.
- Arrange them in a 2×2 grid, alternating colors.
- Sew two pairs together using a quarter-inch seam allowance.
- Join the pairs into one block, matching the center seam.
- Press seams open for a flat, 9-inch finished block.
2. Nine Patch Quilt Block
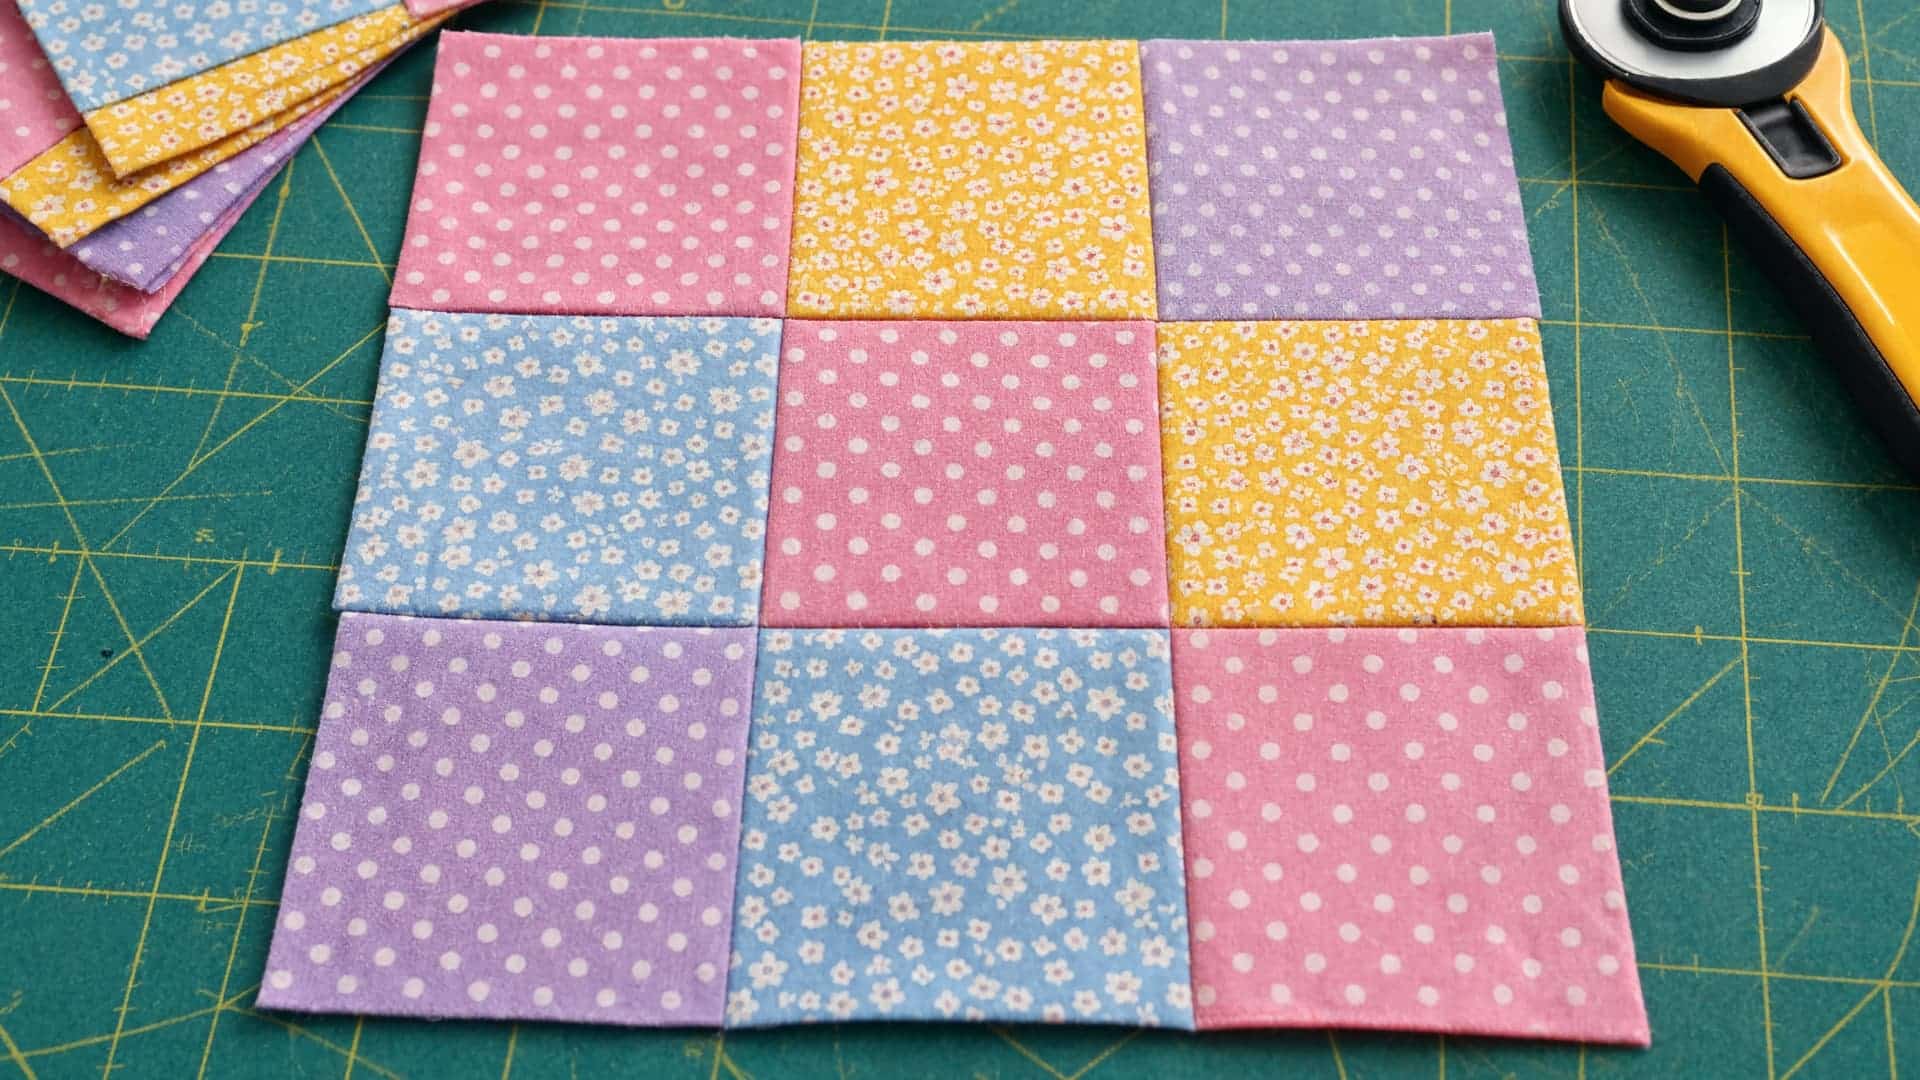
Nine squares arranged neatly in three rows create a slightly more detailed grid pattern than the four-patch while still remaining approachable for beginners.
Steps to Follow
- Cut nine squares measuring 3.5 inches by 3.5 inches, five in one color and four in another.
- Lay them out in three rows of three, alternating colors like a checkerboard.
- Sew each row together using a quarter-inch seam allowance.
- Press seams in opposite directions row by row so they nest together.
- Join the rows to complete a 9-inch finished block.
3. Rail Fence Quilt
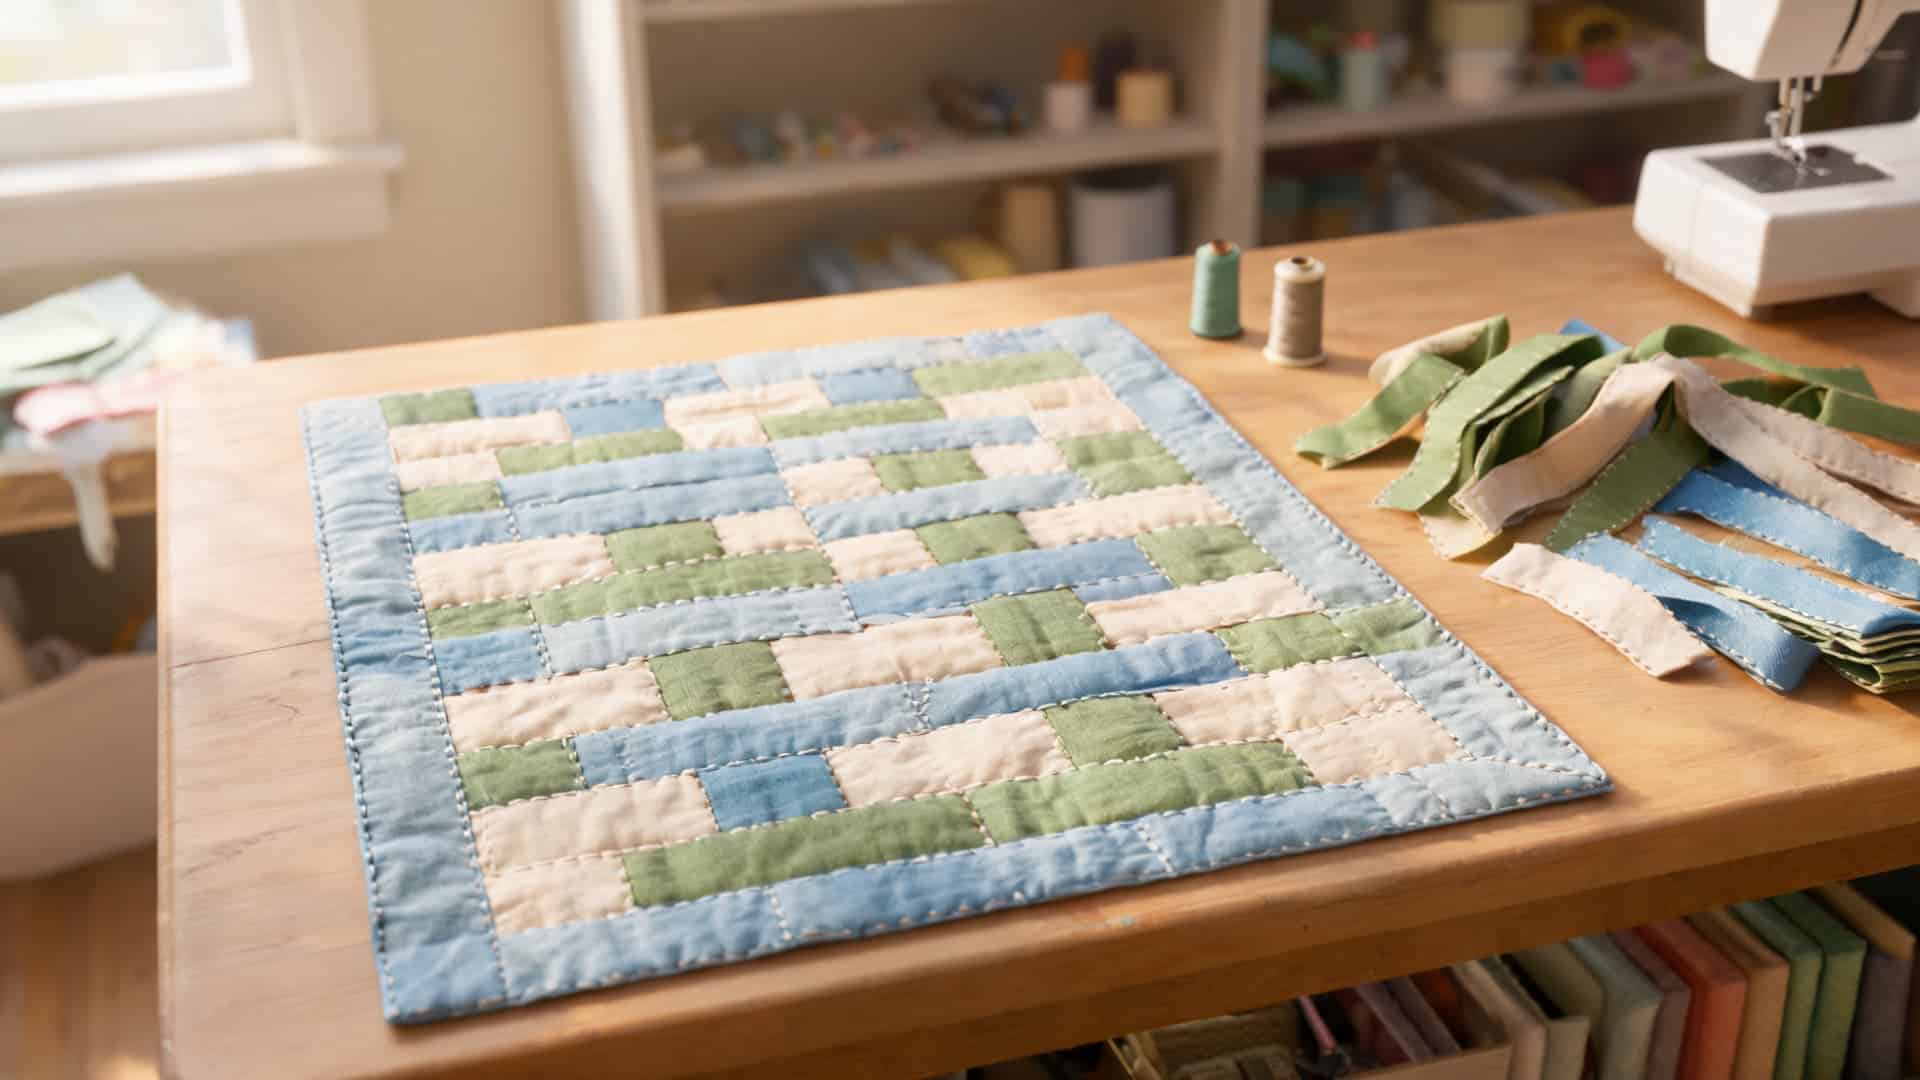
Fabric strips arranged in alternating directions create a woven, layered look without requiring advanced sewing skills or complicated cutting techniques.
Steps to Follow
- Cut four fabric strips measuring 2.5 inches wide by 12 inches long, in different colors.
- Sew the strips together lengthwise into a single panel, using a quarter-inch seam allowance.
- Press all seams in one direction.
- Cut the panel into 8-inch squares.
- Rotate every other square 90 degrees before joining them into rows.
4. Log Cabin Quilt
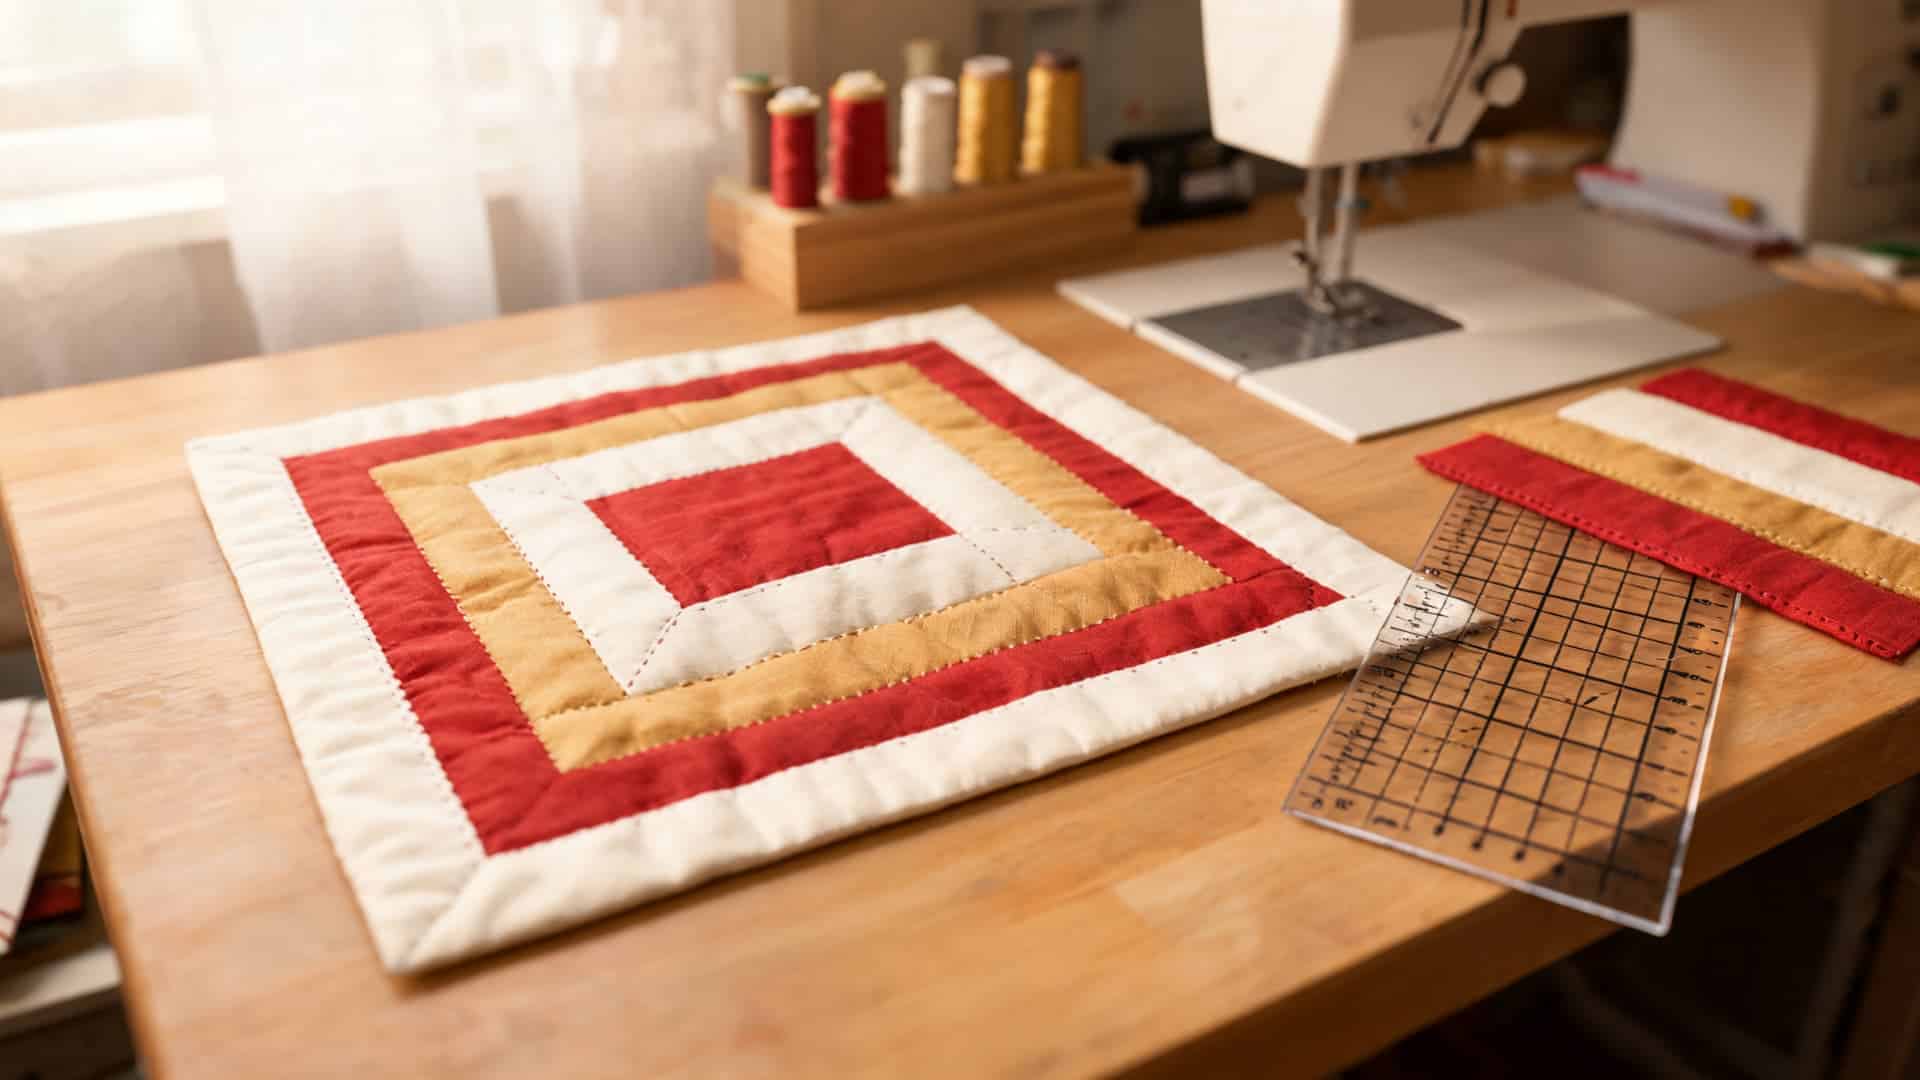
Fabric strips wrap steadily around a small center square, building outward in layered rings that look far more complex than they actually are.
Steps to Follow
- Start with one 3-inch center square, often red or a bold color.
- Cut strips 1.5 inches wide and sew one to each side, working clockwise.
- Trim each strip flush before adding the next.
- Keep adding strips, increasing length as the block grows.
- Stop once the block reaches your target size, usually 12 inches.
5. Strip Quilt
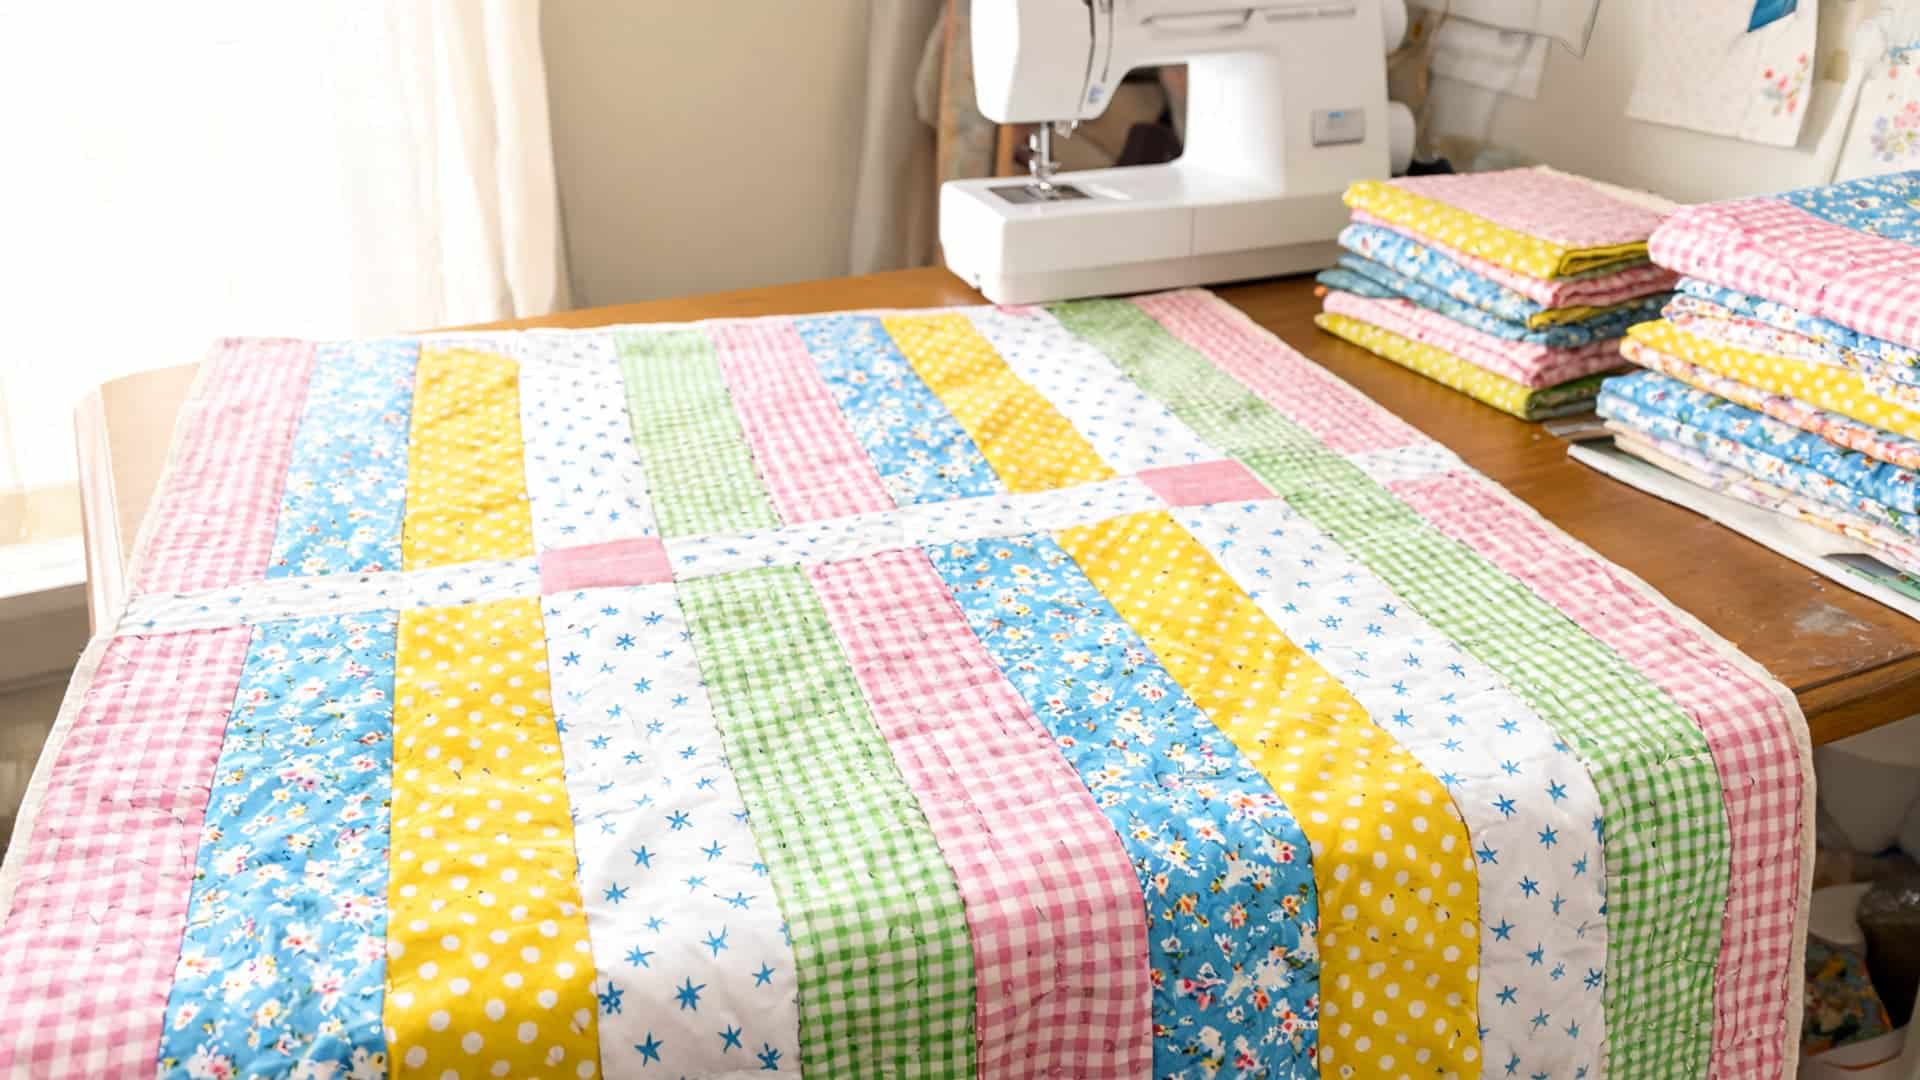
Long fabric strips are sewn together first, then reshaped into a finished top, making this one of the fastest beginner projects available today.
Steps to Follow
- Cut strips 4 inches wide by the full width of your fabric, roughly 40 inches.
- Sew strips side by side using a quarter-inch seam allowance until the panel reaches your desired width.
- Press all seams in one direction.
- Cut the panel into sections if a different layout is wanted.
- Rearrange and resew sections before joining the final top.
6. Checkerboard Quilt
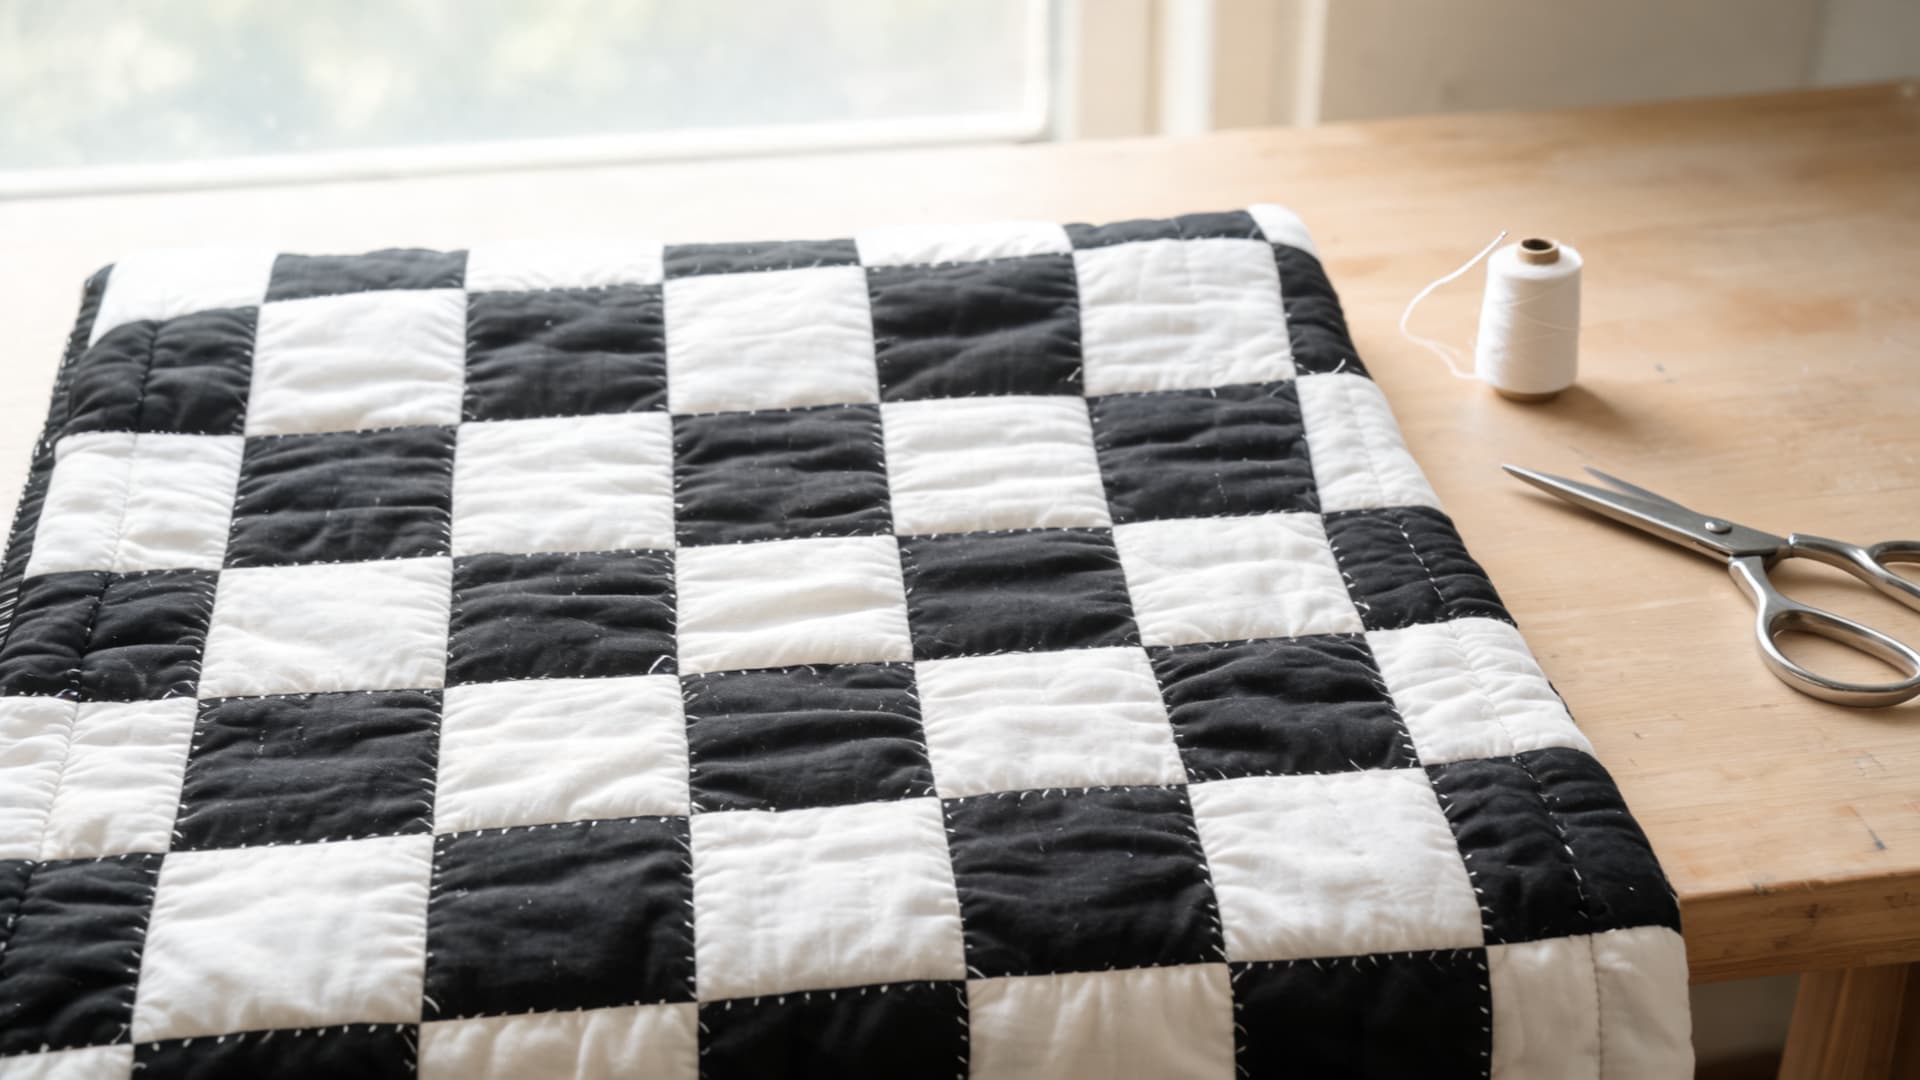
Two contrasting colors alternate across a simple grid, creating a bold pattern similar to a classic board game that reads clearly from a distance.
Steps to Follow
- Cut squares measuring 4 inches by 4 inches, equal numbers in two colors.
- Arrange them in alternating rows so no two of the same colors touch.
- Sew each row together, alternating colors as you go.
- Press seams in opposite directions between rows.
- Join rows so the offset seams nest and lock together neatly.
7. Square Patchwork Quilt
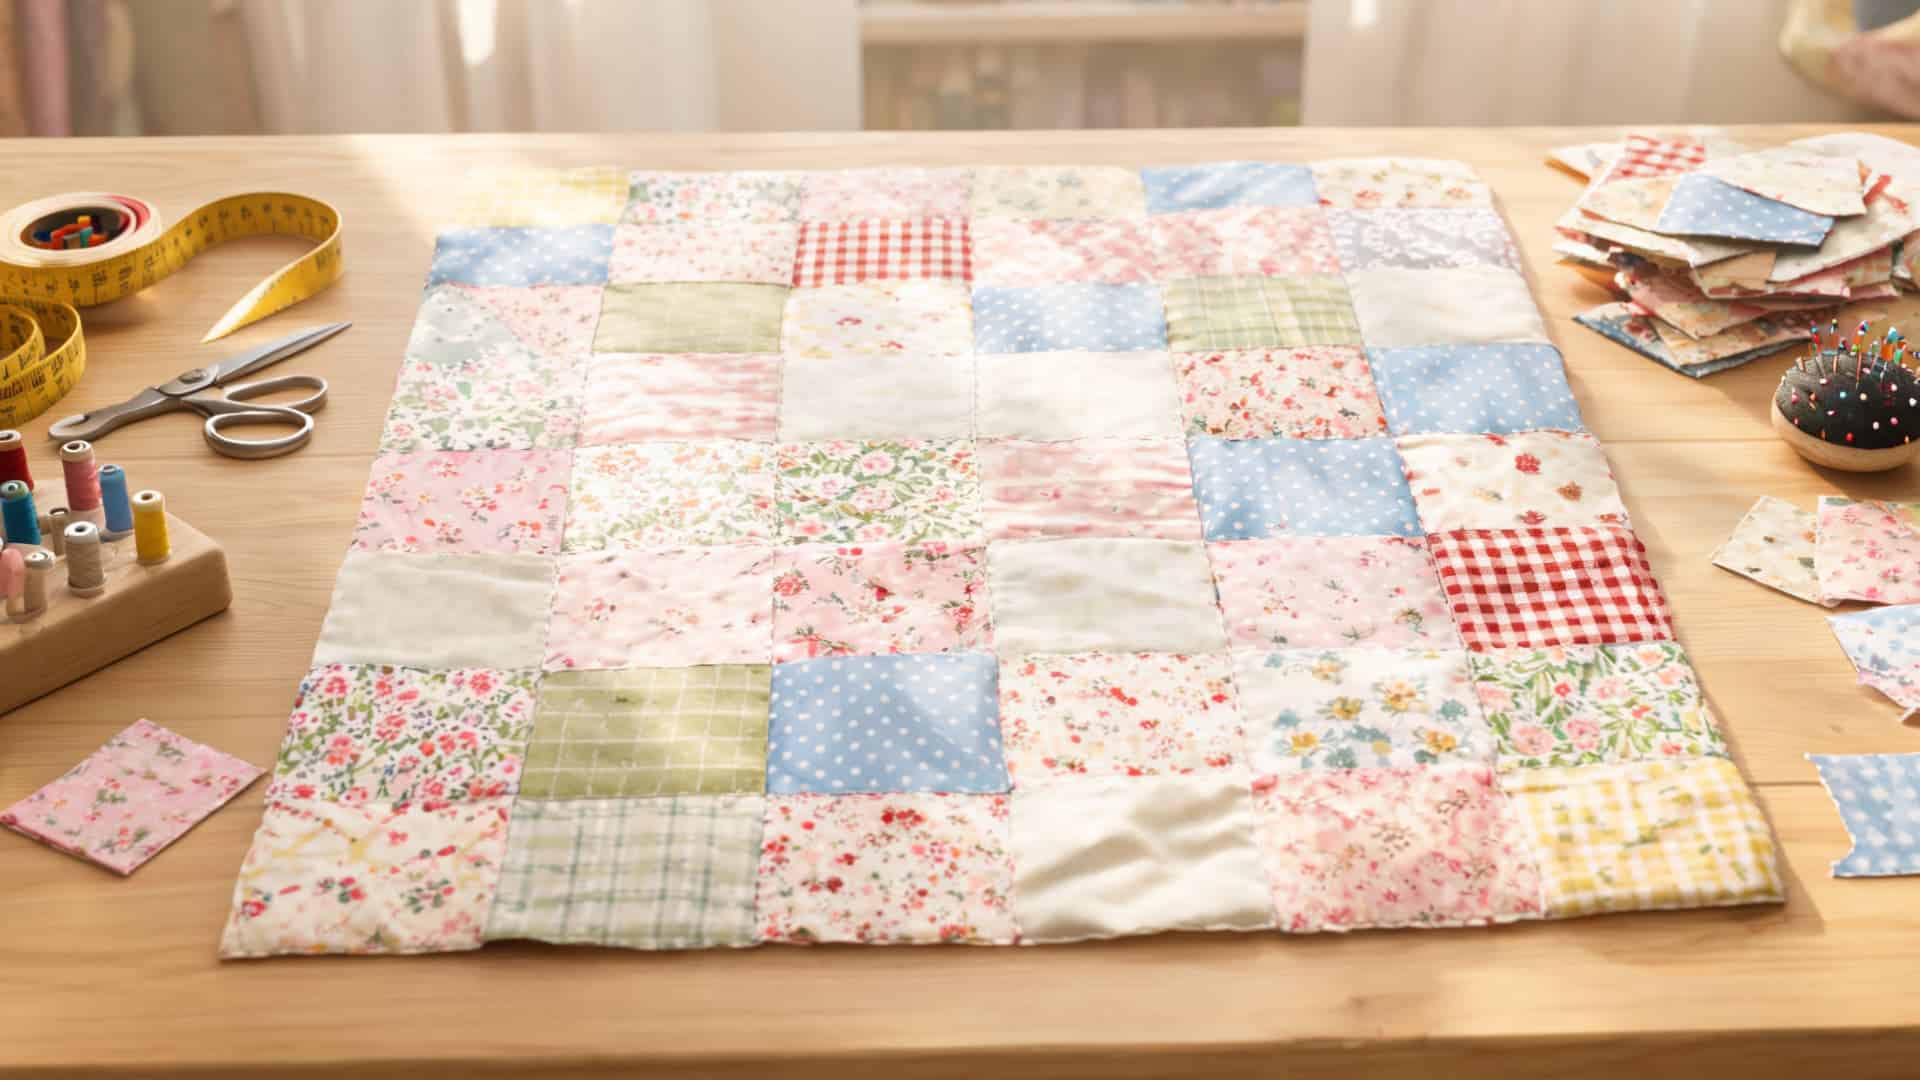
Random-sized squares are pieced together loosely, giving beginners a relaxed and forgiving project that doesn’t demand exact precision at every step.
Steps to Follow
- Cut squares in a few sizes, such as 3 inches, 5 inches, and 7 inches.
- Lay them out on a design wall or floor in a pleasing arrangement.
- Sew squares of matching sizes into rows first.
- Join smaller rows into larger sections as needed.
- Sew all sections together to complete the quilt top.
8. Half Square Triangle Quilt
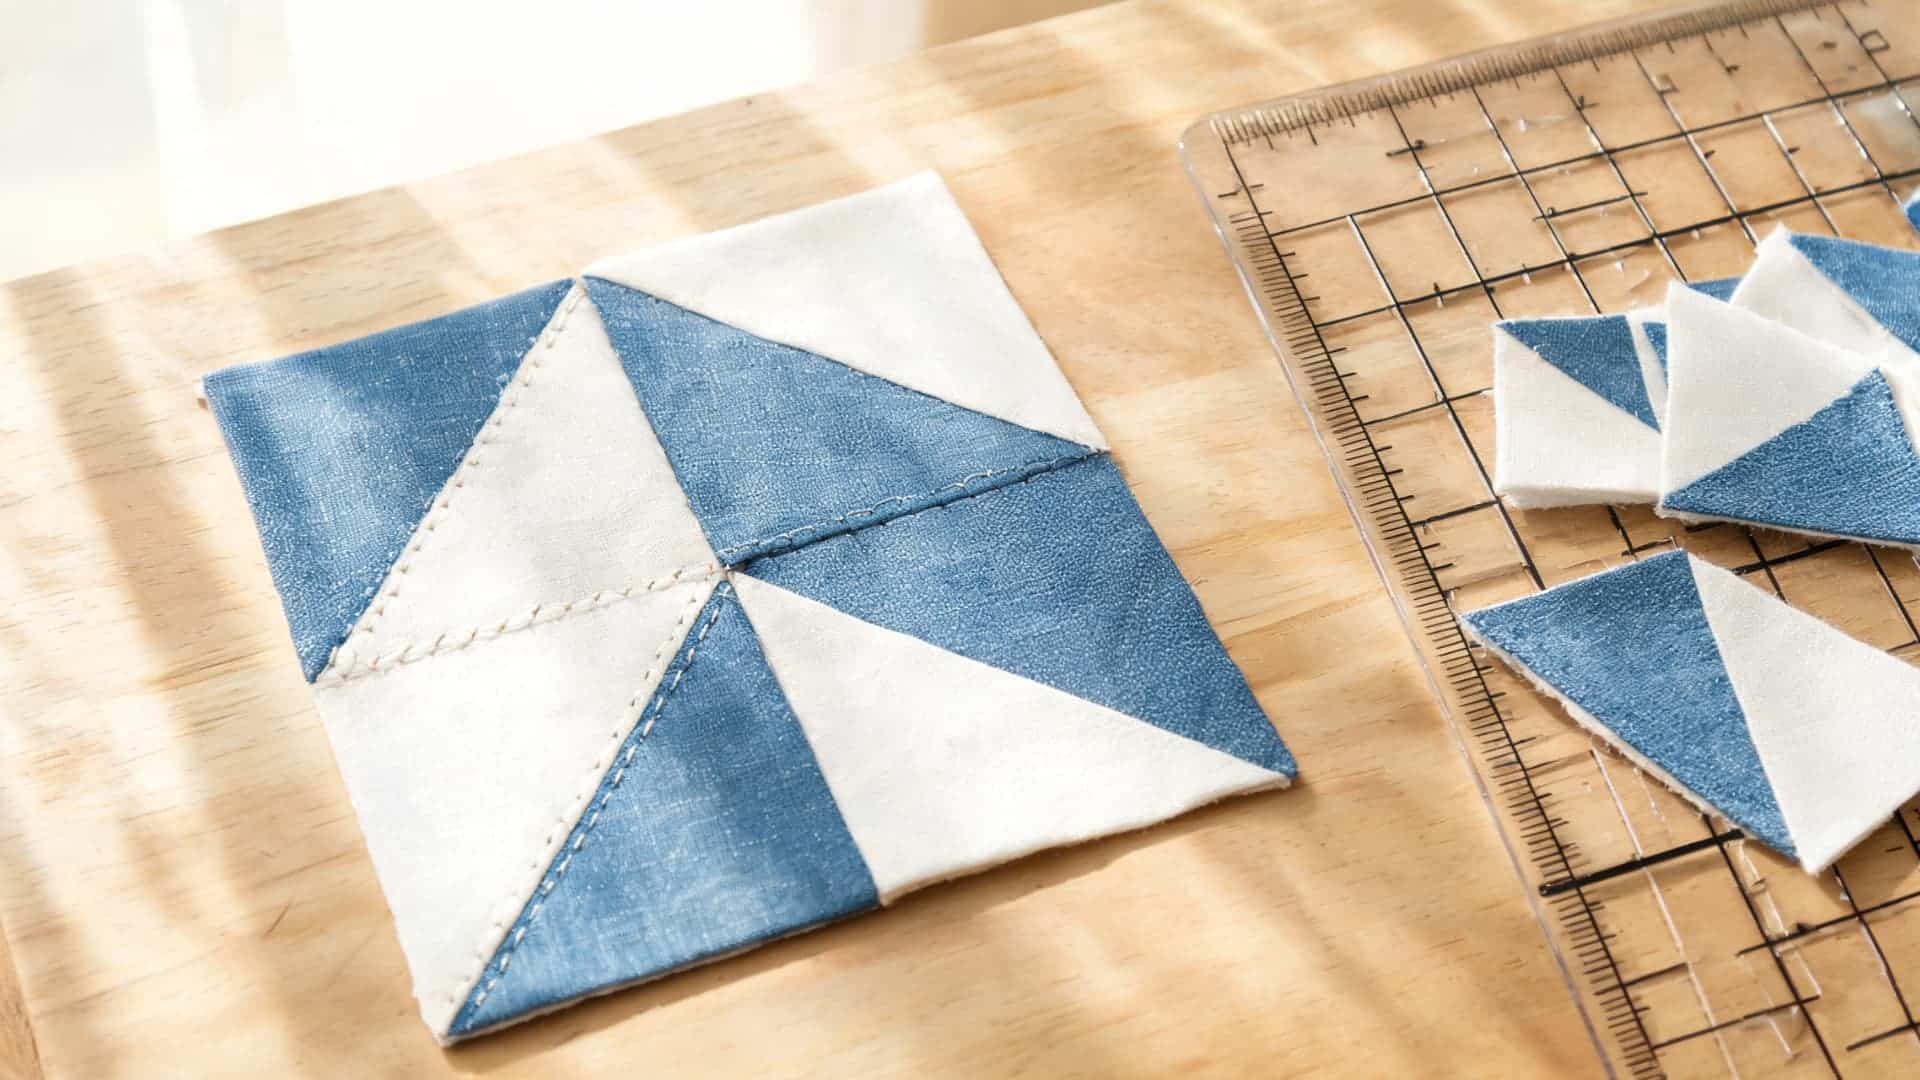
Two triangles are joined to form a single square, creating diagonal movement and visual interest in an otherwise simple, beginner-friendly quilt top.
Steps to Follow
- Cut two squares measuring 4.5 inches by 4.5 inches in contrasting fabrics.
- Draw a diagonal line from corner to corner on the lighter square.
- Sew a quarter-inch seam on both sides of the drawn line.
- Cut along the drawn line to yield two triangle units.
- Press seams open and trim each unit to a clean 4-inch square.
9. Pinwheel Quilt Block
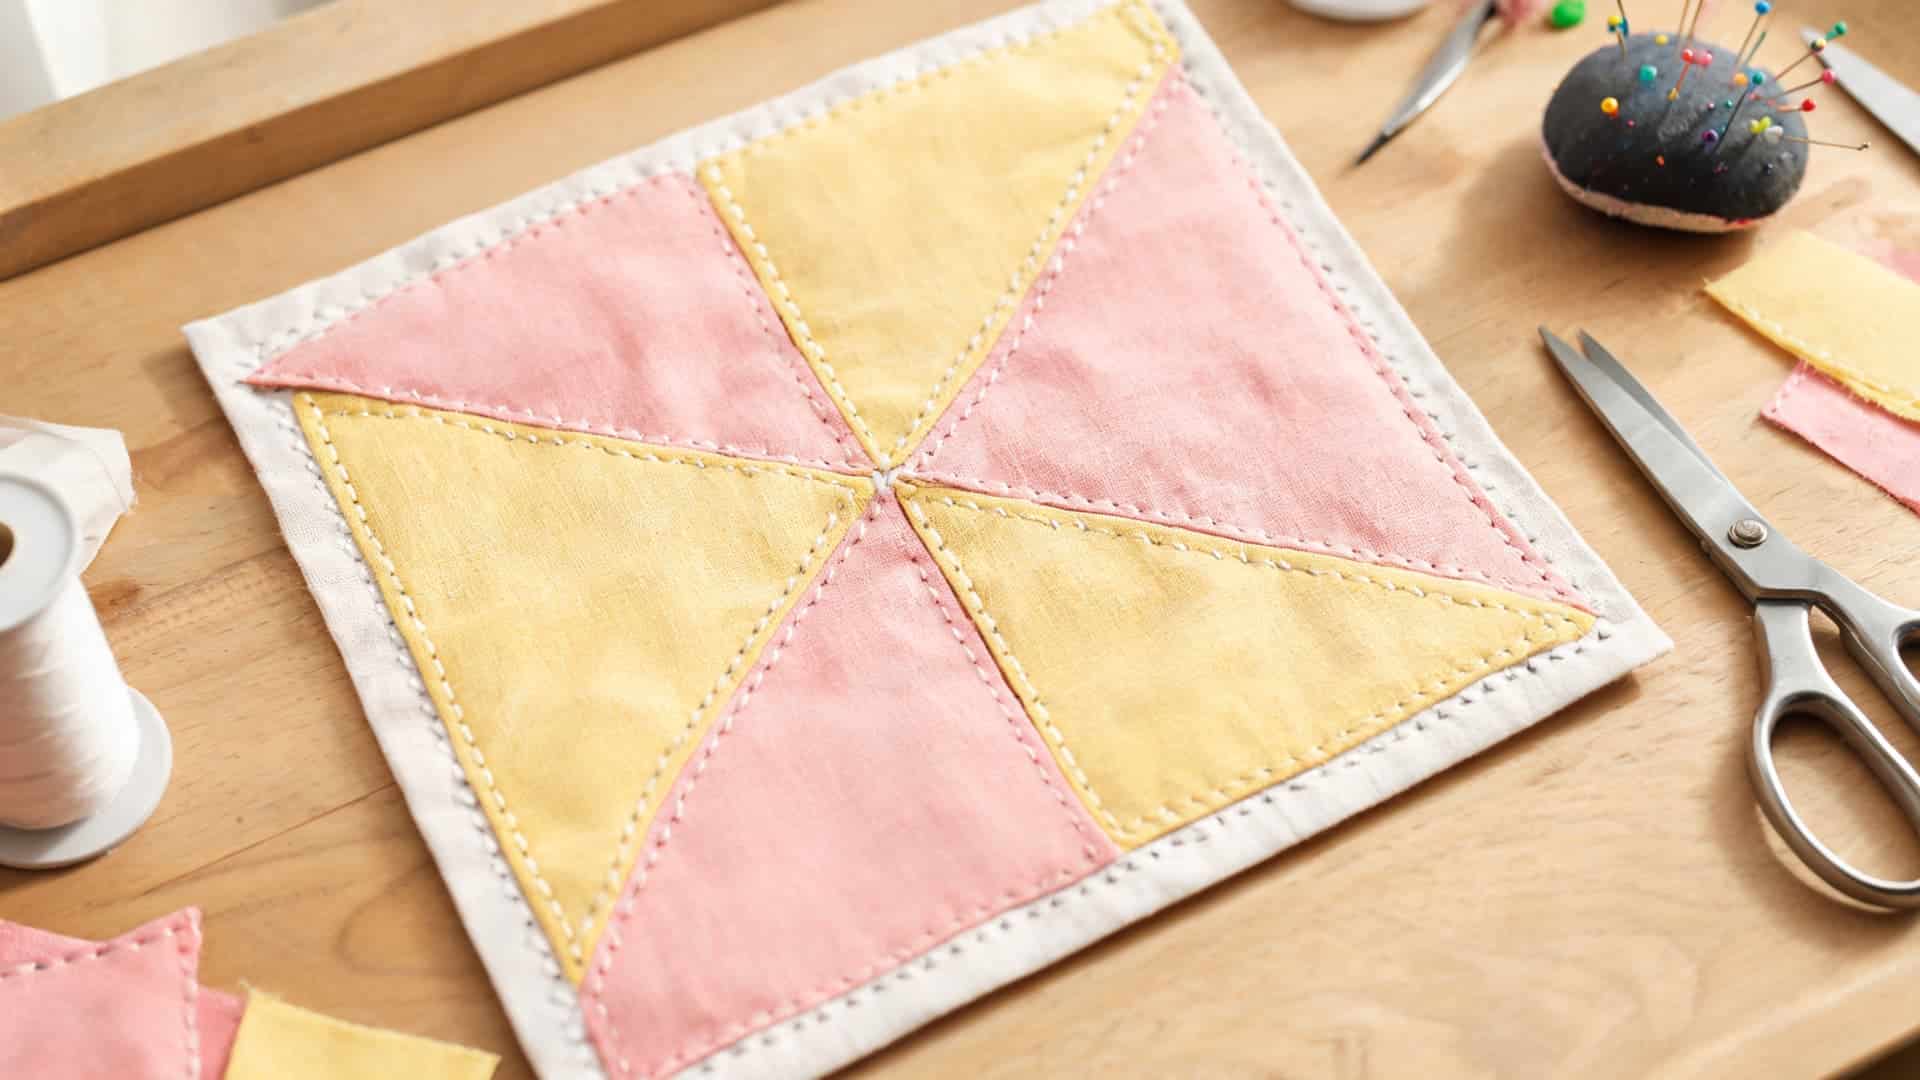
Half square triangles rotate around a shared center point, forming a spinning shape that looks striking despite using very basic piecing techniques.
Steps to Follow
- Make four half-square triangle units, each finishing at 4 inches square.
- Arrange the units so all triangle points face the center.
- Sew two units together to form the top row, and two for the bottom row.
- Press the center seam allowances in opposite directions to reduce bulk.
- Join the rows, matching the center point exactly, to complete an 8-inch block.
10. Brick Path Quilt
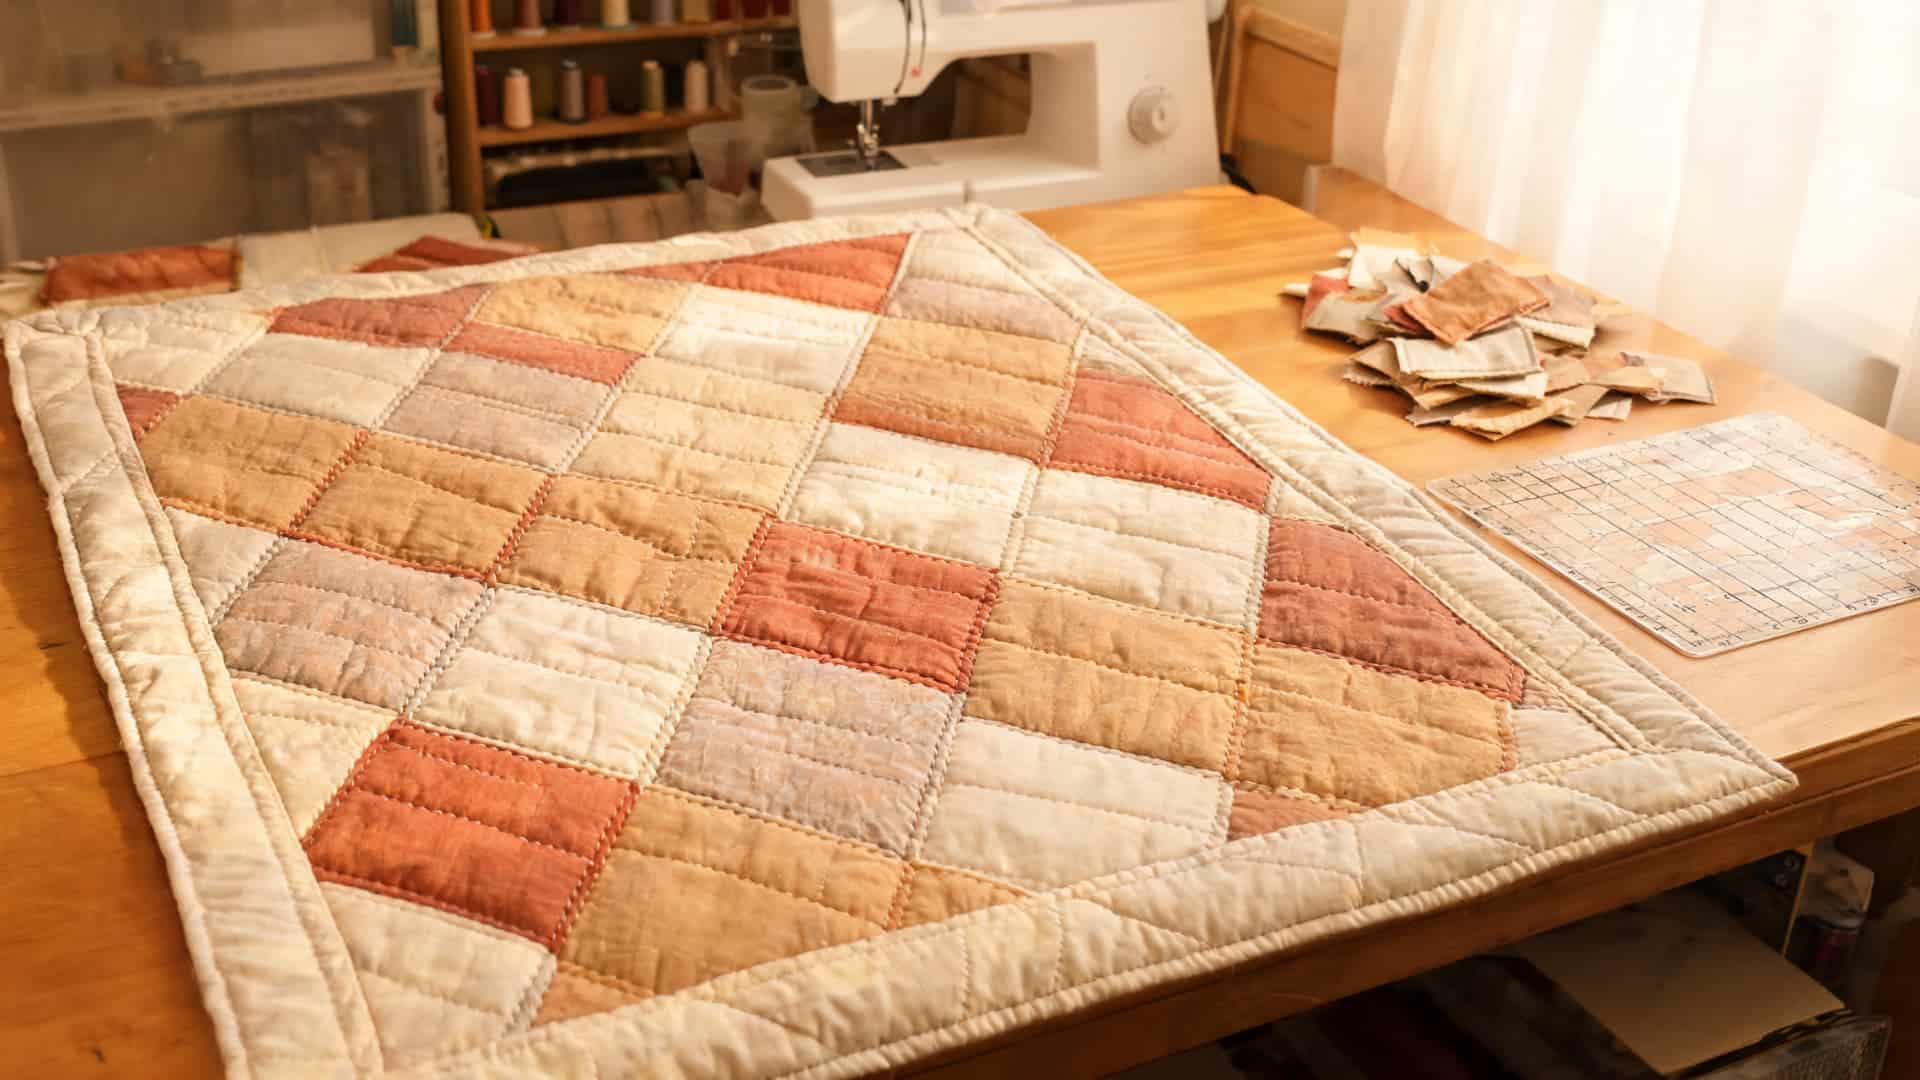
Offset rectangles row by row to mimic the staggered look of a laid brick path while still relying on simple straight-line sewing throughout.
Steps to Follow
- Cut rectangles measuring 3 inches by 6 inches from your chosen fabrics.
- Sew rectangles end to end into a single row.
- Offset the next row by 1.5 inches, half the rectangle width.
- Trim the offset edges even with the row above and below.
- Repeat the pattern until the top reaches your desired length.
11. Postage Stamp Quilt
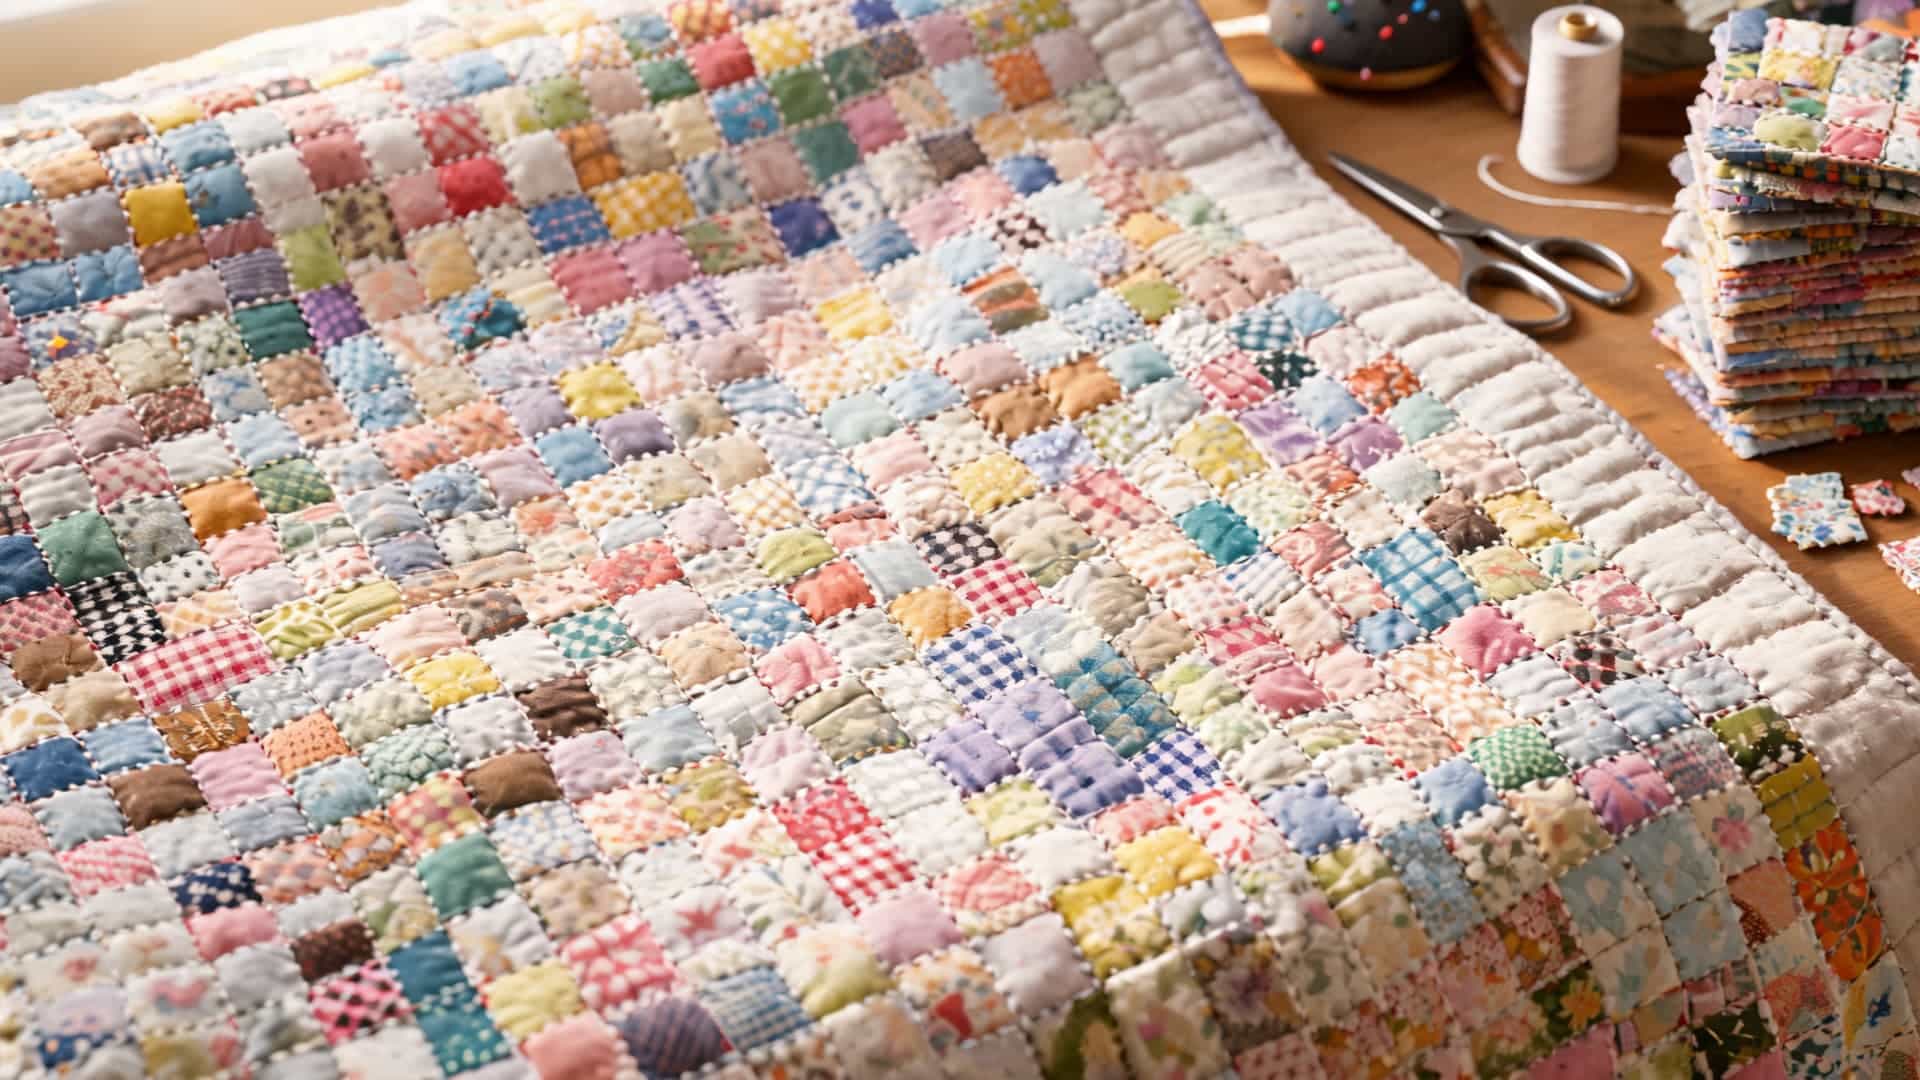
Very small squares are pieced together in large numbers, creating a detailed, scrappy effect that rewards patience more than advanced sewing skills.
Steps to Follow
- Cut a large batch of squares measuring 1.5 inches by 1.5 inches.
- Sort the squares by color if you want a planned pattern.
- Sew squares into long rows using a scant quarter-inch seam allowance.
- Press seams in alternating directions between rows.
- Join rows carefully, since small pieces shift more easily while sewing.
12. Ohio Star Quilt Block
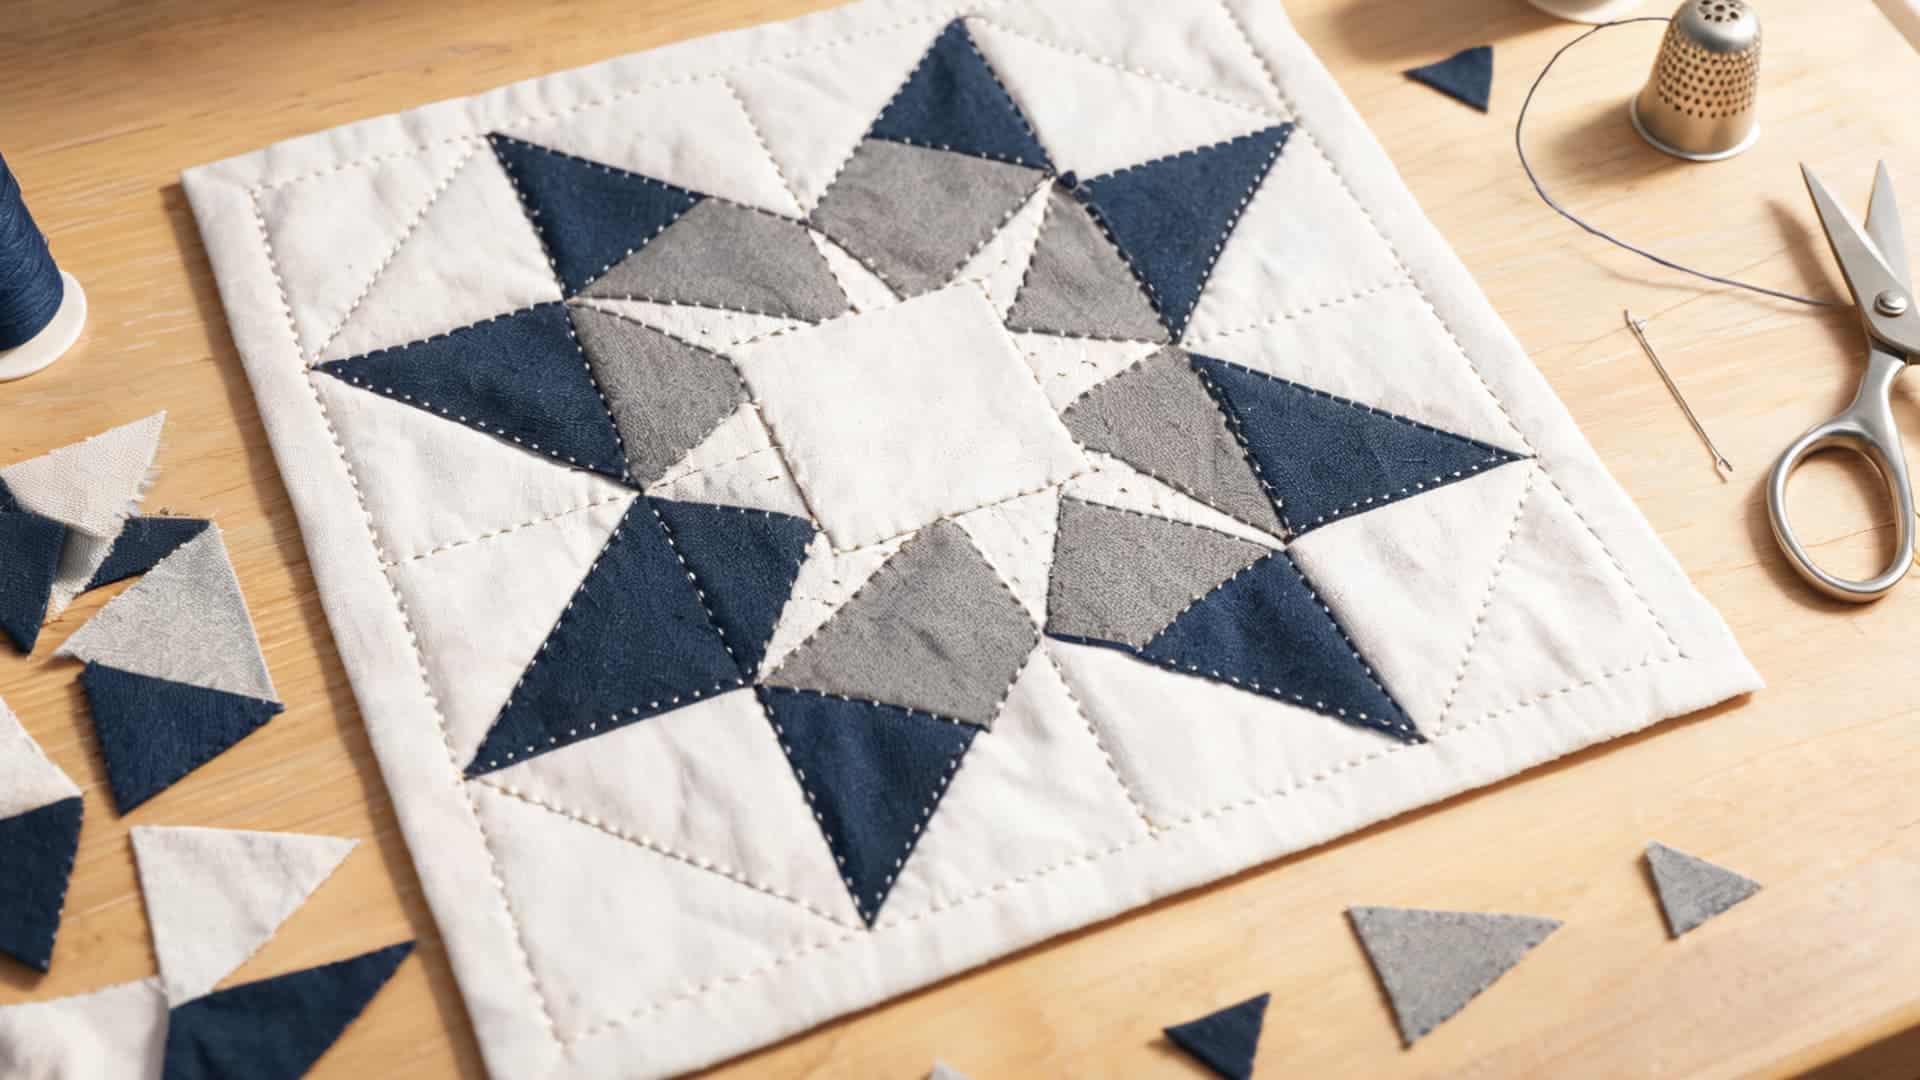
A pieced star sits inside a plain square, combining triangles and squares in one block that introduces slightly more advanced alignment practice.
Steps to Follow
- Cut four background squares at 3.5 inches finished and four half-square triangle units at 3.5 inches finished.
- Cut one center square at 3.5 inches.
- Arrange all nine pieces into three rows of three, star points facing the center.
- Sew each row together, then press seams in opposite directions.
- Join the rows, matching points, to complete a 9.5-inch block.
13. Irish Chain Quilt
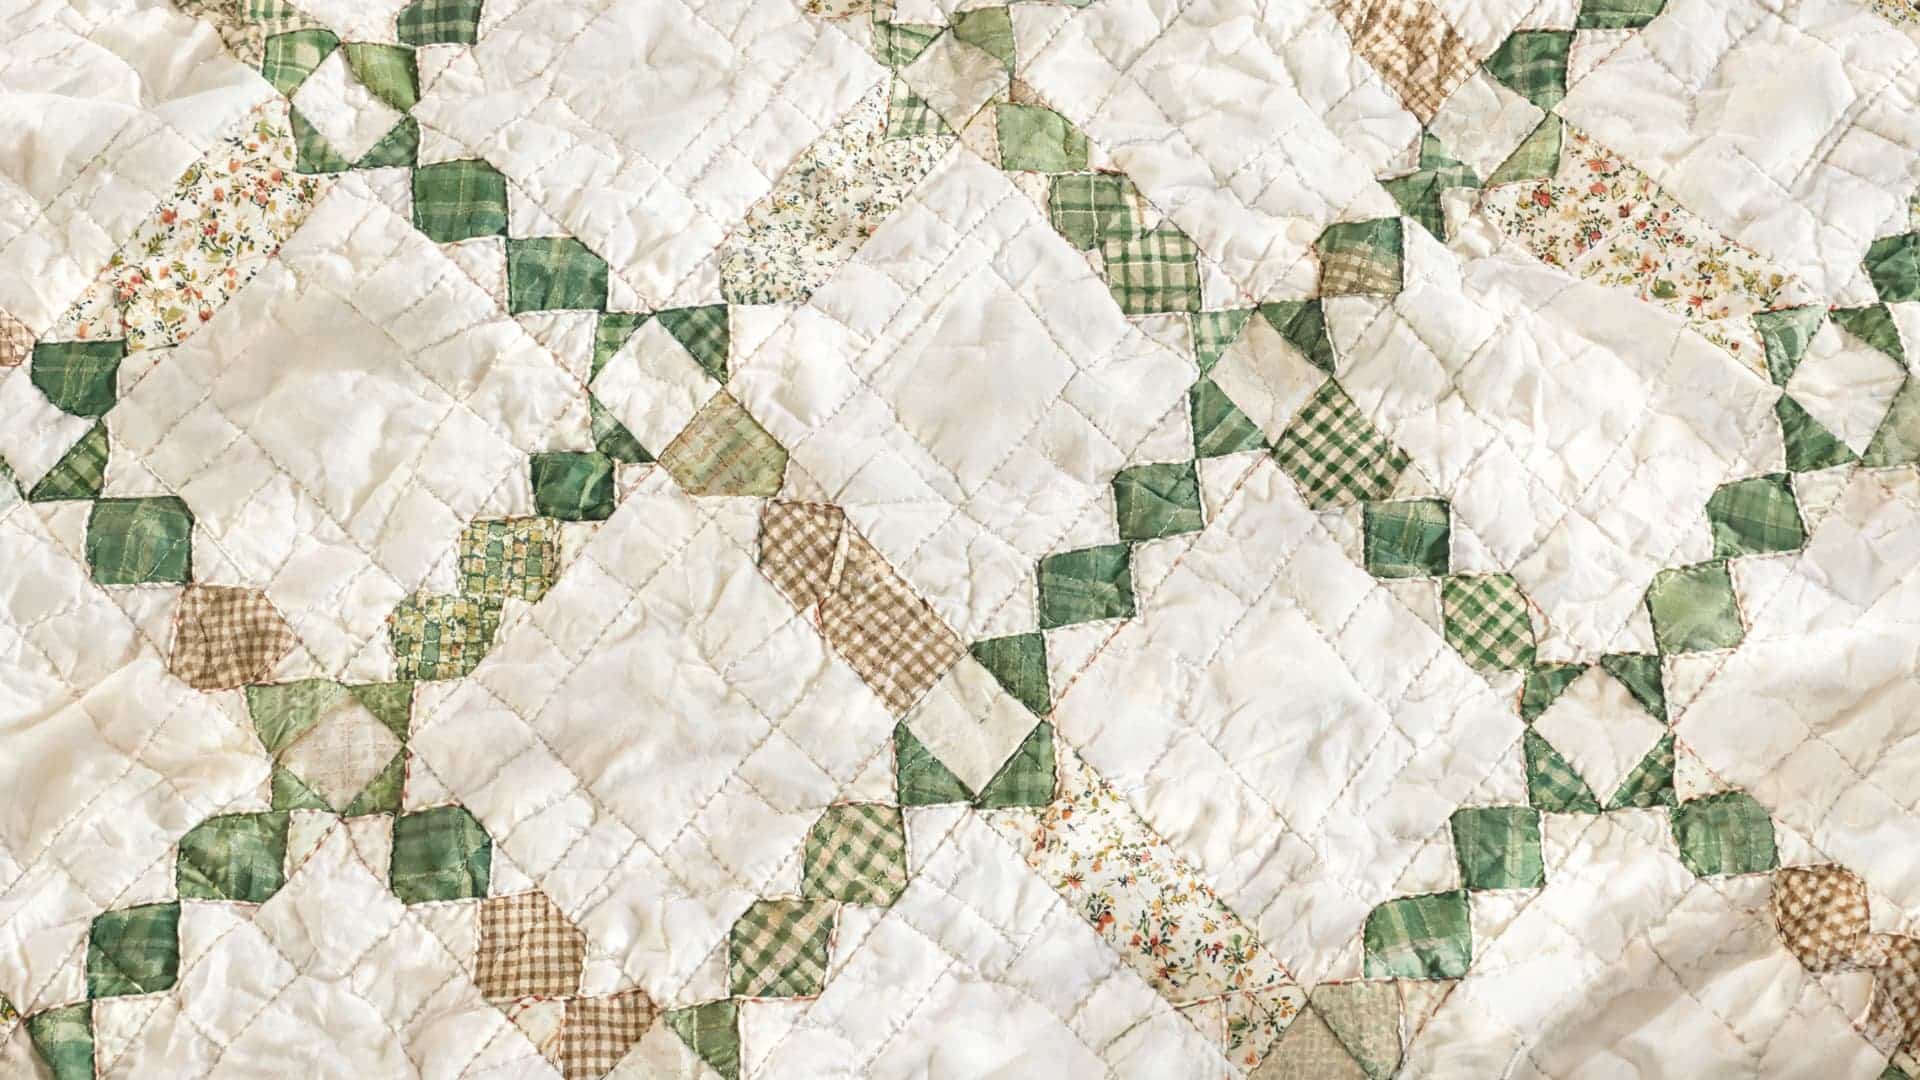
Small squares link together diagonally across the top, and the classic Irish Chain quilt pattern creates a detailed-looking design using fairly simple piecing.
Steps to Follow
- Cut squares measuring 3 inches by 3 inches in two or three colors.
- Plan your grid on paper so colors line up diagonally across the quilt.
- Sew squares into rows exactly as planned.
- Press seams in alternating directions to help rows nest together.
- Join all rows, checking diagonal alignment every few rows as you go.
14. Plus Sign Quilt Block
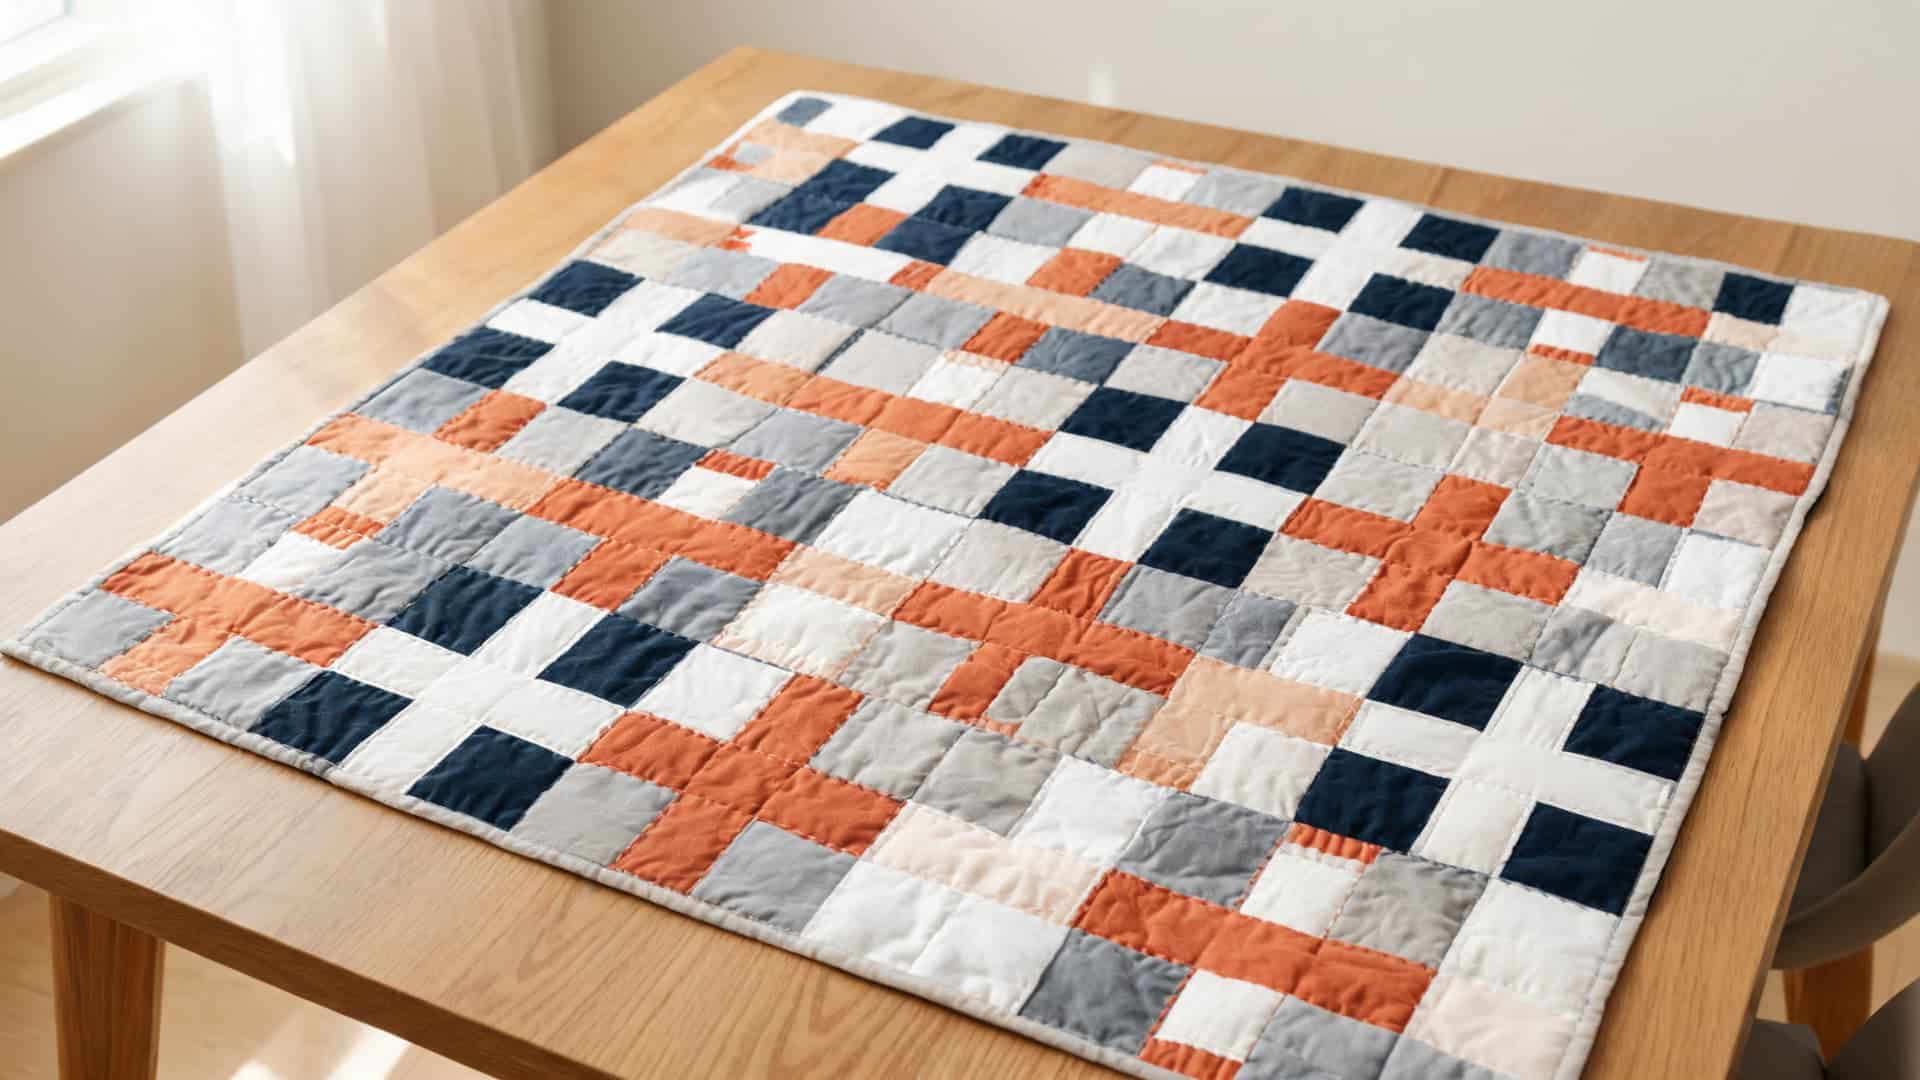
A simple cross shape sits inside a plain-background square, giving this beginner-friendly block a clean, modern, and graphic finish.
Steps to Follow
- Cut one center square at 3 inches and four background rectangles at 3 by 5 inches.
- Sew background pieces to the top and bottom of the center square first.
- Sew the remaining background pieces to the left and right sides.
- Press seams outward, away from the center square.
- Trim the block to a clean 8-inch square.
15. Big Block Quilt
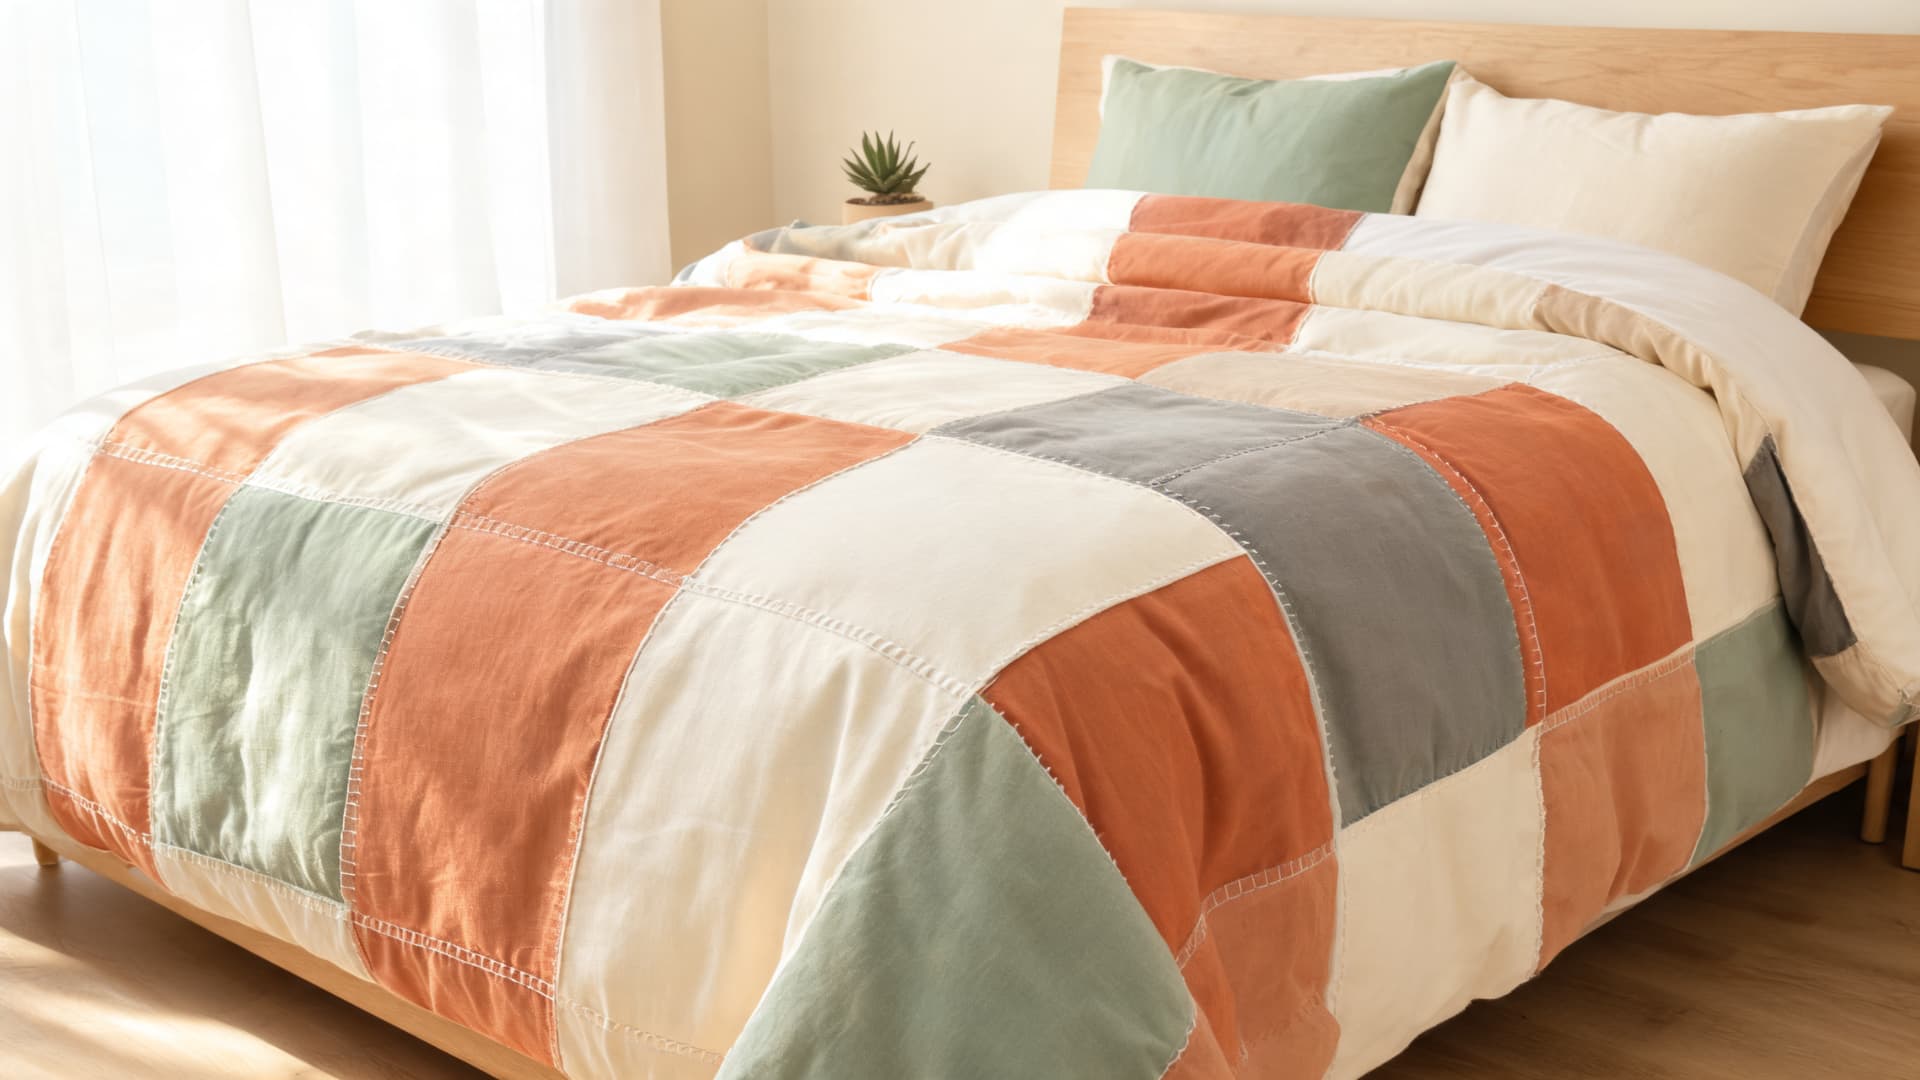
Oversized blocks reduce overall piecing time significantly while still relying on the same familiar shapes beginners already know how to sew.
Steps to Follow
- Choose a simple block, like a four-patch, and cut squares at 10 inches instead of the usual 5.
- Sew pieces together following the same layout as the smaller version.
- Press seams open to keep the larger block flat.
- Repeat to create additional blocks at the same scale.
- Join blocks into rows until the top reaches full size.
16. Jelly Roll Race Quilt
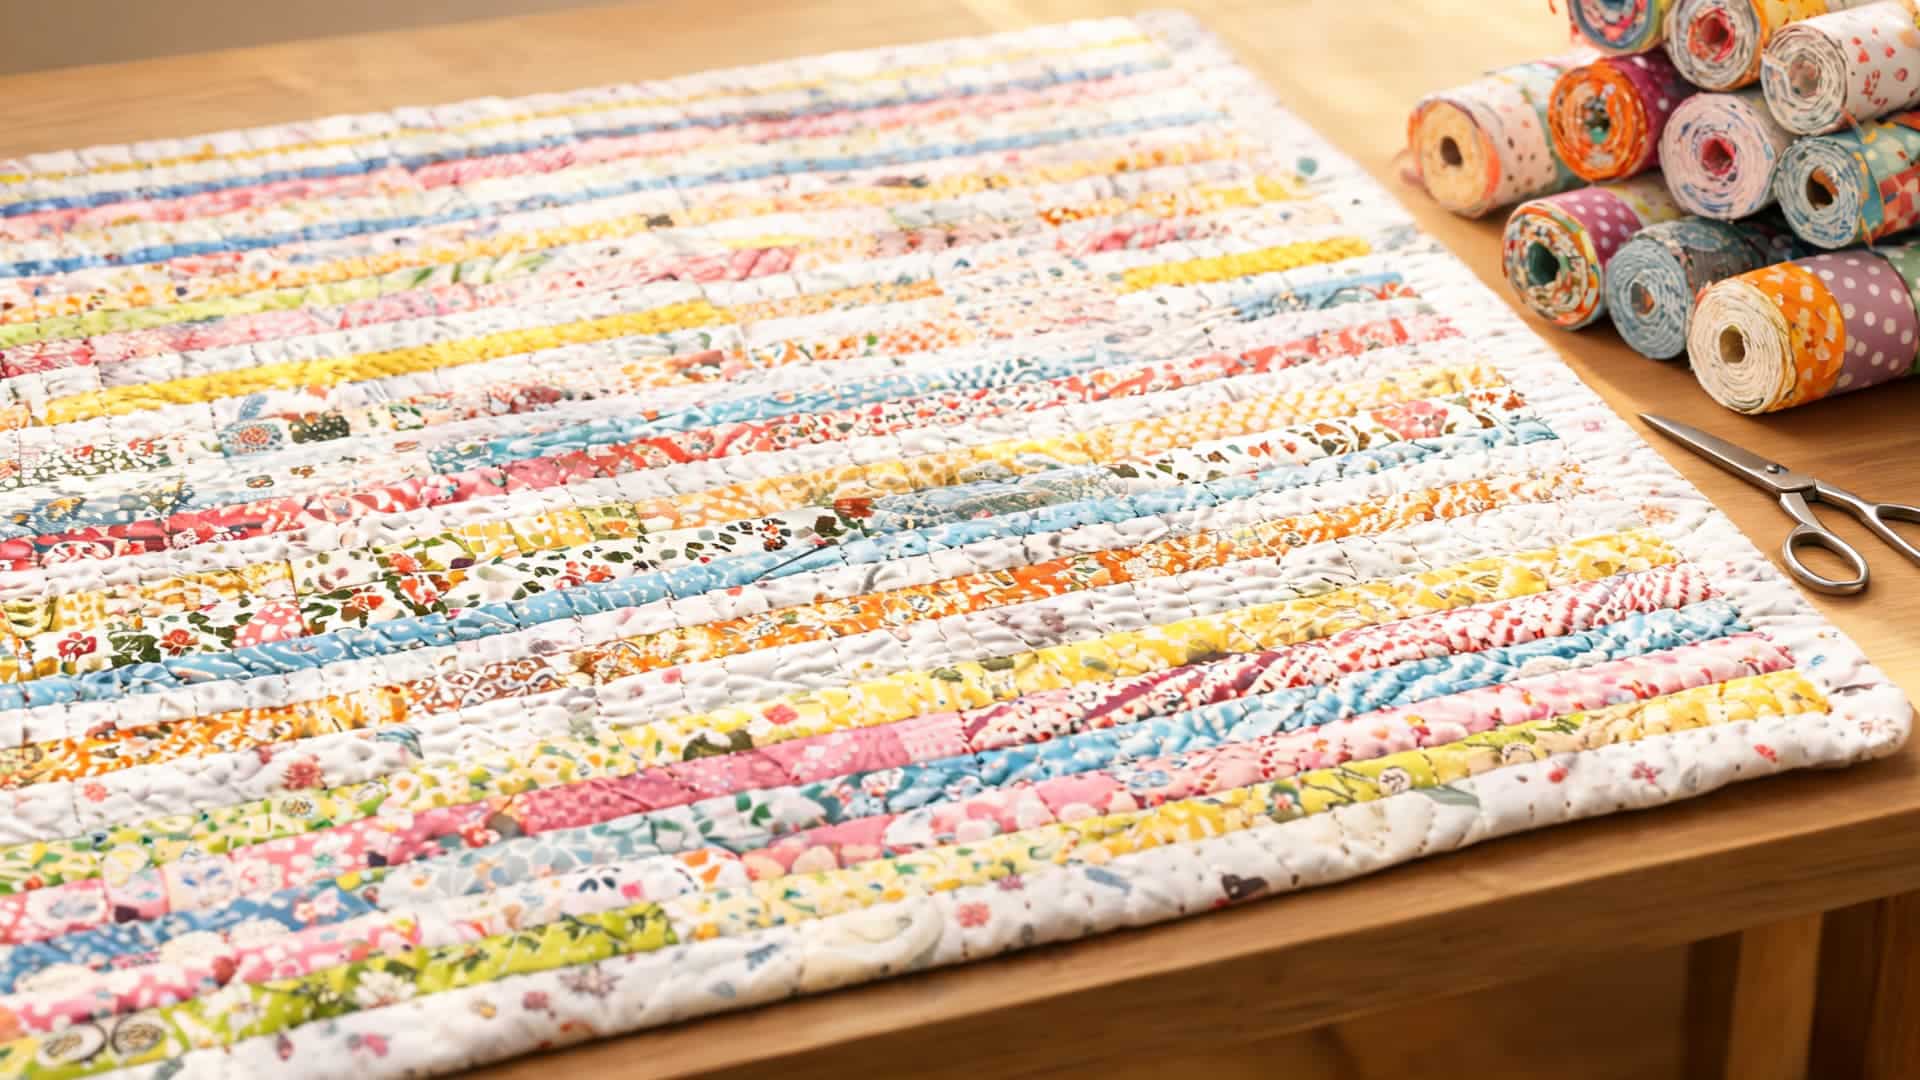
In a Jelly Roll Race quilt, pre-cut fabric strips are sewn end to end and then joined into rows, making it a fast project for beginners who want to work with precut fabric.
Steps to Follow
- Gather a jelly roll containing strips measuring 2.5 inches wide by the fabric width.
- Sew strips together end to end into one continuous strip, right sides facing.
- Fold the long strip back and forth every 60 to 70 inches to form rows.
- Sew the folded rows together along their long edges.
- Trim all edges straight to square up the finished top.
17. Scrappy Trip Quilt
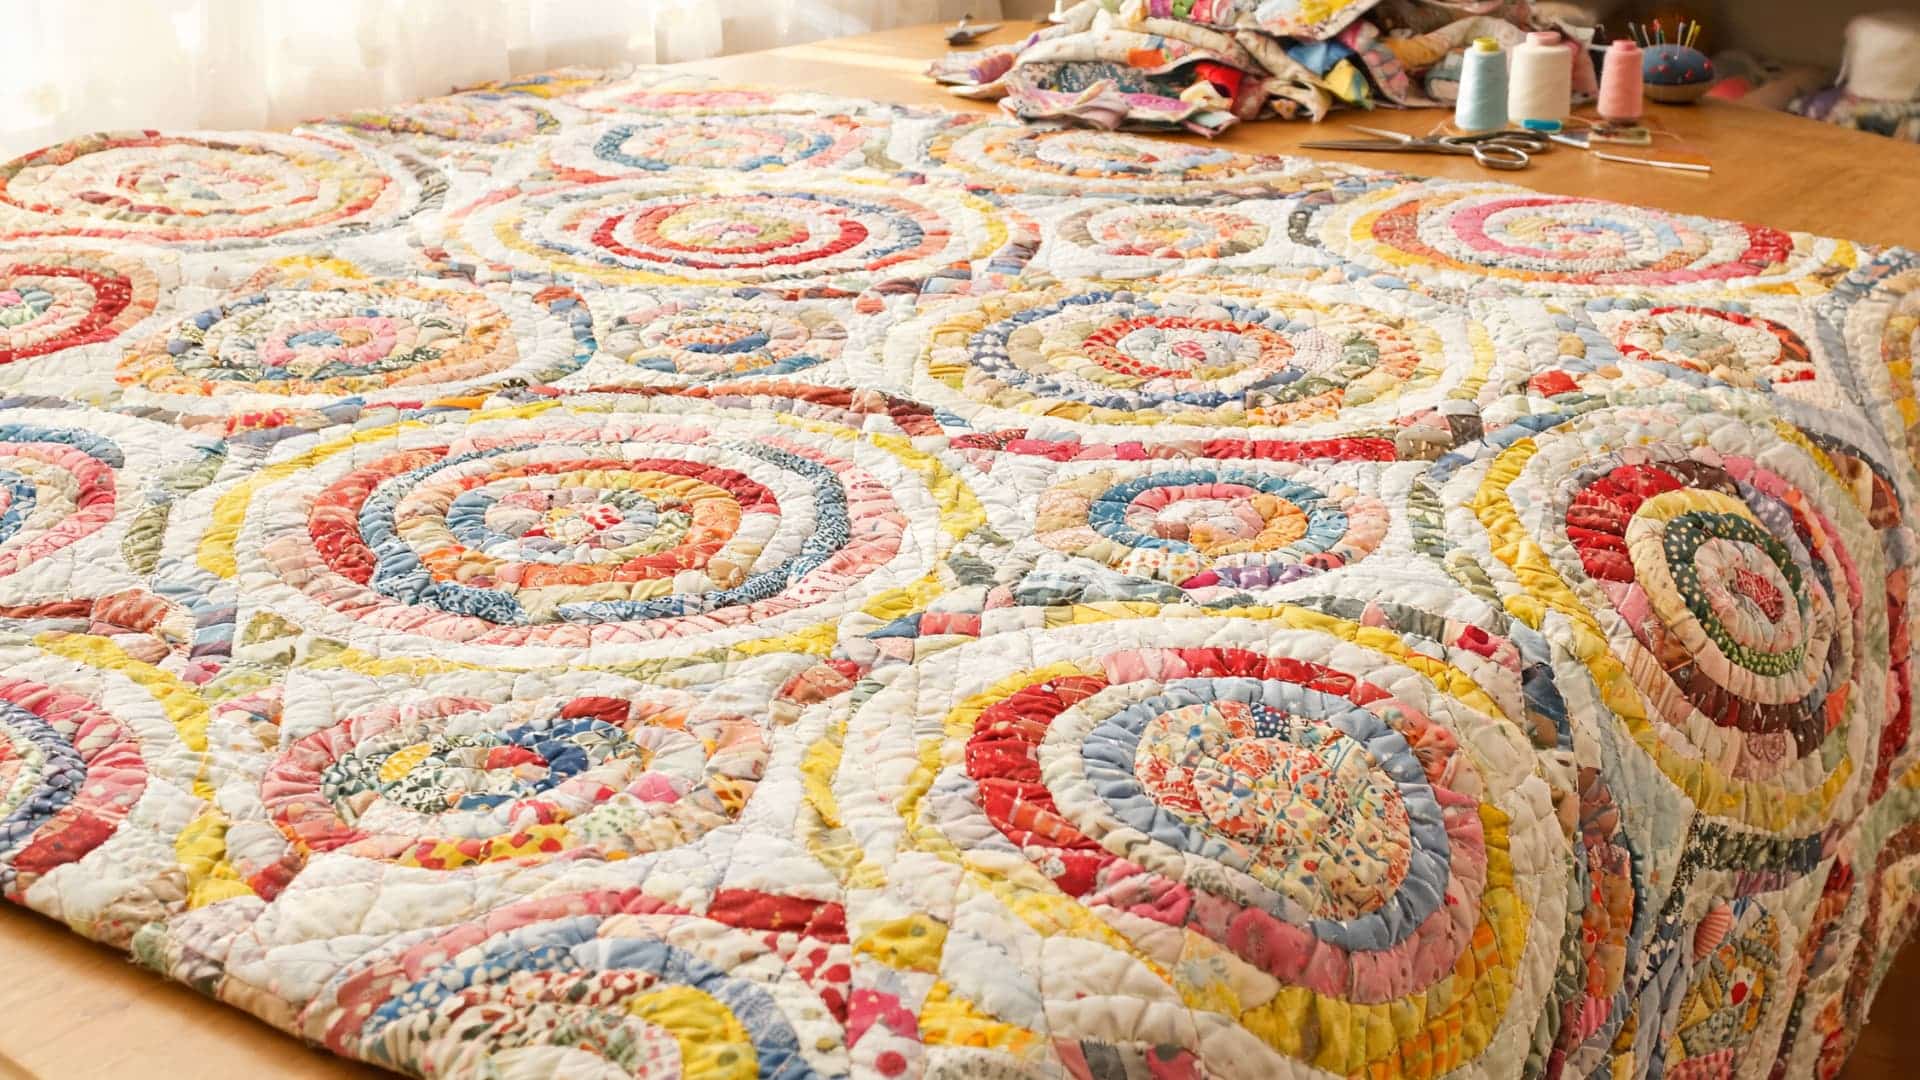
Leftover fabric strips of varying widths are arranged around a center point in rings, making this a practical way to reduce fabric waste.
Steps to Follow
- Sort scrap strips by length, keeping widths between 1.5 and 2.5 inches.
- Sew a short strip to each side of a 3-inch center square.
- Continue adding strips in rounds, increasing length as the block grows.
- Trim each round evenly before adding the next.
- Stop once the block reaches roughly 12 inches, then trim the final edges square.
18. Layer Cake Quilt
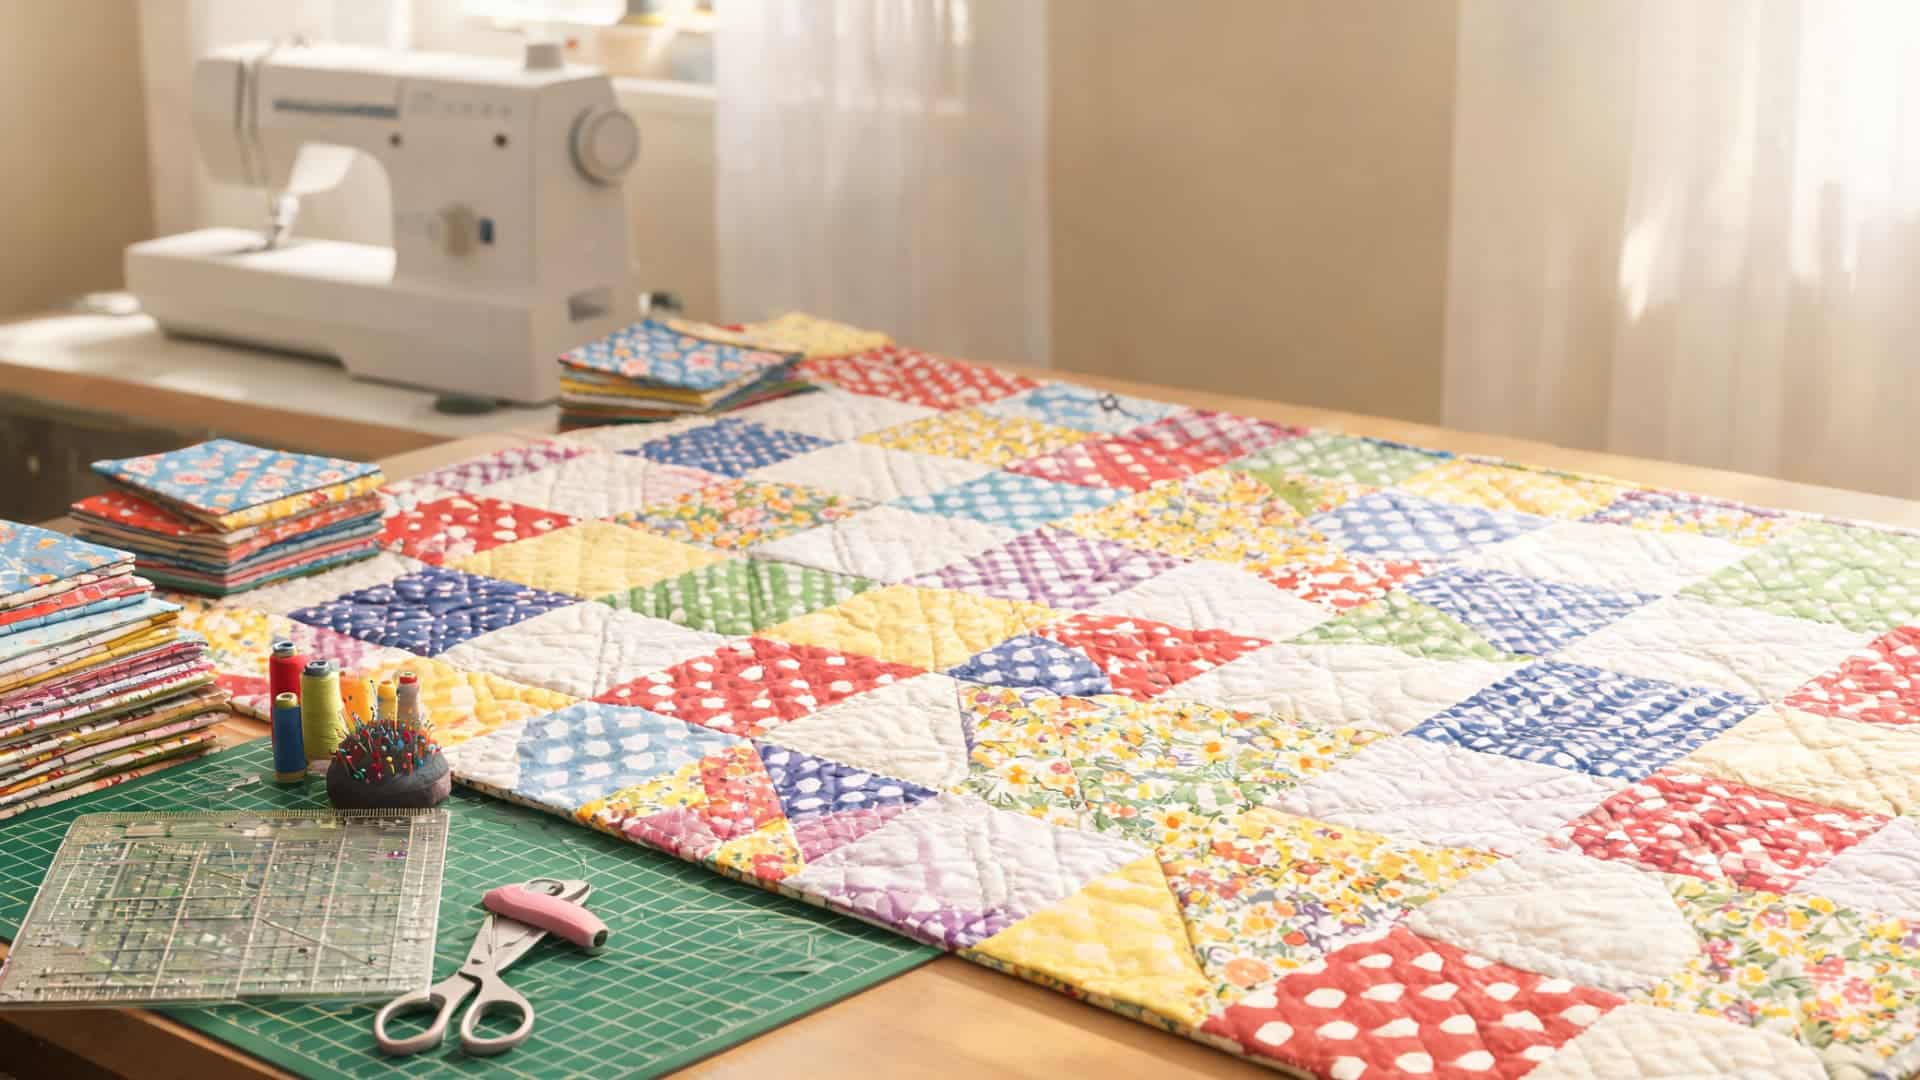
Larger pre-cut fabric squares reduce cutting time considerably while still producing a bold, graphic finished look that beginners tend to enjoy.
Steps to Follow
- Gather a layer cake pack containing squares measuring 10 inches by 10 inches.
- Arrange squares into a simple grid layout, four across and five down, for a lap quilt.
- Sew squares into rows using a quarter-inch seam allowance.
- Press seams in alternating directions between rows.
- Join rows to complete the top.
19. Table Runner Quilt Pattern
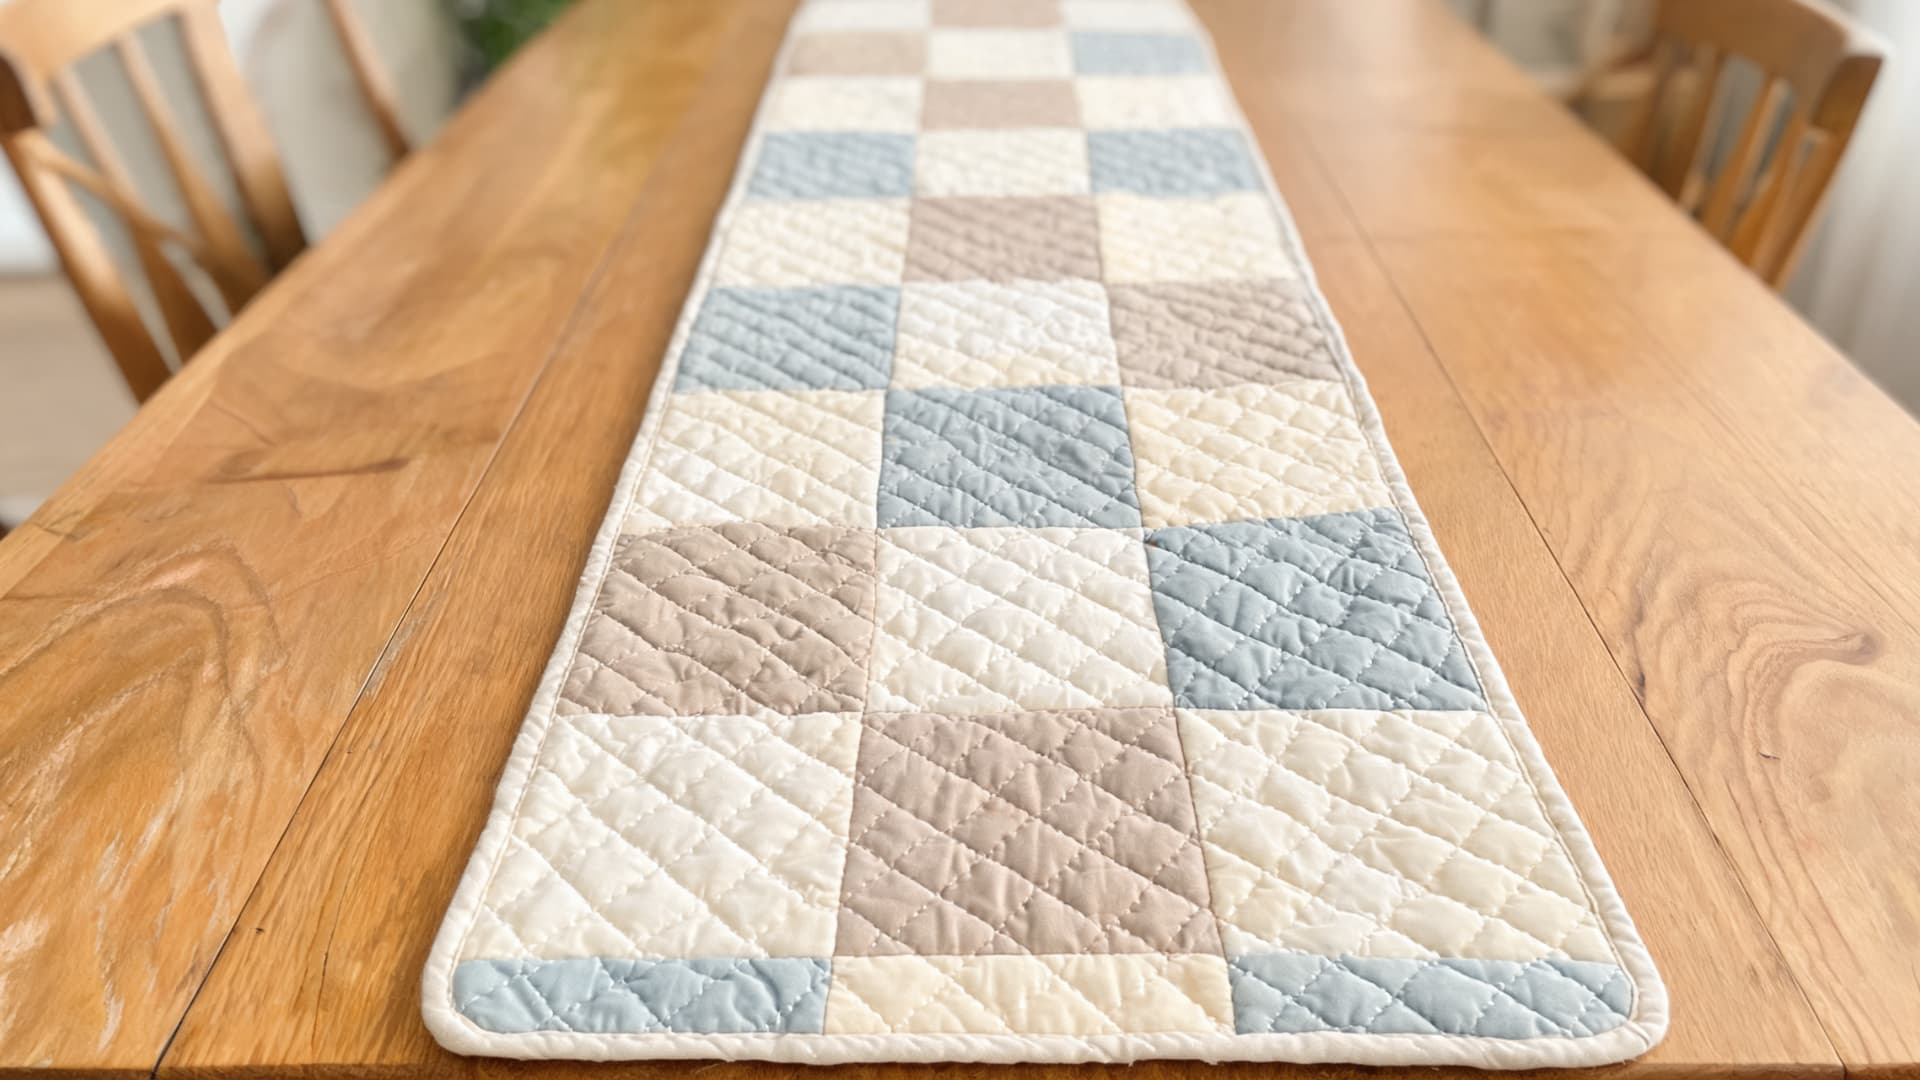
A narrow, elongated project lets beginners practice piecing skills without committing to the time or fabric a full quilt requires.
Steps to Follow
- Choose a simple block, like a four-patch, cut at 5 inches.
- Repeat the block in a single row until you reach about 36 inches long.
- Sew the blocks into one long strip using a quarter-inch seam allowance.
- Add a 3-inch border strip along each long edge, or use other simple quilt border ideas if you want a different frame for the finished project.
- Layer with batting and backing, then add binding to finish the edges.
Common Beginner Quilting Mistakes
Even easy quilt patterns can go sideways with a few common missteps. Knowing what to watch for early saves you time, fabric, and frustration.
| #1 – Cutting fabric pieces inaccurately Small measurement errors add up fast, throwing off how blocks fit together later. |
| #2 – Skipping seam pressing Pressing as you go keeps seams flat and blocks looking clean, not bulky or uneven. |
| #3 – Choosing overly complicated patterns Jumping into advanced designs too soon often leads to frustration instead of progress. |
| #4 – Using too many fabrics at once Sticking to a limited palette helps simple quilt blocks look balanced instead of busy. |
Conclusion
Quilting doesn’t have to feel overwhelming when you start with the right foundation. I’ve found that beginners do best when they focus on simple shapes and steady repetition rather than rushing into complex designs.
You now know how easy quilt patterns are to make, with basic blocks, careful cutting, and consistent pressing coming together smoothly. You’ve also seen how simple quilt blocks make assembly easier, and how choosing the right size keeps your first project manageable.
Pick a pattern that fits your pace, gather your supplies, and give it a try. I’d love to hear which pattern you choose, so drop a comment and share how your first quilt turns out.
Frequently Asked Questions
How Much Fabric Do I Need for a Beginner Quilt?
A baby or lap quilt usually requires 2–4 yards in total, depending on the pattern and size. Always buy slightly extra fabric to cover cutting mistakes or measurement errors.
Can I Hand-Sew an Easy Quilt Pattern Instead of Using a Machine?
Yes, hand sewing works for simple quilt blocks, though it takes longer. Beginners often start with a machine for speed, then try hand piecing later.
How Long Does It Take to Finish a Beginner Quilt?
Most simple quilt patterns take a few weekends to complete, depending on size and available time. Smaller projects like baby quilts finish faster than larger ones.
What Size Squares Work Best for Beginner Quilt Blocks?
Many beginners start with 5-inch charm squares or 2.5-inch strips. These sizes are easy to cut accurately and simple to piece into balanced blocks.






One Response