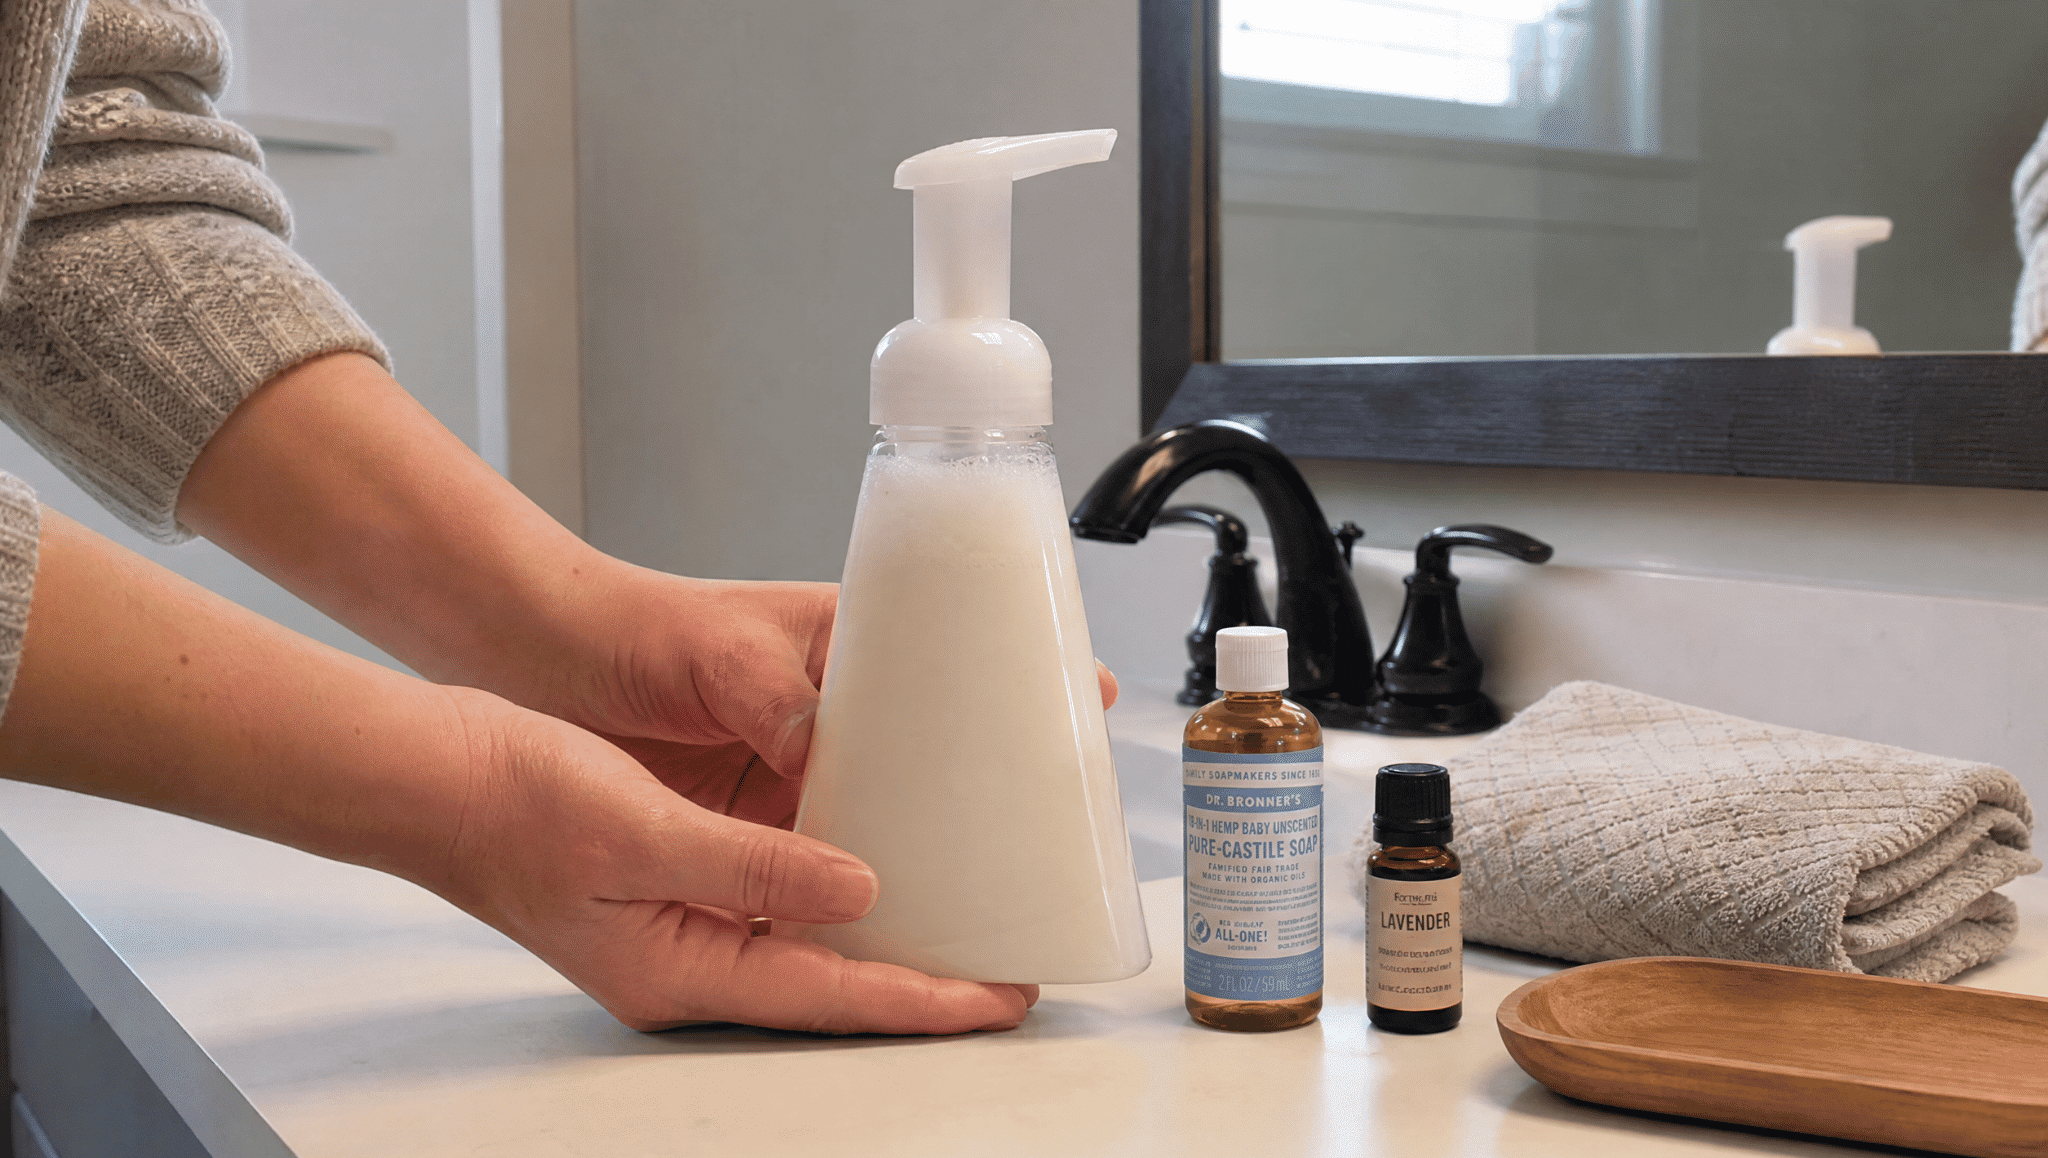
Making your own hand soap at home can be a simple way to create a customized cleanser while controlling the ingredients, scent, and consistency.
With the right soap-to-water ratio and a few basic supplies, you can make an effective foaming formula for everyday use.
This blog explains how to make foaming hand soap using common options like Castile soap and Dr. Bronner’s, along with clear steps, mixing tips, and practical advice.
To help you avoid common mistakes when preparing diy foaming hand soap.
How Does a Foaming Soap Dispenser Work?
A foaming soap dispenser works by pushing liquid soap and air through a small mesh screen inside the pump.
That mix of air and soap is what turns a thin liquid into soft, cloud-like foam. I learned the hard way that regular soap, poured undiluted, comes out thick and slow instead of fluffy.
Inside the pump are two chambers, one for air and one for diluted soap, and they meet right before the nozzle.
That’s why the water-to-soap ratio matters so much here. Too much soap and the foam collapses in seconds. Get the mix right, and it holds its shape through a full hand wash.
Ingredients and Supplies You’ll Need
Before filling a single bottle, gather a few basic supplies from around your kitchen and bathroom, since foaming soap doesn’t need anything fancy to work well.
- An empty foaming soap dispenser (glass or plastic, cleaned out)
- Liquid castile soap or a mild, unscented dish soap
- Distilled or filtered water (tap water works too, but distilled lasts longer)
- A small funnel, for less mess while pouring
- A measuring spoon or small cup for accuracy
- A few drops of essential oil, if you want a light scent
Once these are on the counter, the actual mixing takes just a couple of minutes.
The Best Foaming Hand Soap Ratio
After refilling dispensers for years, I’ve found that one part liquid soap to four parts water gives the fullest, longest-lasting foam.
Some soaps are thicker than others, so that ratio can shift a little depending on the brand. If the foam comes out watery, add a touch more soap; if it’s slow or clumpy, thin it with more water.
Castile soap tends to need a slightly higher soap ratio than regular dish soap, since it’s naturally thinner.
Always add water to the bottle first, then the soap, so it doesn’t get sudsy before you’ve even shaken it. Give it a gentle swirl instead of a hard shake to avoid excess bubbles.
How to Make Foaming Hand Soap?
Makingyour own foaming hand soap takes less than five minutes and costs a fraction of what store-bought bottles cost. All you need is a clean dispenser, a bit of soap, and water. Here’s exactly how I put mine together:
Step 1: Clean Your Dispenser
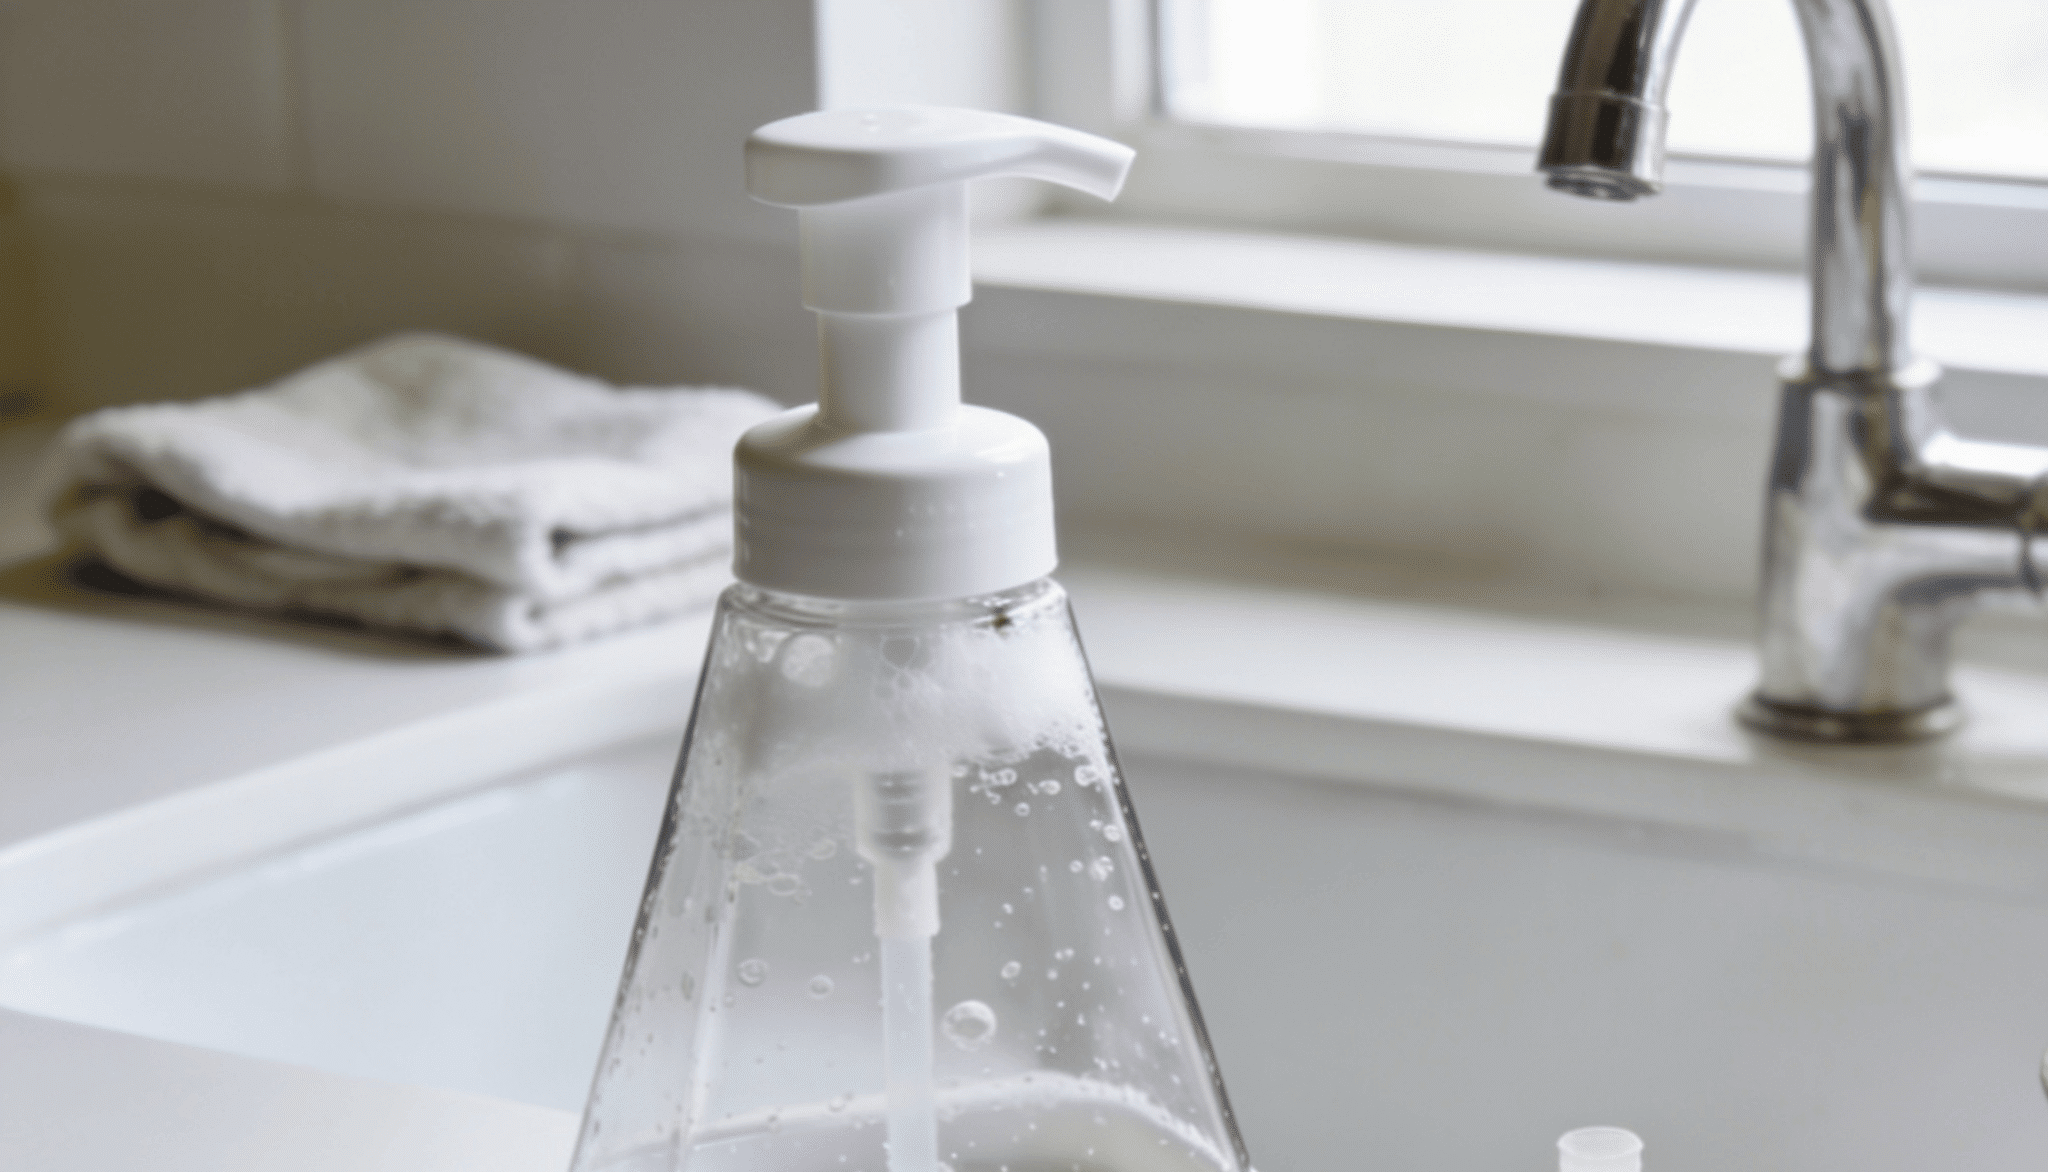
Start with an empty foaming soap dispenser, rinsed out completely. If it’s a reused bottle, wash the pump and base with warm water to clear out any old soap residue.
Leftover soap can throw off your ratio and cause clogging in the mesh screen later. I always let mine air dry upside down for a bit before refilling.
A clean start matters more than people expect, since even a small amount of built-up residue changes how the foam pumps out.
Step 2: Measure Your Water
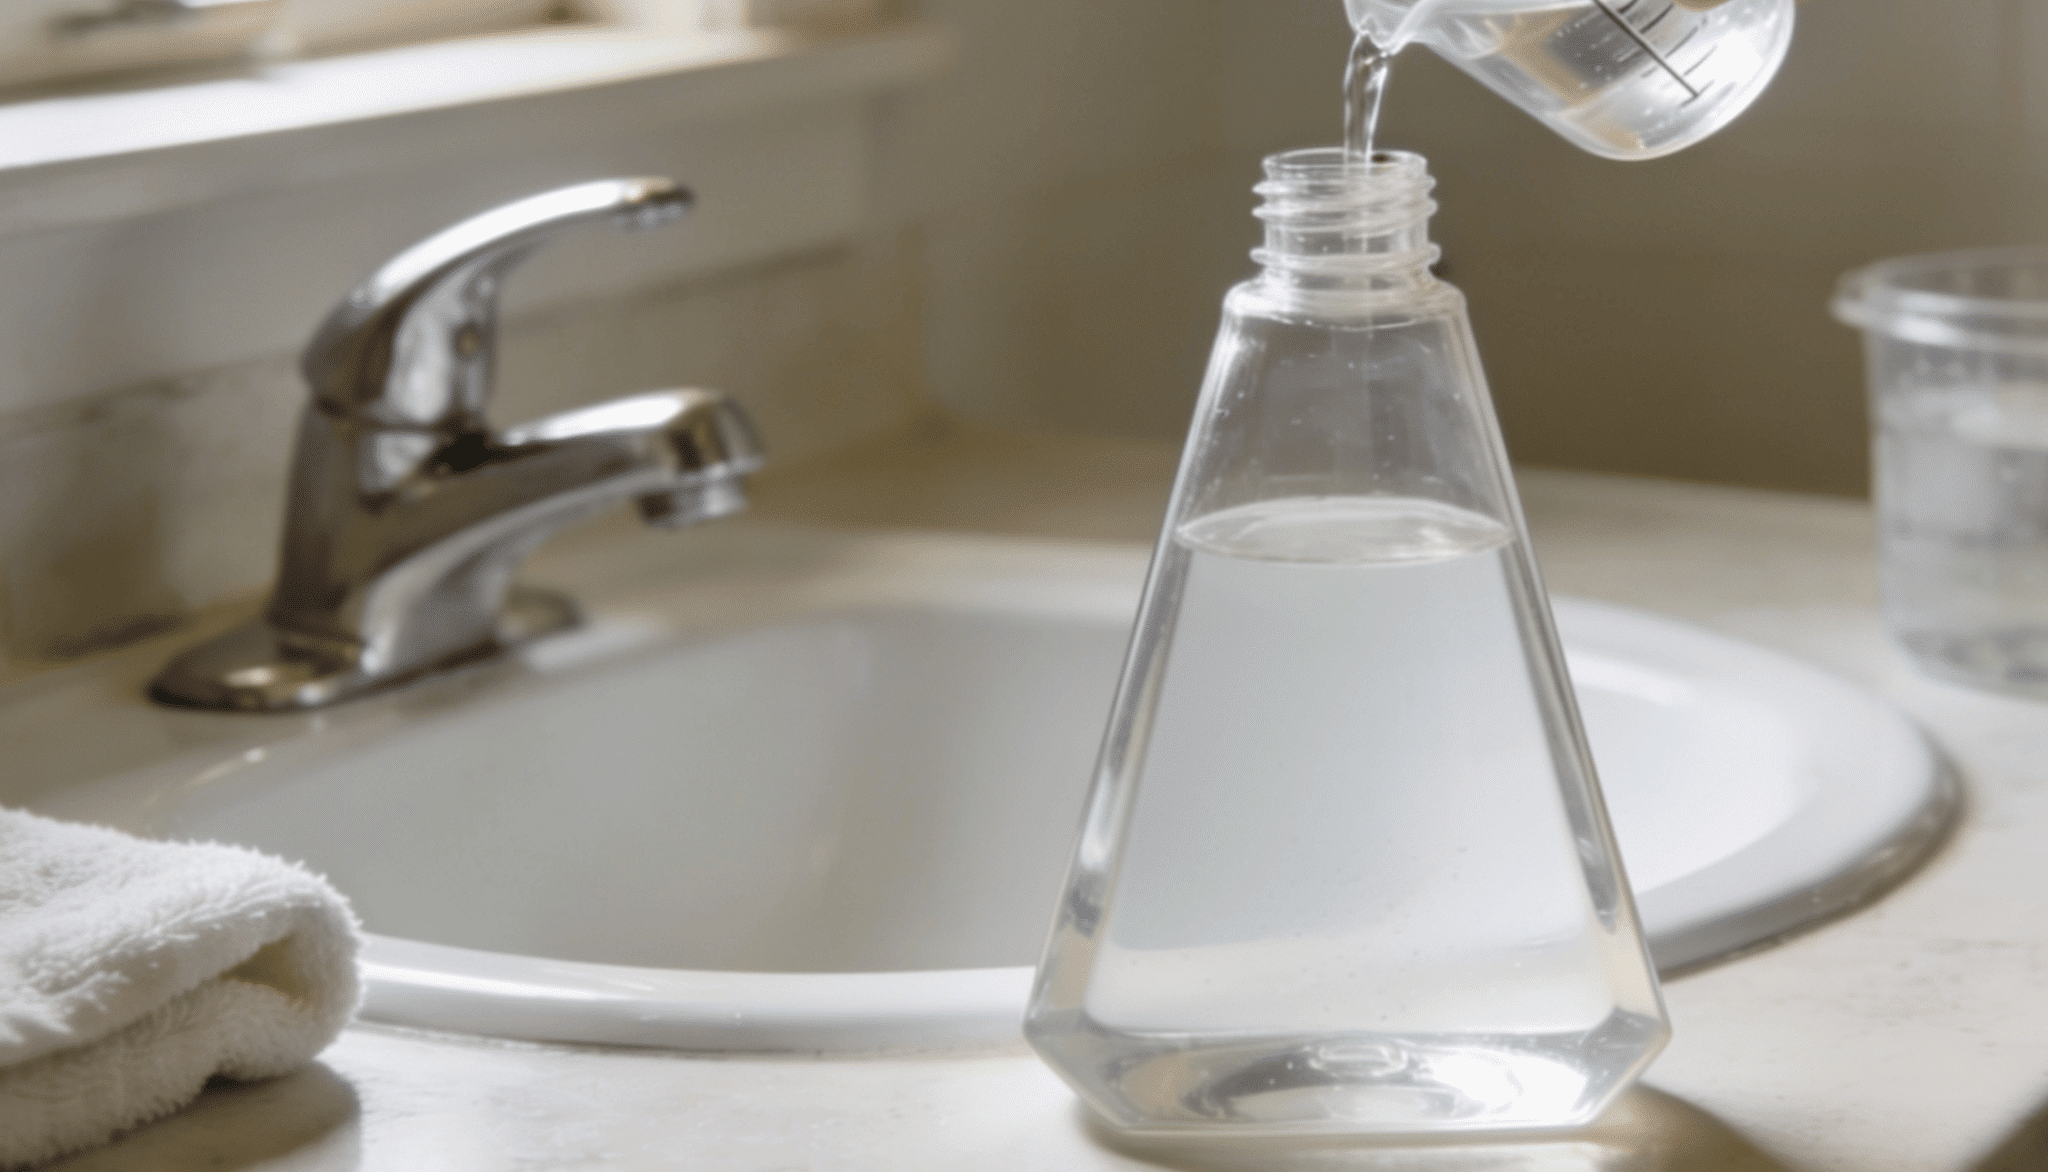
Fill the dispenser about three-quarters full with distilled or filtered water first.
Adding water before soap keeps the mixture from getting sudsy too early, which makes it harder to measure accurately.
Leave enough room near the top so the soap has space to blend in without overflowing once you add it.
I use a small funnel here to keep the neck of the bottle clean. This step sets the base for the whole batch, so don’t rush past it.
Step 3: Add the Liquid Soap
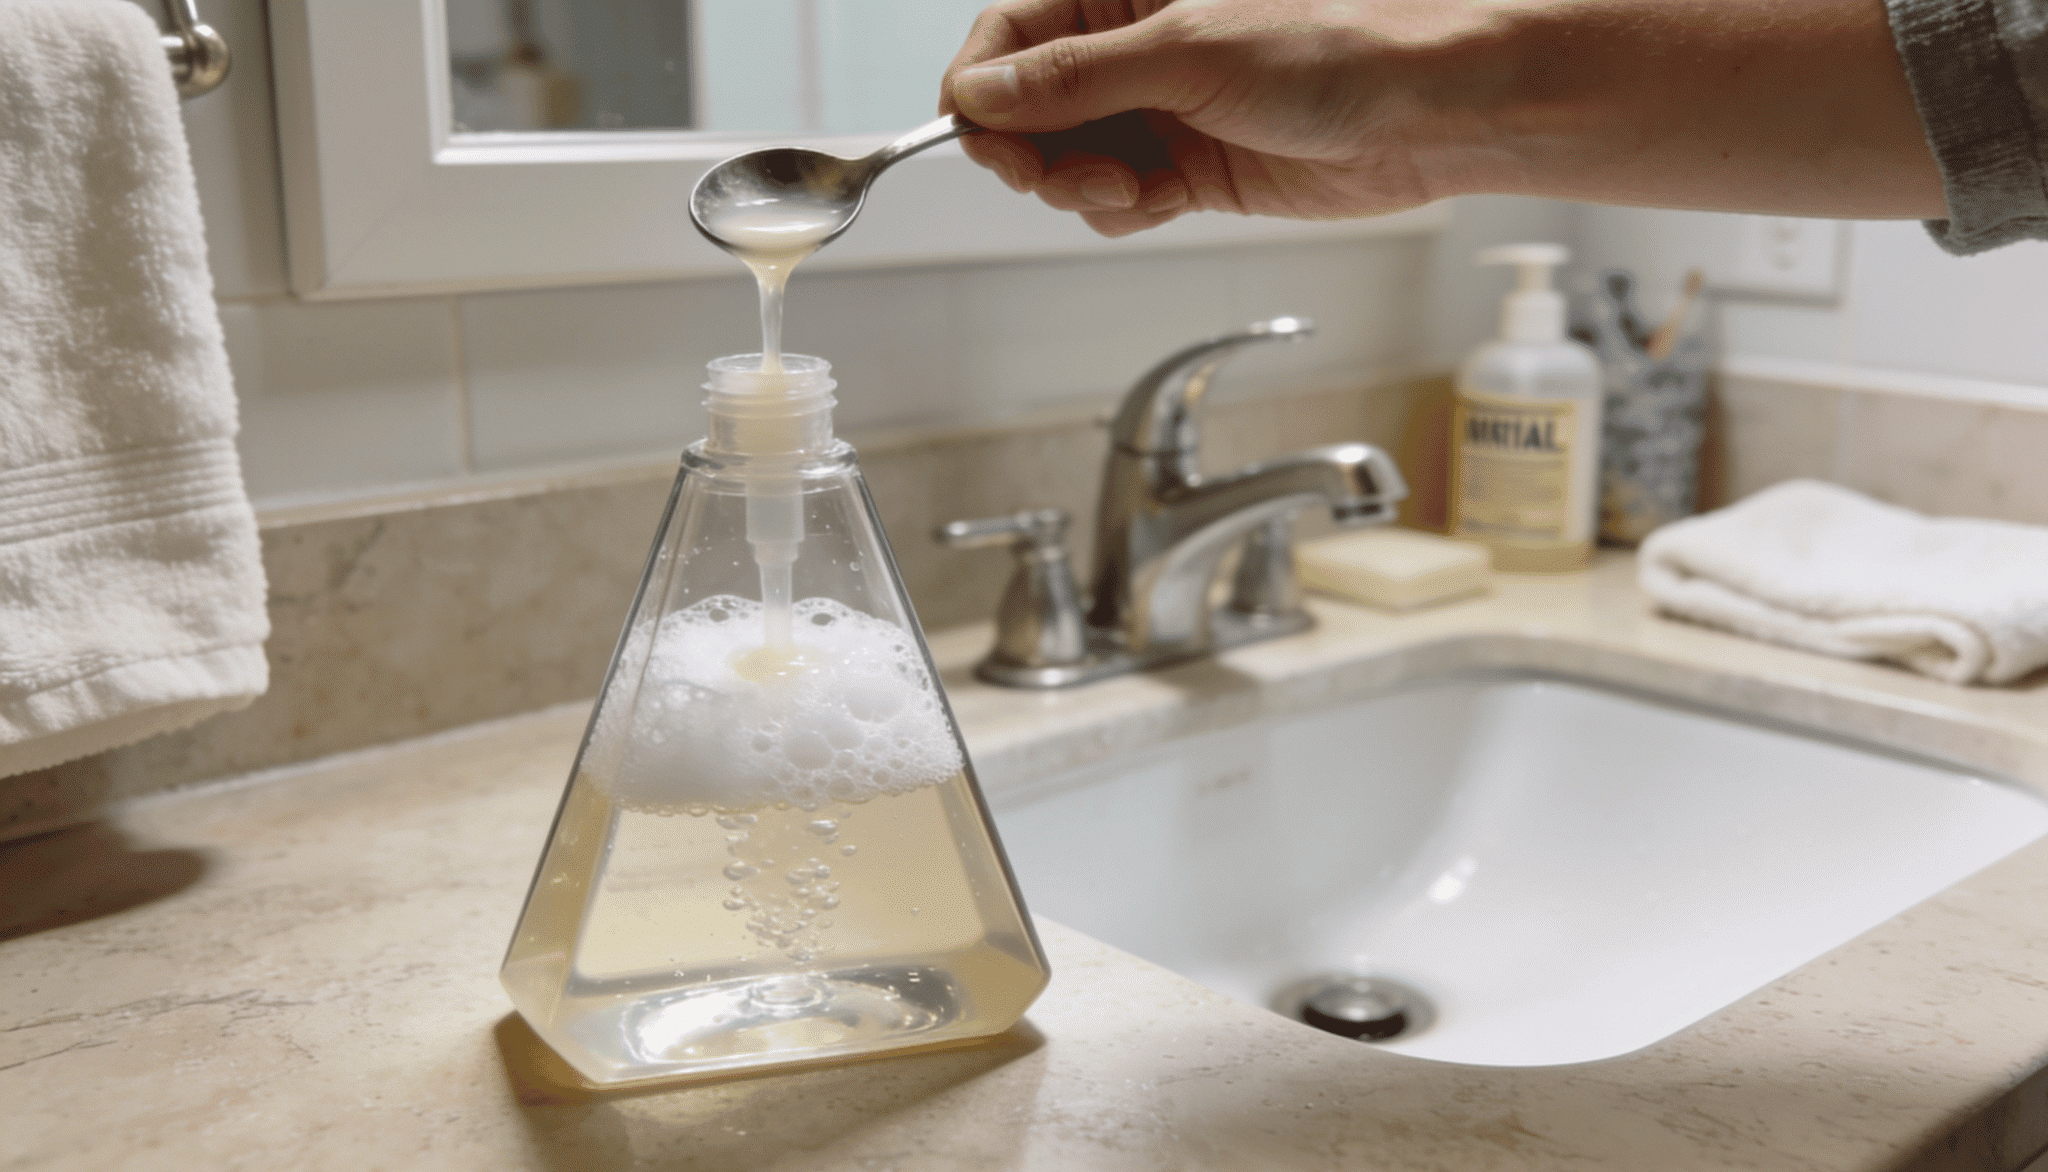
Pour in your liquid castile soap or mild dish soap, using roughly one part soap to four parts water as a starting point.
Thicker soaps may need a touch more, while thinner ones need less. I’ve adjusted this ratio plenty of times depending on the brand sitting in my cabinet.
Add the soap slowly rather than all at once, since it’s easier to add more than to fix a mixture that’s too concentrated.
Step 4: Mix Gently
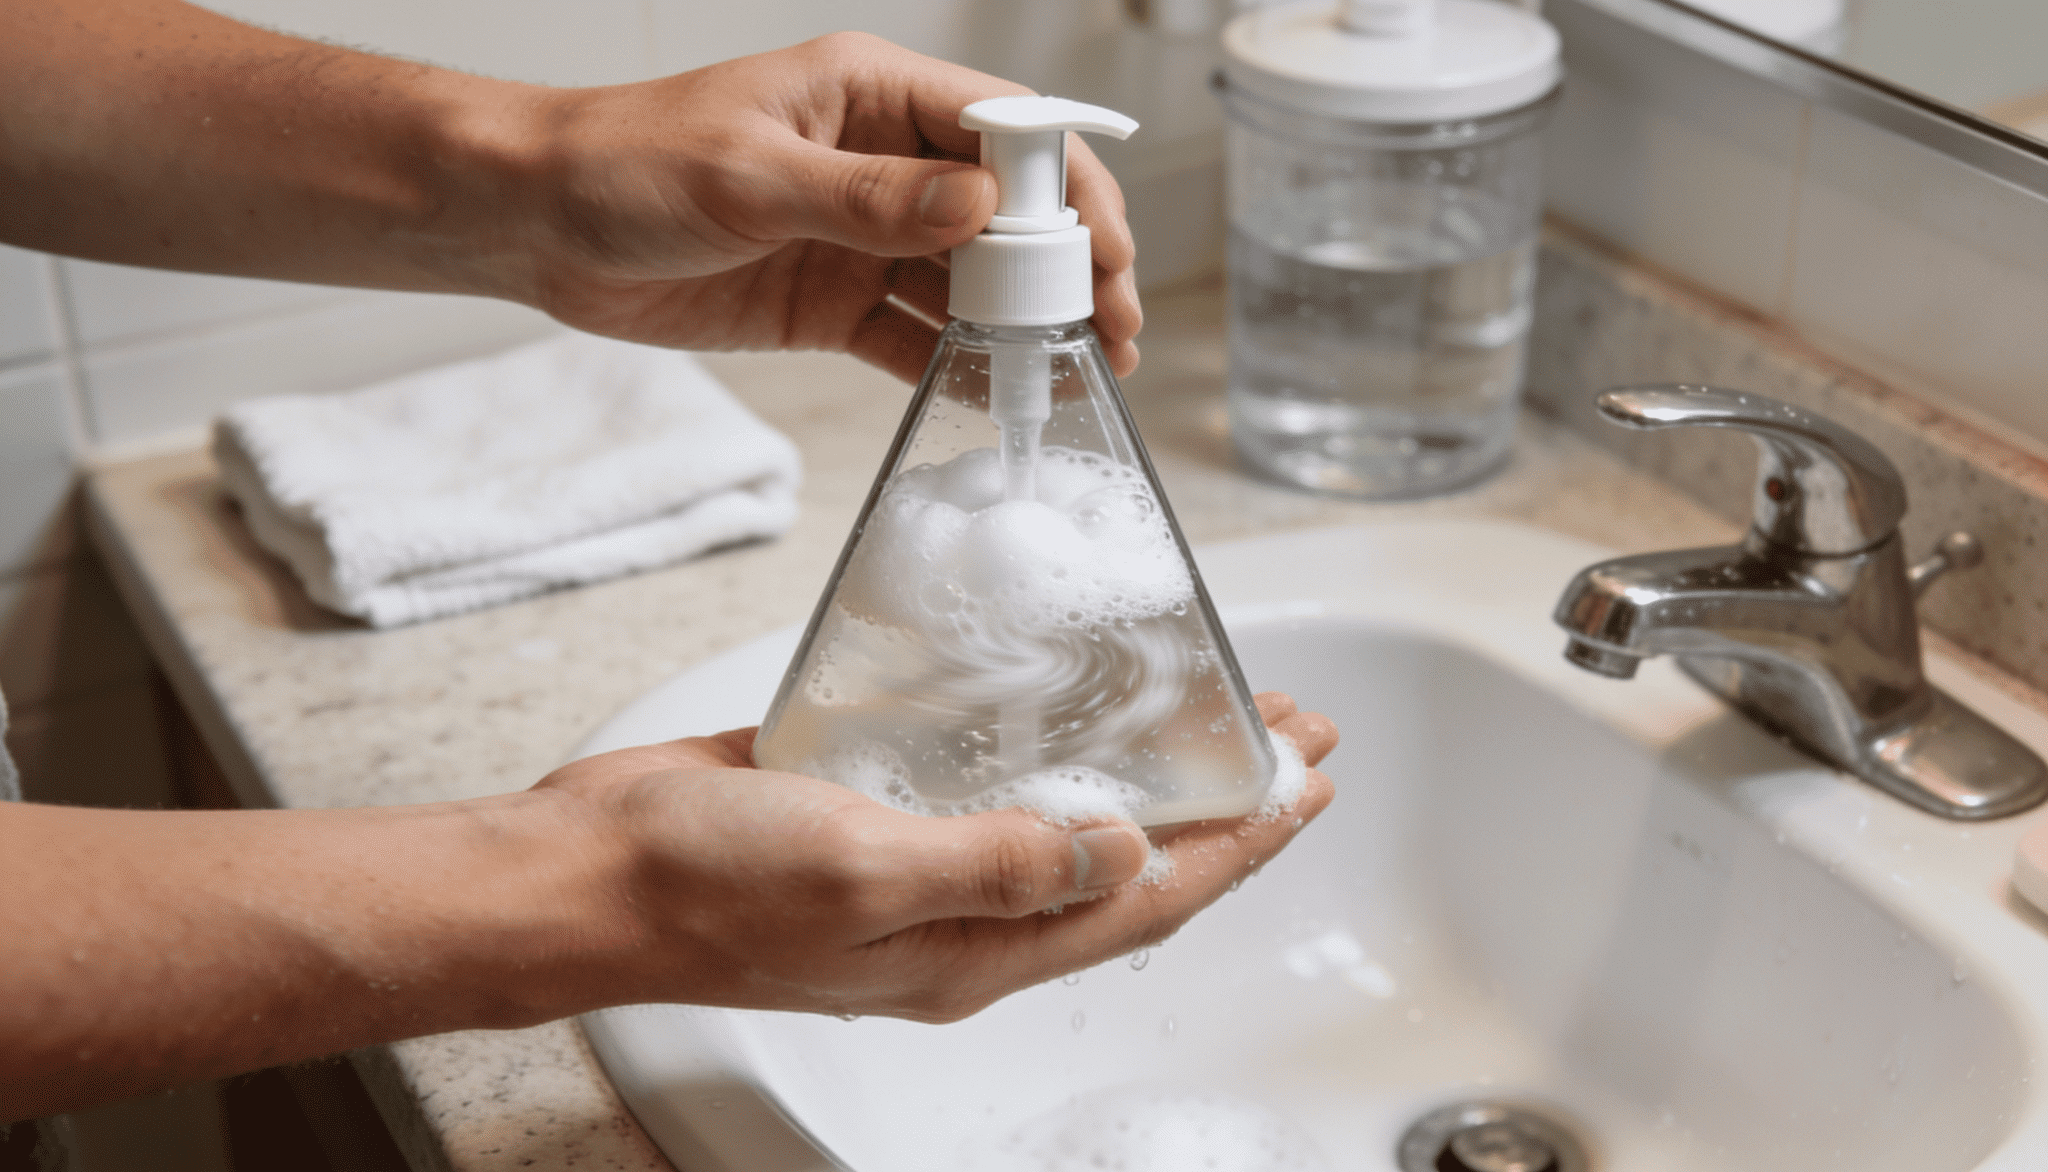
Once the soap and water are both in the bottle, secure the pump and swirl it gently rather than shake it hard.
A rough shake creates air bubbles, making it tricky to judge how full the bottle actually is. A slow swirl blends everything evenly without disturbing the pump mechanism.
This part takes only a few seconds, but skipping it can leave pockets of unmixed soap at the bottom of the bottle.
Step 5: Test the Foam
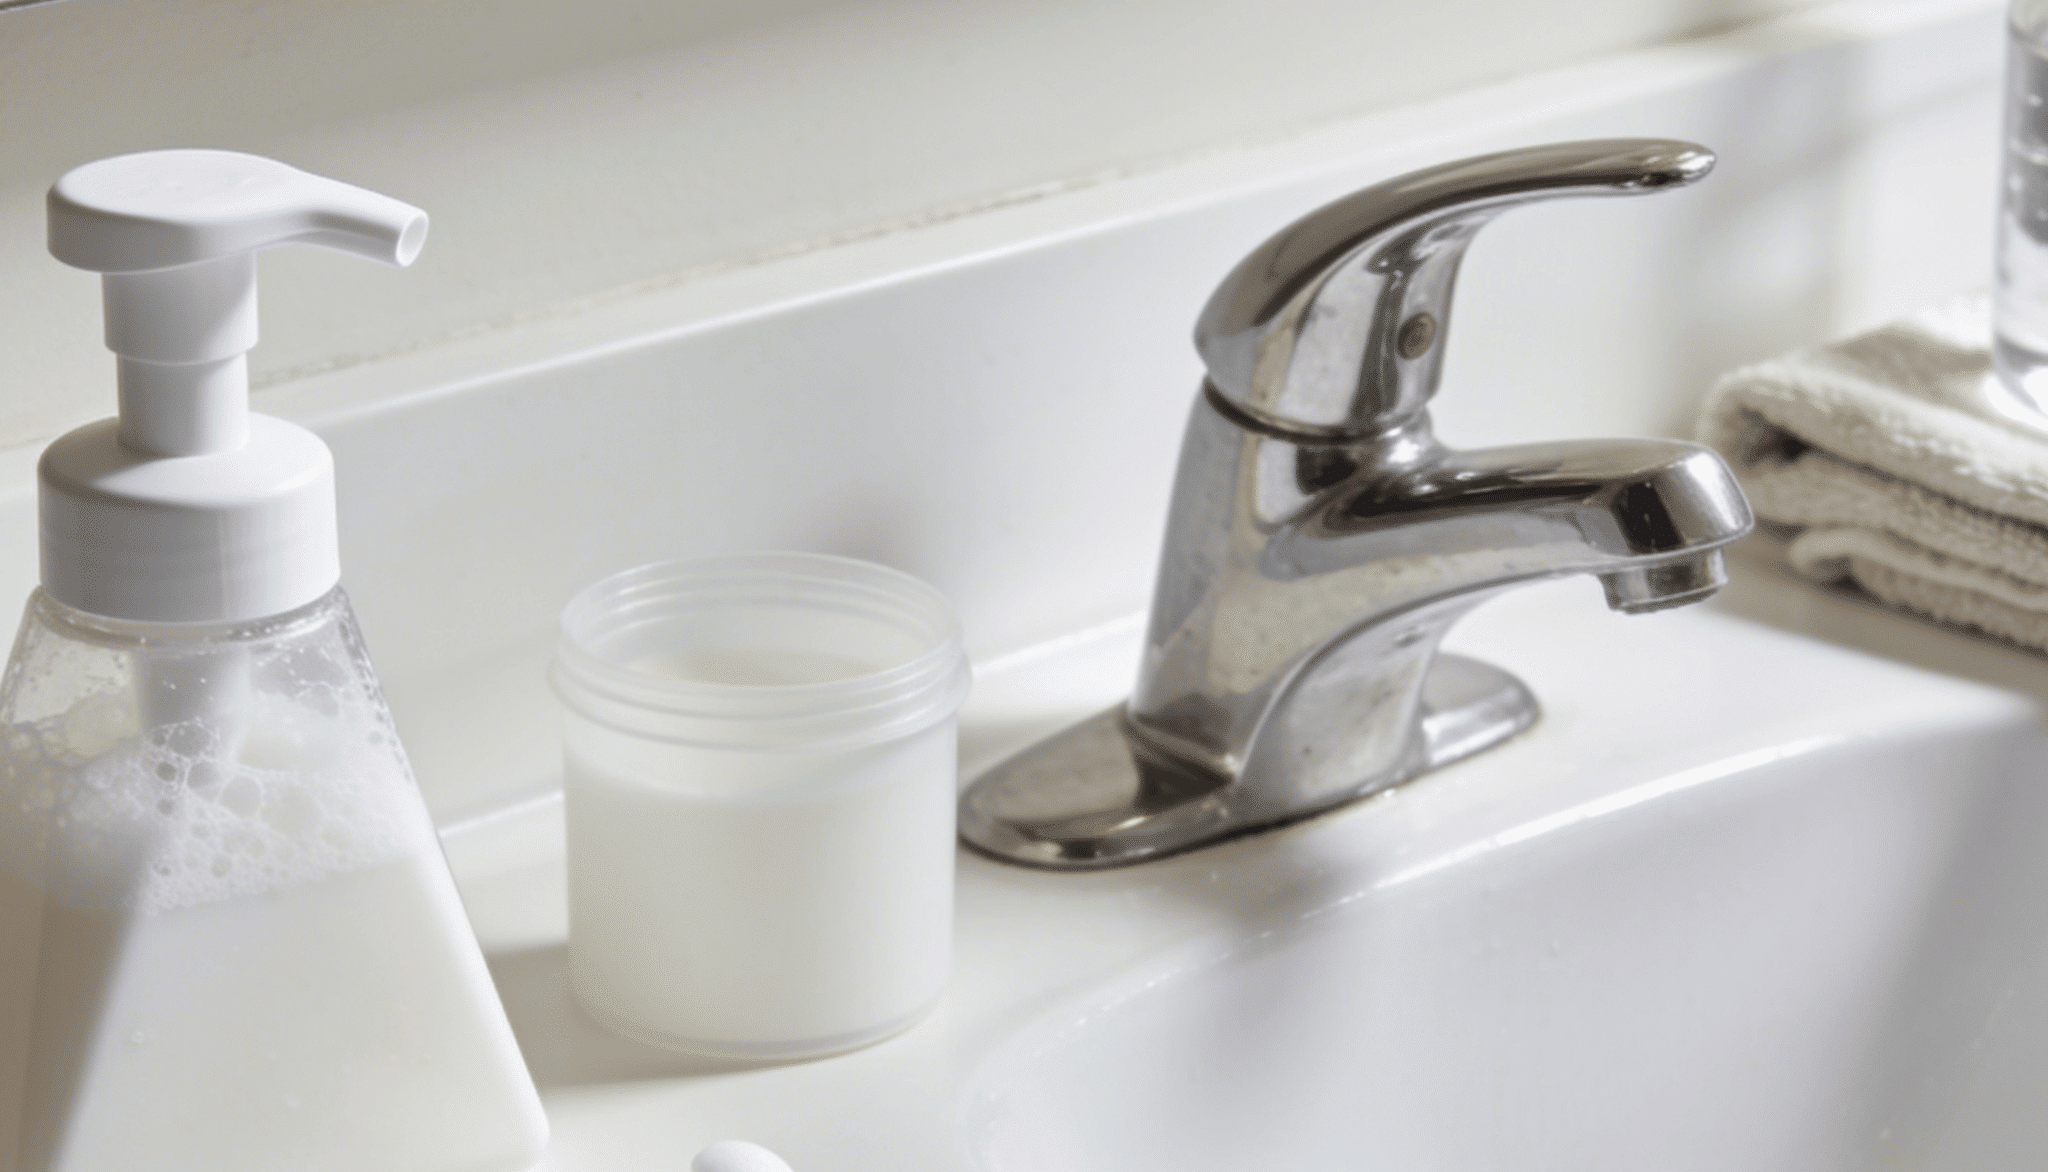
Pump the dispenser a few times over the sink to check the texture before using it at the sink for real. If the foam feels thin or watery, add a small amount of extra soap and test again.
If it feels heavy or slow, thin it out with a splash more water.
I always test twice before calling a batch finished, since small adjustments here make a noticeable difference in how the soap feels on your hands.
Choosing the Right Dr. Bronner’s Scent for Foaming Soap
Dr. Bronner’s Castile soap comes in several scents, so the right choice depends on where the dispenser will be used and how strong you want the fragrance to feel.
Peppermint gives a cool, fresh finish, while lavender has a softer scent that works well in bathrooms. Citrus suits kitchens because it smells clean and bright, and almond offers a warmer, sweeter option.
For sensitive skin, shared spaces, or homes where fragrance is kept minimal, unscented baby Castile soap is usually the safest choice.
Remember that dilution makes the scent lighter, so a fragrance that seems strong in the bottle may feel much milder once mixed for a foaming dispenser.
Can You Make Foaming Soap from Regular Liquid Hand Soap?
Yes, regular liquid hand soap can be turned into foaming soap, and it’s actually one of the easiest swaps to make. The trick is dilution, since regular soap is much thicker than what foaming pumps are designed for.
Straight liquid soap clogs the mesh screen inside the dispenser and comes out as thick, slow blobs instead of foam. Mixing it with water first thins it out enough for the pump to push air through it properly.
I’ve done this with almost every liquid soap in my cabinet, and it works with most brands.
The main thing to watch is scent strength, since diluted soap smells noticeably lighter than the original bottle.
How to Safely Store Homemade Foaming Hand Soap?
Storing homemade foaming soap properly keeps it fresh and effective, and a few simple habits make a real difference over time.
- Keep the dispenser out of direct sunlight, as it can break down the soap faster
- Store bottles in a cool, dry spot away from heat sources
- Always label bottles with the mix date, especially if making more than one batch
- Use filtered or distilled water to help the mixture last longer
- Avoid storing large batches for more than a few weeks at a time
- Keep the pump lid closed tightly when the dispenser isn’t in use
- Wash and dry bottles fully before refilling them with a new batch
- Store extra soap mixture in a separate sealed container, not just the dispenser
A little attention to storage keeps the soap smelling fresh and working the way it should.
Common Foaming Soap Problems and Fixes
Even a simple recipe can go a little sideways sometimes, so here’s a quick guide to fixing the most common foaming soap issues at home.
| Problem | Possible cause | Simple fix |
|---|---|---|
| Soap is not foaming | Wrong soap-to-water ratio | Add more water or adjust the soap mix |
| Pump feels stuck | Soap residue buildup | Clean the pump with warm water |
| Foam is too watery | Too much water was added | Increase the soap amount slightly |
| Foam is too thick | The soap mixture is too concentrated | Add a little more water |
| The dispenser is clogged | Dried soap inside the nozzle | Soak and rinse the pump parts |
| The pump releases no soap | Empty bottle or blocked tube | Refill the soap and check the tube |
| Foam disappears quickly | Low-quality soap or thin mix | Use a better soap formula |
A few small adjustments usually solve most foaming soap problems without needing to restart the whole batch.
Conclusion
Making foaming hand soap at home gives you more control over what goes into your everyday cleanser while keeping the process simple and affordable.
By following the right measurements and using ingredients like castile soap or Dr. Bronner’s, you can create a formula that fits your preferences.
Once you understand the basic soap-to-water ratio, it becomes easier to adjust scents, refill your dispenser, and avoid common foaming issues.
With a few simple steps, diy foaming hand soap can become a practical addition to your home routine without adding extra complexity.
Frequently Asked Questions
How Long Does Homemade Foaming Hand Soap Last?
Homemade foaming hand soap can last several weeks to months, depending on usage and storage.
Can You Make Foaming Hand Soap without Castile Soap?
Yes, other liquid soaps can work, but castile soap is commonly used because it mixes easily with water and creates a gentle formula.
Can Essential Oils Be Added to Diy Foaming Hand Soap?
Yes, essential oils can add fragrance, but they should be used in small amounts to prevent skin irritation or separation.