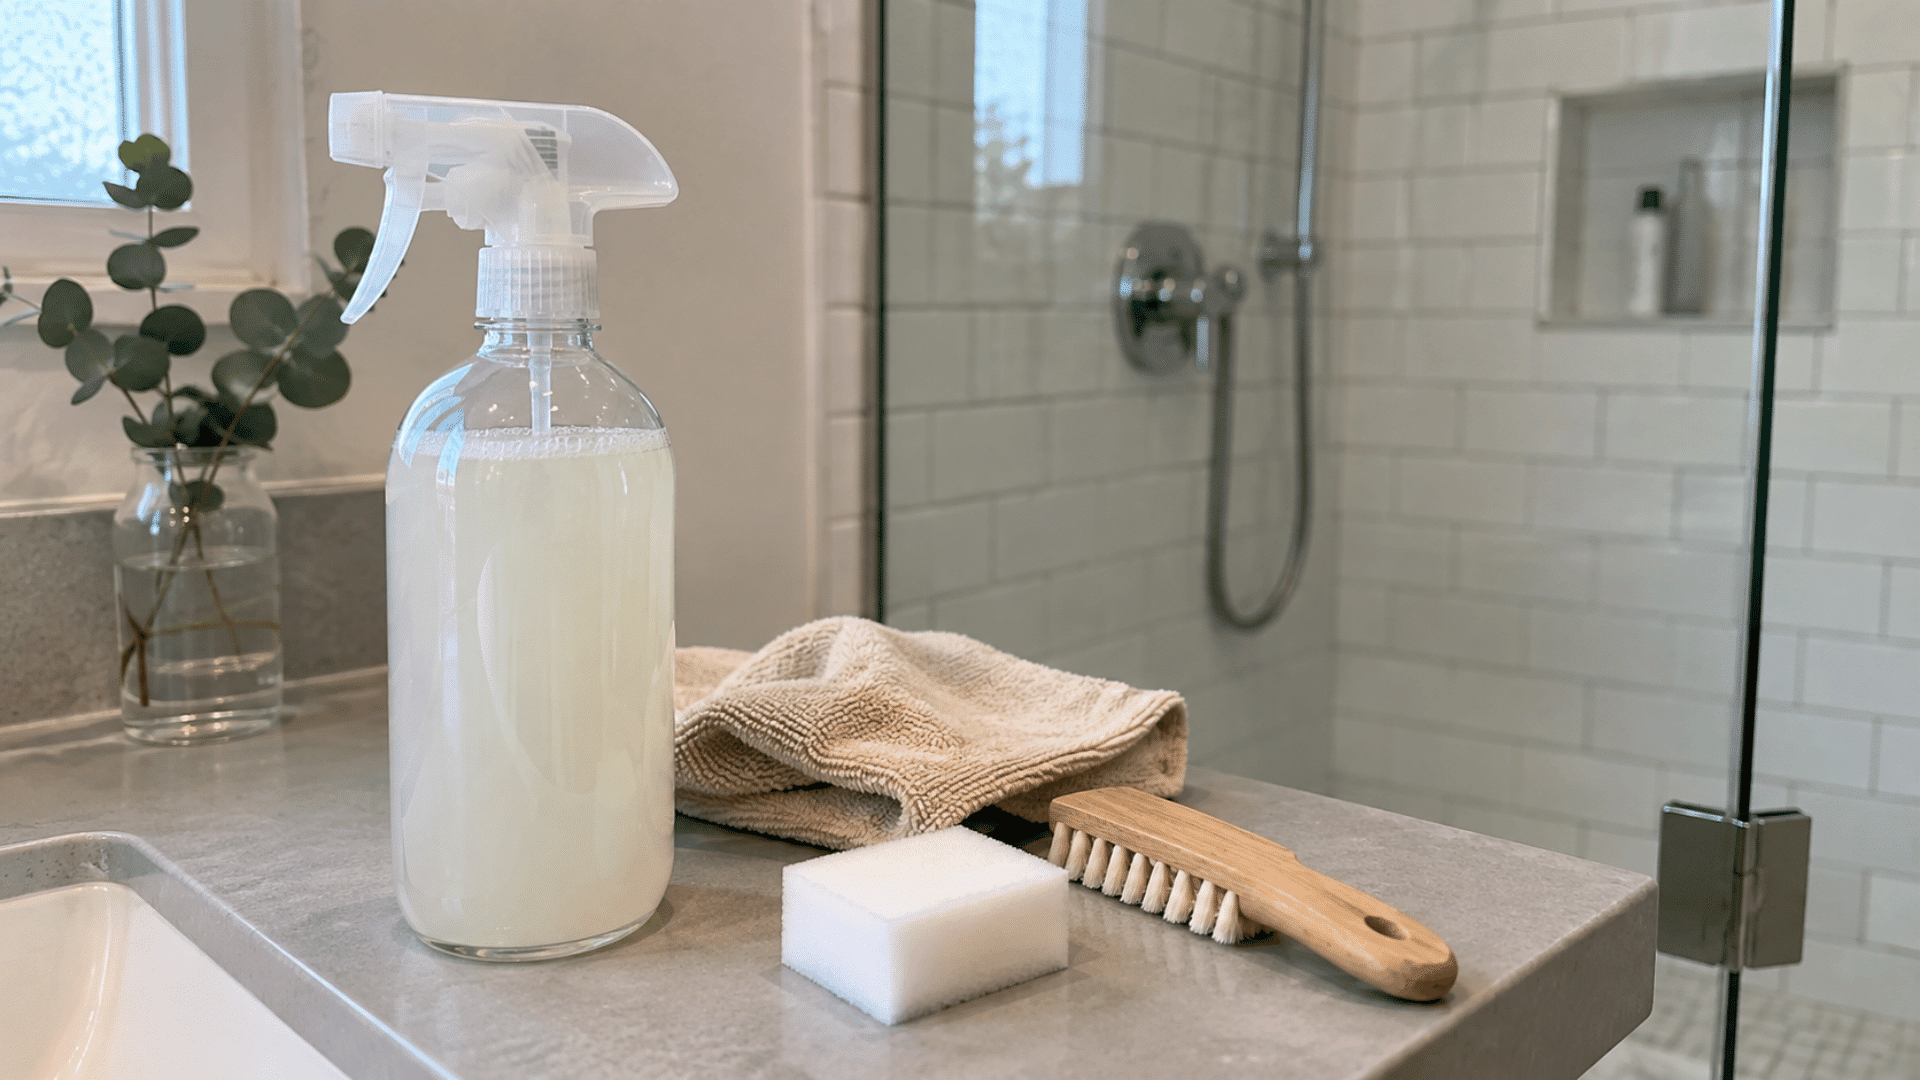
Soap scum, cloudy glass, and streaky tile can make a clean shower look tired surprisingly fast. A DIY shower cleaner gives you more control over what touches each surface, but the right mix matters more than a strong one.
I’ve learned that a little testing upfront saves a lot of scrubbing later. This guide helps you clean smarter, not harder.
Does DIY Shower Cleaner Actually Work?
Yes, a homemade shower cleaner can handle everyday soap scum and buildup when you match the ingredients to your shower surface.
Vinegar helps loosen mineral deposits, while dish soap cuts through oils and grime. I find that warming the vinegar first helps the two ingredients blend more smoothly instead of separating quickly.
An equal-parts mixture works well for heavier soap scum on glass, tile, and porcelain. For regular upkeep, use a lighter, diluted mix. Avoid vinegar on marble, limestone, and some sealed surfaces, and test a hidden spot first.
Note: Keep in mind that this formula removes visible dirt, not disinfects. For reliable germ-killing, use one of the best shower cleaning products with an EPA-registered disinfectant label.
How to Make a DIY Shower Cleaner: Step-by-Step Process
This recipe uses equal parts white vinegar and liquid dish soap to loosen stubborn soap scum. It works best on compatible glass, glazed ceramic tile, and porcelain surfaces. Complete a spot test before treating the entire shower.
Ingredients and Tools List
|
Tool or Material |
Purpose |
Important Note |
|---|---|---|
|
White vinegar |
Removes soap scum and mineral buildup |
Avoid on acid-sensitive stone |
|
Dish soap |
Cuts grease and bathroom grime |
Use a bleach-free formula |
|
Warm water |
Dilutes the cleaner |
Use clean tap water |
|
Baking soda |
Treats stubborn spots |
Avoid on delicate surfaces |
|
Measuring cup and funnel |
Measures and transfers ingredients |
Keep clean and dry |
|
Spray bottle |
Holds and applies cleaner |
Never reuse a bleach bottle |
|
Sponge and grout brush |
Scrub surfaces and grout |
Avoid abrasive or metal tools |
|
Microfiber cloth and squeegee |
Wipes, dries, and prevents streaks |
Use clean tools |
|
Gloves and safety glasses |
Protect hands and eyes |
Recommended during cleaning |
Step 1: Identify Your Shower Surface
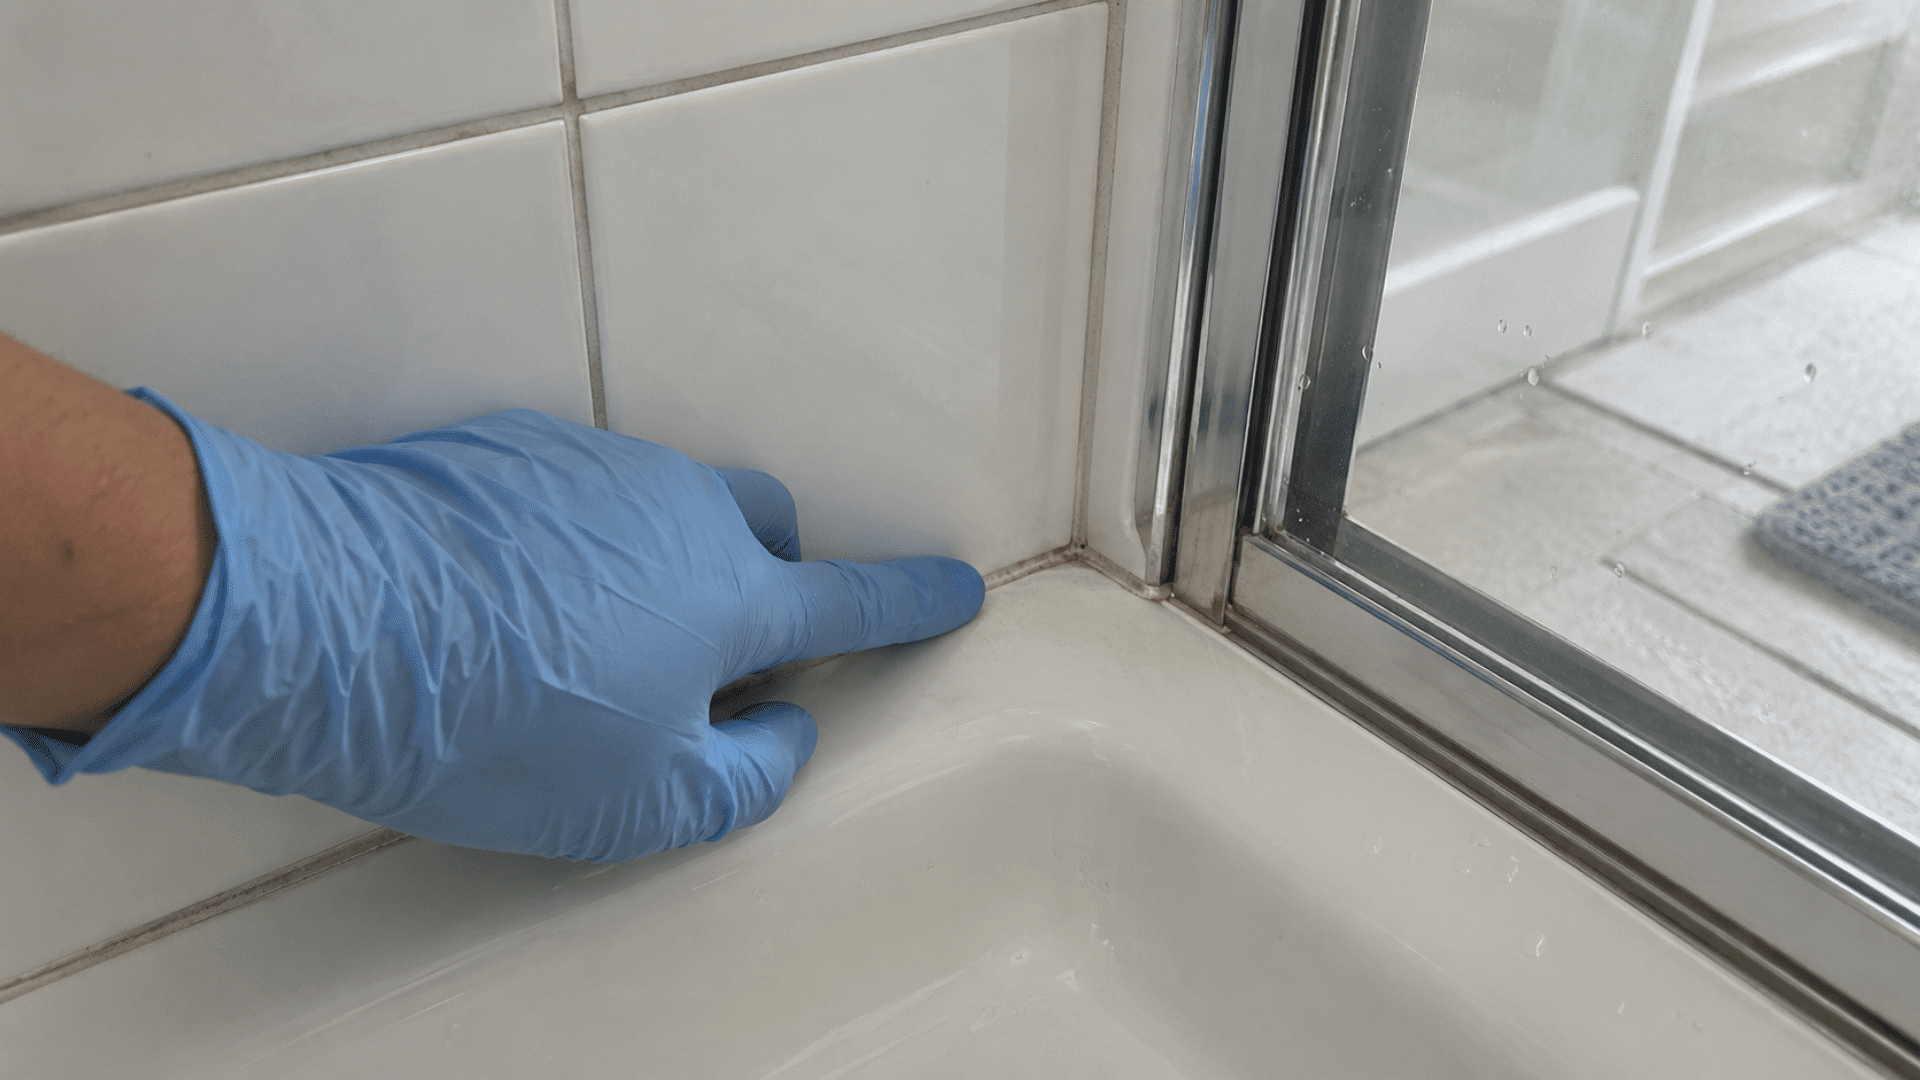
Start by confirming the materials used in your shower. A walk-in shower may combine glass, ceramic tile, porcelain, grout, or natural stone, and each surface can require a different cleaning method.
- Check the shower manufacturer’s care instructions.
- Look for marble, limestone, travertine, or granite.
- Find out if your grout or tile has been sealed.
- Inspect acrylic and fiberglass for worn areas.
- Choose a hidden location for your spot test.
Tip: If you cannot identify the material, begin with warm water and a few drops of mild dish soap.
Step 2: Prepare and Ventilate the Bathroom
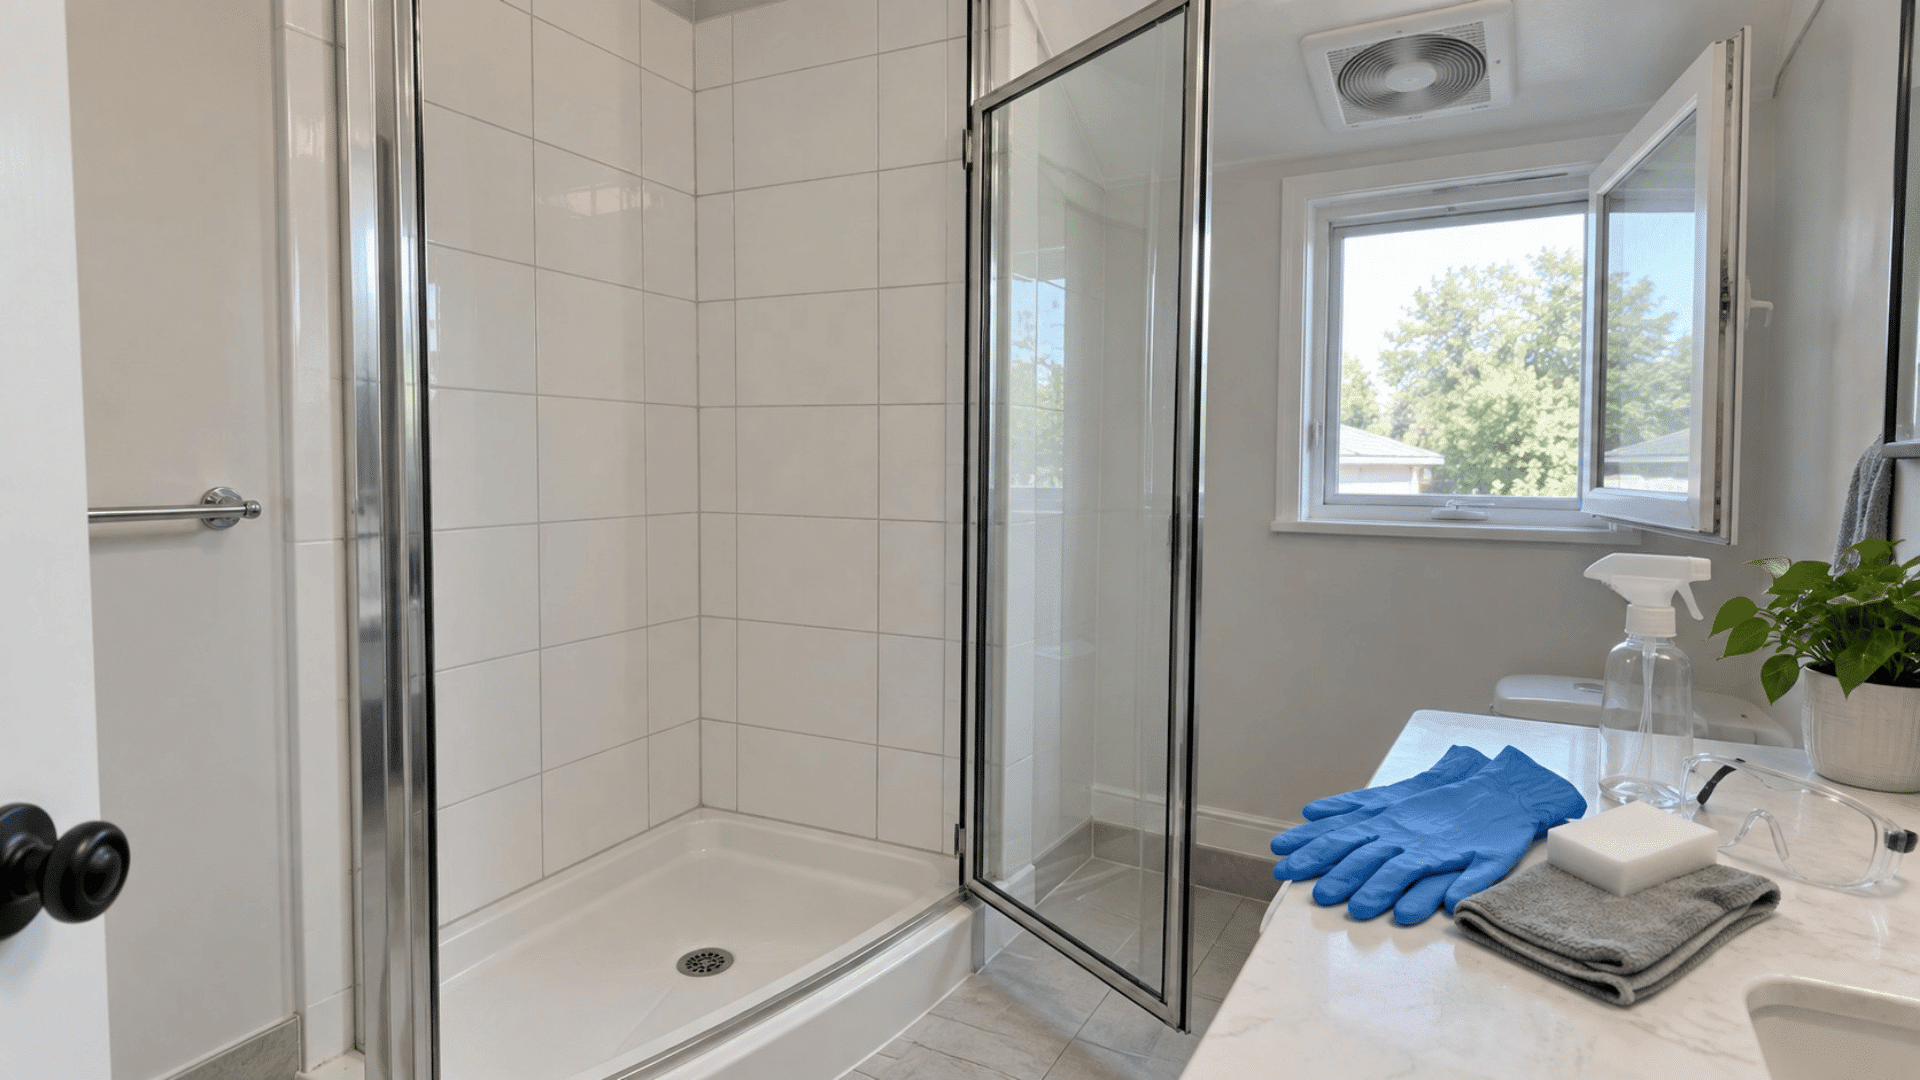
Good airflow reduces your exposure to strong smells and spray mist. Preparing the shower also prevents other products from accidentally mixing with your homemade formula.
- Turn on the bathroom exhaust fan.
- Open the door or a nearby window.
- Put on cleaning gloves and safety glasses.
- Remove shampoo bottles, towels, and bath mats.
- Rinse away any cleaner already on the surface.
- Keep children and pets outside the room.
Disclaimer: Never mix vinegar with bleach. The combination can release dangerous chlorine gas. Also avoid combining bleach with ammonia, dish soap, or any other cleaner.
Step 3: Warm and Combine the Ingredients
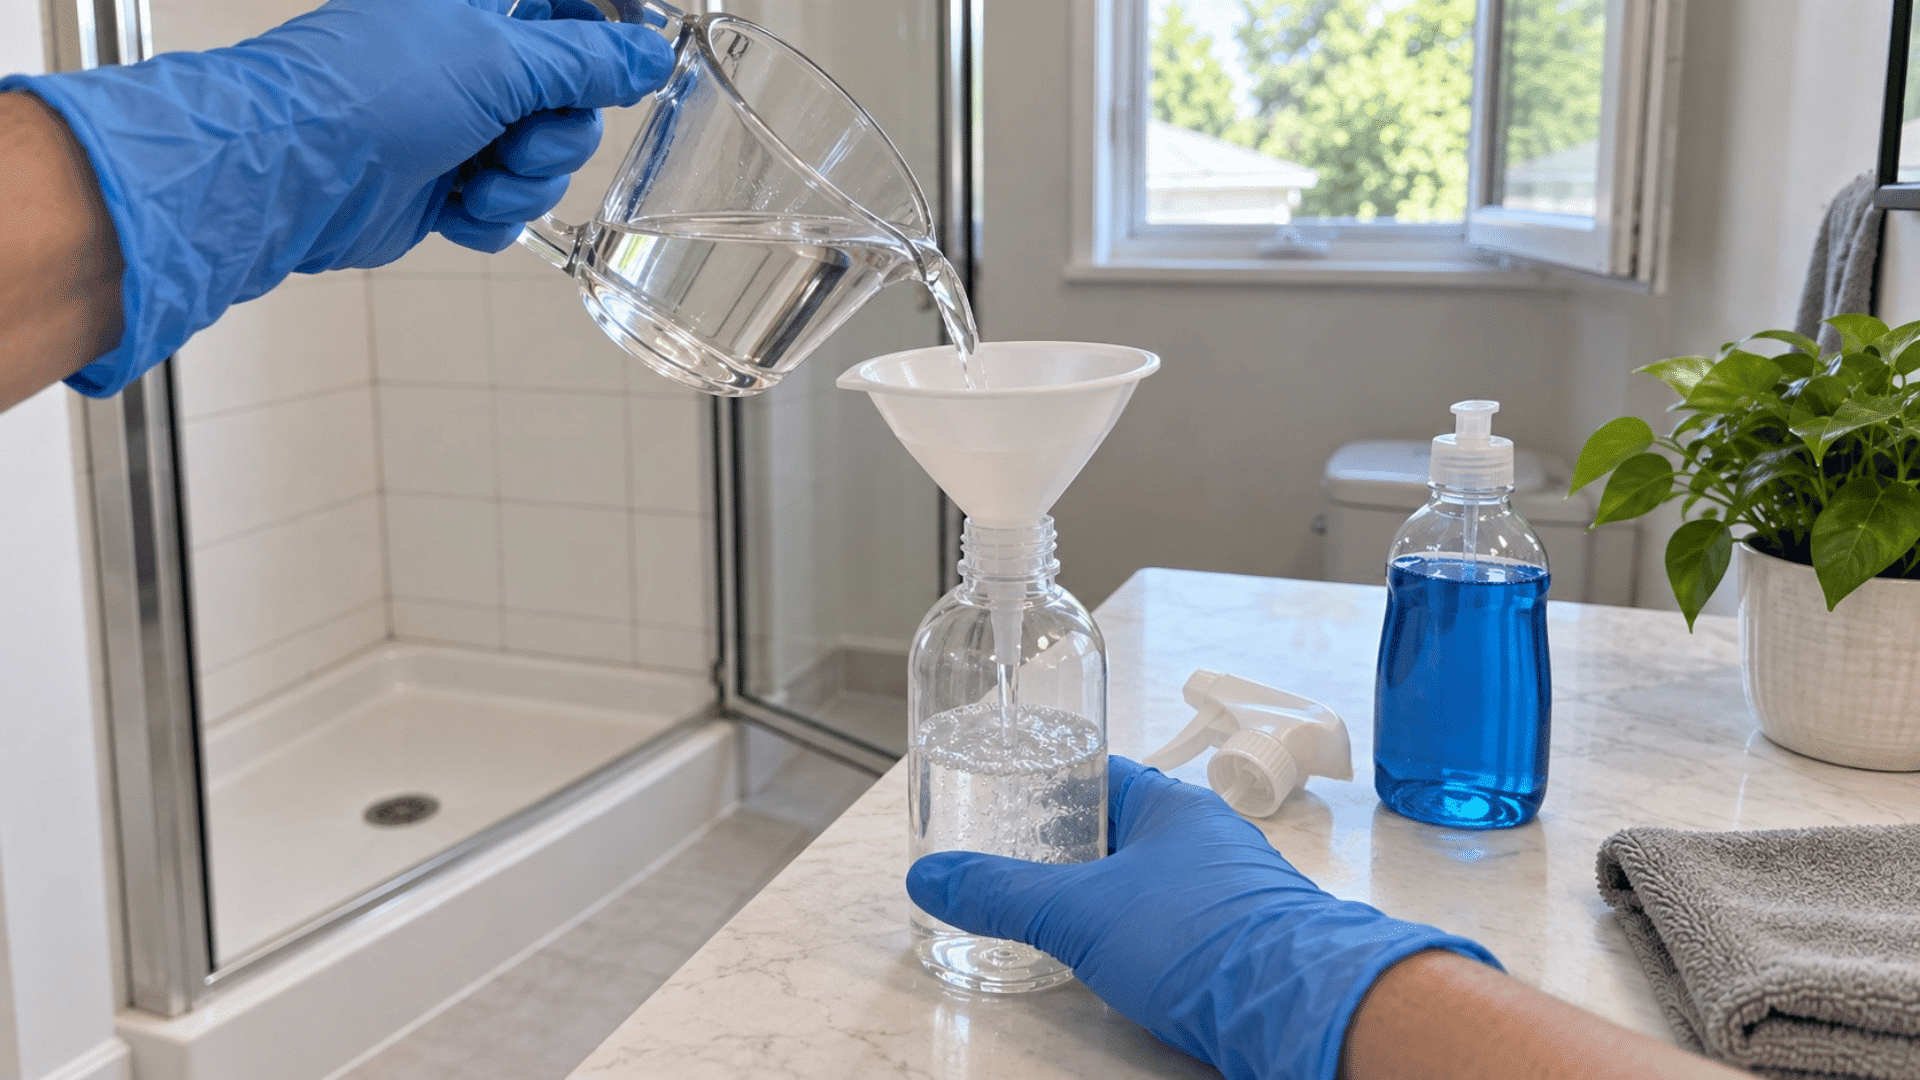
Warm vinegar mixes more easily with thick dish soap, though room-temperature vinegar works fine too. Once it is ready, combine it with the dish soap in your spray bottle.
- Measure one cup of white vinegar.
- Warm it briefly in a microwave-safe container, if you like.
- Let very hot vinegar cool before pouring.
- Place a funnel inside a clean spray bottle.
- Pour in the vinegar, then add one cup of dish soap.
- Close the bottle and roll it gently to combine.
- Avoid shaking it, and label the bottle with its ingredients.
Step 4: Test the Mixture
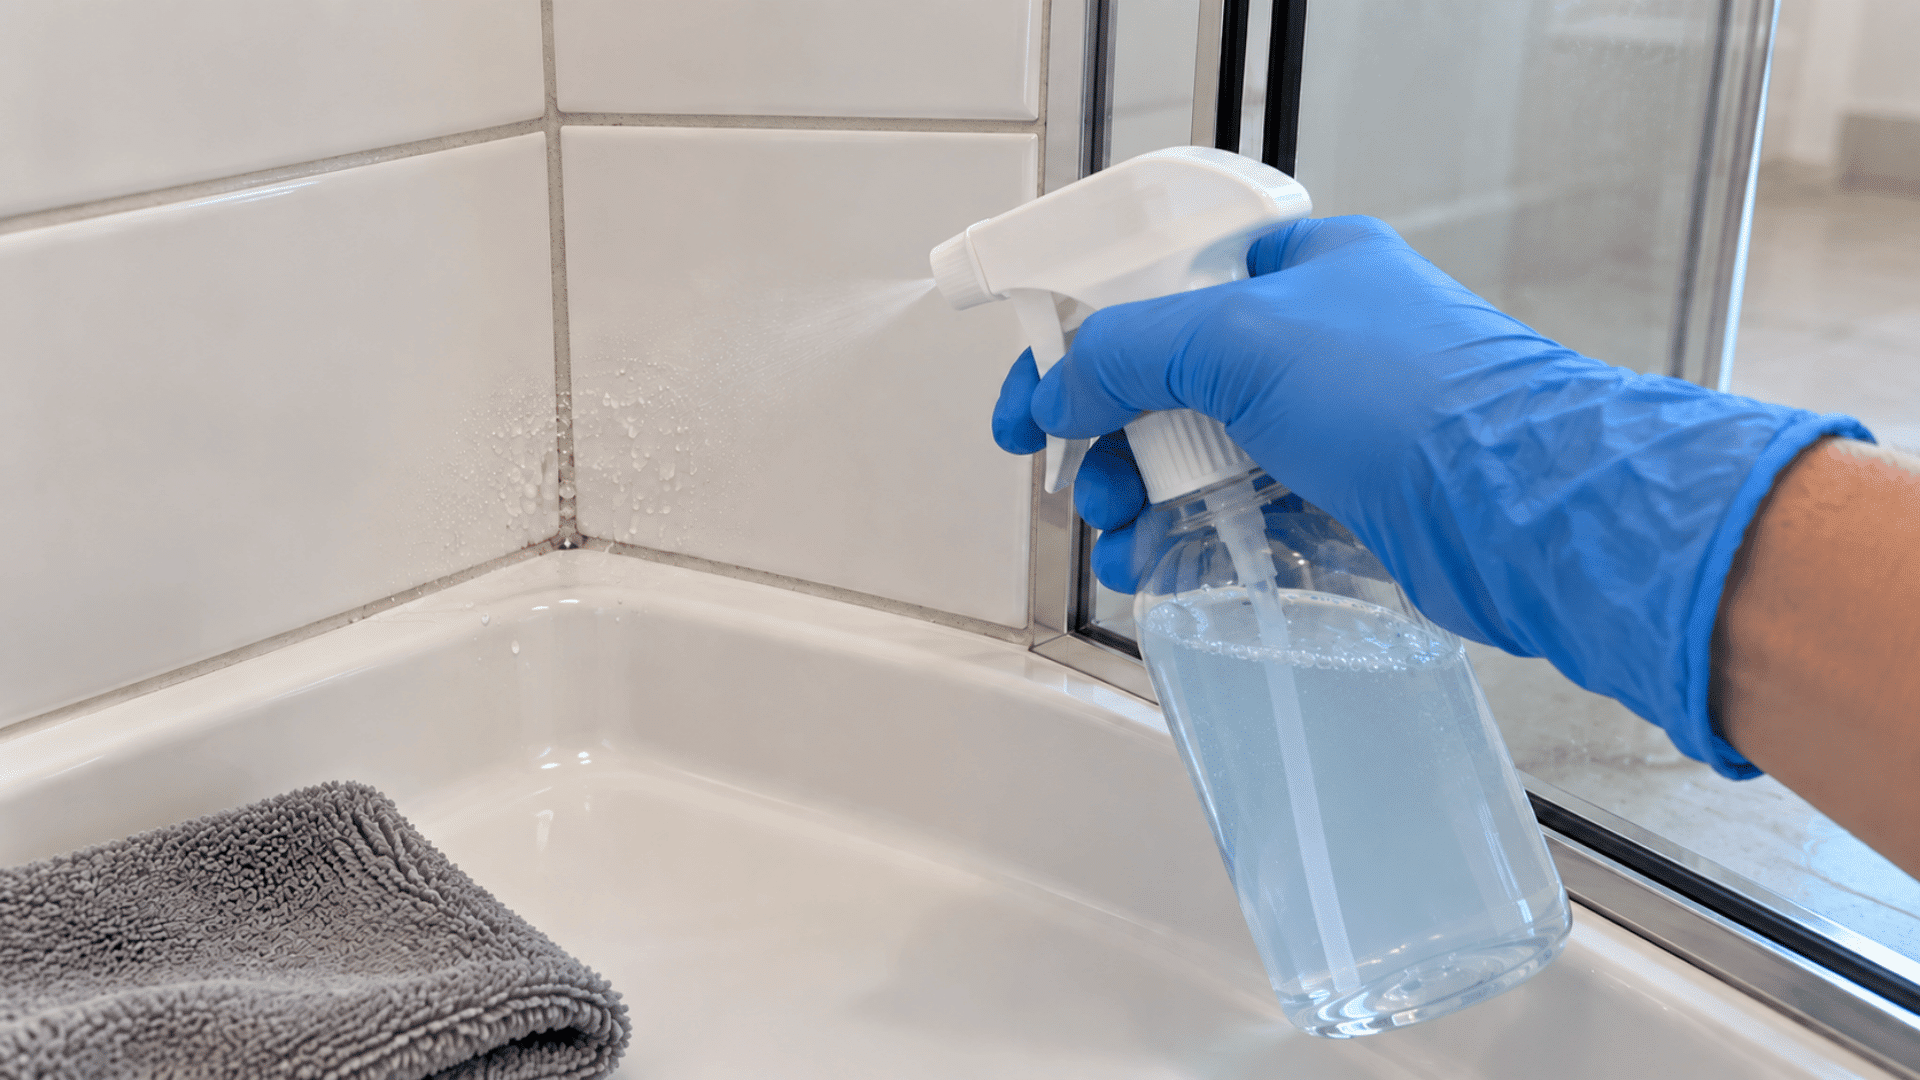
A spot test helps you catch discoloration, dullness, or finish damage before cleaning a large section. Testing is especially important on grout, fiberglass, acrylic, coated glass, and metal trim.
- Spray a small amount in a hidden corner.
- Let it sit for no more than five minutes.
- Rinse the area with clean water.
- Dry it using a soft microfiber cloth.
- Check the surface after it dries fully.
- Stop if the area appears cloudy, rough, or faded.
Step 5: Spray the Shower
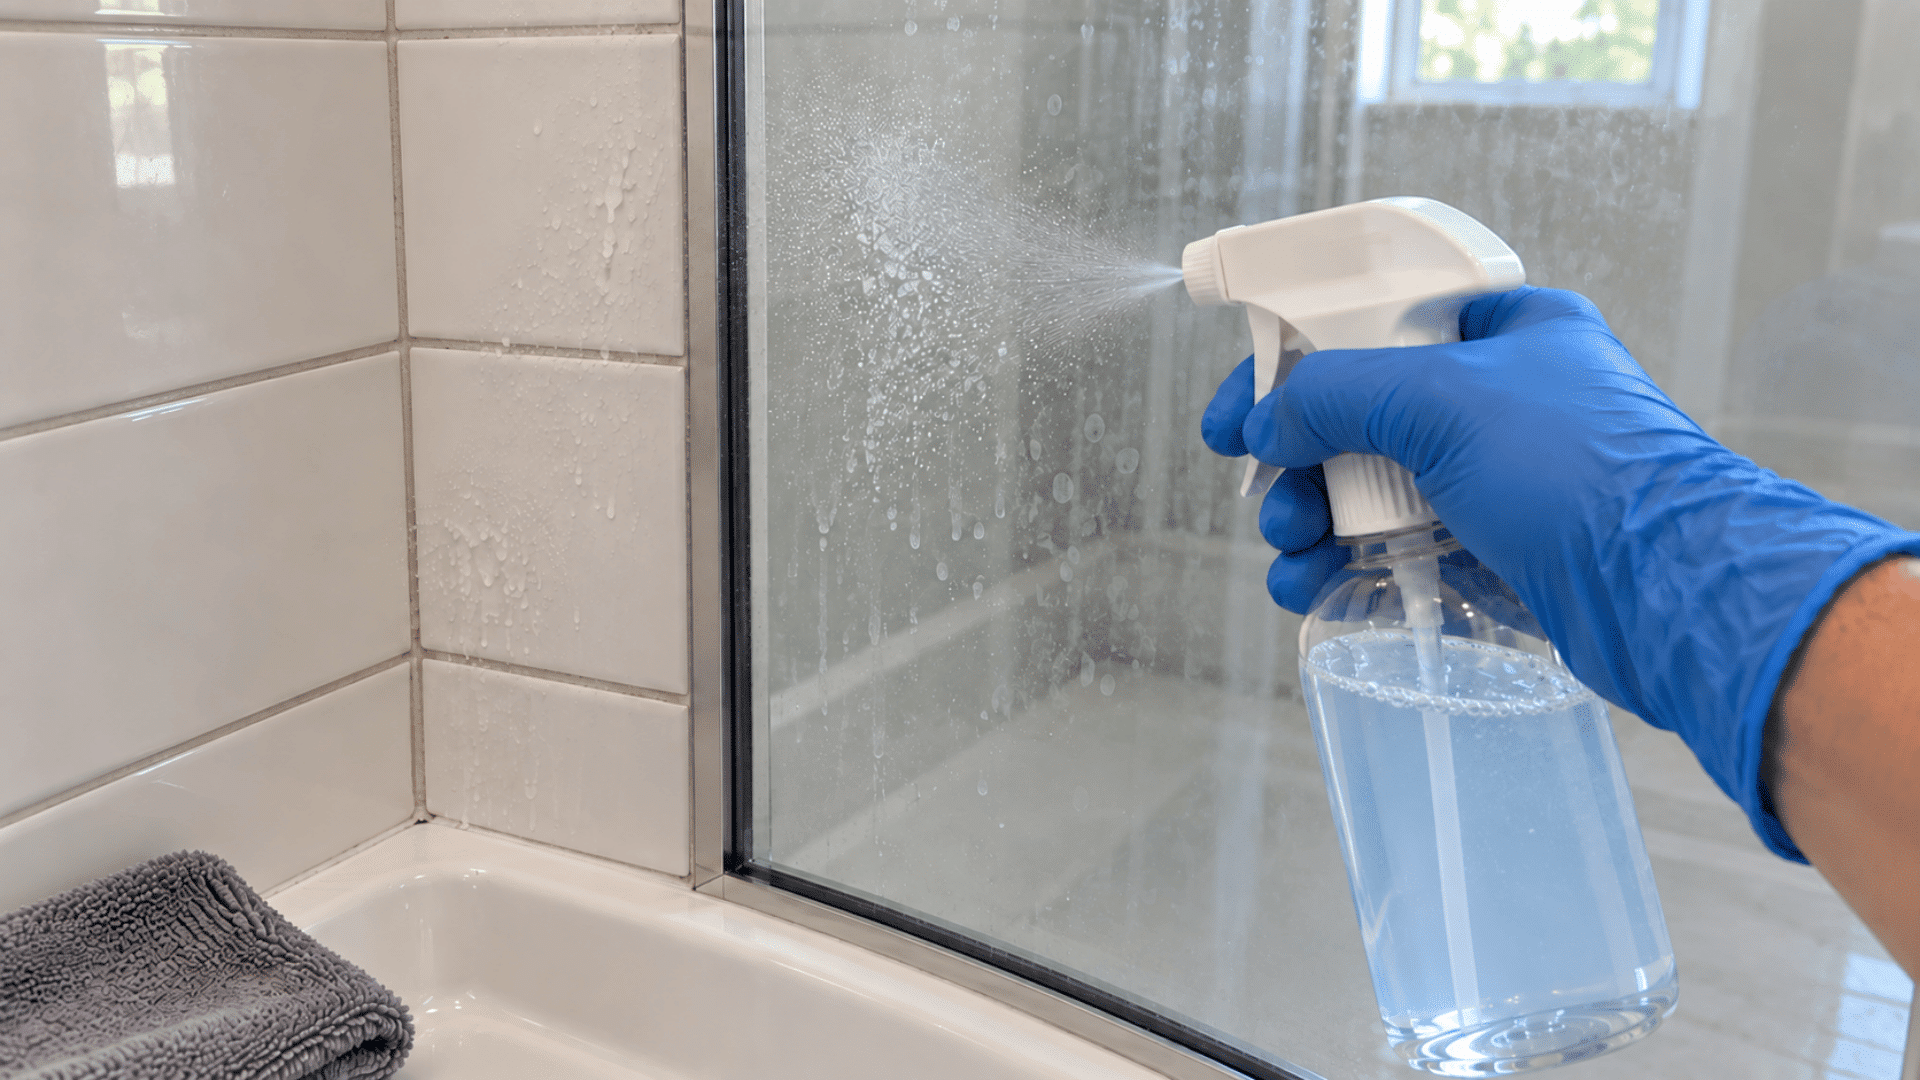
Apply the DIY shower cleaner in small sections so it does not dry before you scrub. Start near the bottom of the wall and work upward to reduce streaking.
- Lightly wet the shower with warm water.
- Spray the mixture over visible soap scum.
- Apply less product around caulk and fixtures.
- Keep the mixture away from natural stone.
- Do not spray directly above your face.
- Leave the cleaner for 10 to 15 minutes.
- Do not allow the solution to dry.
Step 6: Scrub the Surface Gently
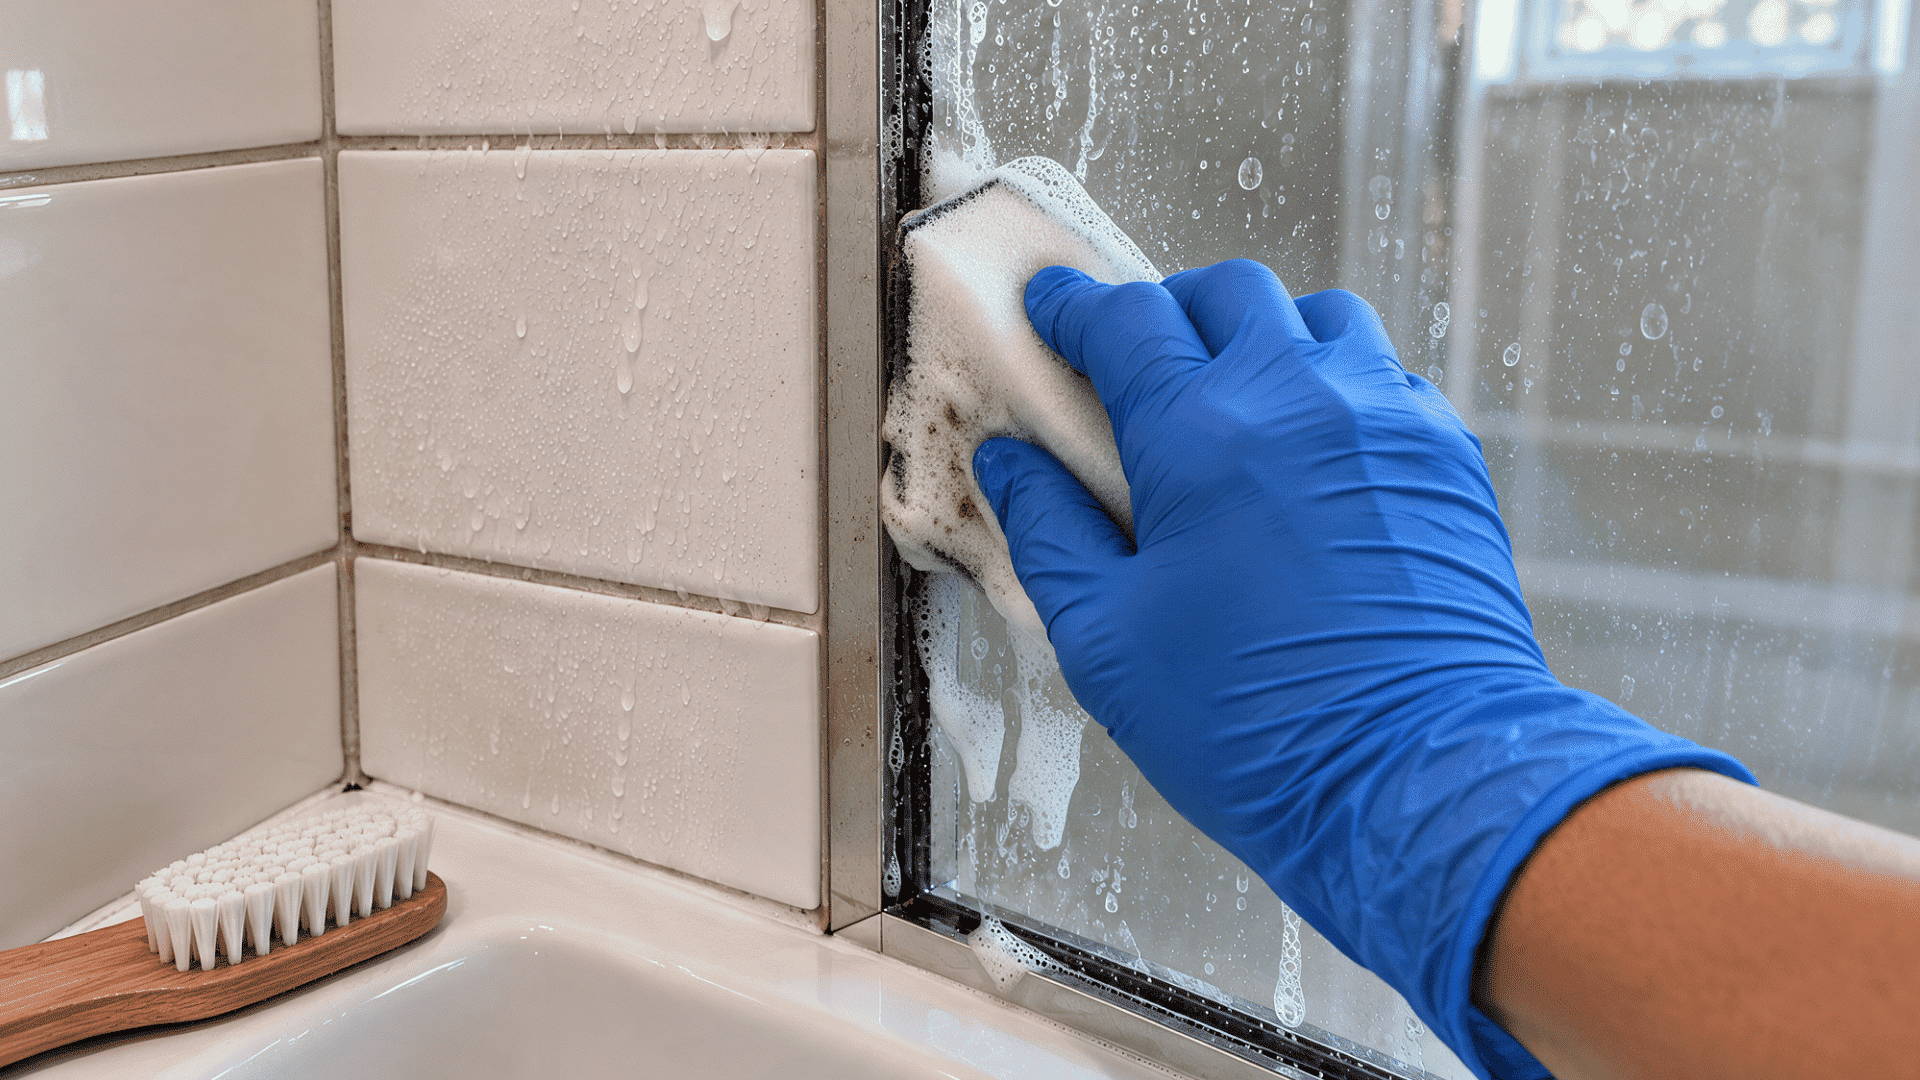
Once buildup softens, use gentle pressure and a non-scratch sponge. Rough tools can leave permanent marks. I treat it like protecting wood floors from metal chair legs; a little care now prevents bigger damage later.
- Scrub tile and glass using small circles.
- Clean grout lines with a soft brush.
- Add warm water if the mixture starts to dry.
- Use light pressure on acrylic and fiberglass.
- Pay attention to corners and door tracks.
- Avoid steel wool and rough scouring pads.
- Repeat only where grime remains.
Step 7: Rinse and Dry the Shower
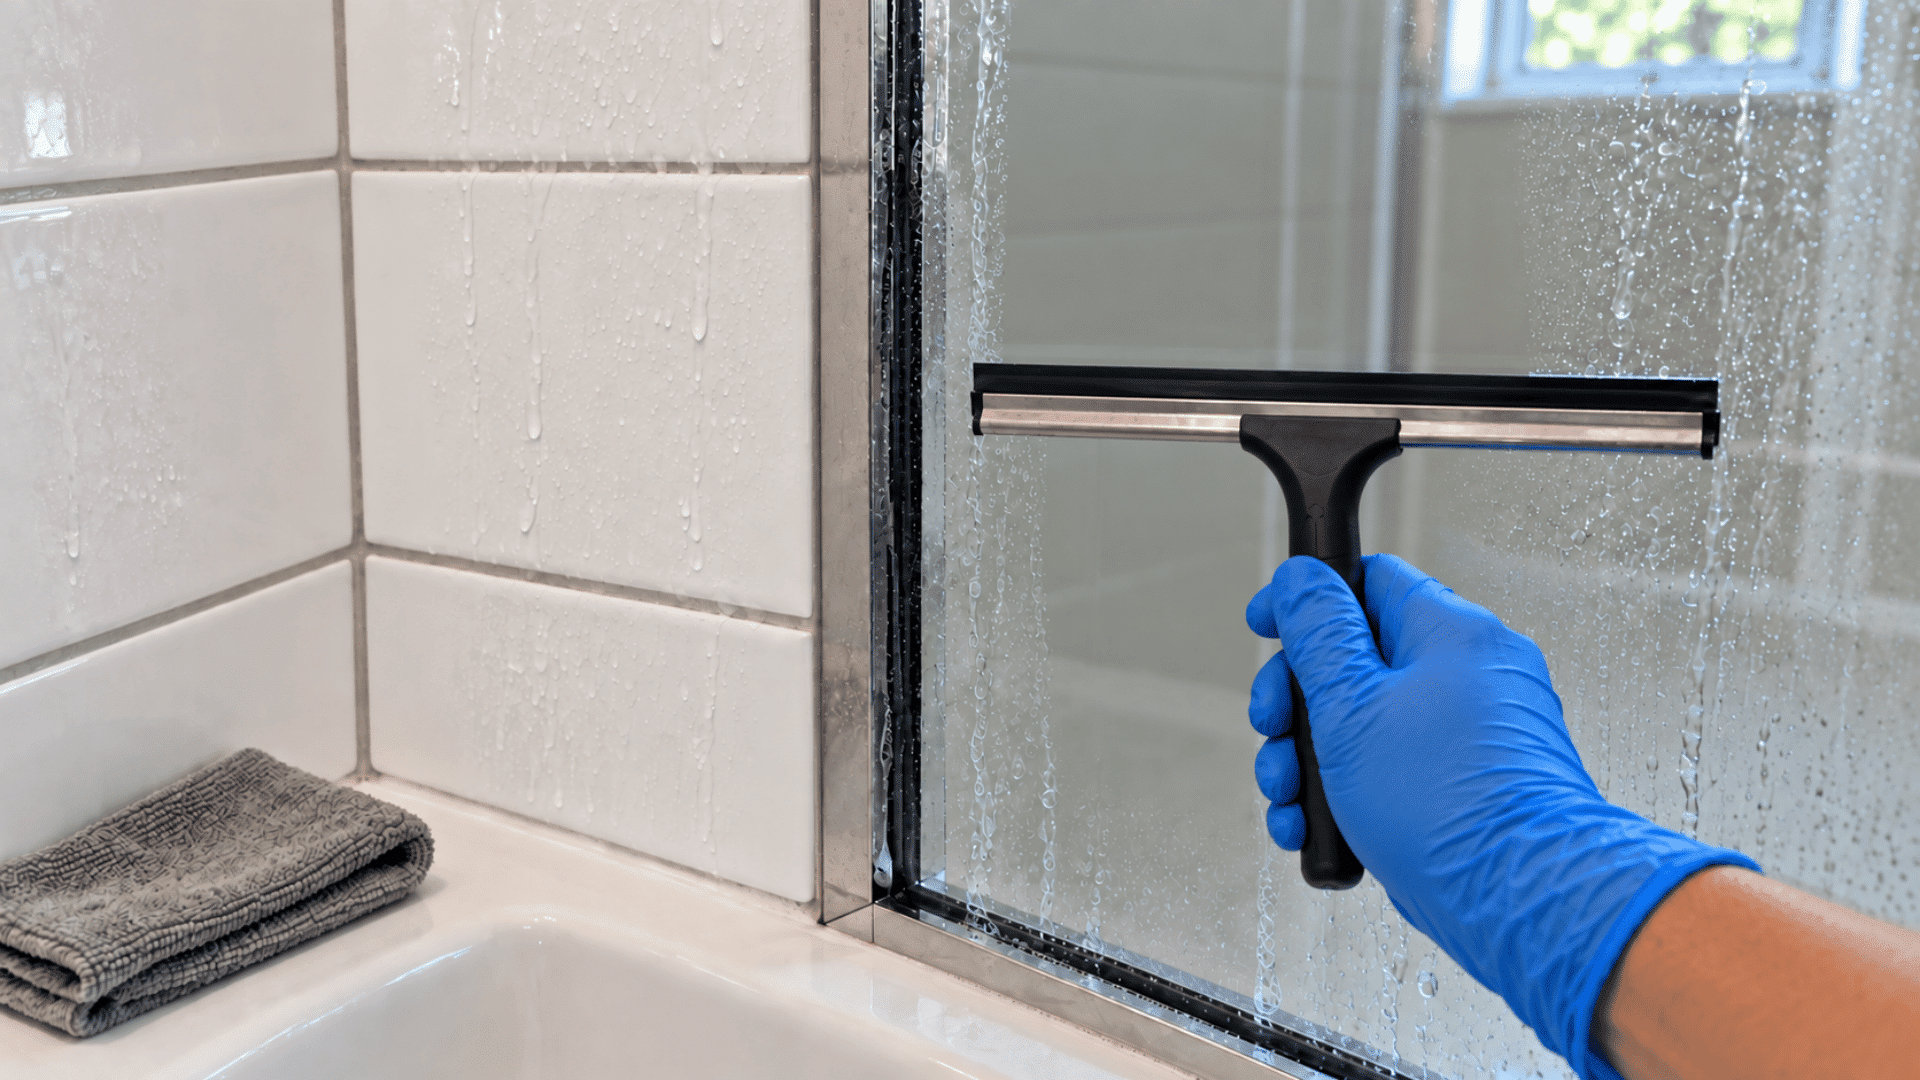
Rinse thoroughly to remove loosened dirt and slippery dish soap. Drying the shower also reduces streaks, water spots, and moisture left around grout or caulk.
- Rinse from the top of each wall downward.
- Use plenty of clean, warm water.
- Check the floor for slippery soap residue.
- Wipe fixtures with a damp cloth.
- Run a squeegee over glass and smooth walls.
- Dry metal fixtures with a microfiber cloth.
- Leave the shower open until it dries.
DIY Shower Cleaner Recipes for Different Shower Surfaces
The same mixture will not suit every shower or every kind of buildup. This is where you can choose a recipe that fits the material and cleaning job you are tackling.
1. Daily Spray for Glass and Glazed Tile
This diluted spray rinses more easily than the equal-parts mixture. Use it for light residue on vinegar-safe glass, glazed ceramic tile, and porcelain.
Ingredients: 1 cup white vinegar, 1 cup water, 1 tablespoon liquid dish soap
Directions:
- Add all ingredients to a clean spray bottle.
- Gently turn the bottle to combine.
- Mist the surface after showering.
- Wipe or squeegee as needed.
- Keep the spray away from natural stone.
2. Baking Soda Paste for Stubborn Spots
A soft baking soda paste may help loosen grime around tracks, corners, and textured areas. Because baking soda is mildly abrasive, you should test it before using it on polished, coated, or plastic surfaces.
Ingredients: 3 tablespoons baking soda, enough water to make a spreadable paste
Directions:
- Mix the ingredients in a small bowl.
- Test the paste in an inconspicuous area.
- Apply it only to the dirty spot.
- Rub gently with a damp sponge.
- Rinse completely and dry the area.
Note: Do not store baking soda and vinegar together in a closed bottle. They create foam and largely neutralize each other.
3. Hydrogen Peroxide Spray for Mold and Mildew
If dark spots keep coming back in corners or along caulk, that’s usually mold or mildew rather than soap scum — and vinegar and dish soap alone won’t fully clear it.
Ingredients: 1 cup hydrogen peroxide (3% solution) and 1 cup water
Directions:
- Combine both ingredients in a labeled spray bottle.
- Spray directly on affected areas.
- Let it sit for 10 minutes; you may see light foaming.
- Scrub gently, then rinse well.
- Keep this mixture separate from any vinegar-based recipe.
Note: Hydrogen peroxide can lighten colored grout and fabric. Spot test first, and check the label if your grout is tinted or sealed.
4. Mild Cleaner for Natural Stone
Do not use vinegar on marble, limestone, or travertine. Use a pH-neutral stone cleaner approved by the manufacturer. Mild dish soap may be suitable for basic cleaning if the care instructions allow it.
Ingredients: 1 gallon of warm water, A few drops of pH-neutral dish soap
Directions:
- Test the solution in a hidden area.
- Apply it with a soft cloth.
- Wipe gently without heavy scrubbing.
- Rinse with clean water.
- Dry the stone immediately.
5. Mild Soap Mixture for Acrylic and Fiberglass
Acrylic and fiberglass can scratch easily, so keep the formula and cleaning tool gentle. Always follow the care directions provided by the shower manufacturer.
Ingredients: 2 cups warm water, 1 teaspoon mild liquid dish soap
Directions:
- Test the mixture in a hidden spot first.
- Combine the water and soap in a bowl.
- Apply it with a soft microfiber cloth.
- Wipe without using strong pressure.
- Rinse away all soap residue.
- Dry the surface with a clean towel.
DIY Shower Cleaner vs. Commercial Shower Cleaning Products
Homemade formulas handle most routine grime well, but they’re not a stand-in for every store-bought product, especially where disinfecting matters.
|
Cleaning Need |
Homemade Option |
Use Store-Bought When |
|---|---|---|
|
Light soap residue |
Diluted vinegar + dish soap |
Surface needs an approved cleaner |
|
Heavy soap scum |
Equal parts vinegar + dish soap |
Buildup remains after two tries |
|
Natural stone |
Mild pH-neutral soap |
Stone needs a specialized cleaner |
|
Dirty grout |
Mild soap + soft brush |
Deep stains remain |
|
Mold or mildew |
Detergent + water |
Disinfection is needed |
|
Hard water marks |
Vinegar on safe surfaces |
Mineral buildup persists |
|
Acrylic or fiberglass |
Mild soap |
Manufacturer requires an approved product |
How to Keep Your Shower Clean for Longer?
Small daily habits can reduce soap scum, moisture, mineral deposits, and grime. This means you may not need to use a strong cleaning formula as often.
This is the same logic I use with any room: the daily two-minute habit does more than the occasional deep clean.
Run a squeegee over glass and smooth shower walls after each use, leave the door, shower liner, or curtain open, and run the exhaust fan so corners, ledges, and door tracks can dry.
Remove hair from the drain regularly, rinse away thick shampoo or soap spills, and clean light residue before it builds up.
Repair dripping faucets and plumbing leaks, wash damp shower tools and storage containers, and check caulk for cracks, gaps, or recurring dark marks.
Final Thoughts
A DIY shower cleaner can make bathroom care feel simpler when you choose a formula that suits the surface and use it carefully. Small habits like rinsing, drying, and checking for buildup early can make each cleaning session easier.
I find that the best routine is one you can keep up with without turning every shower clean into a major chore. When tougher grime or disinfecting calls for more help, the best shower cleaning products can fill the gap.
Pick one recipe, test a small area, and start with your shower today.
Frequently Asked Questions
How Often Should You Use a DIY Shower Cleaner?
Use it when you see visible buildup; regular rinsing, drying, and squeegeeing can reduce how often you need deeper cleaning.
Can DIY Shower Cleaner Damage Black Fixtures?
Some coated finishes react poorly to acids or abrasives, so check manufacturer guidance and test a hidden spot first.
Why Does Shower Glass Still Look Cloudy After Cleaning?
Cloudiness may come from mineral deposits, soap residue, or damaged coatings, so identify the cause before cleaning again.