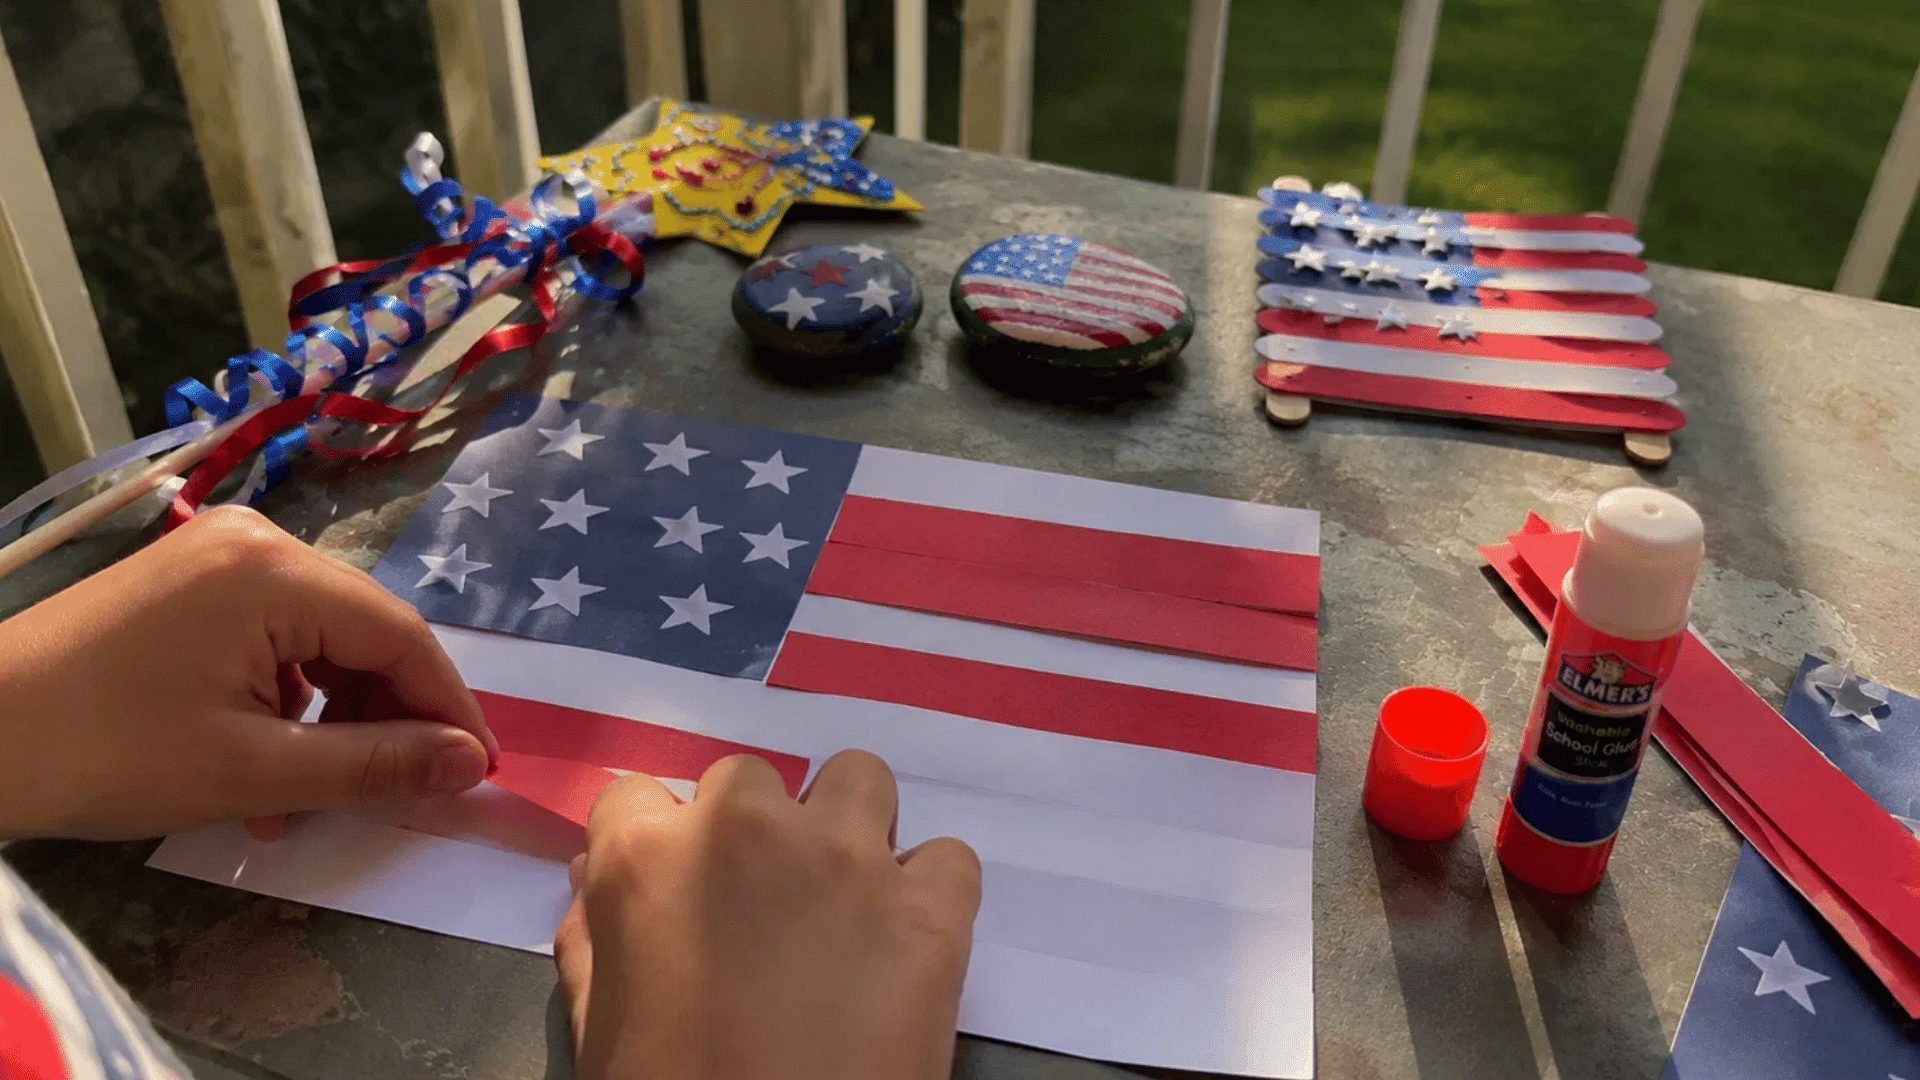
Every Fourth of July, I find myself reaching for paper, fabric scraps, and whatever craft supplies are close by. Making something by hand always adds a little extra fun to the holiday.
Kids don’t need fancy materials to enjoy craft time. A few simple supplies and a little imagination can turn an ordinary afternoon into something memorable.
In this collection, you’ll find easy projects for different ages, along with ideas that work well at home, in the classroom, or during family celebrations.
If you’re looking for fun 4th of July crafts for kids that are simple to make and enjoyable to share, you’ll find plenty of inspiration below.
Why 4th of July Crafts are So Much Fun for Kids
Holiday crafts give kids a fun way to celebrate while making something with their own hands. Even simple projects can keep them happily busy.
Many activities help children practice cutting, gluing, painting, and coloring. They also build confidence as each project comes together.
I like that most of these projects use everyday supplies you may already have at home. That means you can spend less time gathering materials and more time making something together.
From paper flags to painted stars, every project gives kids something they can display, gift, or enjoy during the Fourth of July celebrations.
Easy 4th of July Crafts for Kids
Craft time is a fun way to keep kids busy while adding handmade decorations to your Fourth of July celebration. Pick your favorites and enjoy creating together.
1. Paper American Flag
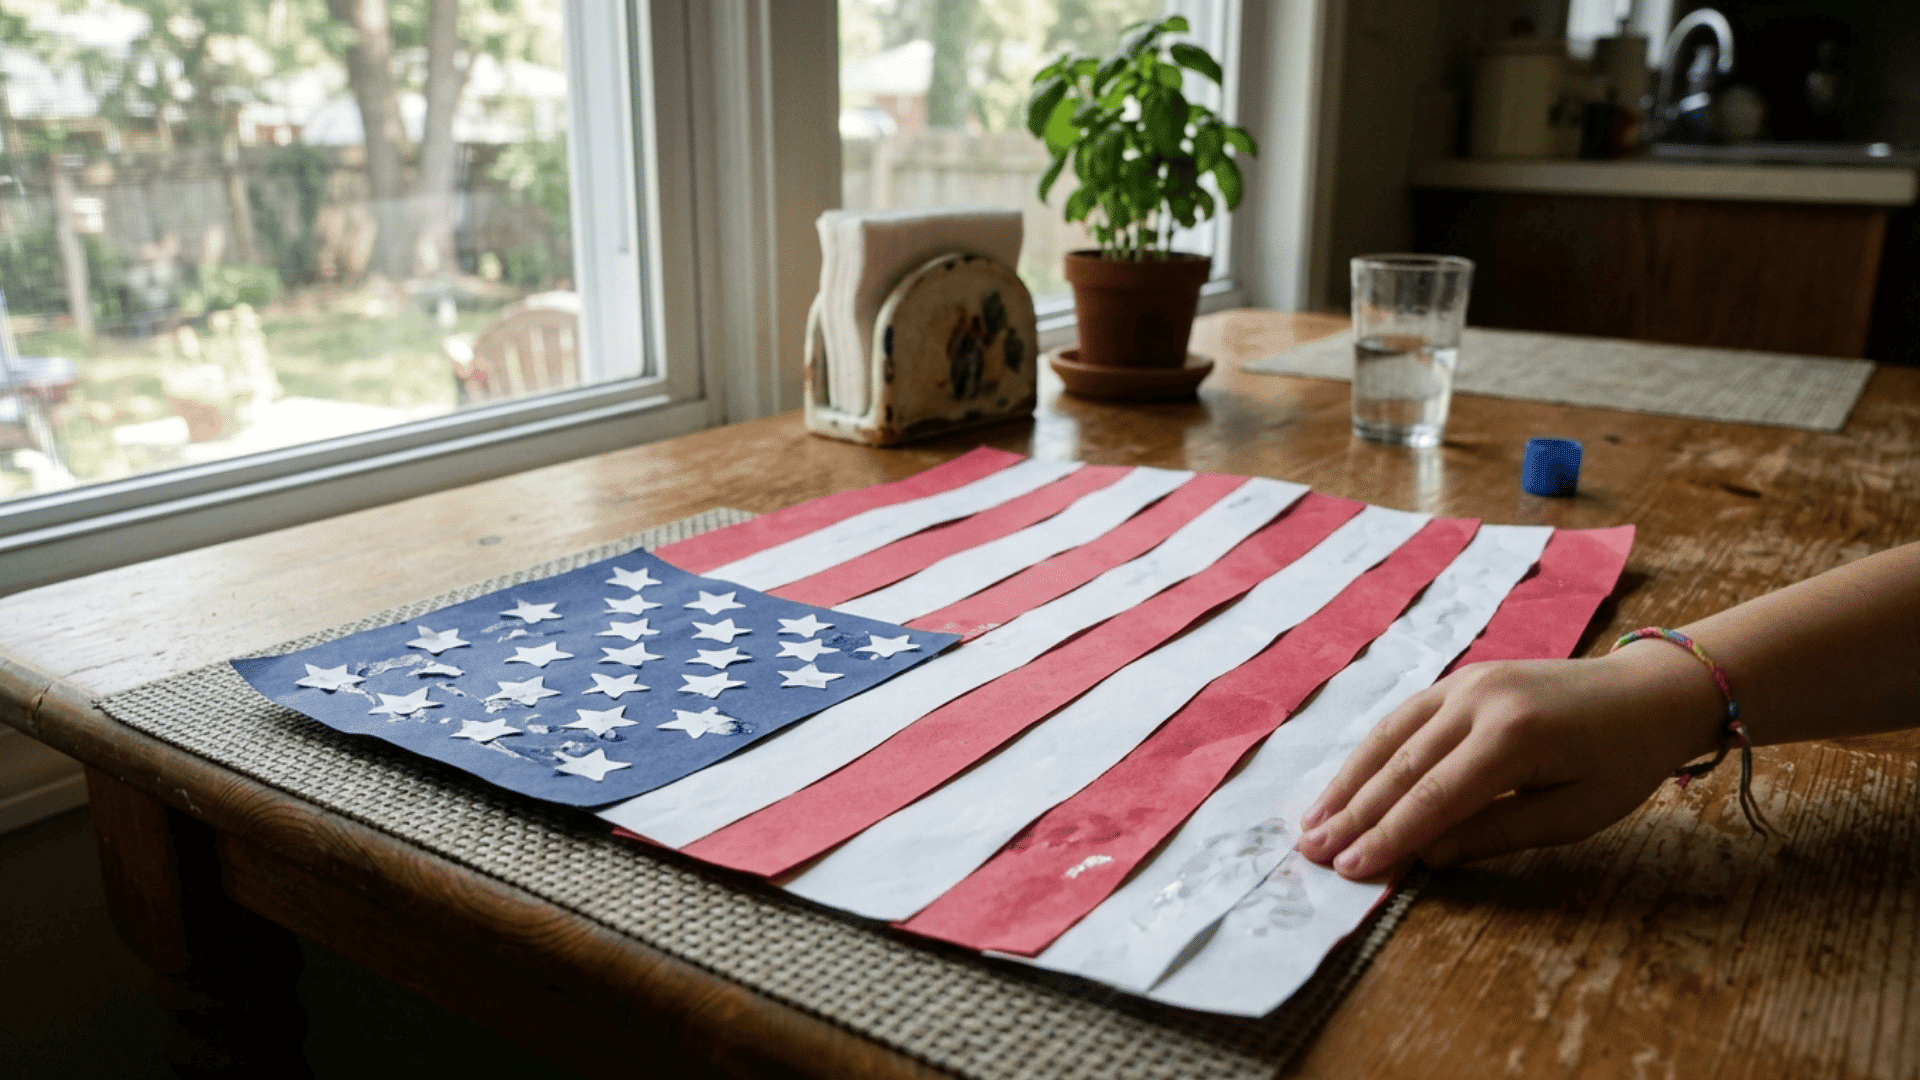
Making an American flag from colored paper is a fun way for kids to celebrate the holiday while practicing simple crafting skills. It’s a great choice for home, school, or a festive bulletin board.
Materials Required: White cardstock or construction paper, red and blue construction paper, glue stick, child-safe scissors, ruler, pencil.
How to Make It
- Draw and cut a rectangle from the white paper for the flag base.
- Cut several red paper strips of the same width.
- Glue the red strips onto the white paper, leaving white spaces between them.
- Cut a blue rectangle and attach it to the top left corner.
- Add small white paper stars or draw them with a white marker.
Tip: For younger kids, cut the paper pieces before starting so they can enjoy putting the flag together without needing much help.
2. Handprint Flag Keepsake
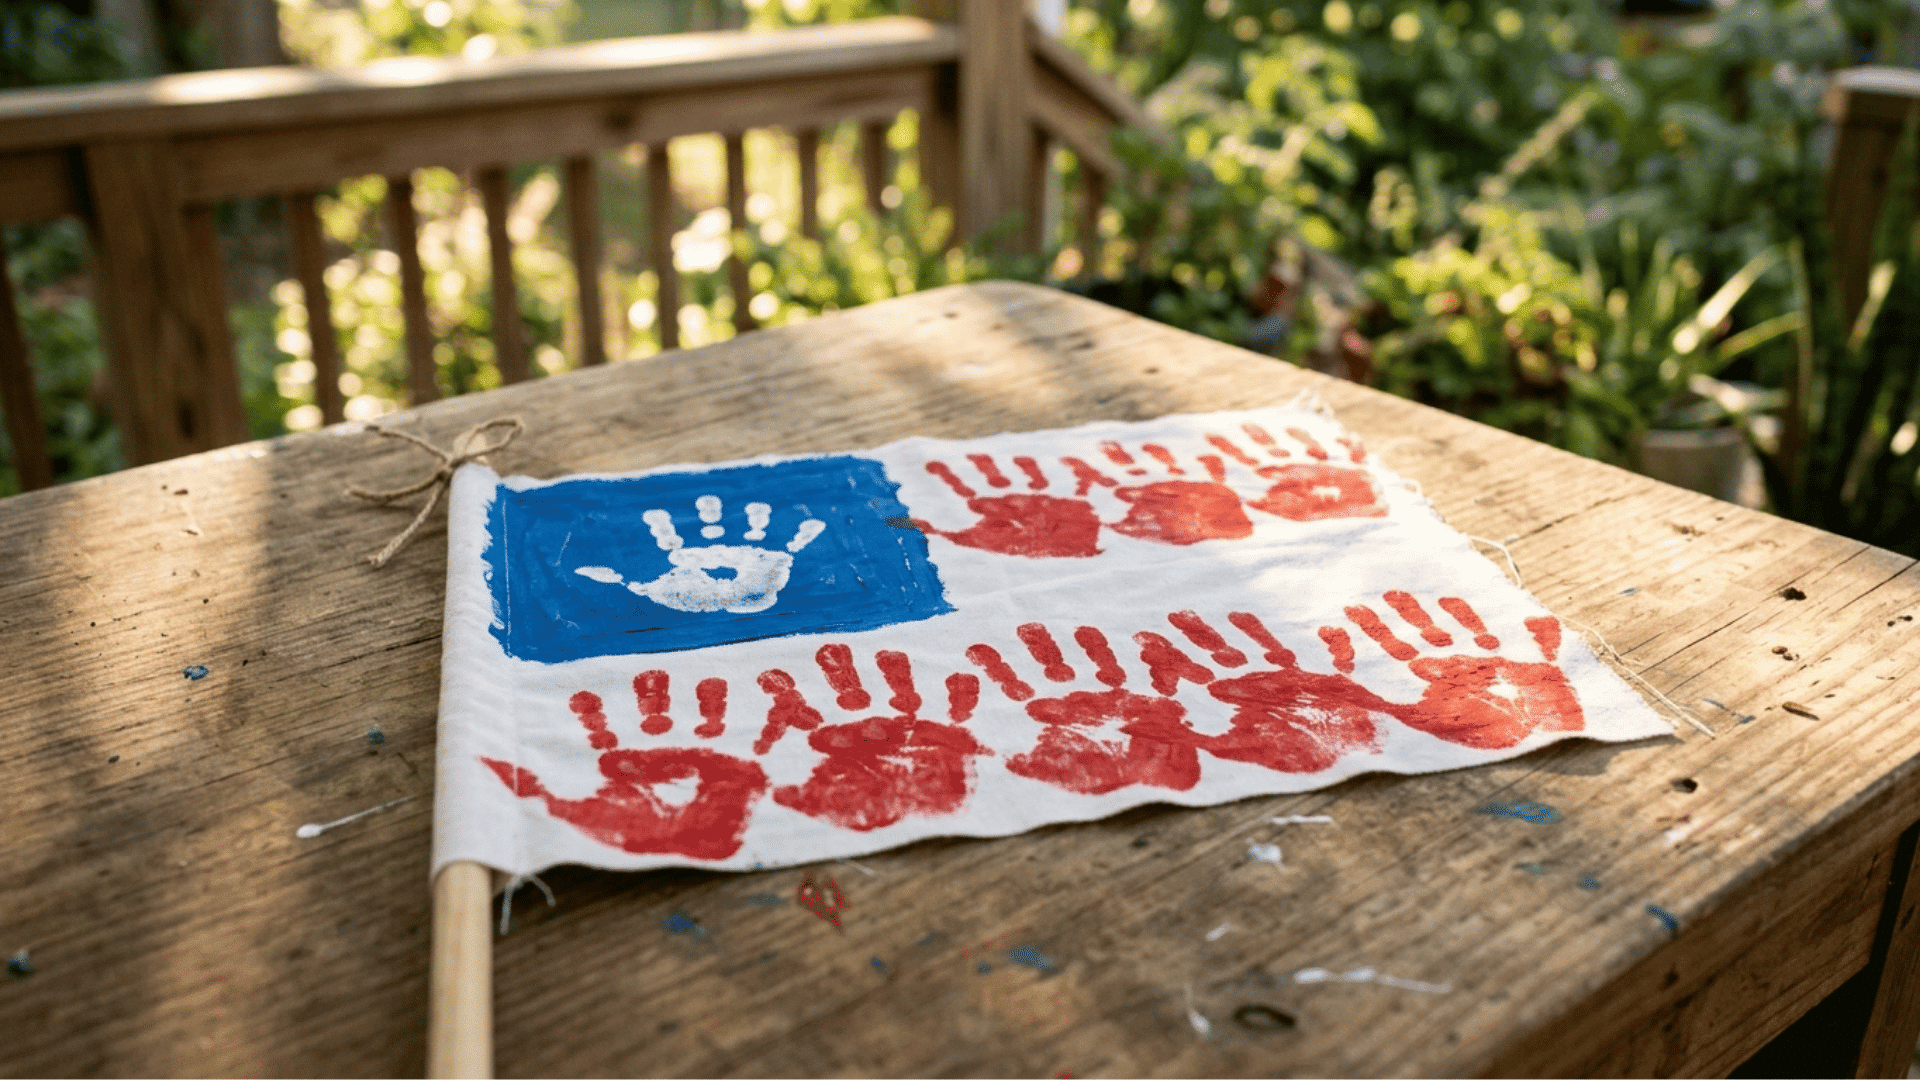
Turning a handprint into a patriotic keepsake gives kids a fun way to create something the whole family can save. Kids usually enjoy seeing their own hand become part of the design.
Materials Required: White cardstock, washable red and blue paint, paintbrush, paper plate, baby wipes or damp cloth.
How to Make It
- Pour a small amount of red and blue paint onto a paper plate.
- Paint the child’s hand with red stripes, leaving small gaps between them.
- Press the hand firmly onto the white cardstock and lift it carefully.
- Paint or add a blue rectangle in the upper corner of the print.
- Let the artwork dry before writing the date or child’s name.
Tip: Keep a damp cloth nearby to clean little hands right after making the print, before the paint dries.
3. Firework Fork Painting
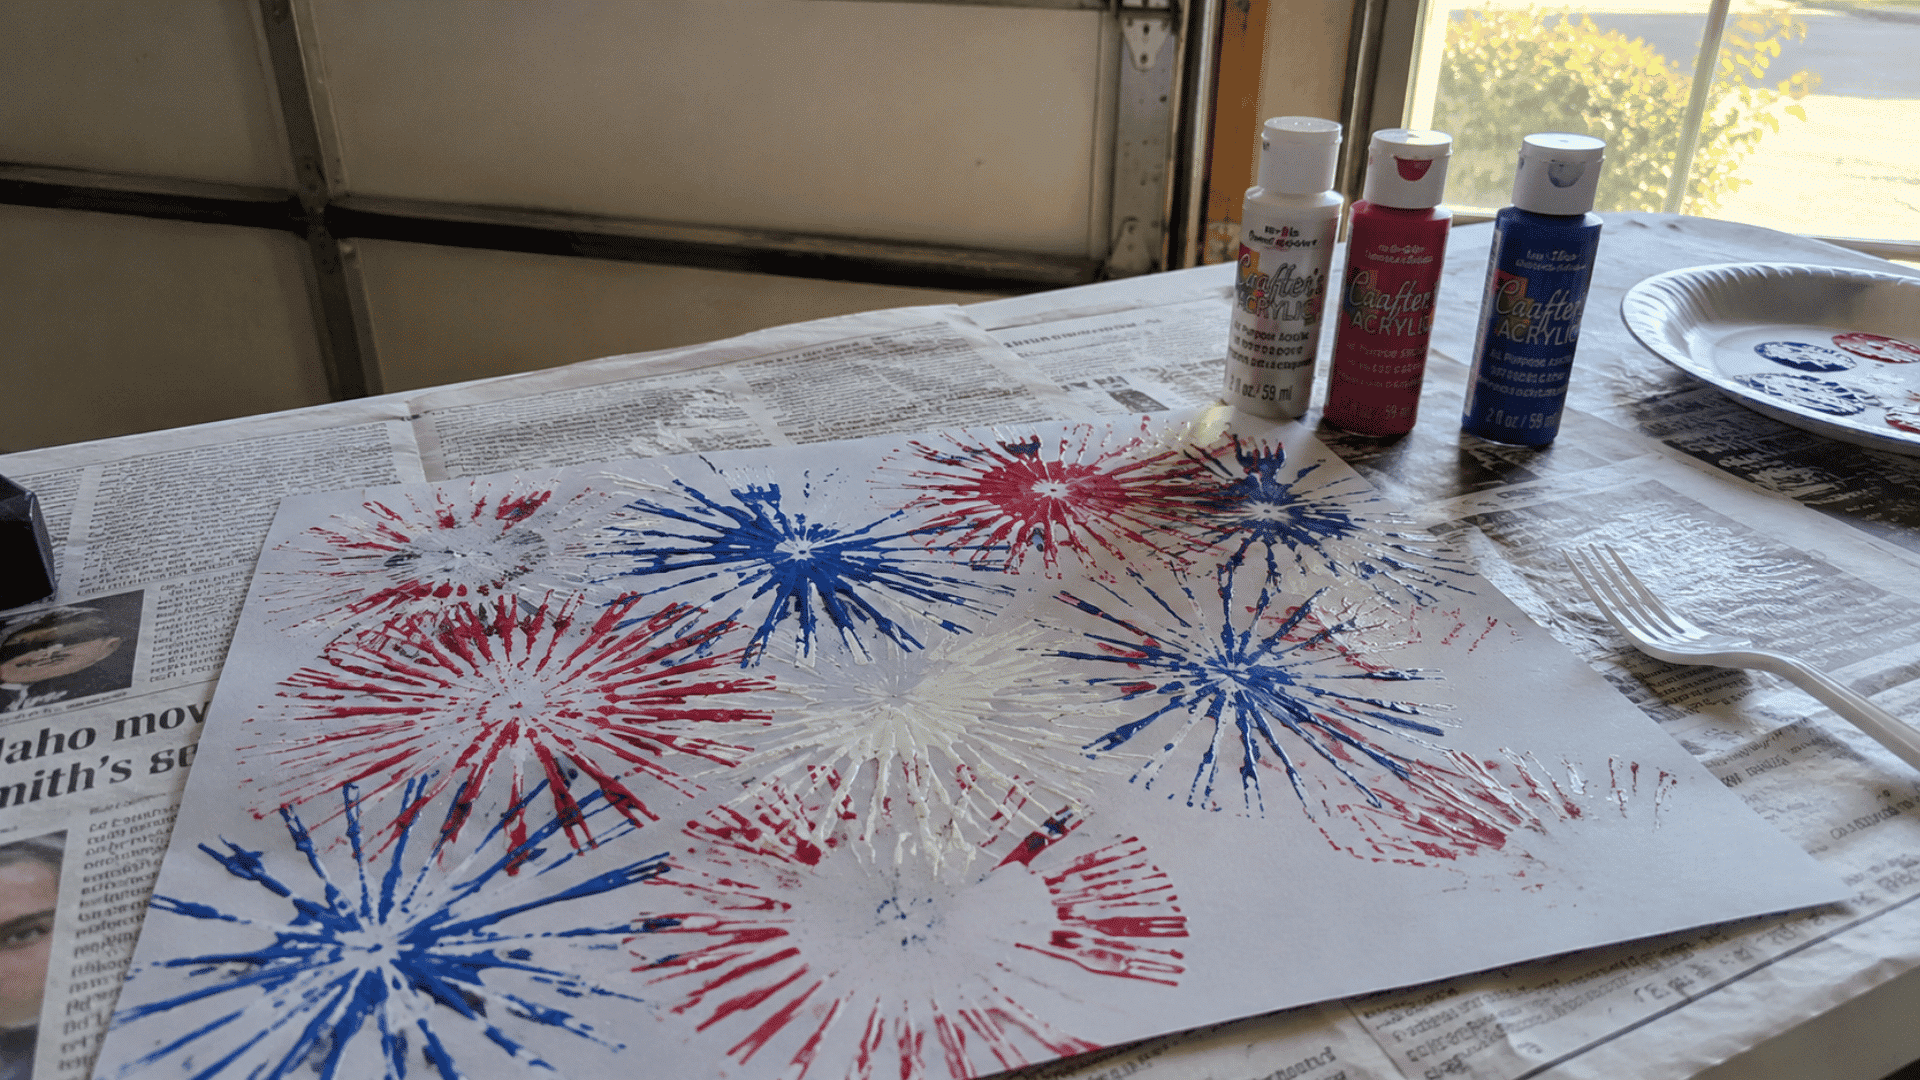
This painting activity turns an ordinary plastic fork into a fun stamping tool. Kids can make colorful fireworks with just a few simple dabs of paint.
Materials Required: White paper, washable red, white, and blue paint, plastic forks, paper plate, apron or old shirt.
How to Make It
- Place small amounts of paint onto a paper plate.
- Dip the back of a plastic fork lightly into one paint color.
- Press the fork onto the paper to create a firework shape.
- Repeat with different colors around the page.
- Allow the paint to dry before displaying the artwork.
Tip: I like placing newspaper under painting projects because cleanup is much quicker once everyone is finished.
4. Popsicle Stick Flag
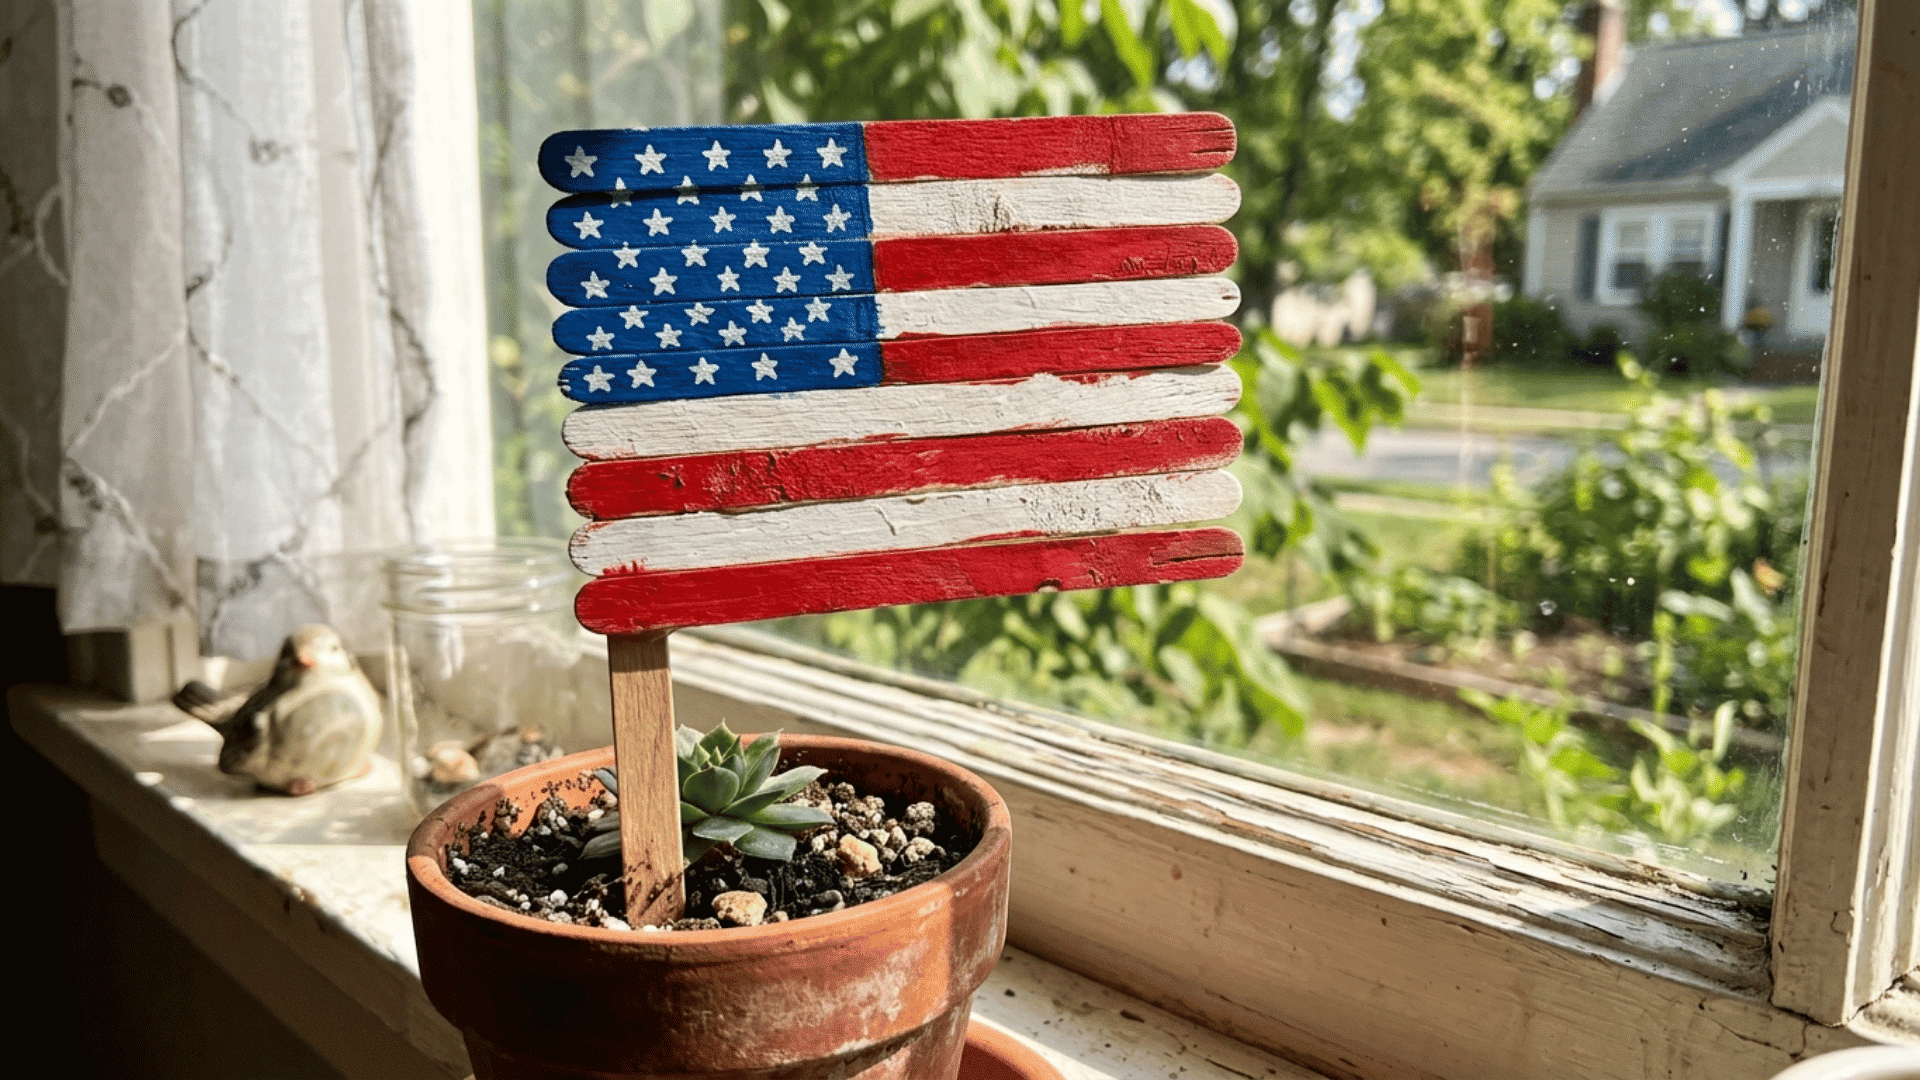
With a few popsicle sticks and some paint, kids can create a festive flag to display around the house. It’s an easy craft with plenty of room for decorating.
Materials Required: Popsicle sticks, red, white, and blue paint, paintbrush, craft glue, white star stickers or white paint, wooden craft stick.
How to Make It
- Glue the popsicle sticks side by side and let them dry.
- Paint red and white stripes across the sticks.
- Paint a blue square in the upper left corner.
- Add small white stars using stickers or paint.
- Glue a wooden craft stick to the back as the flag handle.
Tip: Let the paint dry between colors to help keep the stripes neat and easy to see.
5. Paper Plate Uncle Sam
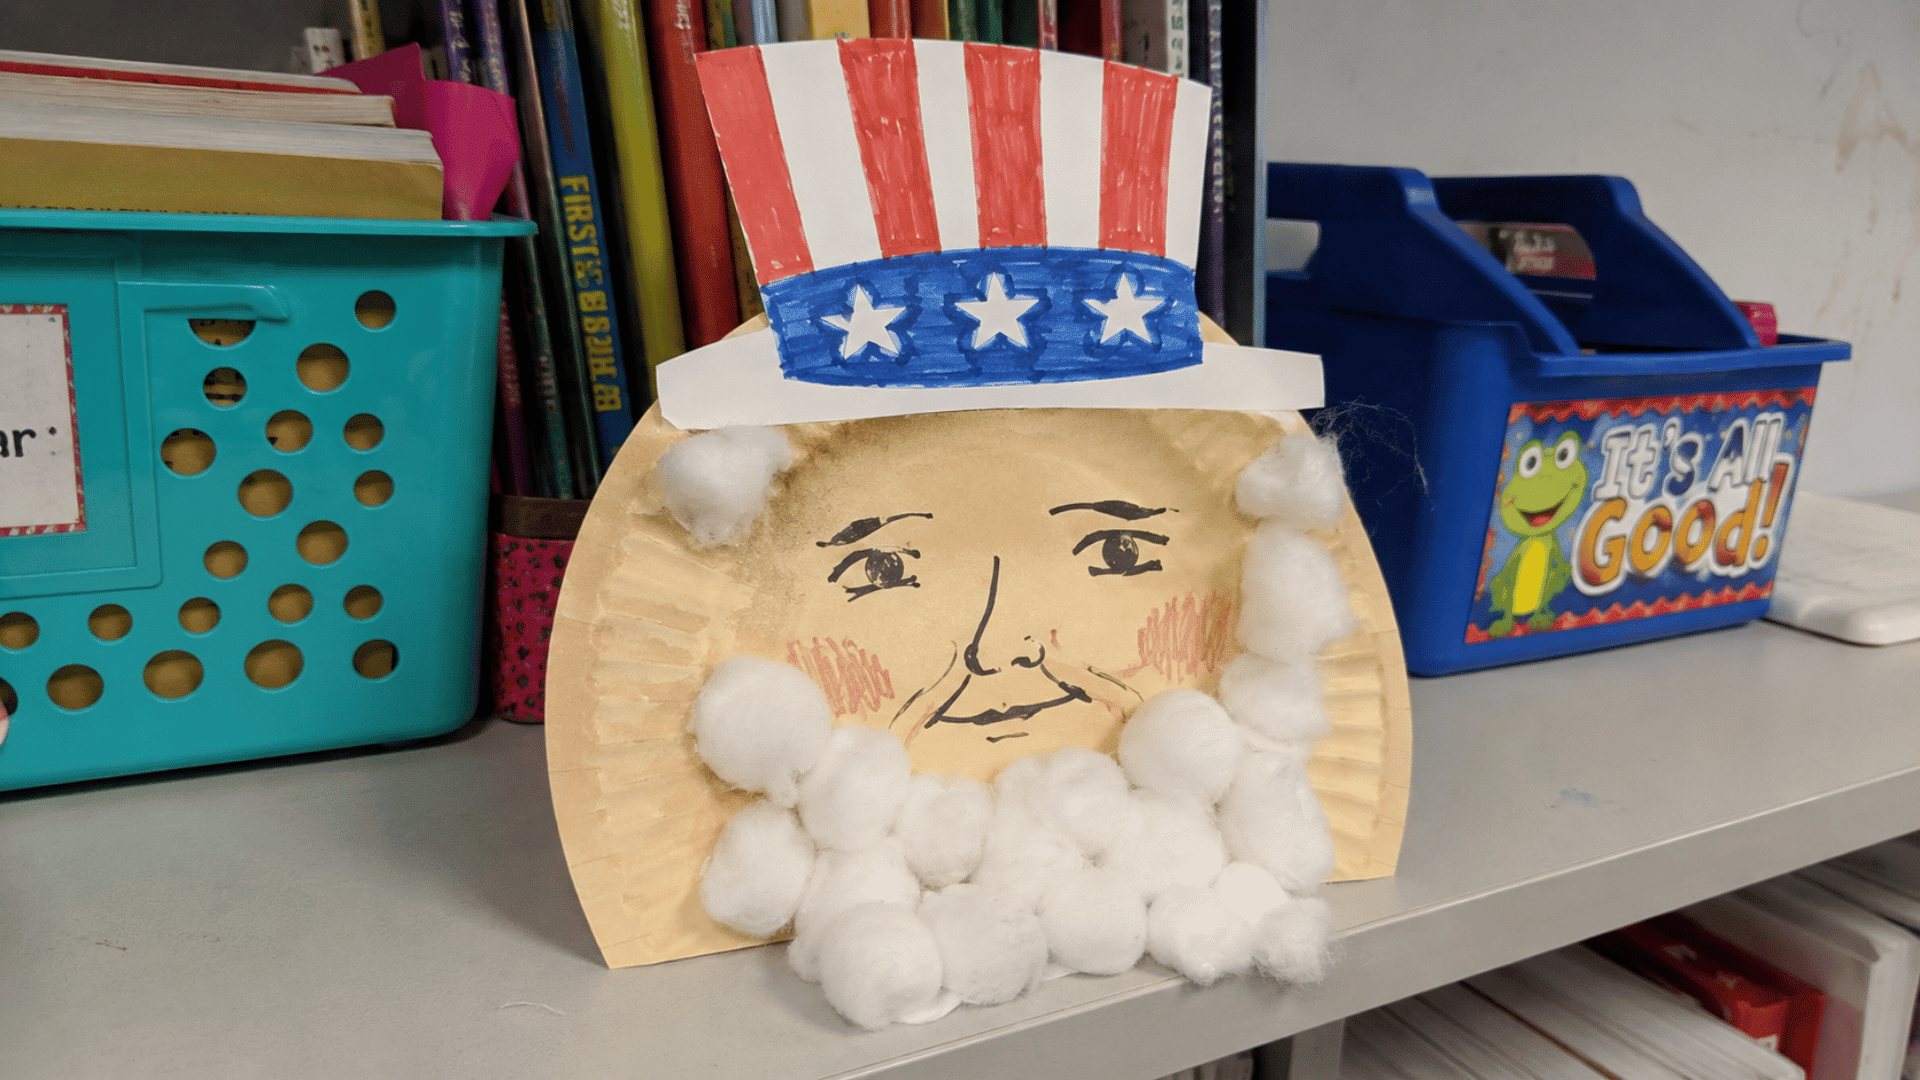
Kids will have fun turning a simple paper plate into a cheerful Uncle Sam for the holiday. They can enjoy adding their own creative details to the face and hat.
Materials Required: Paper plate, red, white, and blue construction paper, cotton balls, glue stick, child-safe scissors, black marker, googly eyes (optional).
How to Make It
- Glue cotton balls around the bottom half of the paper plate to make the beard.
- Cut a hat from red, white, and blue paper and attach it to the top.
- Draw or glue on the eyes, nose, and smile.
- Add paper stripes and stars to decorate the hat.
- Let everything dry before hanging or displaying the craft.
Tip: Encourage kids to draw different facial expressions so every Uncle Sam has its own unique look.
6. Patriotic Windsock
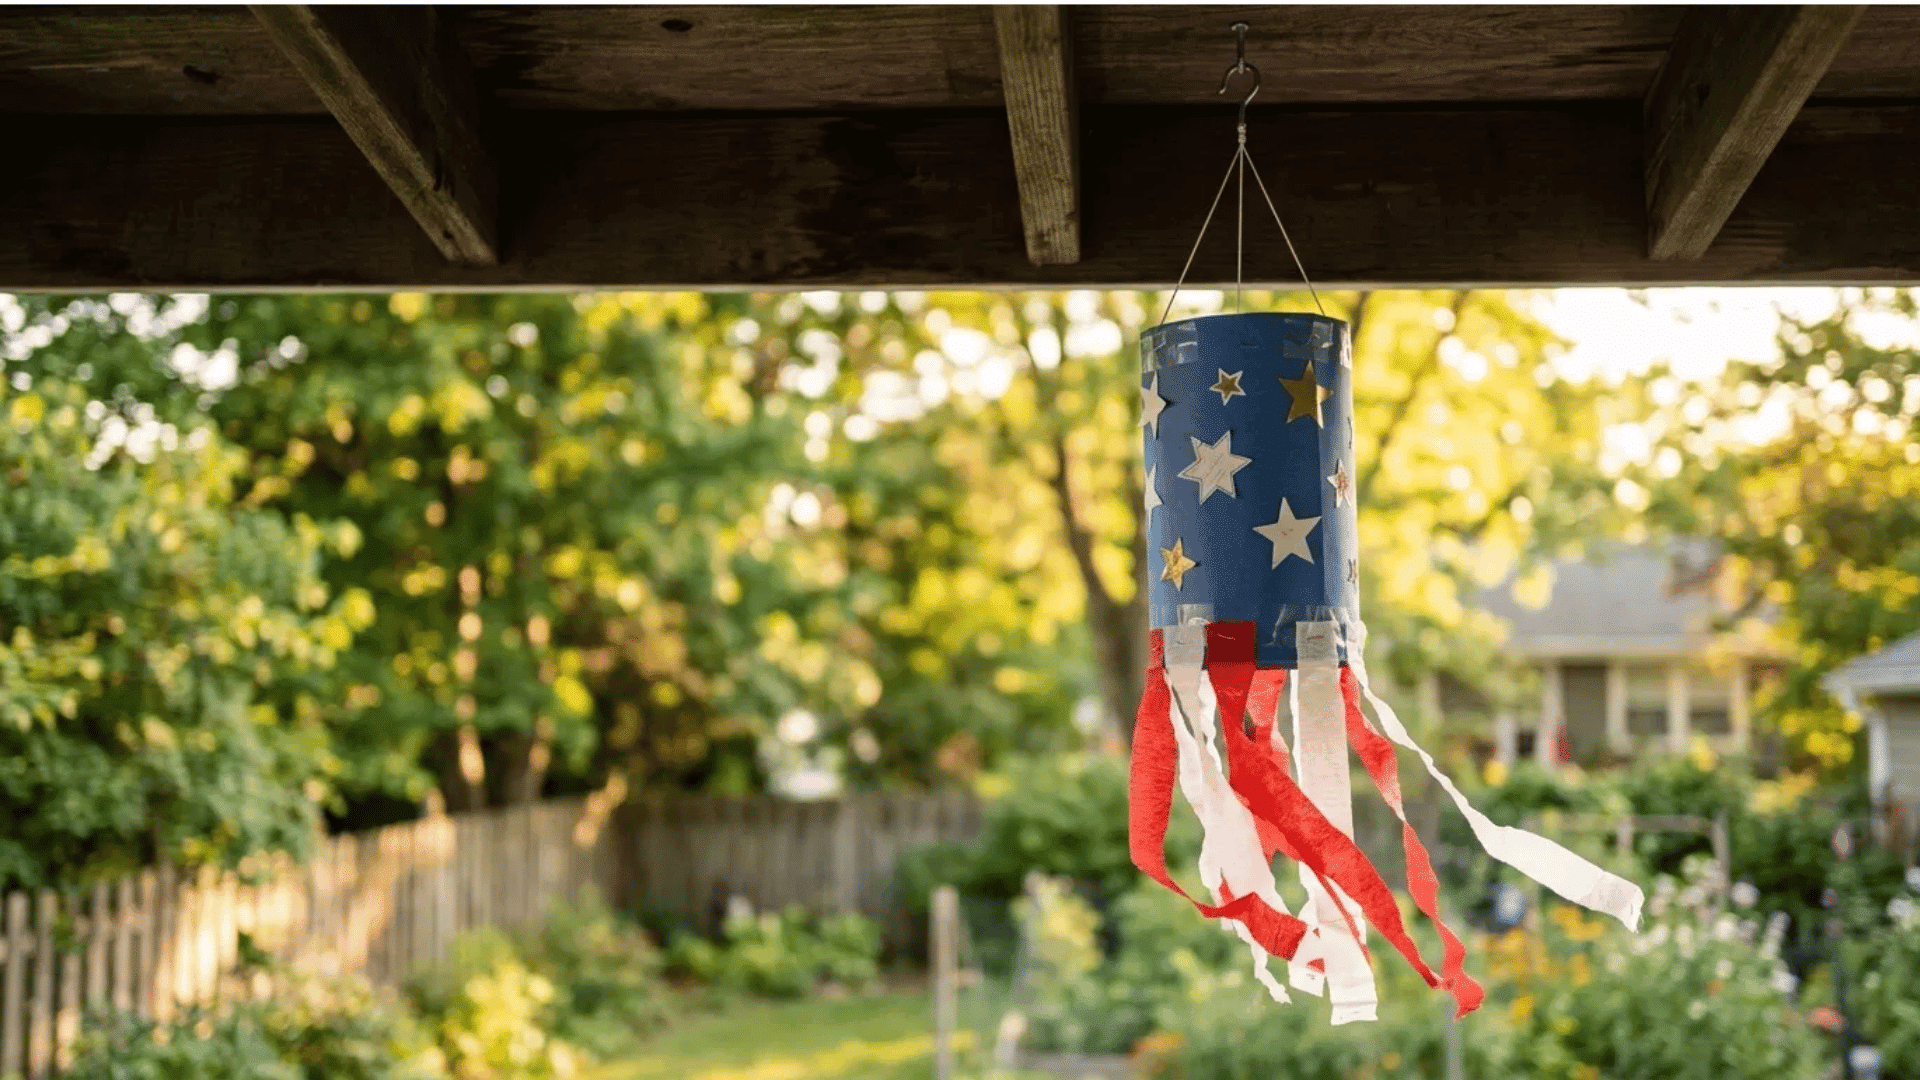
Watching a homemade windsock move in the breeze makes this craft extra fun for kids. It’s a colorful decoration that looks great on a porch, balcony, or near a window.
Materials Required: Blue cardstock or construction paper, red and white ribbon or crepe paper streamers, glue stick, child-safe scissors, stapler or tape, hole punch, string, white star stickers or white marker.
How to Make It
- Roll the blue paper into a cylinder and secure the edges with glue, tape, or staples.
- Decorate the outside with white stars or draw your own star designs.
- Cut the ribbons or streamers into equal lengths.
- Glue or staple the streamers inside one end of the windsock.
- Punch two holes at the top, tie on a piece of string, and hang it where it can catch the breeze.
Tip: I like using crepe paper streamers because they move easily in the wind and give the windsock a fuller look.
7. Coffee Filter Fireworks
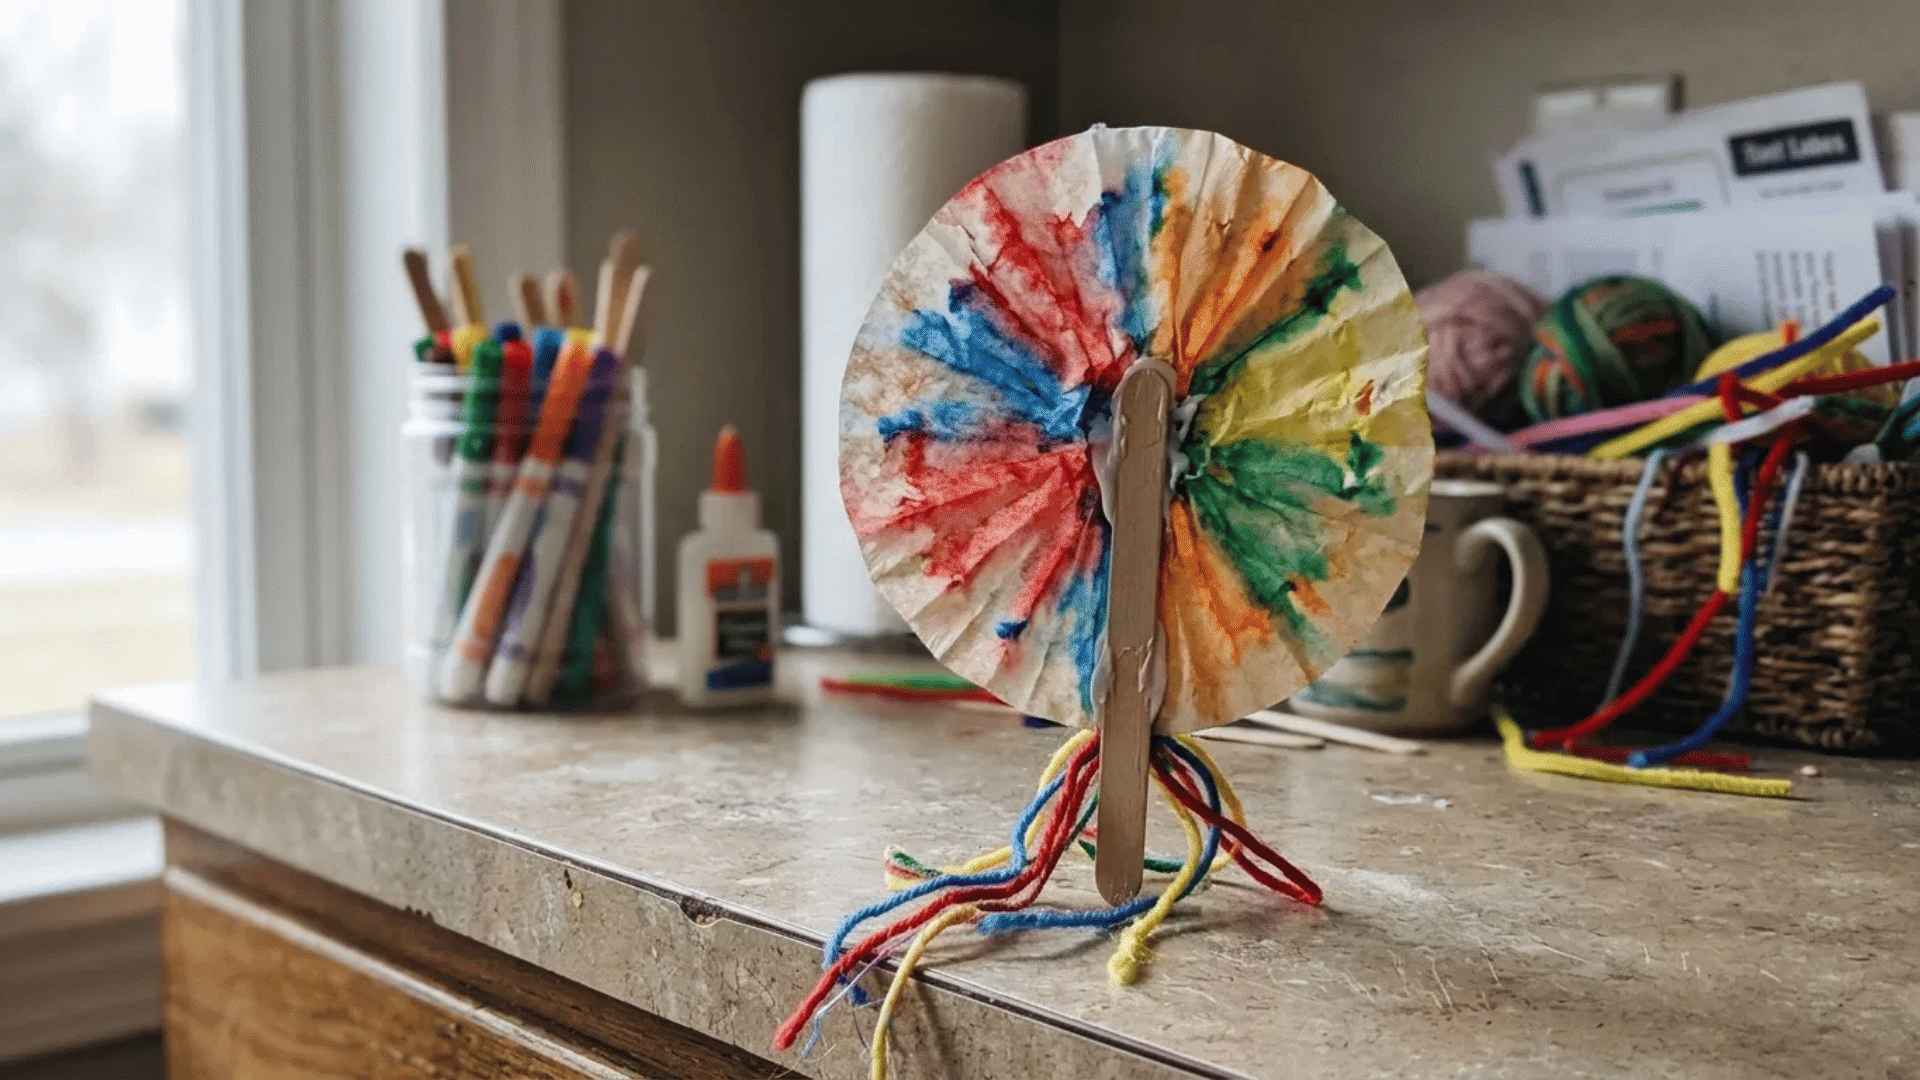
Bright firework designs come together easily with coffee filters and a few washable markers. Kids will enjoy watching the marker colors spread as they add water.
Materials Required: Coffee filters, washable markers, spray bottle with water, tray or baking sheet, black construction paper, glue stick.
How to Make It
- Flatten a coffee filter on a tray or baking sheet.
- Color it with red, blue, and purple washable markers.
- Lightly spray the filter with water until the colors begin to blend.
- Leave it flat until it dries completely.
- Glue the finished filter onto black paper to create a firework display.
Tip: Spray a little water at a time. Too much water can make the colors spread more than you want.
8. Star Wand
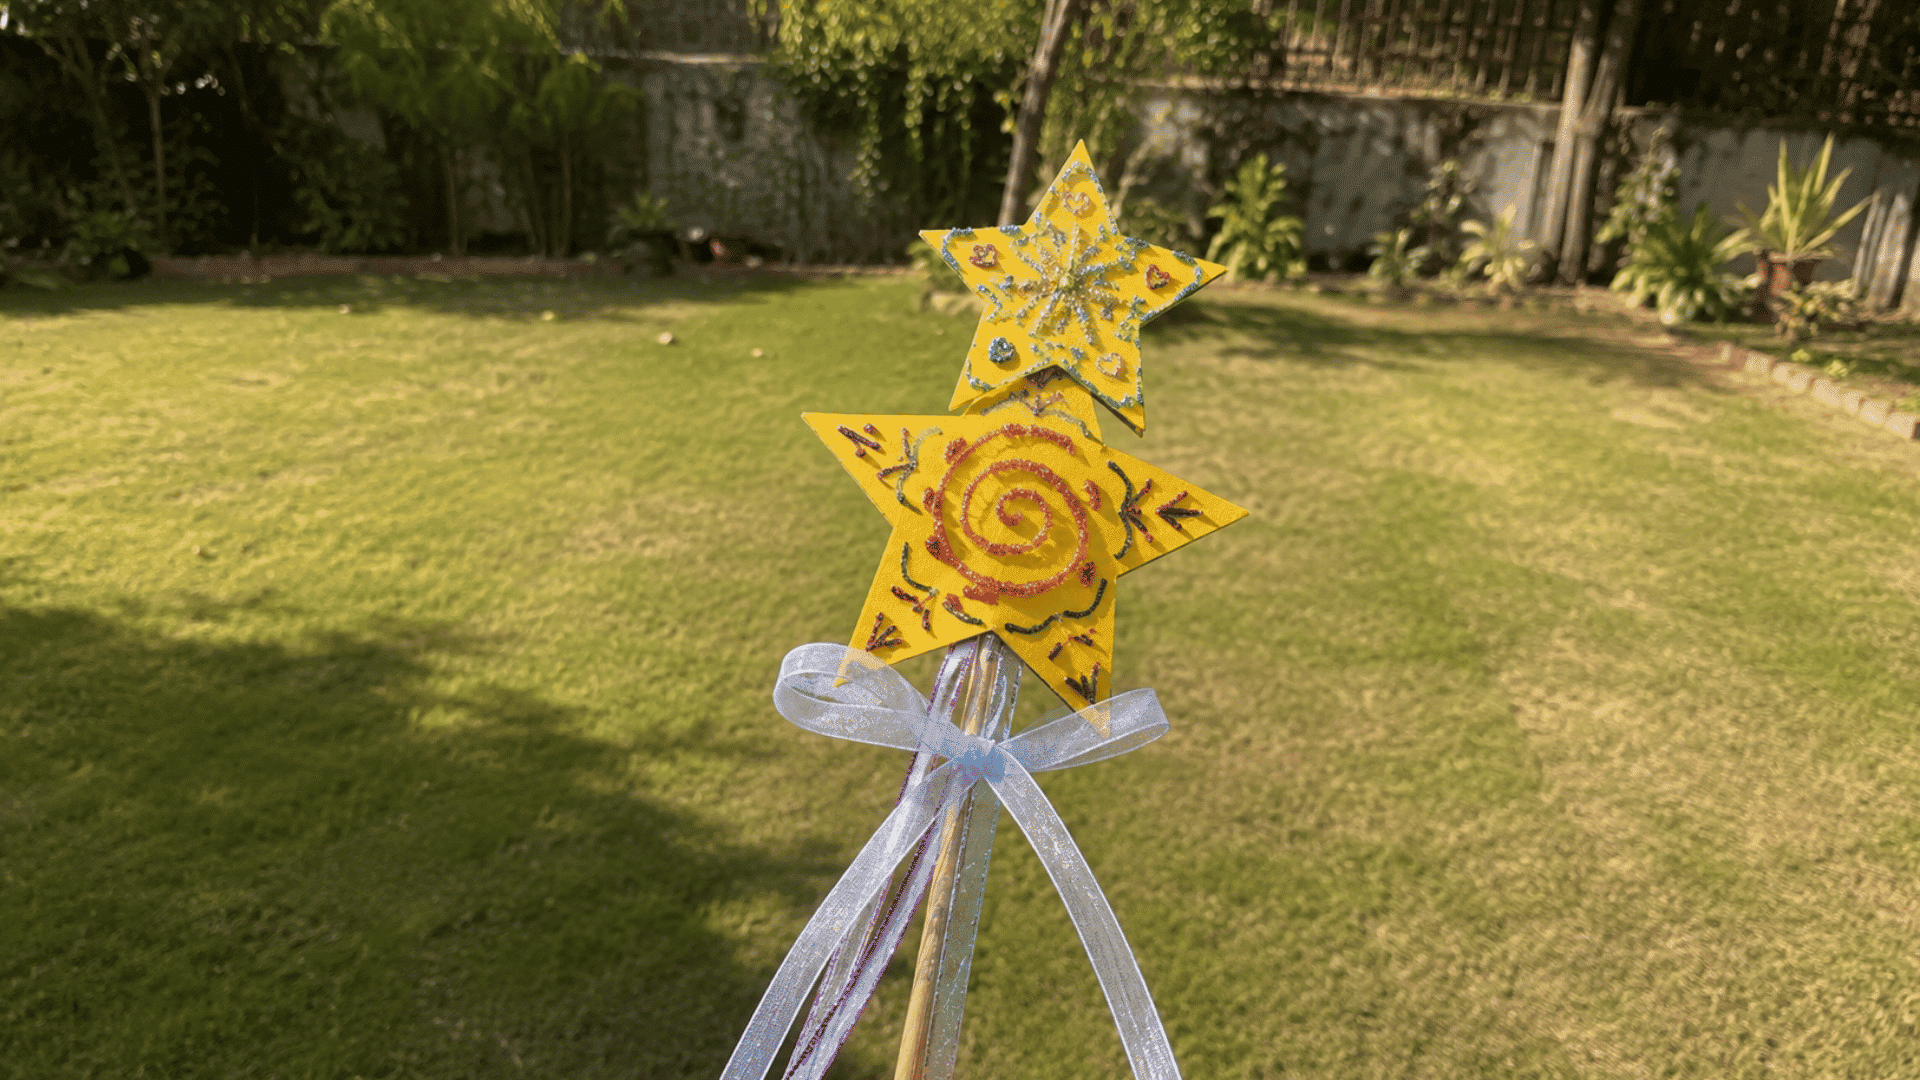
A handmade star wand adds a little extra fun to parades, backyard celebrations, and pretend play. It’s easy to decorate with their favorite patriotic colors.
Materials Required: Yellow cardstock, wooden craft stick or paper straw, glue stick, child-safe scissors, red, white, and blue ribbon, markers, glitter glue (optional).
How to Make It
- Draw and cut out two matching star shapes.
- Decorate both stars with markers or glitter glue.
- Glue the craft stick between the two stars.
- Tie ribbon just below the star.
- Let everything dry before using the wand.
Tip: Paper straws are a good choice if you’re making several wands for a classroom or party.
9. Toilet Paper Roll Firework Stamp
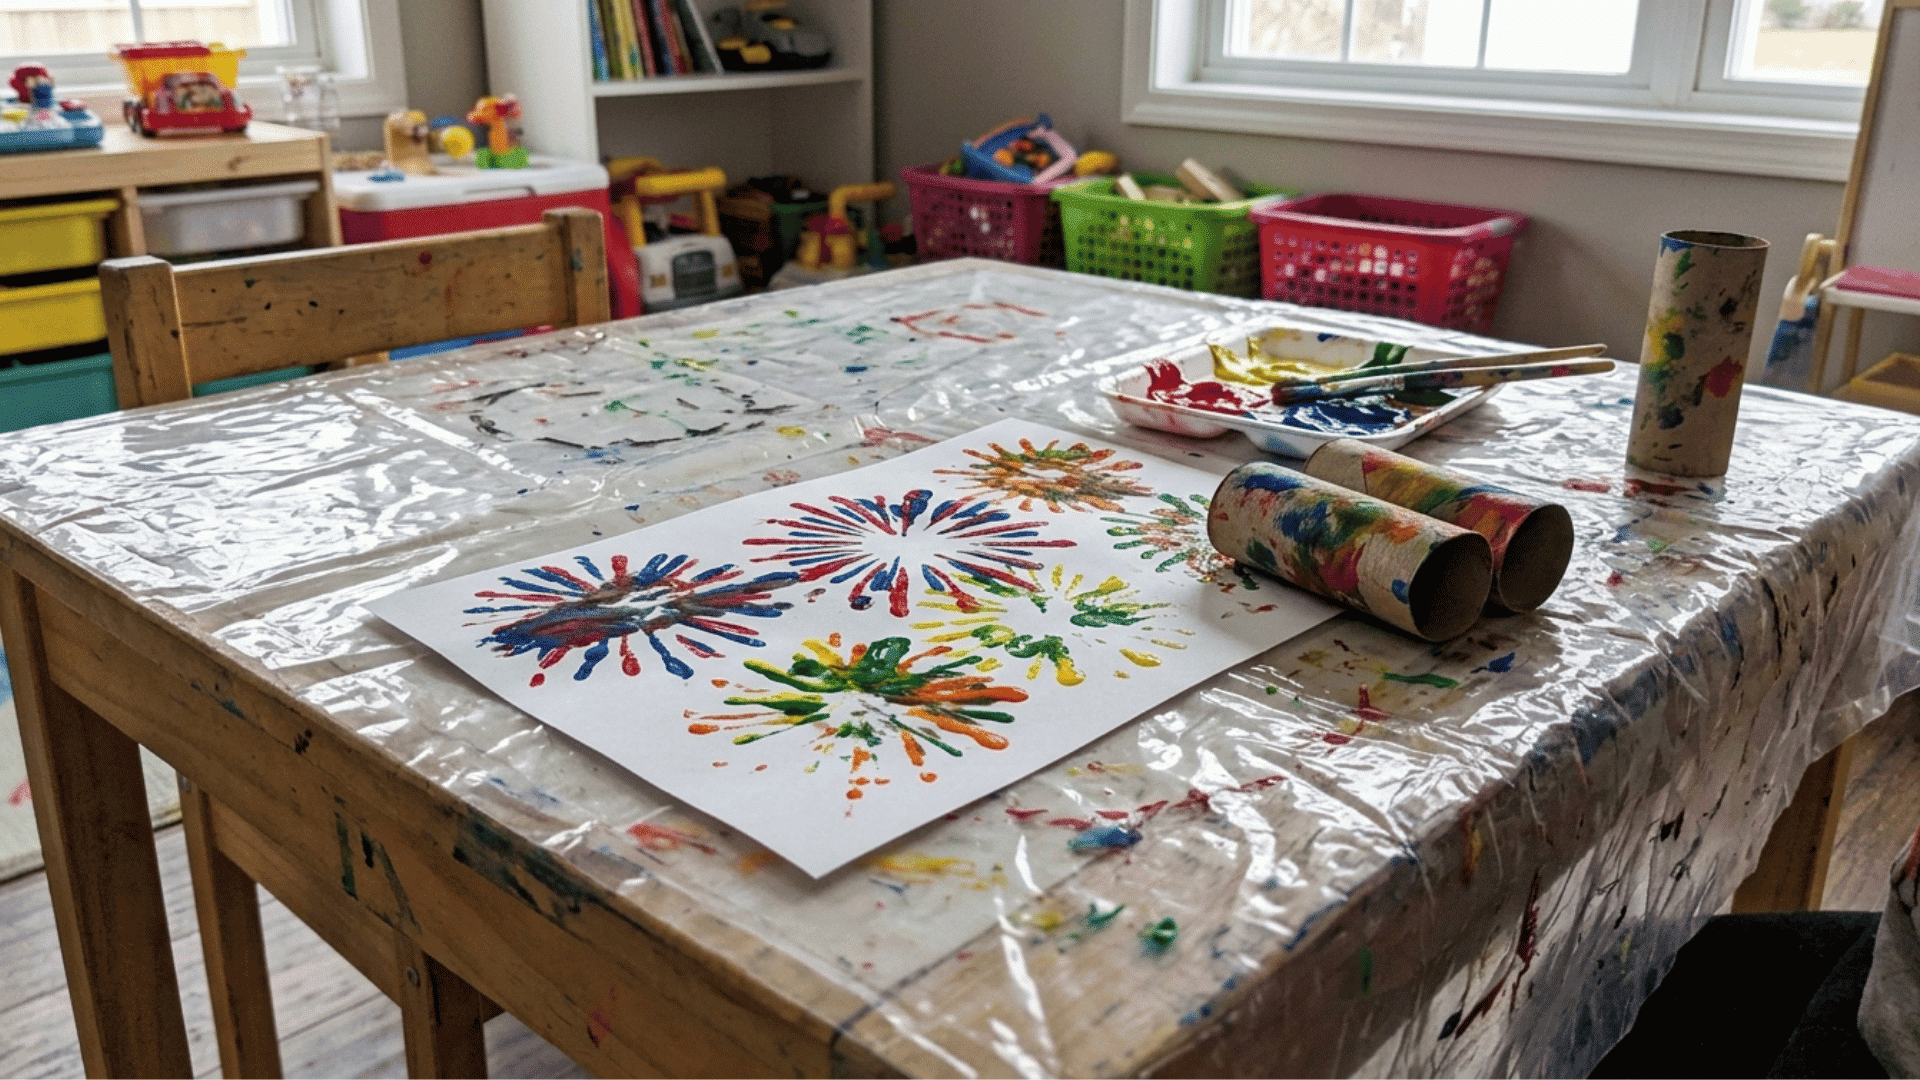
Instead of recycling an empty cardboard tube right away, turn it into a paint stamp for colorful firework prints. Kids can use it again and again with different paint colors.
Materials Required: Empty toilet paper roll, child-safe scissors, washable red, white, and blue paint, paper plate, white cardstock.
How to Make It
- Cut short slits all the way around one end of the cardboard tube.
- Fold the cut strips outward to make the stamp.
- Pour small amounts of paint onto a paper plate.
- Dip the stamped end into the paint.
- Press it onto the paper to make bright firework patterns.
Tip: Make one stamp for each paint color so kids can switch colors without stopping to clean the tube.
10. Patriotic Friendship Bracelet
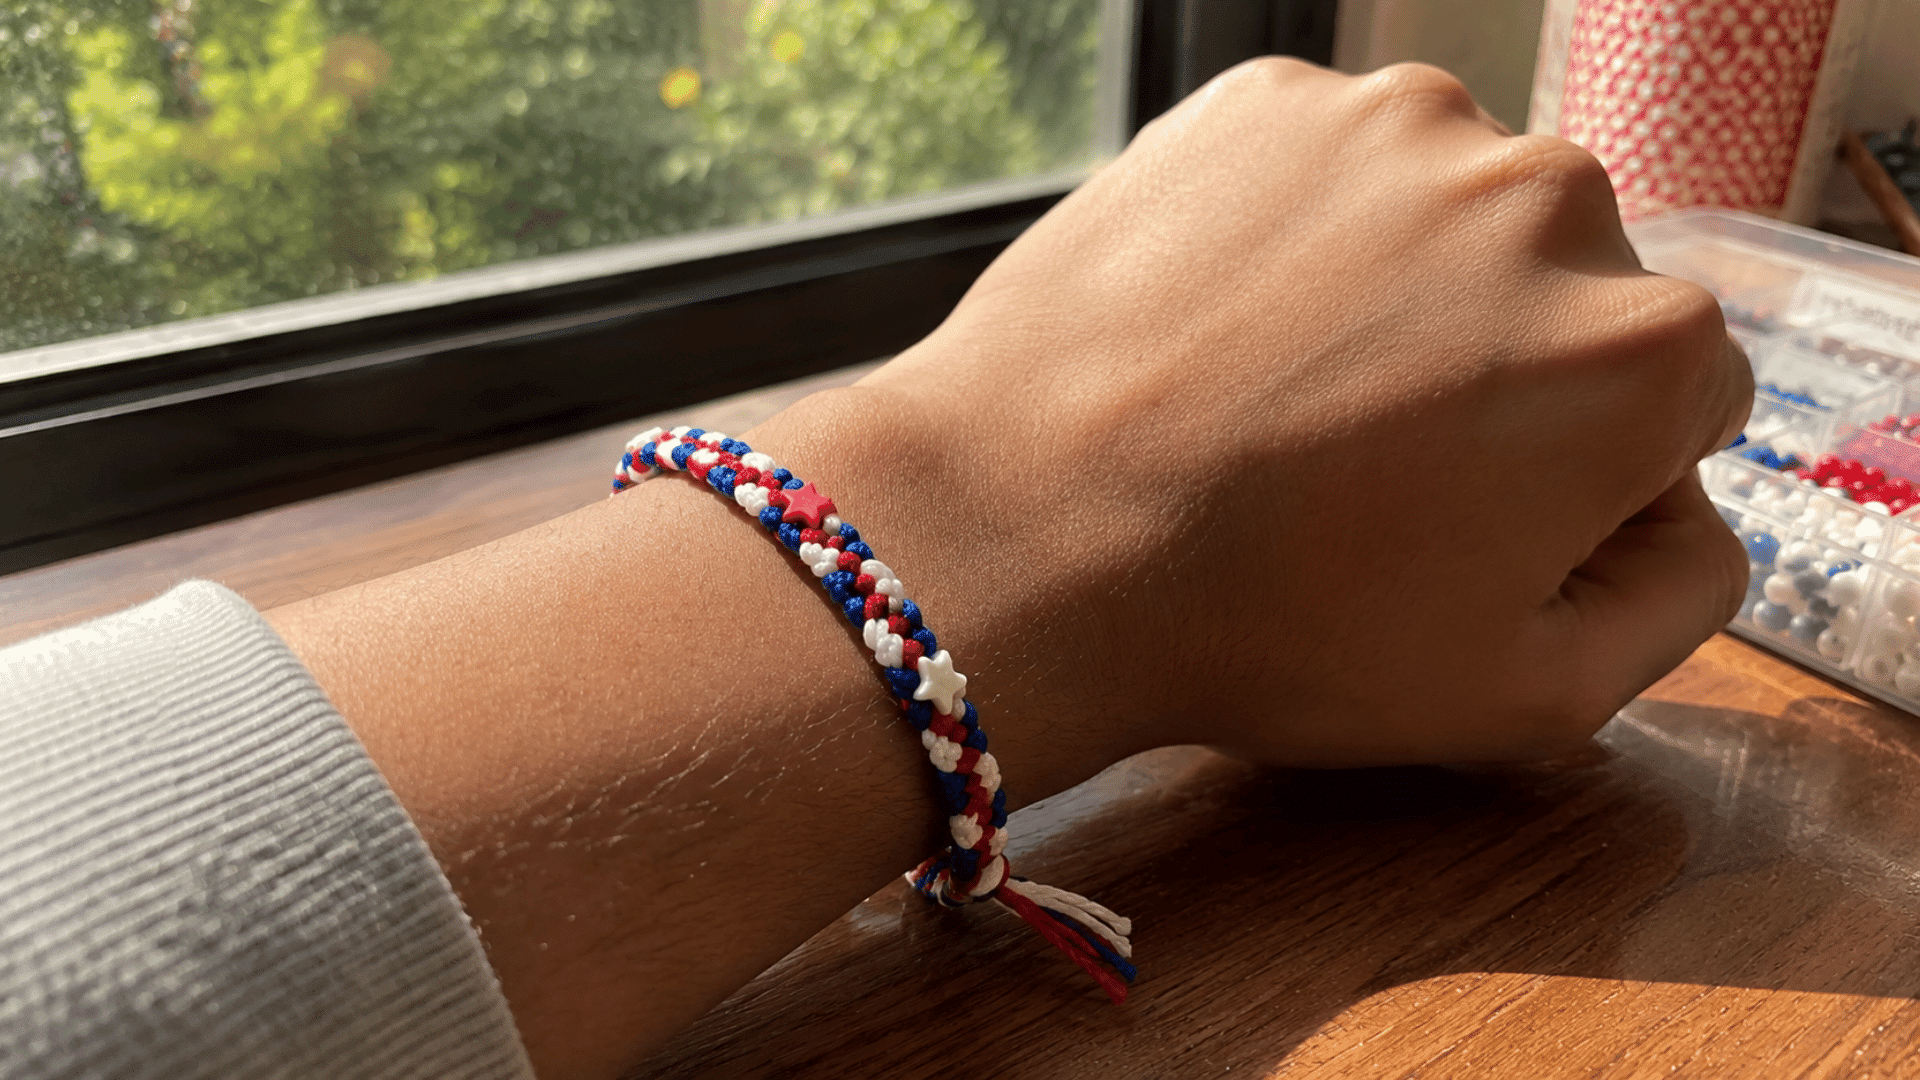
Friendship bracelets let kids create something they can wear themselves or share with friends during the holiday. Every bracelet can be made with a different color pattern.
Materials Required: Red, white, and blue embroidery floss or yarn, tape, child-safe scissors, small beads (optional).
How to Make It
- Cut three or more strands of equal length.
- Tie a knot at one end and tape it to a table.
- Braid the strands until you reach the end.
- Tie another knot to keep the braid in place.
- Wrap the bracelet around the wrist and tie it securely.
Tip: Younger kids may find thicker yarn easier to braid than thin embroidery floss.
11. Fourth of July Headband
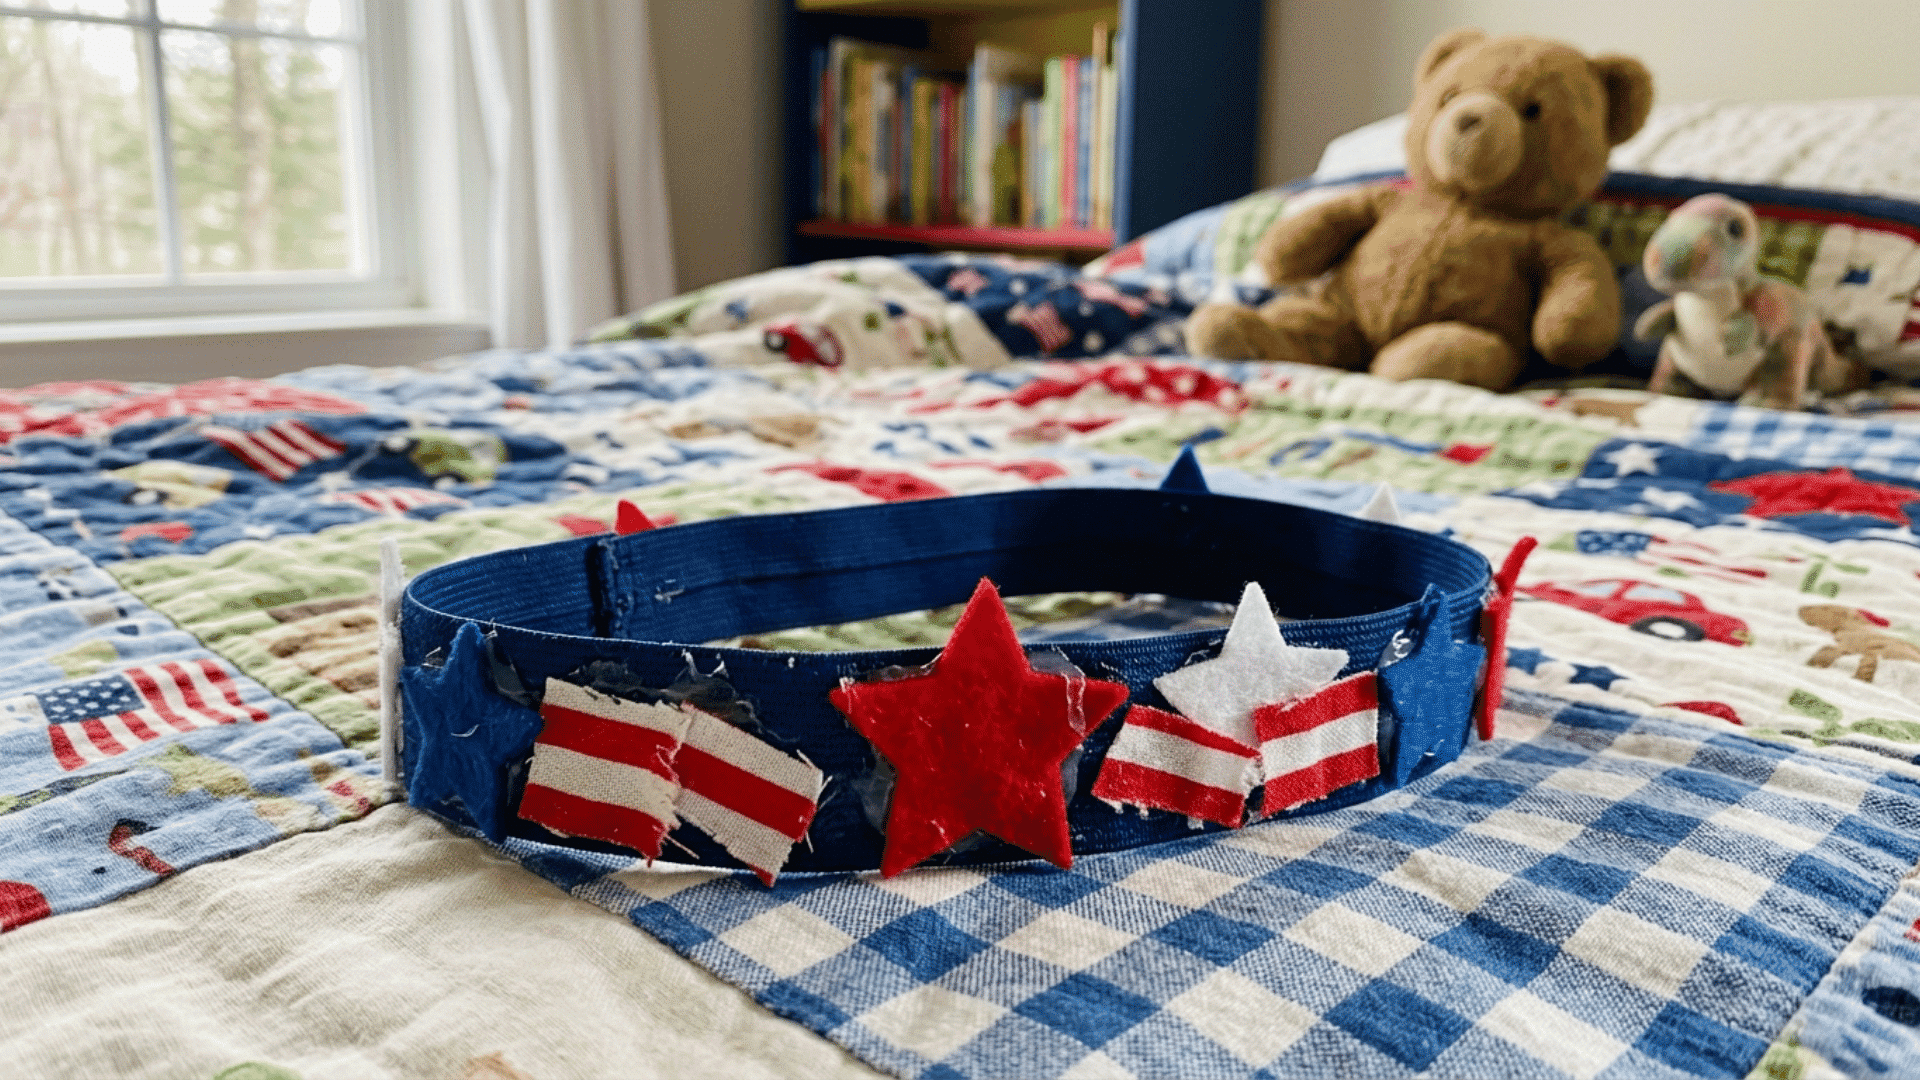
Wearing something they made themselves makes this headband a fun addition to any Fourth of July celebration. They can decorate it with stars, stripes, and festive colors.
Materials Required: White cardstock, red, white, and blue construction paper, glue stick, child-safe scissors, stapler or tape, markers, star stickers (optional).
How to Make It
- Cut a long strip of cardstock to fit around the child’s head.
- Cut stars and other decorations from colored paper.
- Glue the decorations onto the headband.
- Staple or tape the ends together to fit comfortably.
- Wear the finished headband during the celebration.
Tip: Measure the headband before stapling the ends so it feels comfortable without slipping off.
12. Patriotic Rock Painting
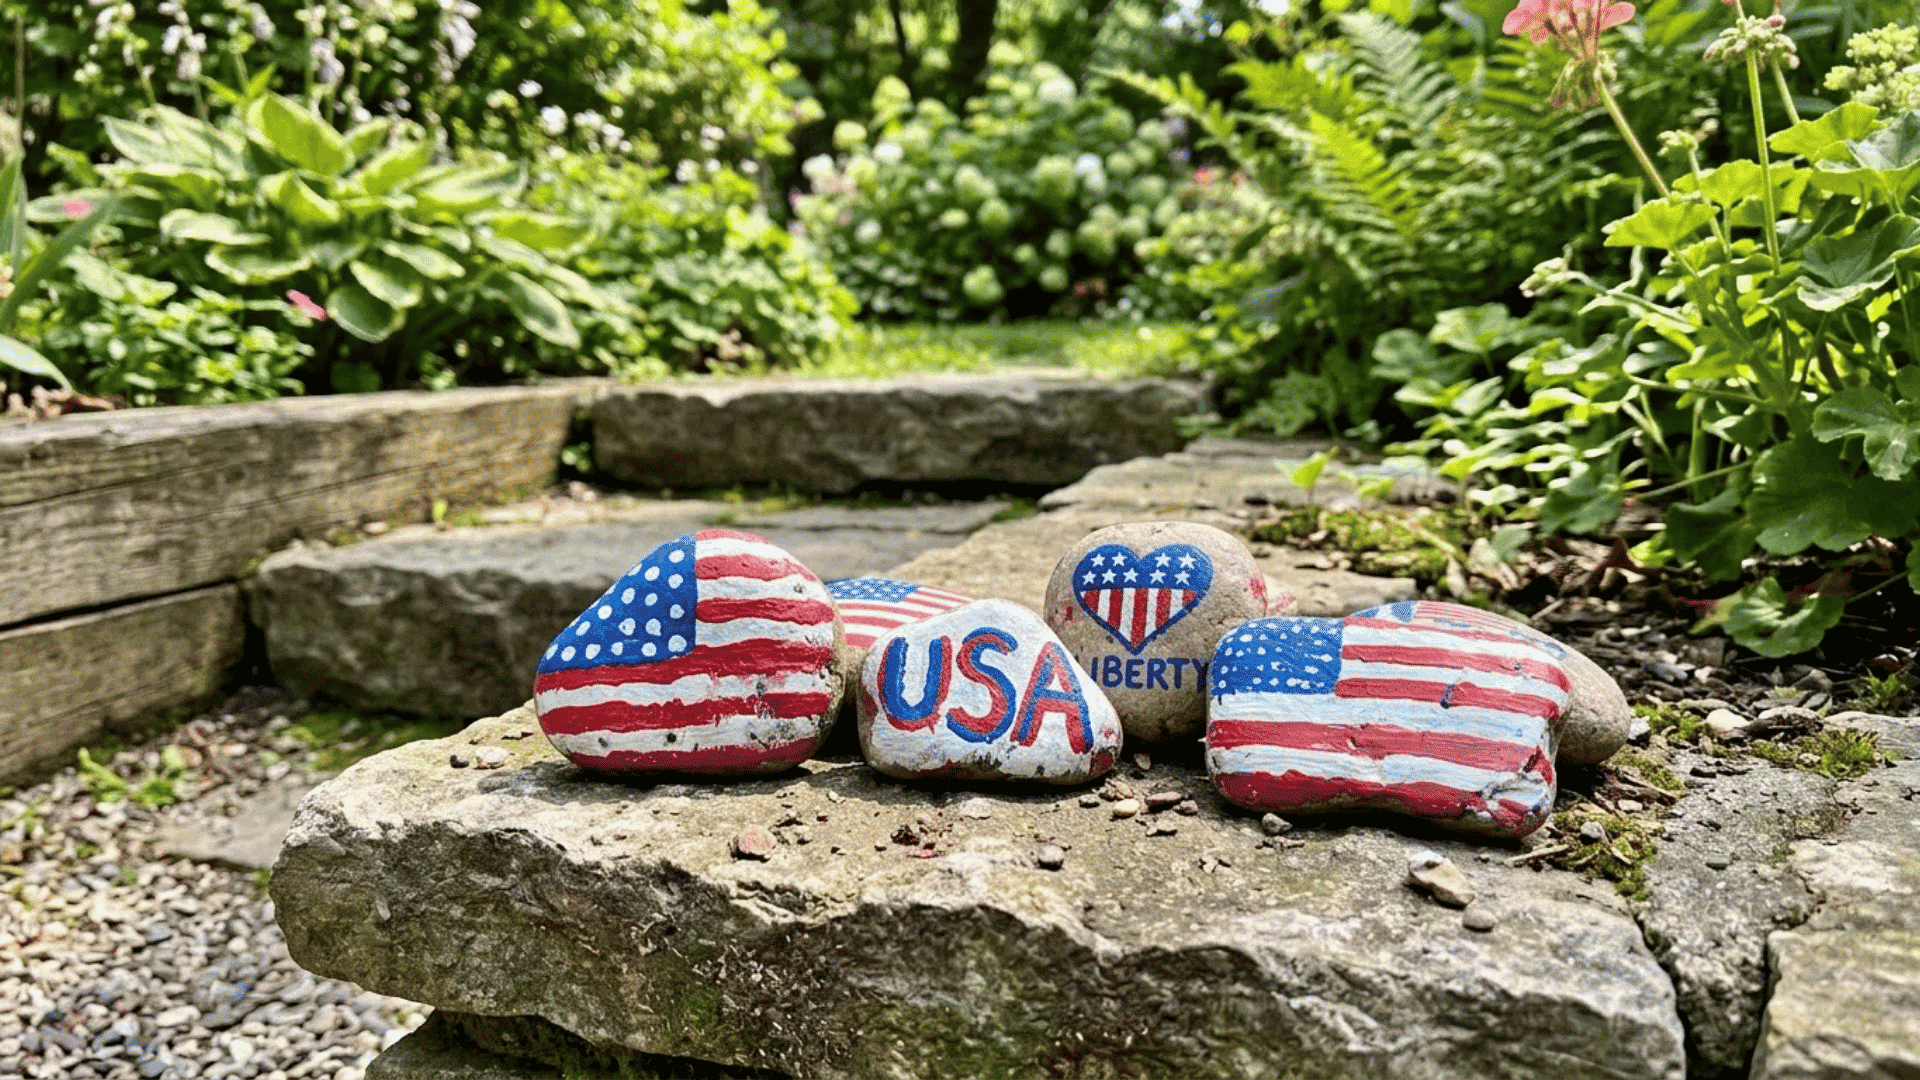
Smooth rocks make a great canvas for simple patriotic designs. Kids can display the finished rocks indoors or outside.
Materials Required: Smooth rocks, red, white, and blue acrylic paint, paintbrushes, pencil, clear craft sealer (optional), paper towels.
How to Make It
- Wash and dry the rocks before painting.
- Sketch simple stars, stripes, or flag designs with a pencil.
- Paint the designs in red, white, and blue.
- Leave the rocks aside until the paint is completely dry.
- Apply a clear craft sealer you keep the designs lasting longer.
Tip: I like choosing larger, smooth rocks because they’re easier for little hands to hold while painting.
Picking the Right Craft for Every Child
Choosing a craft becomes much easier when it matches your child’s favorite type of activity. Kids are more likely to stay engaged from start to finish.
Use this table to quickly find an idea based on their interests. It’s a simple way to pick a project everyone will enjoy.
| If Your Child Enjoys… | Try This Craft | Why It’s a Great Match |
|---|---|---|
| Painting | Firework Fork Painting | Creates colorful firework designs |
| Cutting and gluing | Paper American Flag | Builds simple crafting skills |
| Making keepsakes | Handprint Flag Keepsake | Makes a holiday memory to save |
| Pretend play | Star Wand | Fun to carry during celebrations |
| Wearing handmade items | Fourth of July Headband, Friendship Bracelet | Kids can wear their finished craft |
| Decorating the house | Patriotic Windsock, Paper Plate Star Wreath | Adds festive holiday décor |
| Using recycled materials | Toilet Paper Roll Firework Stamp | Gives everyday items a creative use |
| Outdoor activities | Patriotic Rock Painting | Brightens gardens, porches, or walkways |
Crafting together is about more than the finished project. Every flag, bracelet, or painted rock becomes a small part of the holiday memories kids will carry with them.
With a little creativity, these handmade projects can do more than fill an afternoon. They can also bring extra color and fun to your Fourth of July celebration.
Final Thoughts
You don’t need a big craft box or hours of free time to make the Fourth of July feel a little more special. Sometimes, a few simple supplies are all it takes to get everyone creating together.
I’ve always enjoyed how handmade projects bring out different ideas in every child. Even when everyone follows the same craft, the finished results never look exactly alike.
If one idea catches your eye, start there and see where it leads. You might end up making more than you planned because kids rarely want to stop after just one project.
At the end of the day, the finished craft is only part of the fun. The laughs, little conversations, and time spent creating together are often what make the holiday feel memorable.
Frequently Asked Questions
Can I Use Dollar Store Supplies for 4th of July Crafts?
Yes, items like paper, paint, glue, ribbons, and popsicle sticks from dollar stores work well for most holiday crafts.
How Long Do Most 4th of July Crafts Take to Make?
Most kid-friendly Fourth of July crafts can be finished in about 15 to 30 minutes, depending on the project.
Can Siblings of Different Ages Make the Same Craft?
Yes, older children can add extra details while younger kids complete simpler parts of the same project.
How Can I Keep Finished Crafts Looking Good Until the Celebration?
Store completed crafts in a dry, flat place and let paint or glue dry fully before stacking or displaying them.