The first time I learned about pottery, I was surprised by how much goes into a piece before it is actually finished. I thought it was just shape it, dry it, and fire it.
Turns out, clay has its own pace, and every stage brings a small change that affects the final piece in a way you might not expect.
The part that caught my attention most was leather-hard clay, a stage that feels like a turning point in the process.
So, I wanted to break down the stages of clay in a simple way and share what makes each step different throughout the pottery process.
Does Clay Have Different Stages?
Yes, clay does go through different stages before becoming a finished piece. Each stage changes how the clay feels, behaves, and responds to different techniques.
The stages of clay explain how this material changes from a soft, workable form into a stronger ceramic piece through a series of steps.
If you’re working with air-dry clay, the process is different because it hardens naturally without going through the firing stages.
Understanding these changes helps you know when clay is ready to be shaped, adjusted, decorated, or fired without damaging the piece.
What are the Different Stages of Clay?
Clay goes through several changes as it dries and is fired. Each stage affects its moisture content, texture, strength, and the ways it can be shaped or finished.
Understanding these stages helps you work with clay at the right time and avoid damage while creating pottery pieces.
1. Wet or Plastic Clay
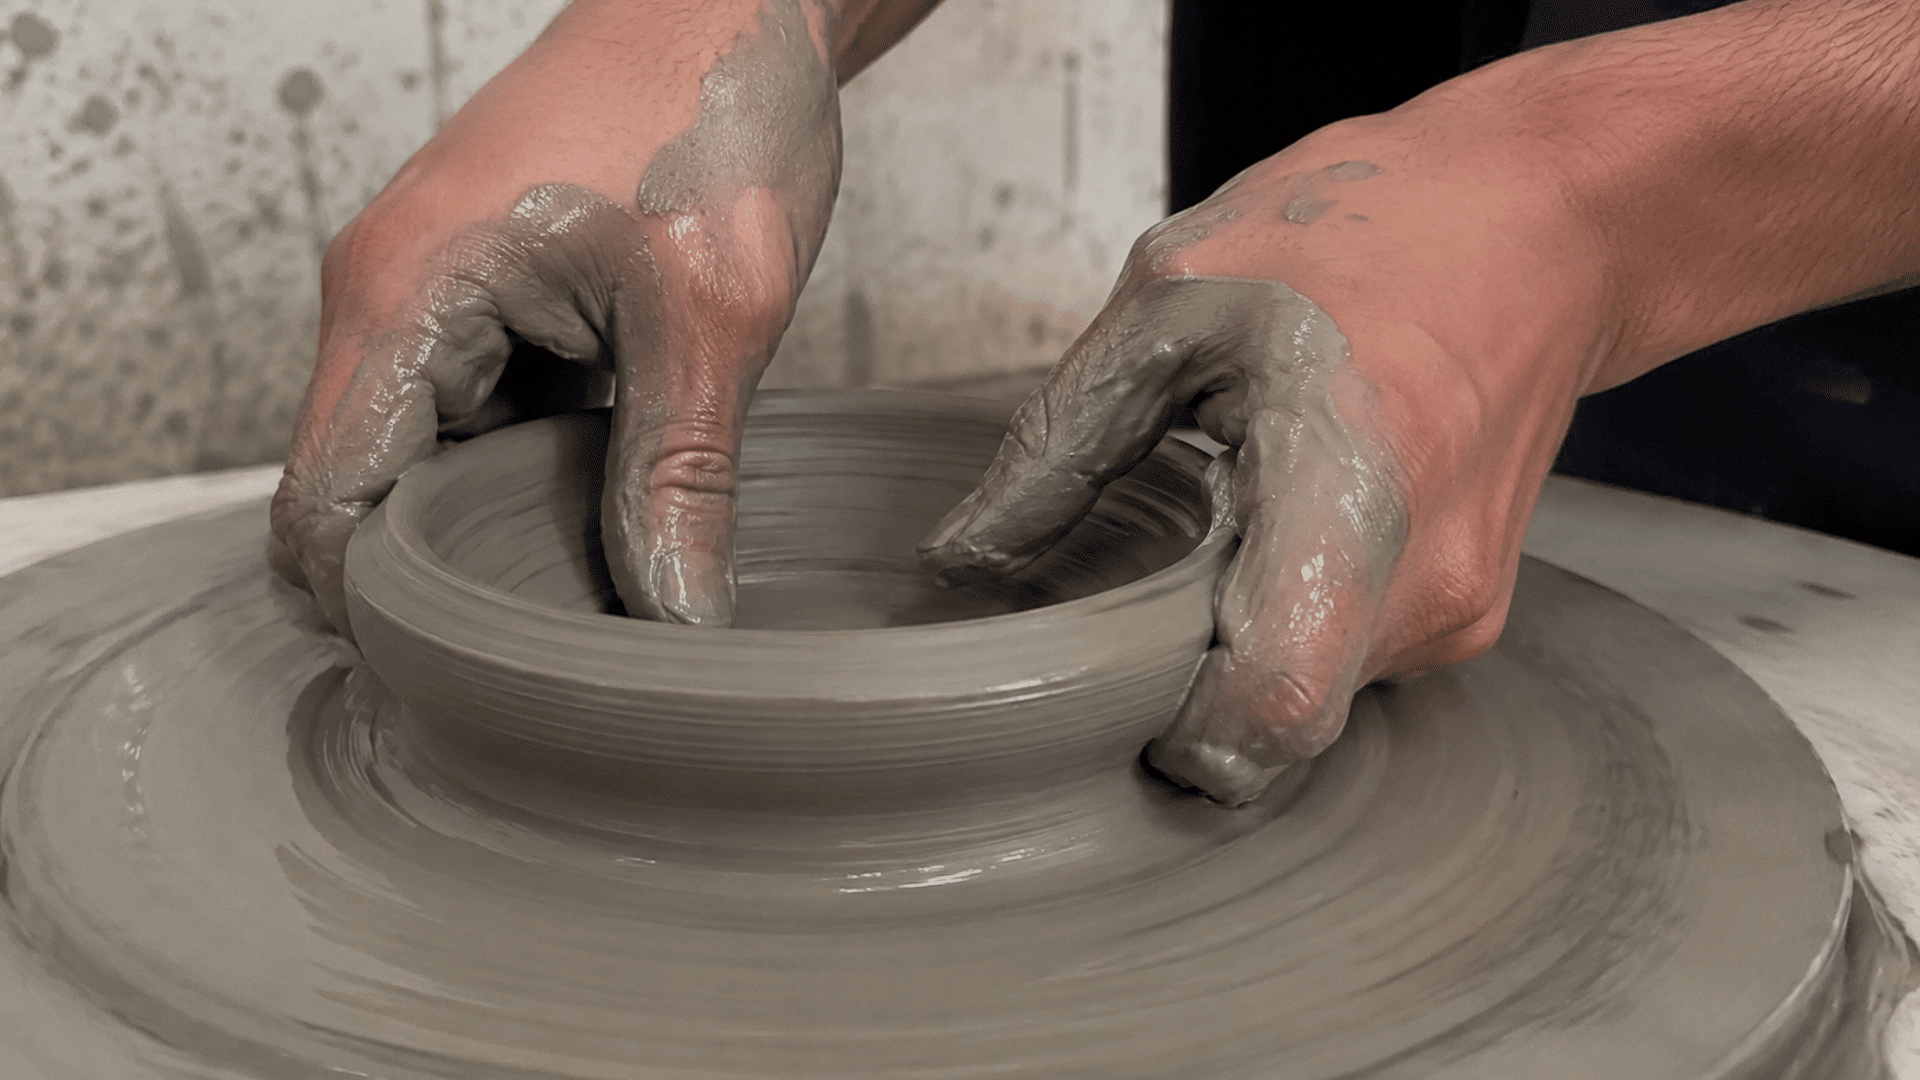
Wet or plastic clay is the earliest stage where the material is soft, moist, and easy to shape. It gives the most freedom for creating the basic form of a piece.
- Soft and flexible texture: High moisture content keeps the clay smooth and easy to press, roll, or mold.
- Best stage for building forms: Bowls, sculptures, and other shapes are created while the clay is still highly workable.
- Easy to join pieces: Separate clay parts can be attached together before drying begins.
- Allows design changes: Shapes can be adjusted, reshaped, or corrected without much effort.
- Needs careful support: Soft clay can bend, flatten, or lose its form if handled roughly.
Why Clay Feels Smooth: The water between clay particles allows them to move around easily, making the material flexible enough to shape.
2. Leather Hard Clay
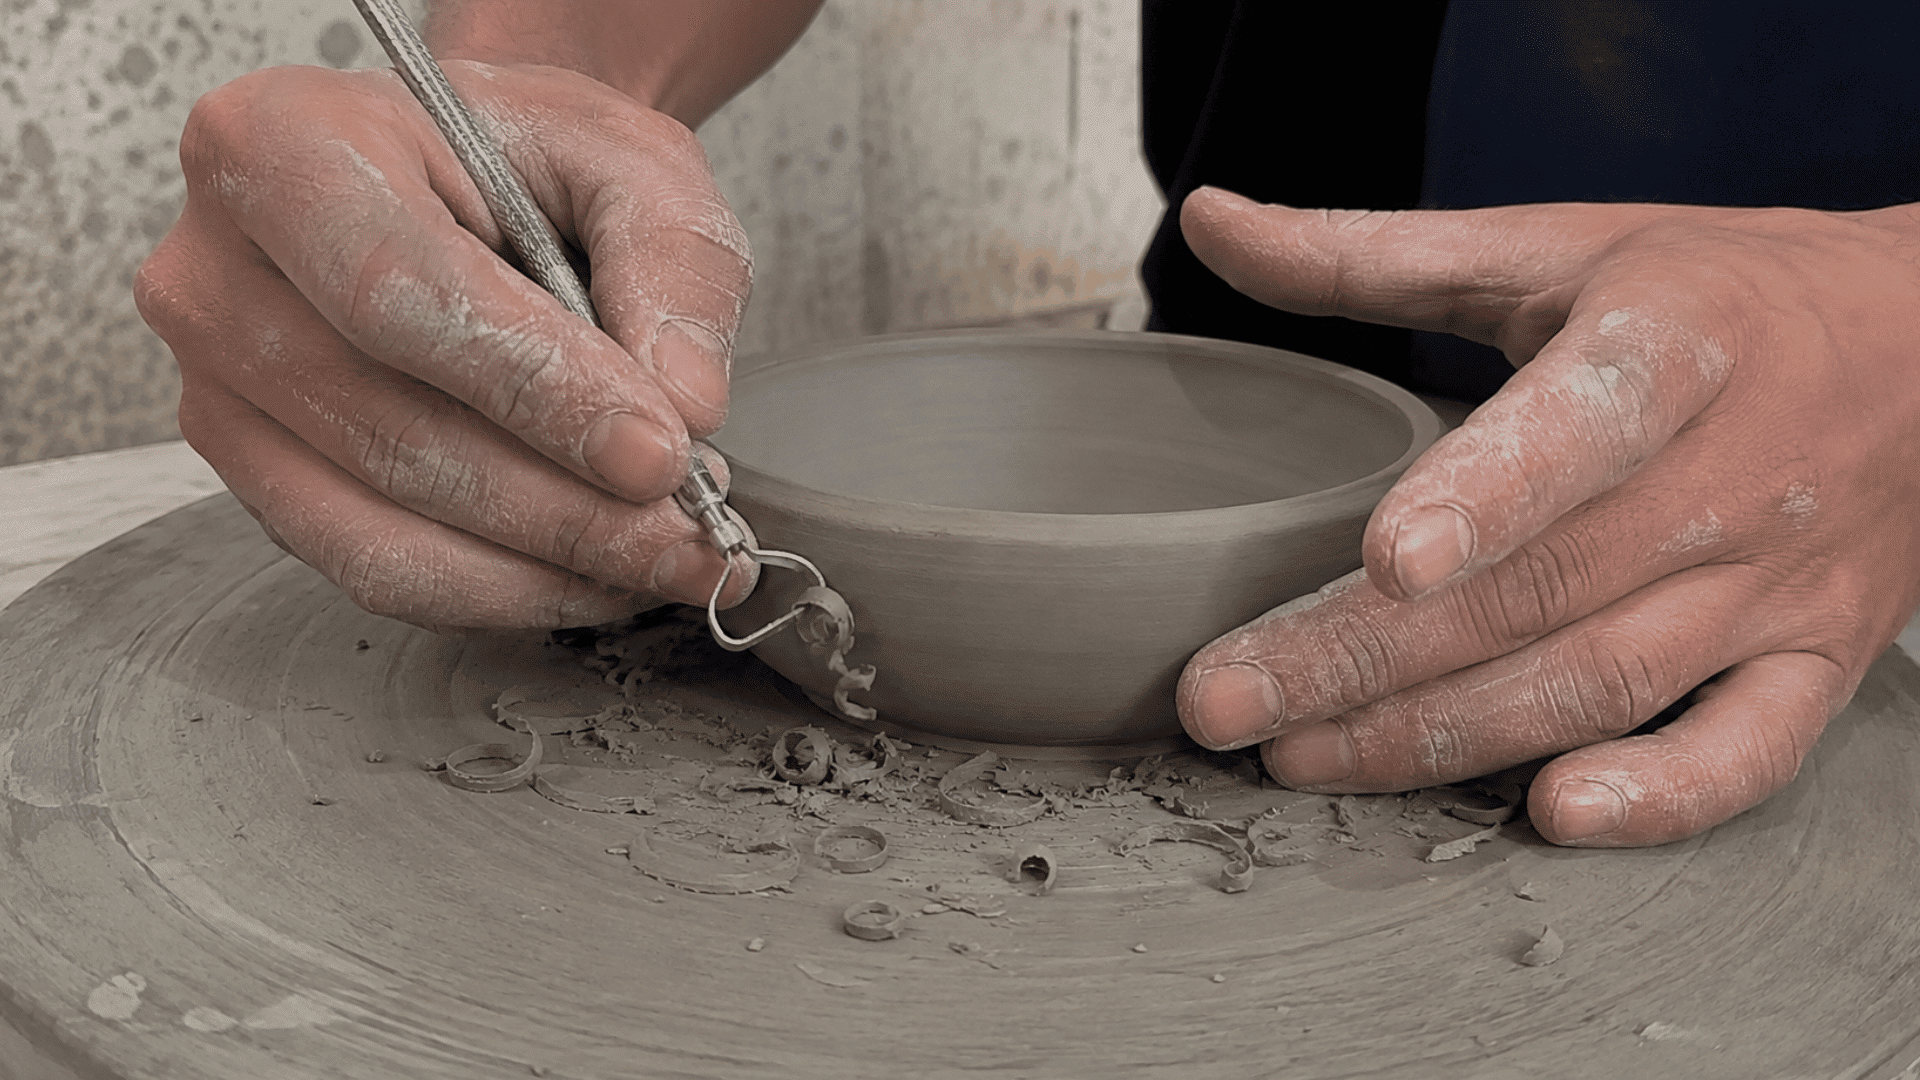
Leather-hard clay is the stage where the piece has dried enough to become firm but still holds some moisture. It is often the ideal point for refining details without changing the entire shape.
- Holds its shape better: The clay becomes stable enough to support its own weight.
- Perfect for trimming: Extra clay can be removed to improve thickness and clean up edges.
- Works well for attachments: Handles, spouts, and decorative parts can be added more easily.
- Supports surface details: Carving, stamping, and adding textures become easier during this stage.
- Needs controlled pressure: Too much force can create cracks because the clay is no longer fully soft.
Why It Is Called Leather Hard: The clay gets this name because its firmness feels similar to soft leather when touched.
3. Bone Dry Clay
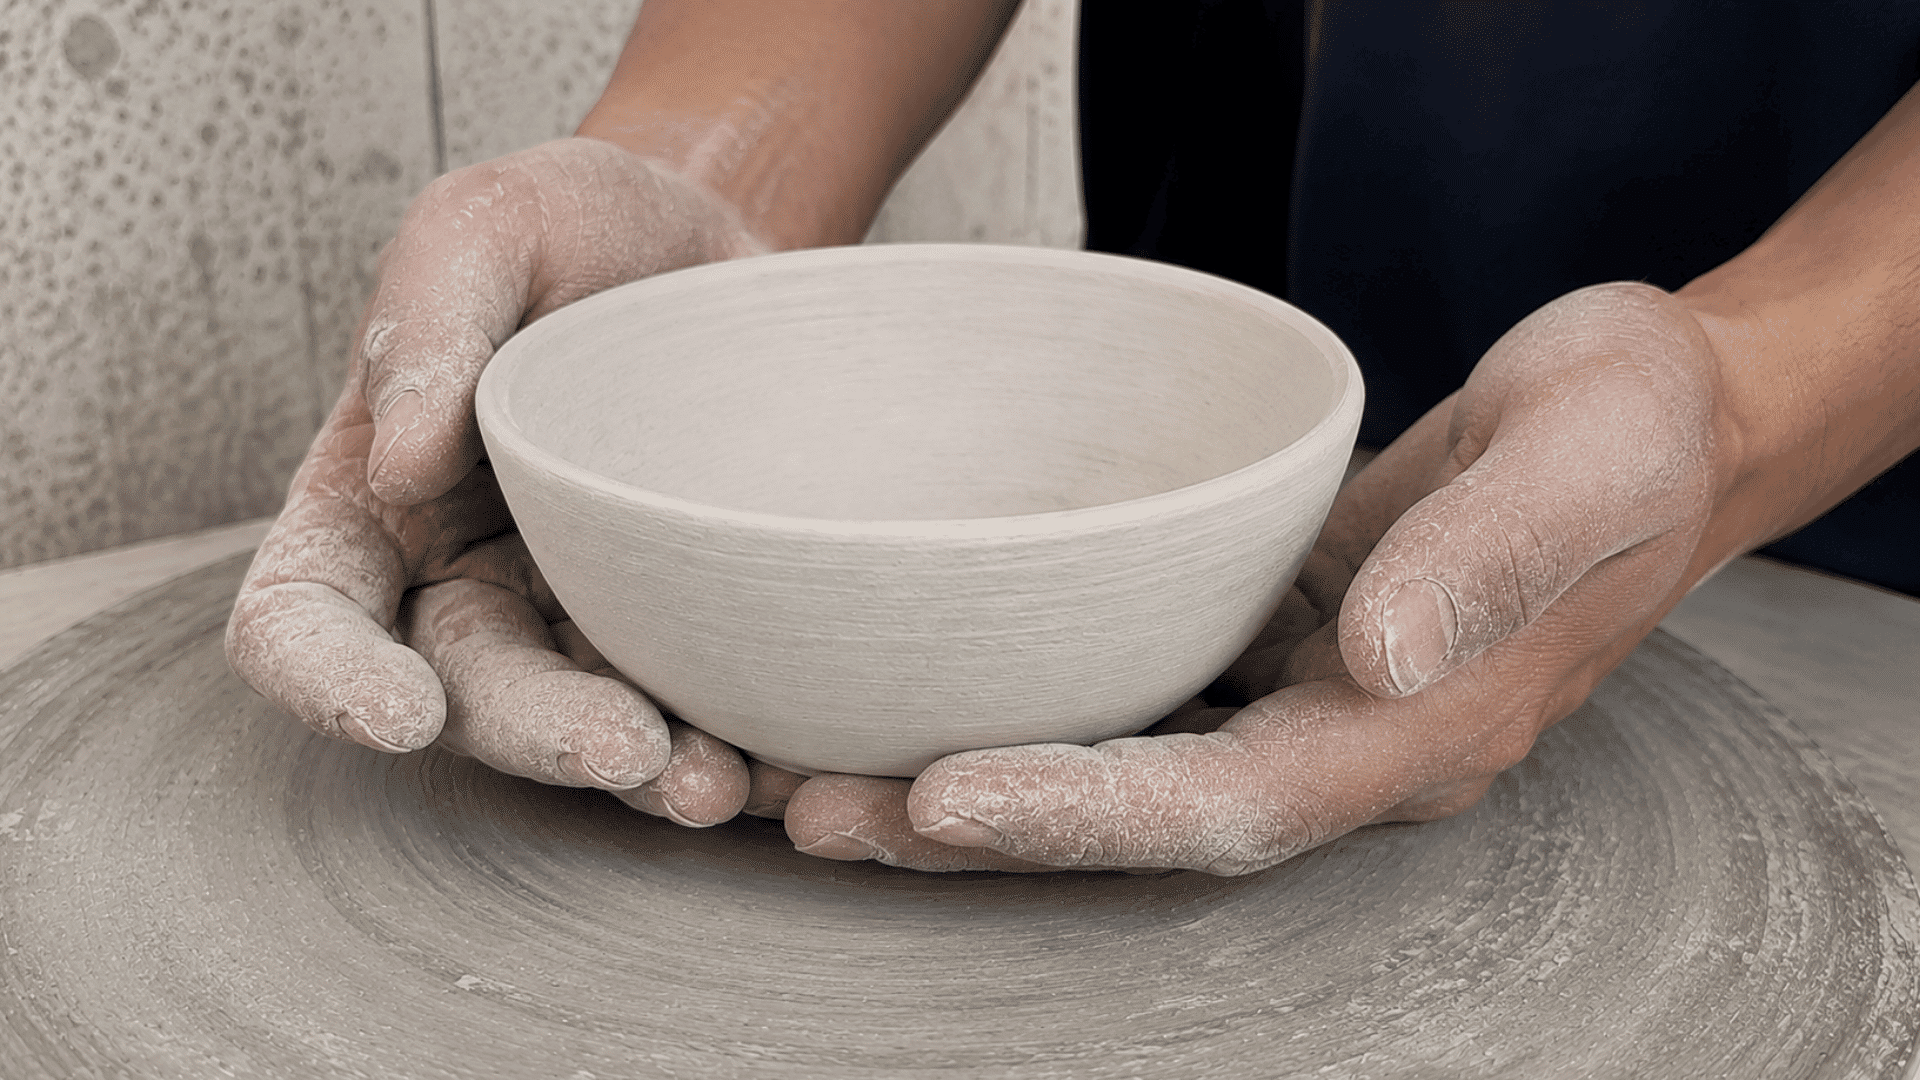
Bone-dry clay is the stage before firing when almost all moisture has left the piece. The clay feels finished but remains fragile and has not yet become ceramic.
- Ready for the kiln: Pieces must reach this stage before they can be fired safely.
- Very lightweight feel: Most water has evaporated, making the piece lighter than before.
- Cannot be reshaped easily: The clay has lost the flexibility needed for major changes.
- Needs gentle handling: Small impacts can cause cracks, chips, or breaks.
- Requires even drying: Uneven moisture loss can lead to warping or damage.
The Fragile Stage: Bone dry clay may look complete, but it is still the most delicate point before firing.
4. Bisque Fired Clay
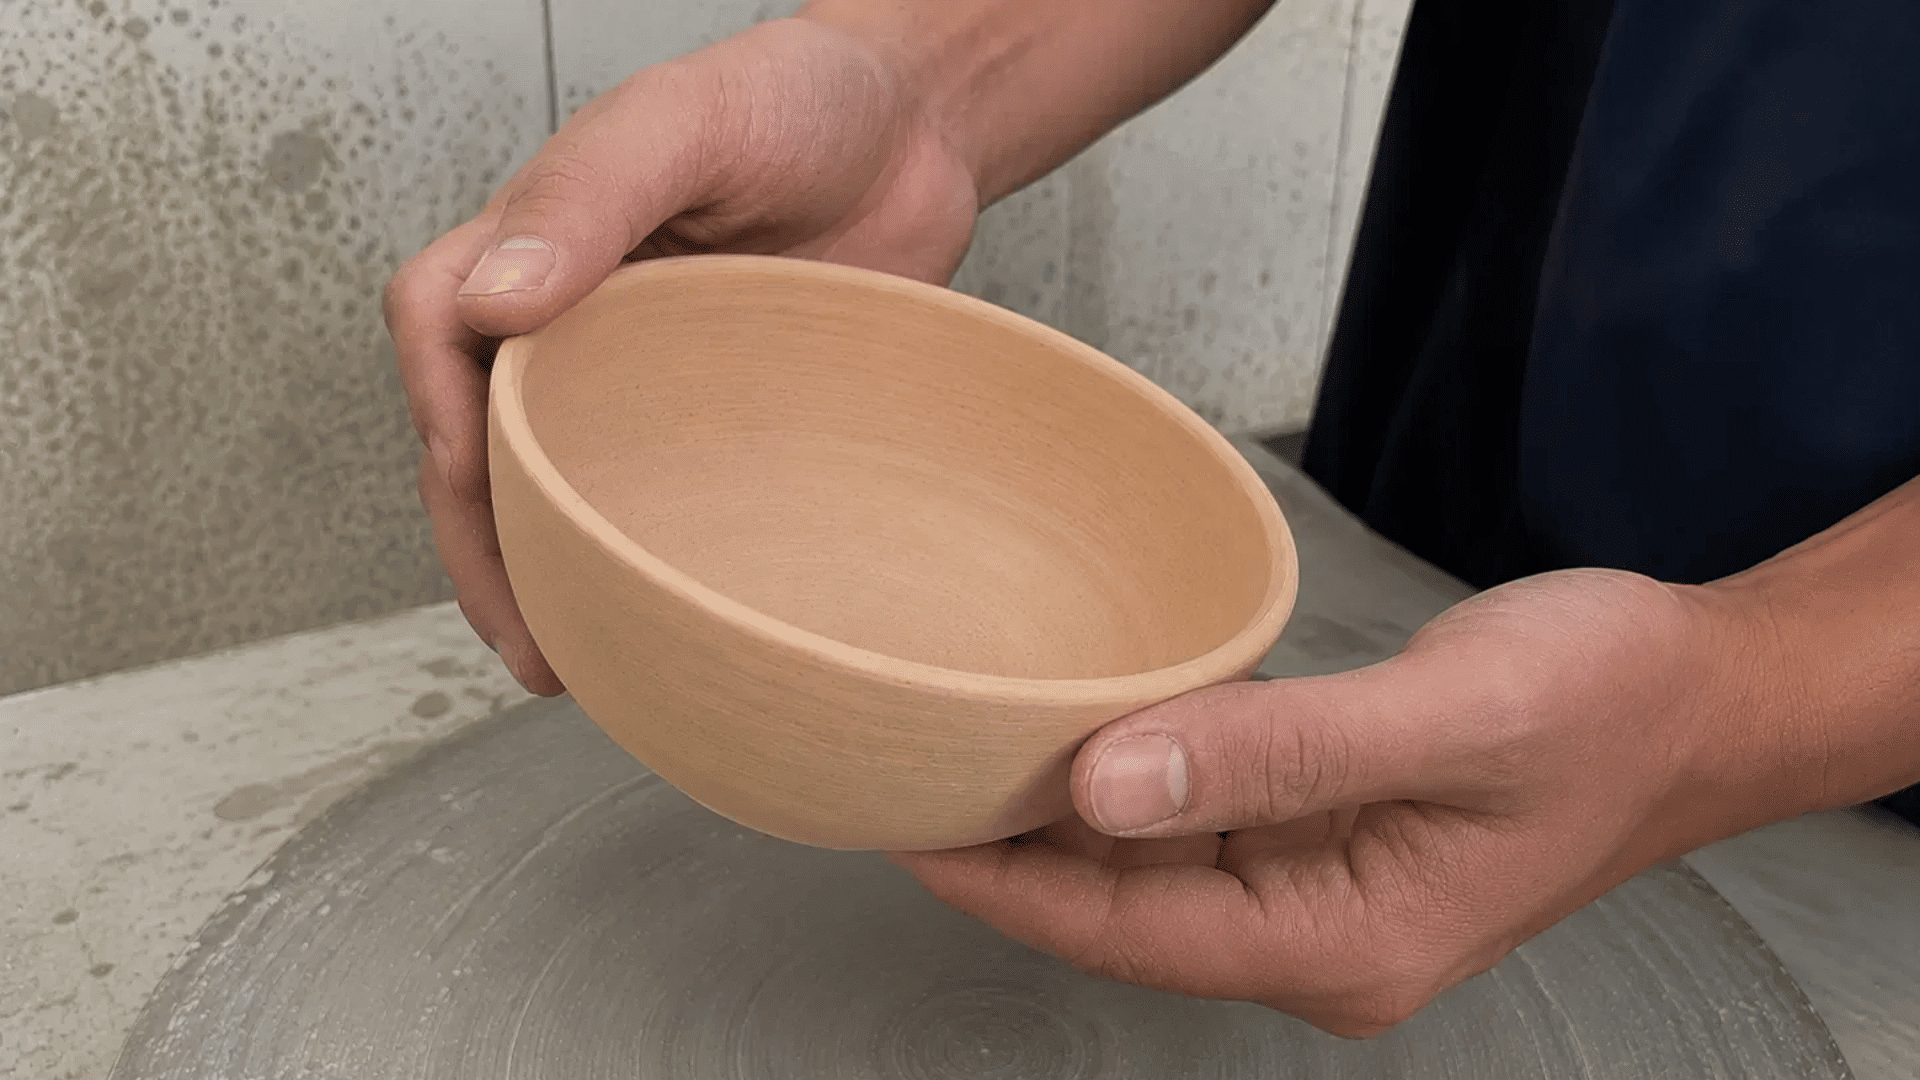
Bisque-fired clay is created after the first kiln firing changes dry clay into a harder ceramic material. The piece becomes stronger while keeping a surface that can absorb glaze.
- First permanent change: Firing alters the clay’s structure, preventing it from returning to its original form.
- Stronger ceramic base: The piece is easier to handle than unfired clay.
- Keeps a porous surface: Tiny spaces in the material allow glaze to attach properly.
- Ready for decoration: Artists can add glaze, paint, or other surface treatments.
- Maintains its shape: The original design becomes fixed after firing.
Inside the Kiln: During bisque firing, heat causes clay particles to bond together and create a more stable material.
5. Glazing Stage
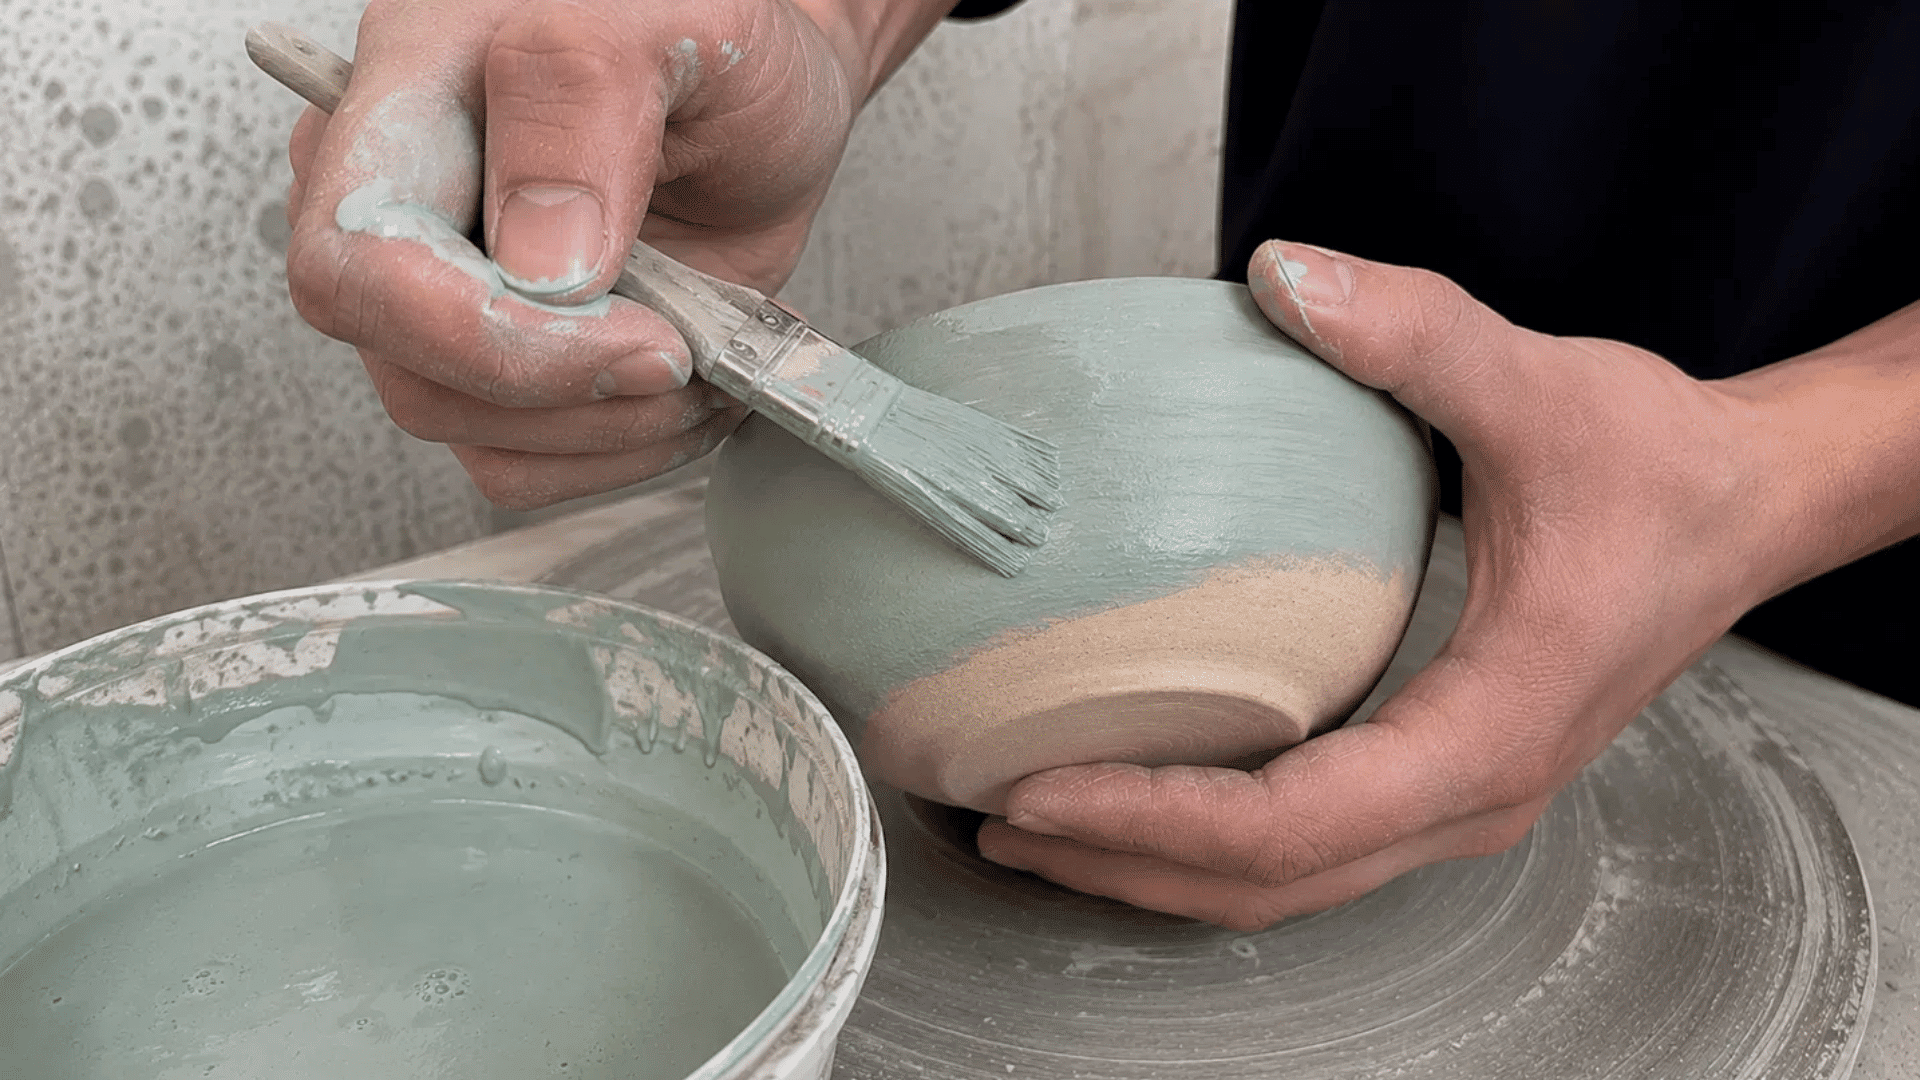
Glazed clay is the stage after a glaze coating has been added to bisque-fired clay but before the final firing. The piece is prepared for its final surface finish.
- Receives a glaze coating: A liquid layer is applied over the ceramic surface.
- Creates surface effects: Different glazes can add color, shine, or texture.
- Needs careful application: Uneven glaze thickness can affect the final result.
- Prepares for final firing: The piece must return to the kiln to complete the process.
- Requires clean handling: Dust, fingerprints, or uneven layers can affect the finished surface.
Before the Final Fire: Glaze may look completely different before heating because the kiln brings out its final appearance.
6. Finished Fired Clay
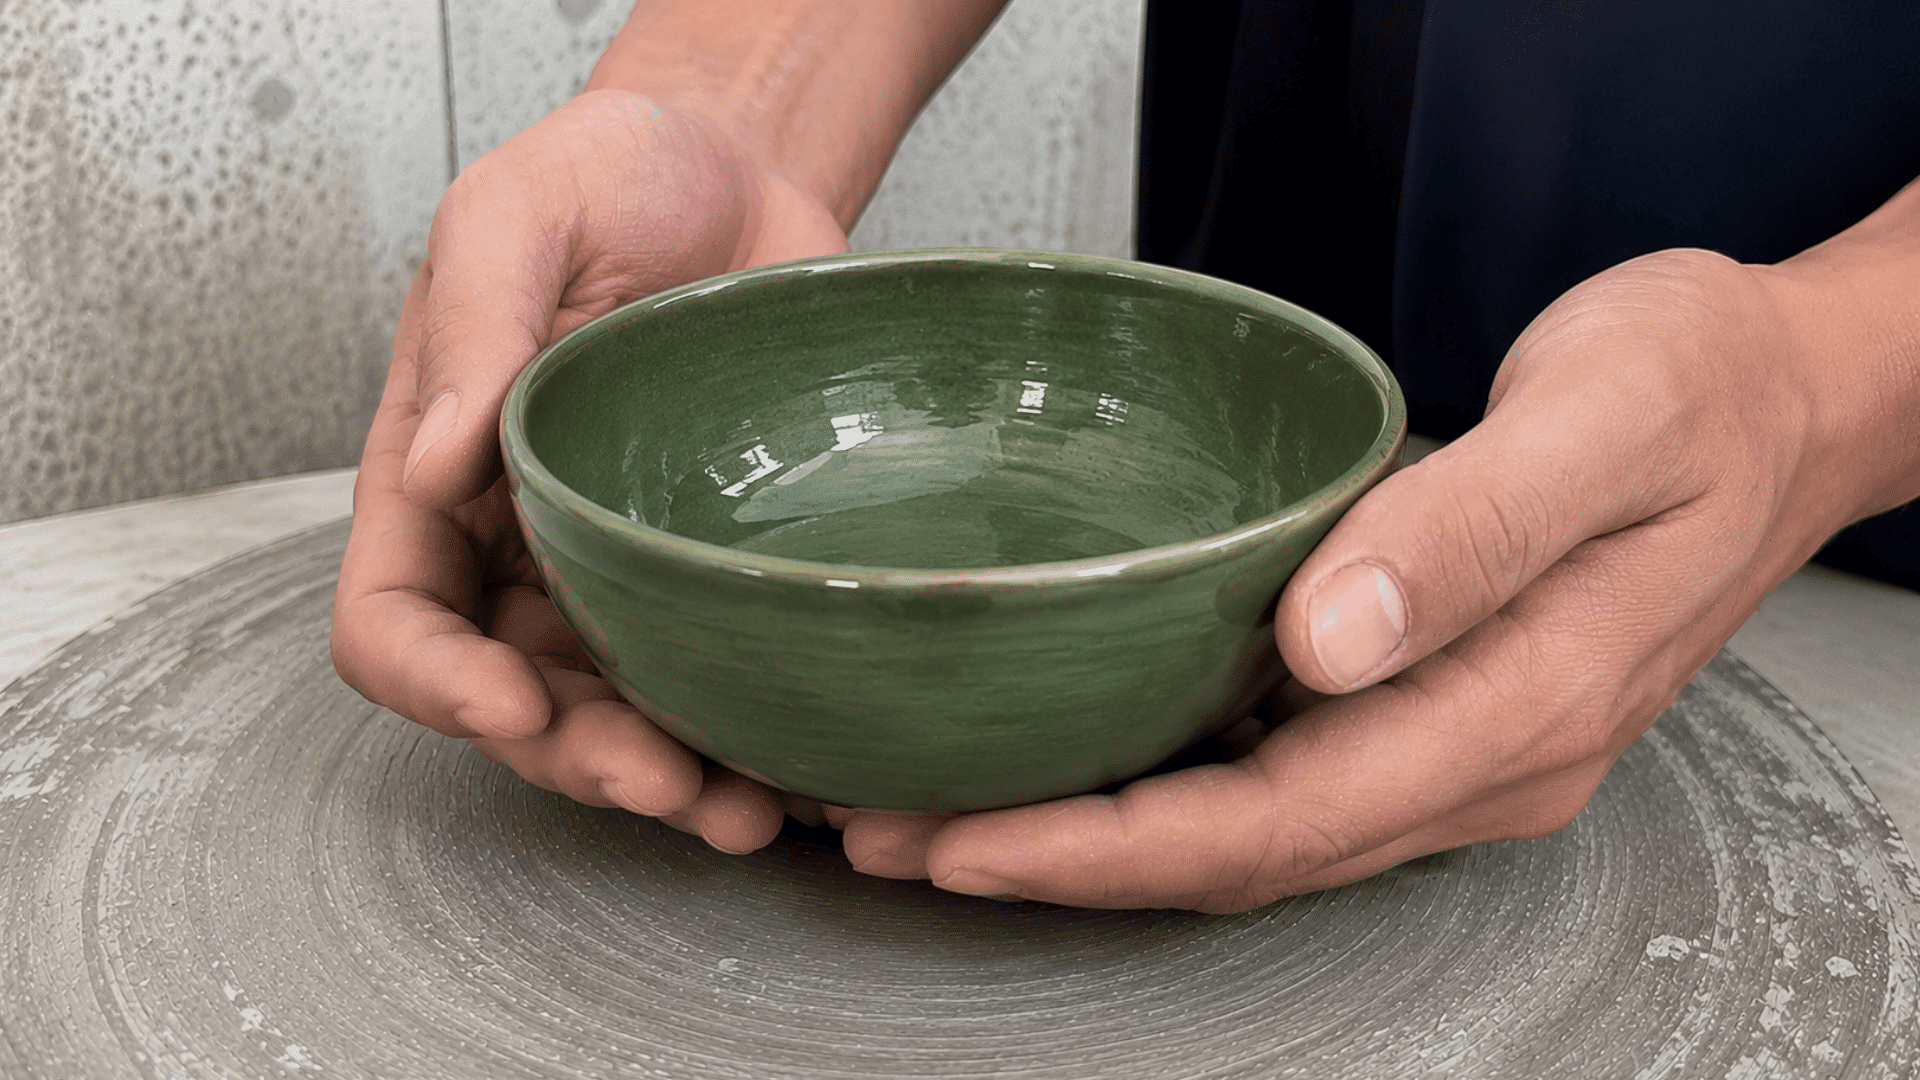
Finished fired clay is the final stage after the glazed piece completes its last kiln firing. The clay and glaze have fully changed into a finished ceramic object.
- Final surface is complete: The glaze has melted and formed a smooth outer layer.
- Ready for everyday use: Finished pieces can be displayed or used depending on their purpose.
- Colors become permanent: The final firing reveals the completed glaze results.
- Strong ceramic structure: The piece becomes much more durable than unfired clay.
- Cannot return to soft clay: The changes created through firing are permanent.
The Final Result: At this stage, the original clay has completed its full process and become a finished ceramic piece.
What Can You Do At Each Clay Stage?
Clay allows different types of work at different points in the process. Some steps require soft, workable clay, while others occur only after firing has altered the material.
Knowing when to shape, adjust, or finish a piece helps you handle clay properly and avoid mistakes during the process.
| Clay Stage | What You Can Do | Things To Avoid |
|---|---|---|
| Wet or plastic clay | Shape forms, join pieces, and adjust designs | Pressing too hard or losing the intended shape |
| Leather hard clay | Trim edges, carve details, and attach parts | Making major changes that require soft clay |
| Bone dry clay | Inspect the piece and prepare it for firing | Adding water or trying to reshape it |
| Bisque-fired clay | Apply glaze and add surface finishes | Using it like soft clay |
| Glazed clay | Prepare the piece for the final kiln firing | Touching the glaze too much before firing |
| Finished fired clay | Use, display, or store the completed piece | Attempting to reshape or repair it like raw clay |
Once clay reaches each stage, the options for working with it change. Understanding these limits helps you choose the right time for every step, from shaping to finishing.
How Does Clay Turn Into Ceramic?
Clay does not become ceramic simply by drying. The material needs controlled firing to create permanent changes that give it strength and a finished surface.
The process moves clay from a soft, workable material into a solid ceramic piece through drying, heating, and finishing steps.
- Drying removes moisture: Clay must lose its excess water before firing so it can handle the intense heat of the kiln.
- Heat changes the clay structure: Firing permanently alters the material, making it harder and turning it into a ceramic form.
- The first firing creates a strong base: Bisque firing prepares the piece by giving it strength while keeping the surface ready for glaze.
- Glazing adds the final surface: A glaze layer brings color, texture, and a protective coating to the ceramic piece.
- The final firing completes the change: The last kiln process bonds the glaze with the surface and creates the finished ceramic object.
Once the firing process is complete, the clay has moved beyond its soft, workable state and becomes a permanent ceramic material. Each step plays a role in creating a strong and finished piece.
How Long Does Clay Take to Go Through Each Stage?
Clay does not move through every stage at the same speed. The time depends on factors like the thickness of the piece, clay type, humidity, airflow, and firing schedule.
From drying to firing, each stage requires enough time for the clay to become ready for the next step.
| Clay Stage | Approximate Time | What Affects The Timing |
|---|---|---|
| Wet or plastic clay | Until shaping and forming are complete | Size of the piece and the amount of detail added |
| Leather-hard clay | A few hours to several days | Thickness, room temperature, and airflow |
| Bone dry clay | Several days to a week or more | Clay size, moisture level, and drying conditions |
| Bisque-fired clay | Depends on the kiln schedule | Kiln temperature and firing program |
| Glazed clay | Until glaze firing is completed | Glaze type and kiln settings |
| Finished fired clay | After the final firing and cooling process | Cooling time after the kiln process |
Patience plays an important role when working with clay, as rushing any stage can affect the final piece. Giving clay enough time to dry and fire properly helps maintain its strength and shape.
Can Clay Go Back to a Previous Stage?
Yes, clay can return to some earlier stages before firing, but only to a limited extent. Moisture and proper preparation can help soften dry clay, but the process is not the same for every stage.
Soft and partially dried clay can sometimes be adjusted, reused, or reshaped with the right methods. However, once clay has been fired, the changes become permanent.
After firing, clay cannot revert to its original soft state. The heat permanently changes the material, turning it into a finished ceramic piece.
Conclusion
Clay has a way of making a simple piece feel like it has a story behind it. Once you notice the small changes along the way, the process starts to make more sense.
Learning about leather hard clay and the steps around it makes the whole process feel more interesting. Every stage has its own little role to play.
Working with clay is not just about reaching the final piece; it is also about noticing the changes that happen along the way.
I hope this blog helps you look at the stages of clay with a little more curiosity and confidence the next time you come across the process.
Frequently Asked Questions
Which Stage of Clay is Best for Beginners to Start With?
Wet or plastic clay is usually the easiest place to begin because it is soft, flexible, and gives you room to fix small mistakes while shaping.
What is the Most Important Stage of Clay?
Leather-hard clay is often considered the most important stage because it allows shaping, trimming, and adding details before firing.
Is Air-Drying Clay the Same As Going Through the Firing Stages?
No, air-dry clay hardens without a kiln and never becomes true ceramic the way fired clay does.