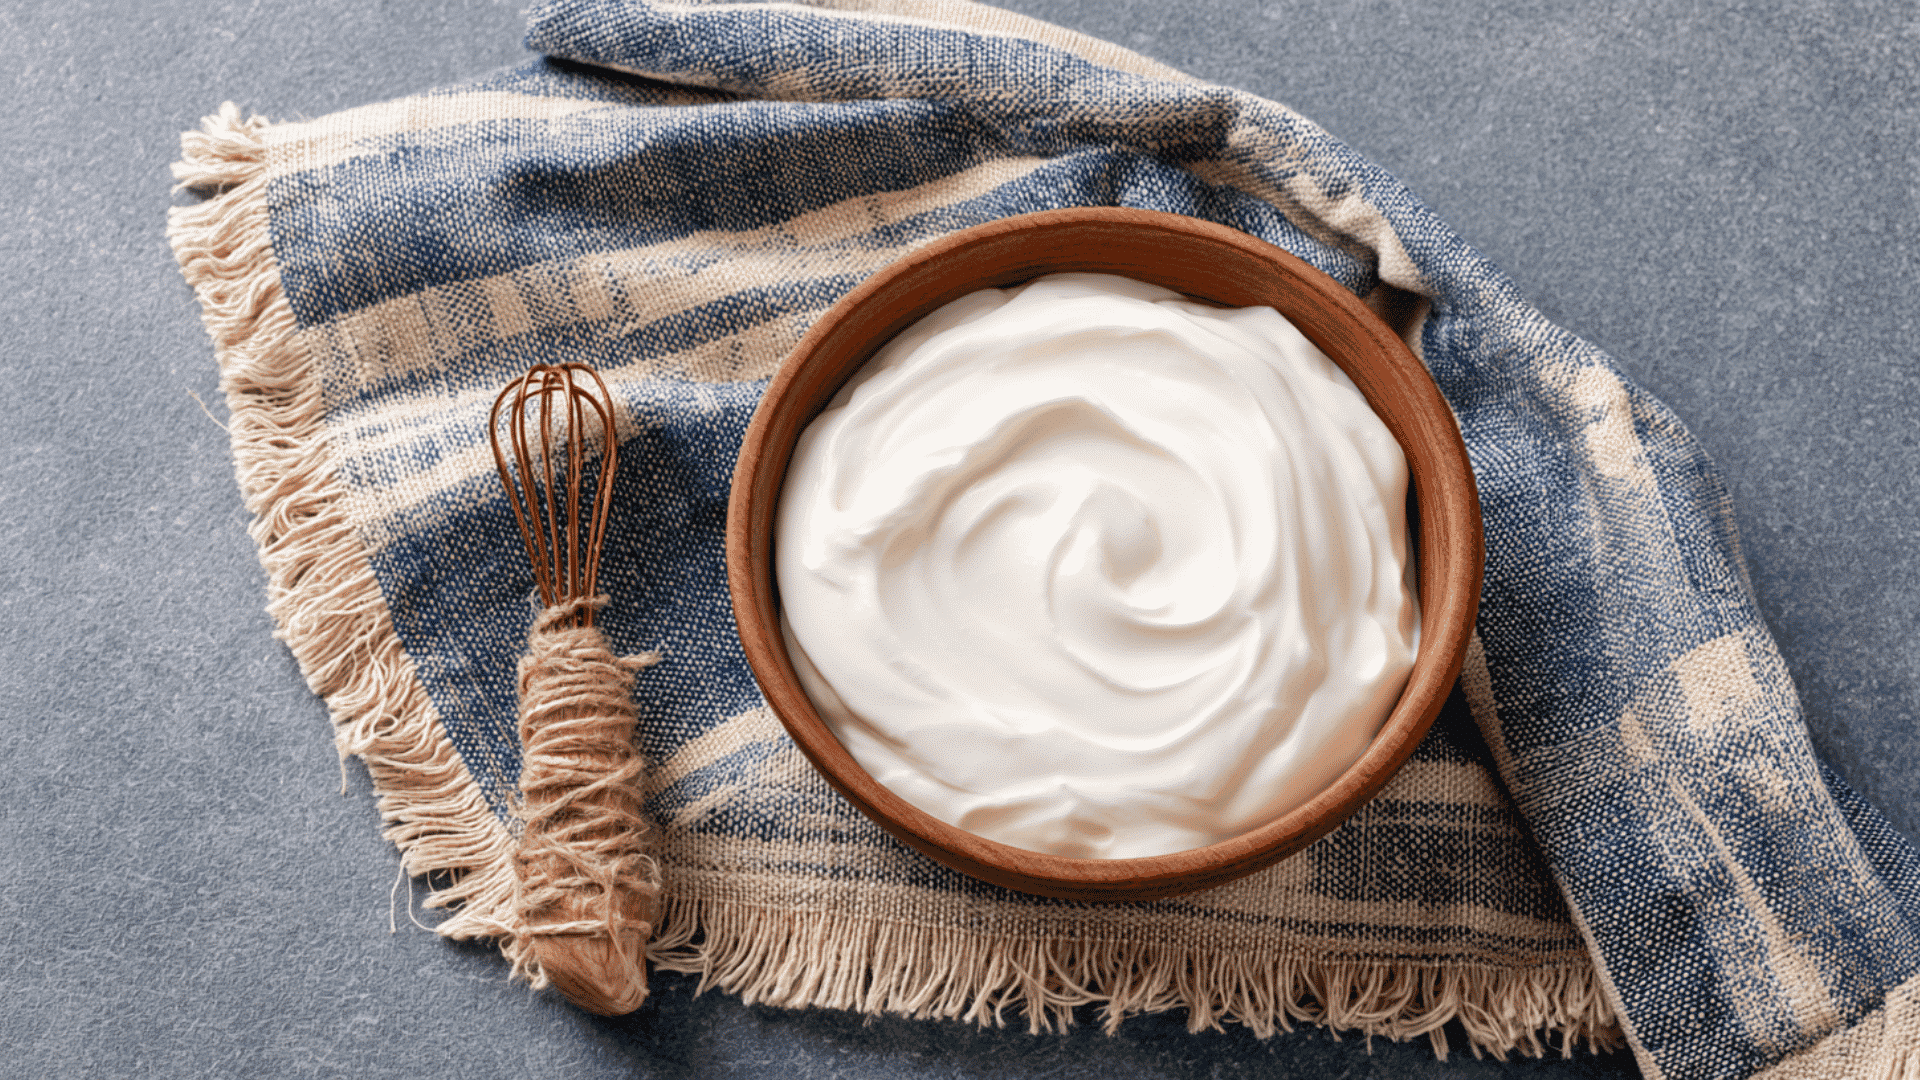
Do you also find yourself picking up yogurt from the grocery store, thinking homemade versions must be too complicated?
From a cooking point of view, it’s actually a simple process that just depends on steady temperature control and an active starter.
I like how it proves that something often seen as difficult can be made with basic steps at home. Once set, it gives a fresh, creamy result that can easily fit into everyday meals, from quick breakfasts to simple snacks and mixes.
Why Make Yogurt at Home Instead of Buying It?
For me, homemade yogurt stands out because the process is simple but gives consistent, reliable results when done correctly.
I often find that just milk and a starter culture are enough to create a fresh base without the need for additives or stabilizers.
It also gives me more control over texture and taste, which I value in everyday cooking. You can keep it mild, make it thicker, or adjust the tang depending on how it will be used in meals like bowls, dips, or sauces.
Once the method is understood, it becomes a practical routine in the kitchen. I like how it fits into regular cooking habits without extra effort, while still delivering fresher results than packaged options.
Ingredients You Need to Make Homemade Yogurt
Making yogurt at home is simple when you stick to the basics. From a cooking perspective, the focus should always be on good milk, a reliable starter, and steady temperature control.
| Ingredient | Purpose |
|---|---|
| Pasteurized milk | Main base for yogurt |
| Plain yogurt (live cultures) | Starter for fermentation |
| Dry milk powder (optional) | Helps make yogurt thicker |
Tools to Have in Hand: Saucepan, food thermometer, whisk or spoon, clean glass jar or bowl with lid, warm place for setting (like oven or insulated space)
How to Make Homemade Yogurt
Learning how to make homemade yogurt is mostly about following the right order. Keep the tools clean, watch the temperature, and give the yogurt enough time to set.
Step 1: Heat the Milk
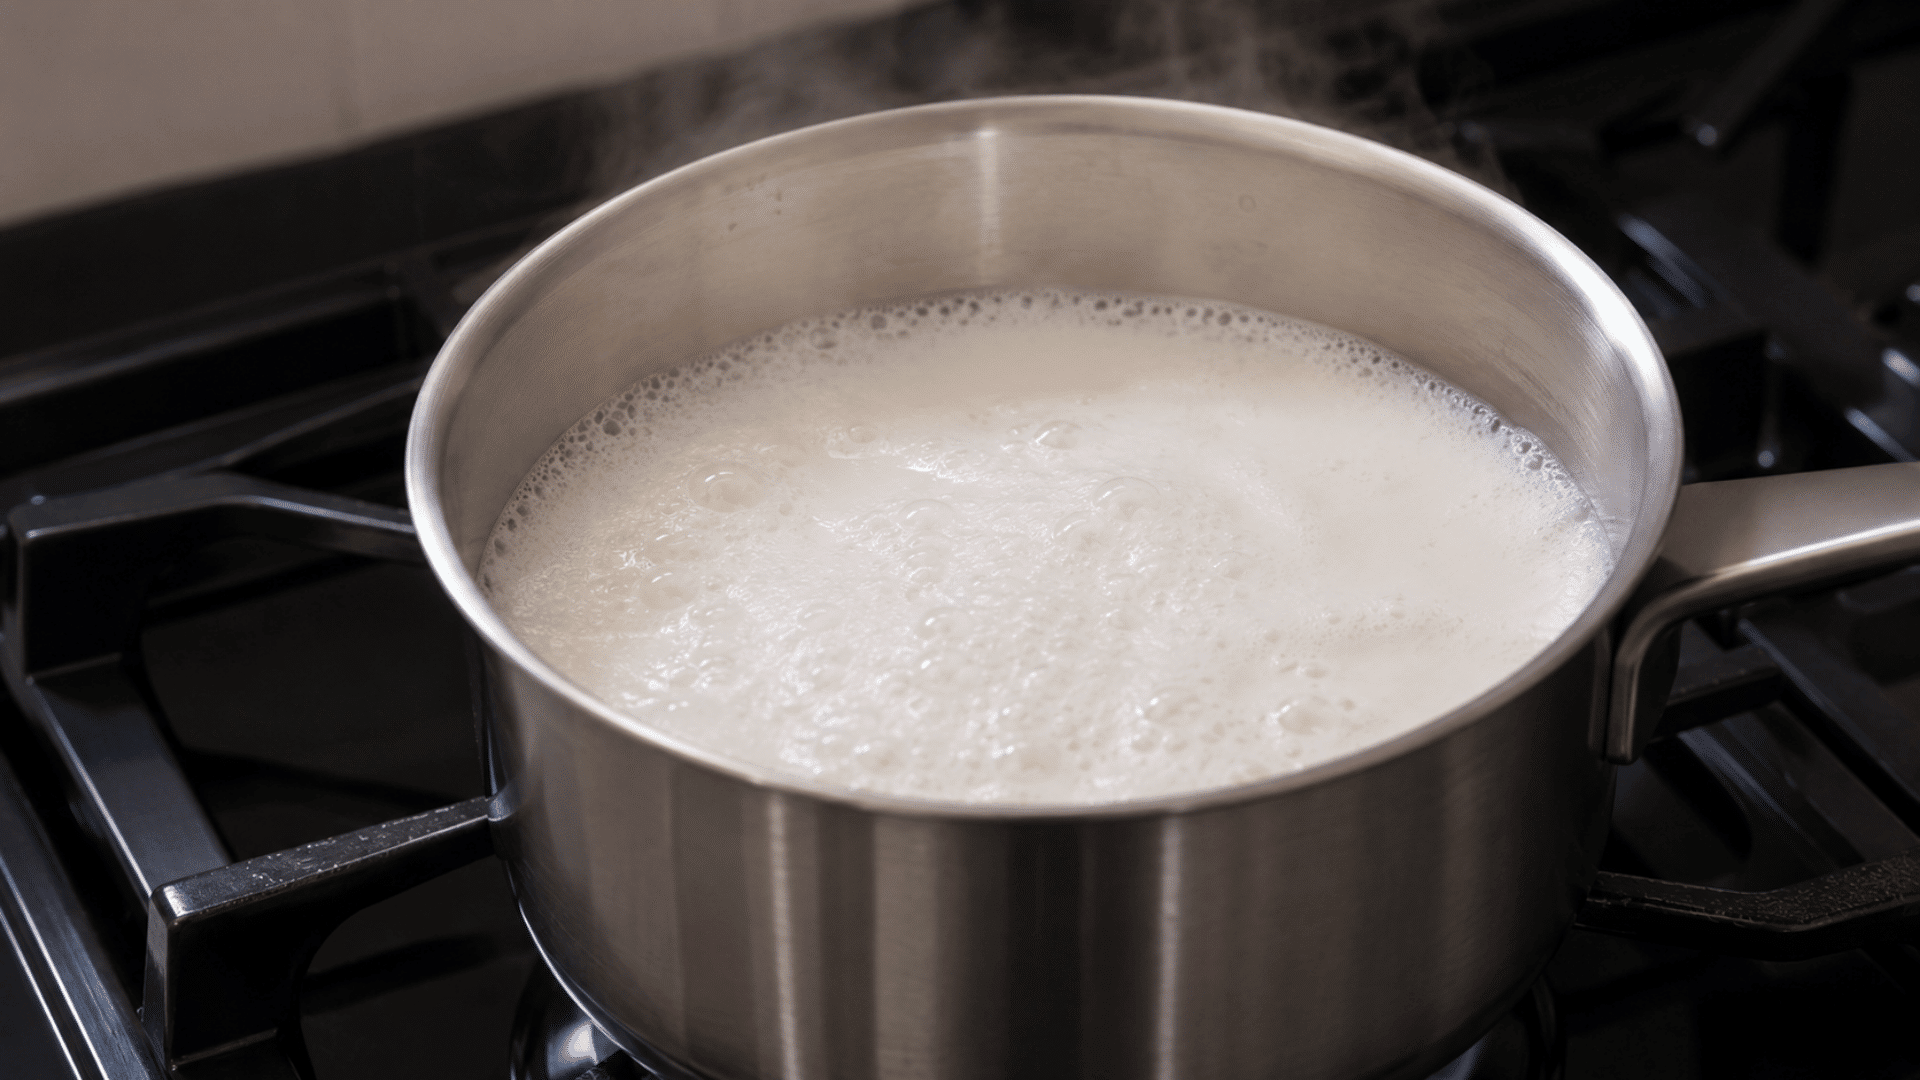
Pour the milk into a clean saucepan. Gradually warm it over medium heat, stirring frequently to prevent it from sticking to the bottom.
Continue heating until the milk reaches 180°F (82°C), ensuring it doesn’t boil. Once the desired temperature is achieved, promptly remove the saucepan from the heat to prevent overcooking or scorching.
Step 2: Let the Milk Cool
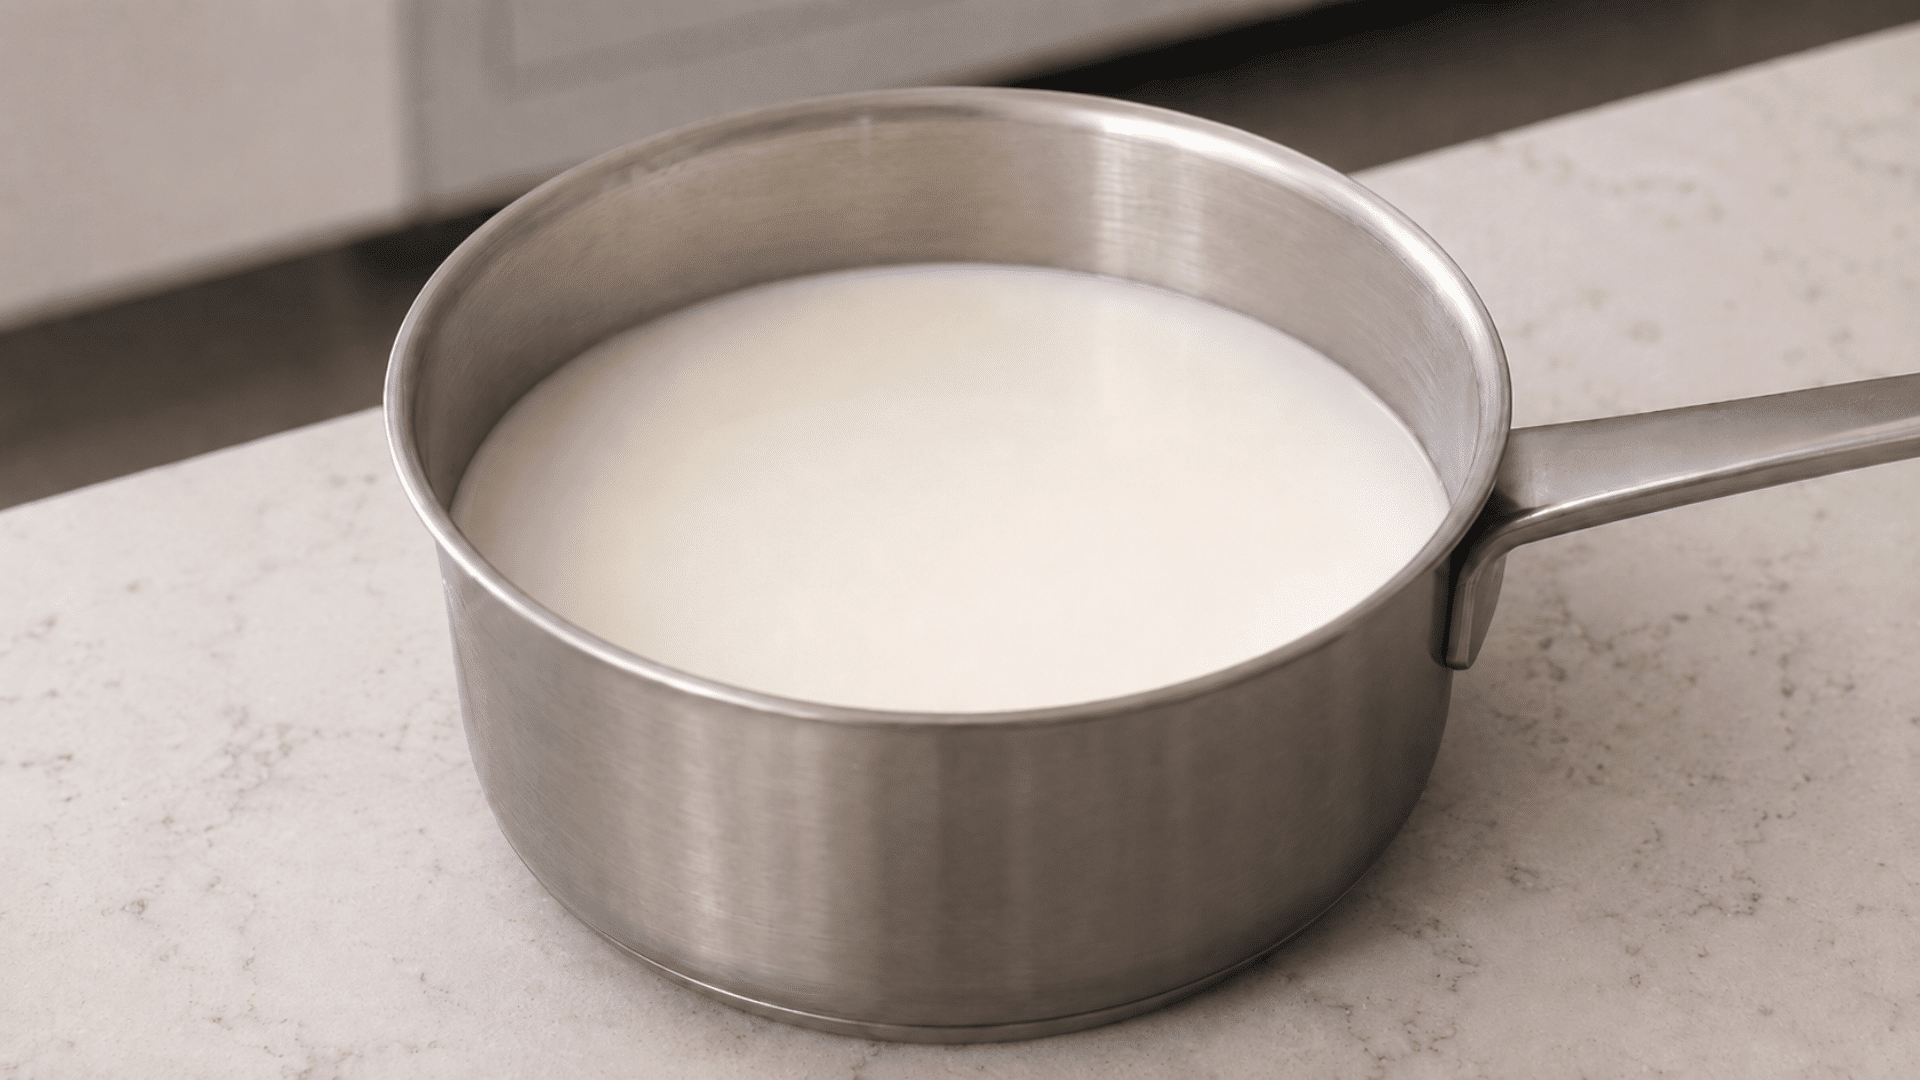
Allow the milk to cool to 110°F–115°F; this range prevents the destruction of beneficial bacteria and ensures proper fermentation.
If the milk is too cool, the starter may not activate, causing fermentation failure. Keeping milk within this range creates an ideal environment for smooth and reliable fermentation.
Step 3: Add Starter

Add the plain yogurt to a small bowl. Mix in a few spoonfuls of warm milk until the mixture is smooth and well blended.
Carefully pour this combined mixture back into the remaining milk, stirring gently to ensure all ingredients are evenly incorporated.
Step 4: Keep it Warm
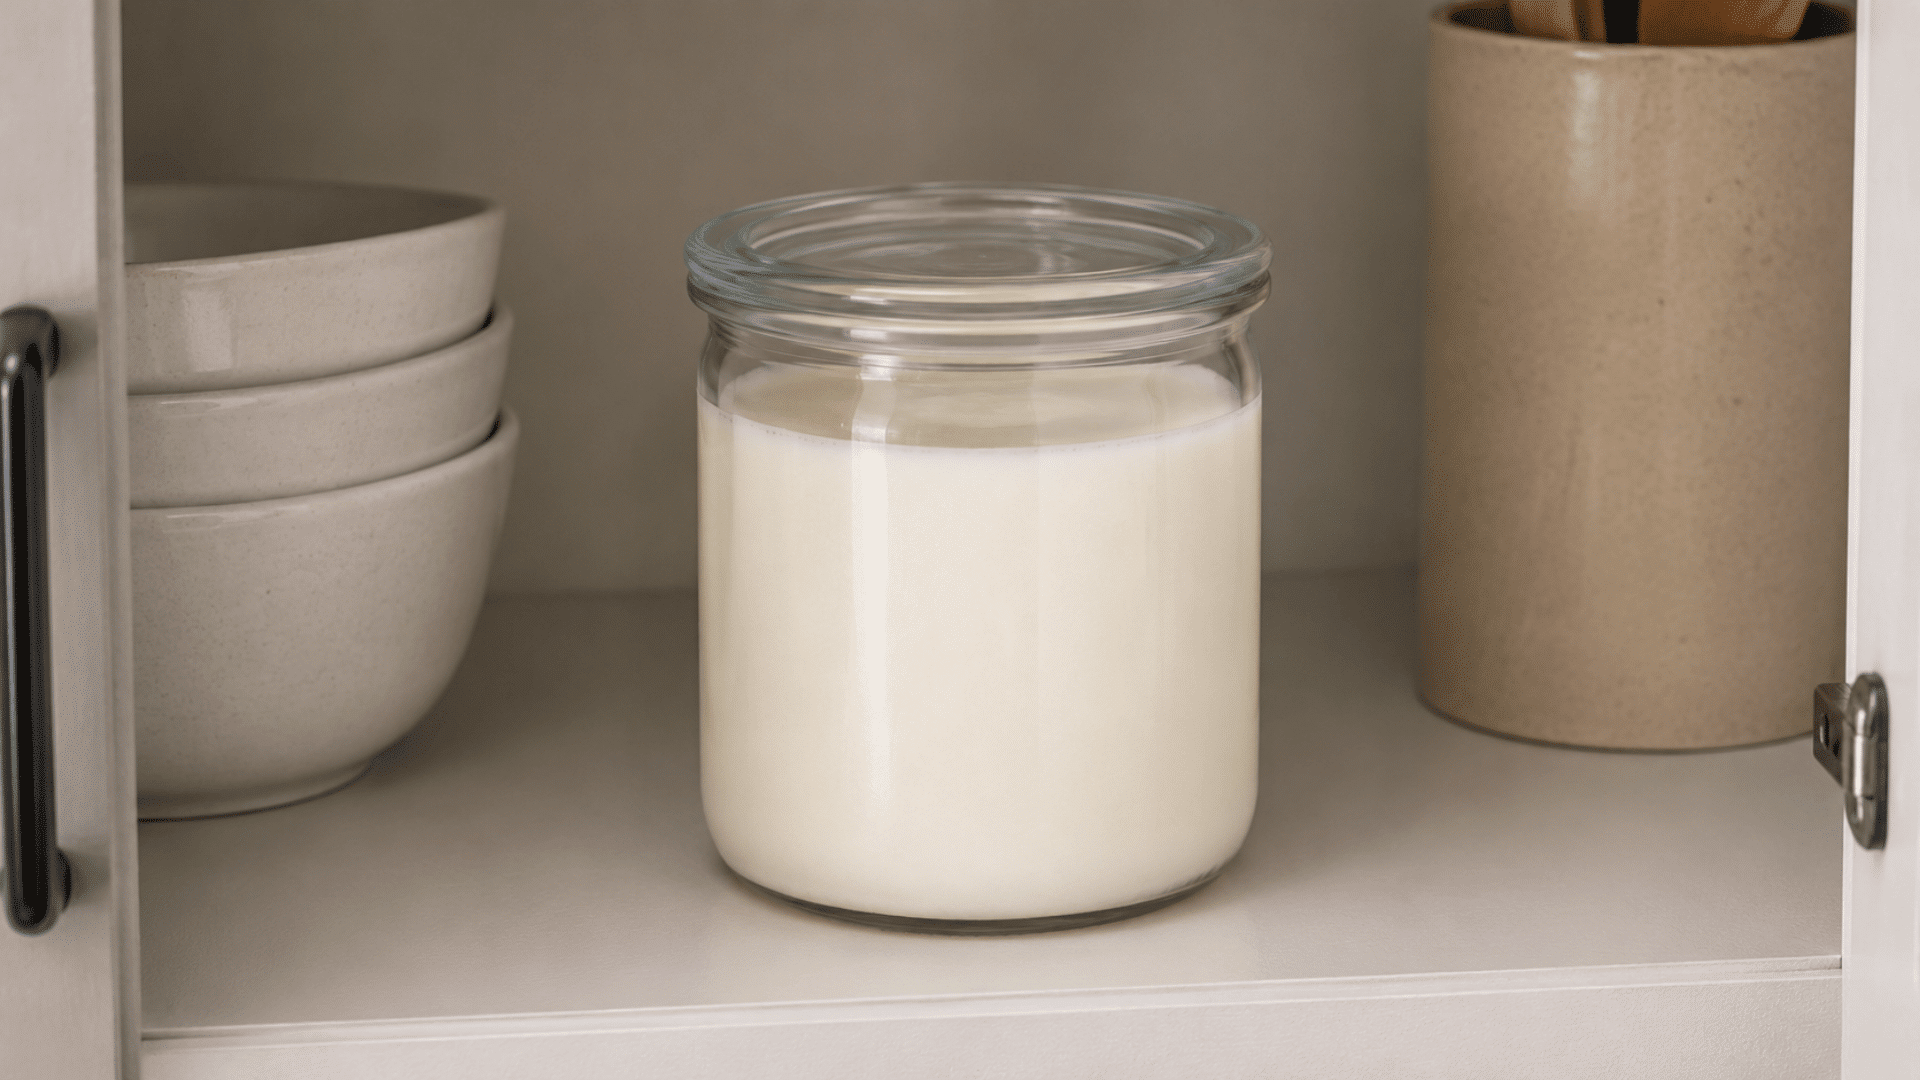
Transfer the mixture into a clean jar or bowl, then seal or cover it to keep it clean. Keep it in a warm environment for 6 to 10 hours to allow fermentation.
It is important to note that a shorter fermentation period yields a milder yogurt flavor, whereas extending the fermentation period develops a tangier taste, enhancing the yogurt’s flavor complexity.
Step 5: Chill Before Serving
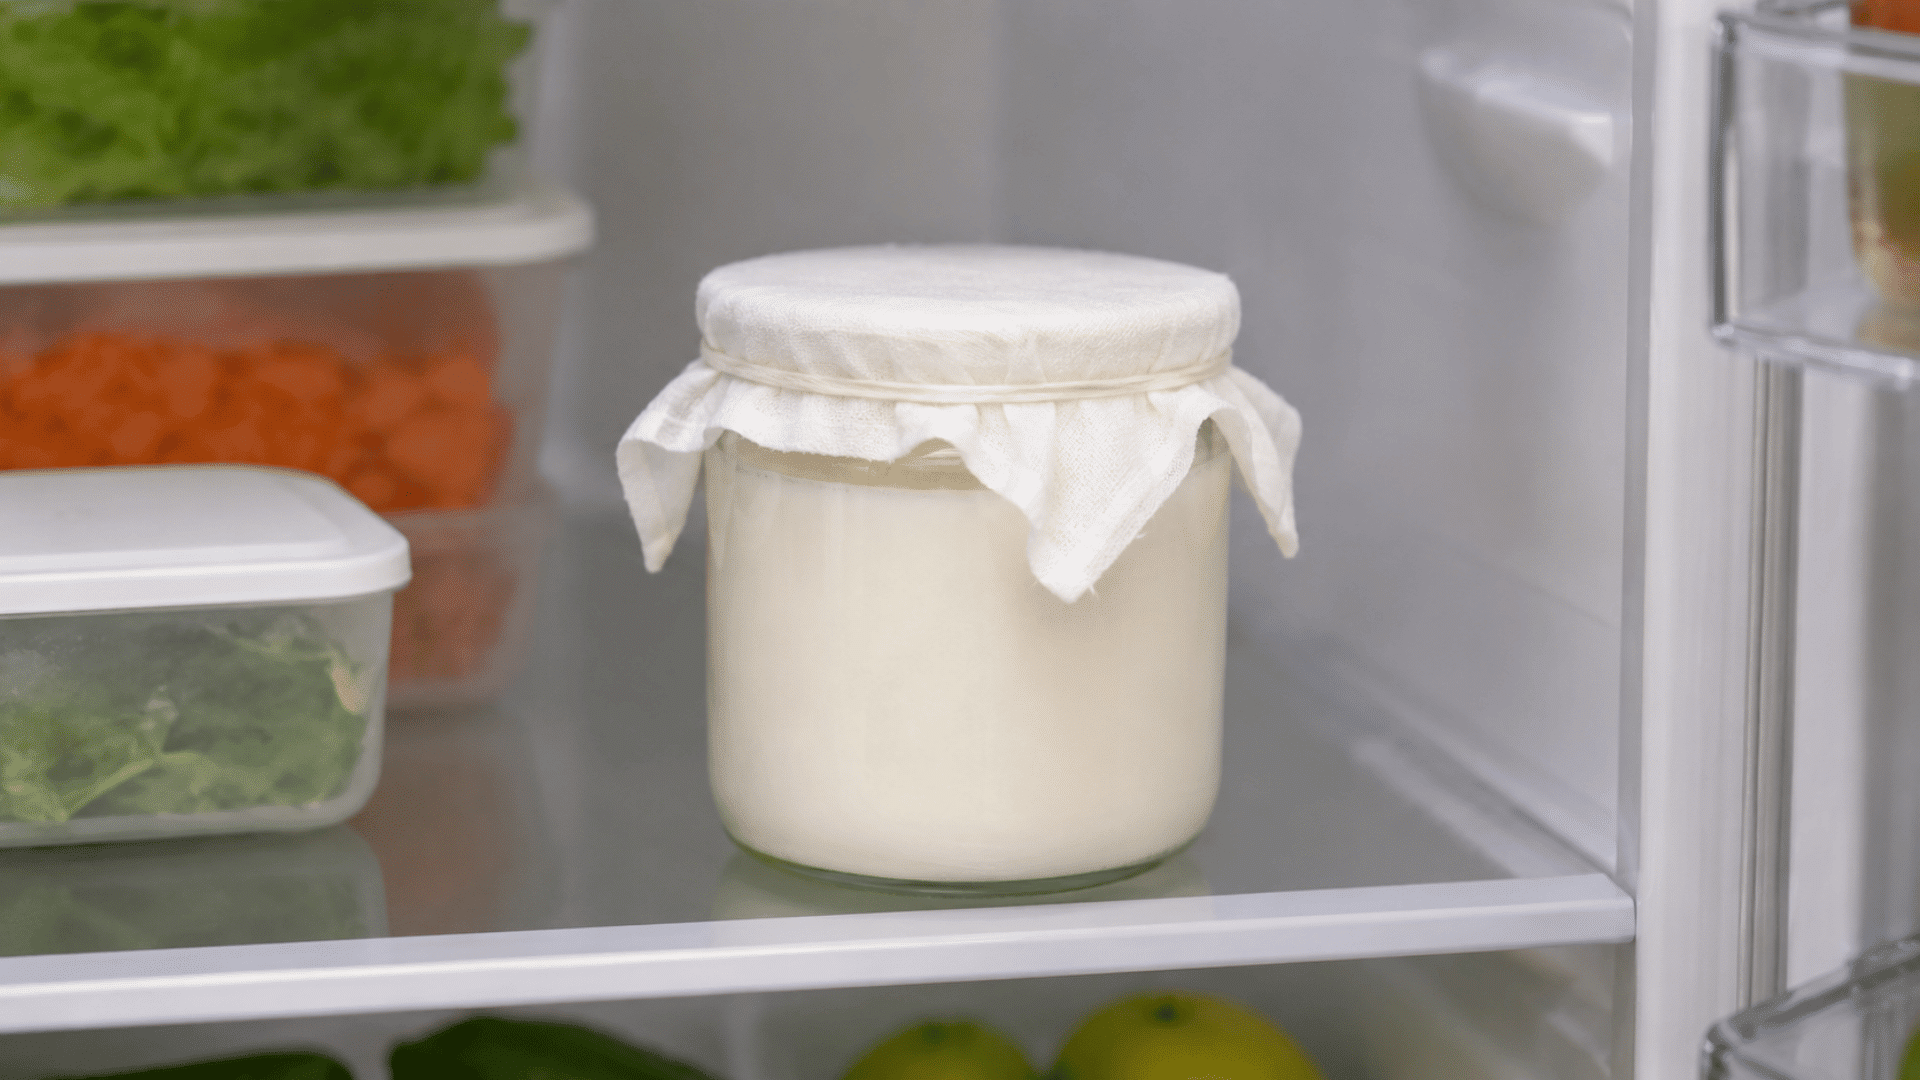
Once the yogurt has achieved a custard-like, velvety texture, carefully transfer the container to the refrigerator to allow it to set fully.
Let it chill undisturbed for at least 3 to 4 hours to develop the best possible texture and flavor before serving.
Homemade Yogurt Variations to Try Out
Once you learn how to make homemade yogurt, the plain batch can be used in many ways. The best part is that most variations happen after the yogurt sets, so the base recipe stays safe and simple.
1. Greek-Style Yogurt
Greek-style yogurt is made by removing excess whey from regular set yogurt, which results in a thicker, richer consistency.
This variation is especially popular because it feels more filling and works well in both recipes and as a standalone bowl.
- Use fully set homemade yogurt as the base
- Line a strainer with cheesecloth or a clean thin cloth
- Place the strainer over a bowl to collect whey
- Refrigerate for 2 to 4 hours, depending on the desired thickness
- Short straining time keeps it creamy and soft
- Longer straining creates a dense, spoonable texture
- Collected whey can also be reused in baking or smoothies
Greek-style yogurt works well for dips, breakfast bowls, spreads, and toppings because of its thick consistency and smooth mouthfeel.
2. Sweet Yogurt

Sweetened yogurt is a simple variation in which plain set yogurt is flavored with natural ingredients to make it more suitable for quick snacks or light desserts.
It introduces a subtle touch of sweetness and fruity notes that give a smooth, creamy base, improving its flavor profile.
- Begin with fully set plain yogurt
- Stir in honey, maple syrup, or a small amount of sugar
- Fold in fresh fruits like berries, bananas, or mango
- Optional: add a pinch of vanilla or cinnamon for extra aroma
- Mix gently until the texture stays smooth and combined
Sweet yogurt works well for everyday use when you want a quick bowl-style yogurt that feels balanced, sweet, and easy to customize.
3. Extra-Thick Yogurt

Extra-thick yogurt is useful when a batch comes out softer than expected and needs more body.
From a cooking perspective, small adjustments during preparation or after chilling can easily improve thickness without changing the base flavor.
- Mix dry milk powder into the milk before heating to increase thickness
- Use low-fat or skim milk only when needed, as it produces lighter yogurt
- Chill the yogurt fully before adjusting the texture
- Strain the yogurt using a clean cloth or strainer to remove excess whey
- Longer straining results in a firmer, denser consistency
This method helps improve texture while keeping the yogurt plain, clean, and suitable for both sweet and savory use.
4. Savory Yogurt

Savory yogurt is one of the most useful ways to use a plain batch. Since it is not sweetened, it naturally works well in dips, sauces, marinades, and light side dishes.
It also maintains the yogurt’s light, refreshing, and balanced qualities suitable for daily meals.
- Start with chilled plain yogurt
- Add garlic, salt, and black pepper for a basic savory base
- Mix in fresh herbs like mint, dill, or coriander
- Add lemon juice or grated cucumber for a fresh, light taste
- Stir gently until everything blends smoothly
This version feels healthy, hearty, and refreshing, making it a good option for meals beyond breakfast, especially as a healthy food option with a main dish.
Flavoring and Using Homemade Yogurt
Homemade yogurt can be used in many real-life situations beyond just a simple bowl. It works well for both everyday meals and special occasions because it can be adjusted to sweet or savory forms as needed.
Real-Life Serving Ideas:
- For guests: Serve with honey, fruits, and nuts as a light welcome bowl or dessert option
- For breakfast: Pair with oats, granola, or fresh fruit for a quick, filling start to the day
- For health-focused meals: Use plain yogurt with seeds, chia, or berries as a protein-rich snack
- For meals: Serve as a cooling side with spicy dishes, rice, or curries
- For snacks: Mix with herbs or spices to make simple dips for vegetables or crackers
- For kids: Add mashed fruit or a little honey for a mild, easy-to-eat option
These simple uses make homemade yogurt practical for daily eating, hosting, and balanced eating habits.
Understanding Storage and Shelf Life of Homemade Yogurt
As a chef, it’s important to understand that homemade yogurt contains no preservatives, so its freshness depends entirely on how it is stored after it sets. Proper storage is crucial for yogurt’s safety, texture, and flavor.
Refrigeration and handling mainly determine its shelf life. Even small changes in temperature or hygiene can affect its quality over time.
| Factor | Details |
|---|---|
| Shelf life | 5–7 days in the refrigerator |
| Storage method | An airtight, clean container in the fridge |
| Texture change | May become slightly thicker over time |
| Normal change | A small whey layer may appear and can be mixed back in |
| Warning signs | Strong sour smell, mold, or unusual texture |
Common Mistakes to Watch Out for
Even a carefully prepared batch can end up thinner, tangier, or softer than expected. Usually, the causes are related to temperature, the quality of the starter, or resting time.
These quick fixes can help when learning to make homemade yogurt, especially when the goal is a smooth, safe, and reliable batch.
| Problem | What May Have Happened | Simple Fix |
|---|---|---|
| Runny Yogurt | The starter may have been weak, or the yogurt may not have stayed warm long enough. | Use fresh plain yogurt with live active cultures, keep the jar warm, and let it set longer. |
| Too Sour | The yogurt likely rested too long before chilling. | Check the batch earlier next time and move it to the fridge once it looks set. |
| Liquid On Top | A little whey naturally separates from yogurt. | Stir it back in for a softer texture or pour it off for thicker yogurt. |
| Yogurt Did Not Set | The milk may have been too hot when the starter was added, or the starter may not have been active. | Let the milk cool properly before adding starter, and always check the label for live active cultures. |
| Grainy Texture | The milk may have heated too fast or been disturbed too much while setting. | Heat the milk slowly, stir gently, and let the yogurt rest without moving it. |
Final Thoughts
Homemade yogurt is simple, but it depends on a few trusted kitchen basics: clean tools, pasteurized milk, steady warmth, and proper chilling. These small steps help keep the batch safe, smooth, and easy to use.
Once you learn to make homemade yogurt, store it in a clean, covered container in the fridge and use it within 1-2 weeks. Save some from a fresh batch as your next starter, but switch to a store-bought one after a few rounds for better results.
Keep the first batch plain, then add fruit, honey, vanilla, or herbs after it sets. This keeps the yogurt flexible for breakfast bowls, smoothies, dips, sauces, and quick snacks.
Frequently Asked Questions
Can I Make Yogurt Without a Yogurt Maker?
Yogurt can be made without a yogurt maker by using a warm oven, a cooler, a towel-wrapped jar, or an Instant Pot to keep the milk warm while it sets.
Can Homemade Yogurt Be Made with 2% Milk?
Yes, 2% milk works well for homemade yogurt, producing a lighter texture than whole milk while still setting properly at the right temperature and with the right starter.
Can I Make Homemade Yogurt Without a Thermometer?
Yes, but a thermometer provides more reliable results. Yogurt is heat-sensitive, so guessing can result in a thin batch or a weak set.