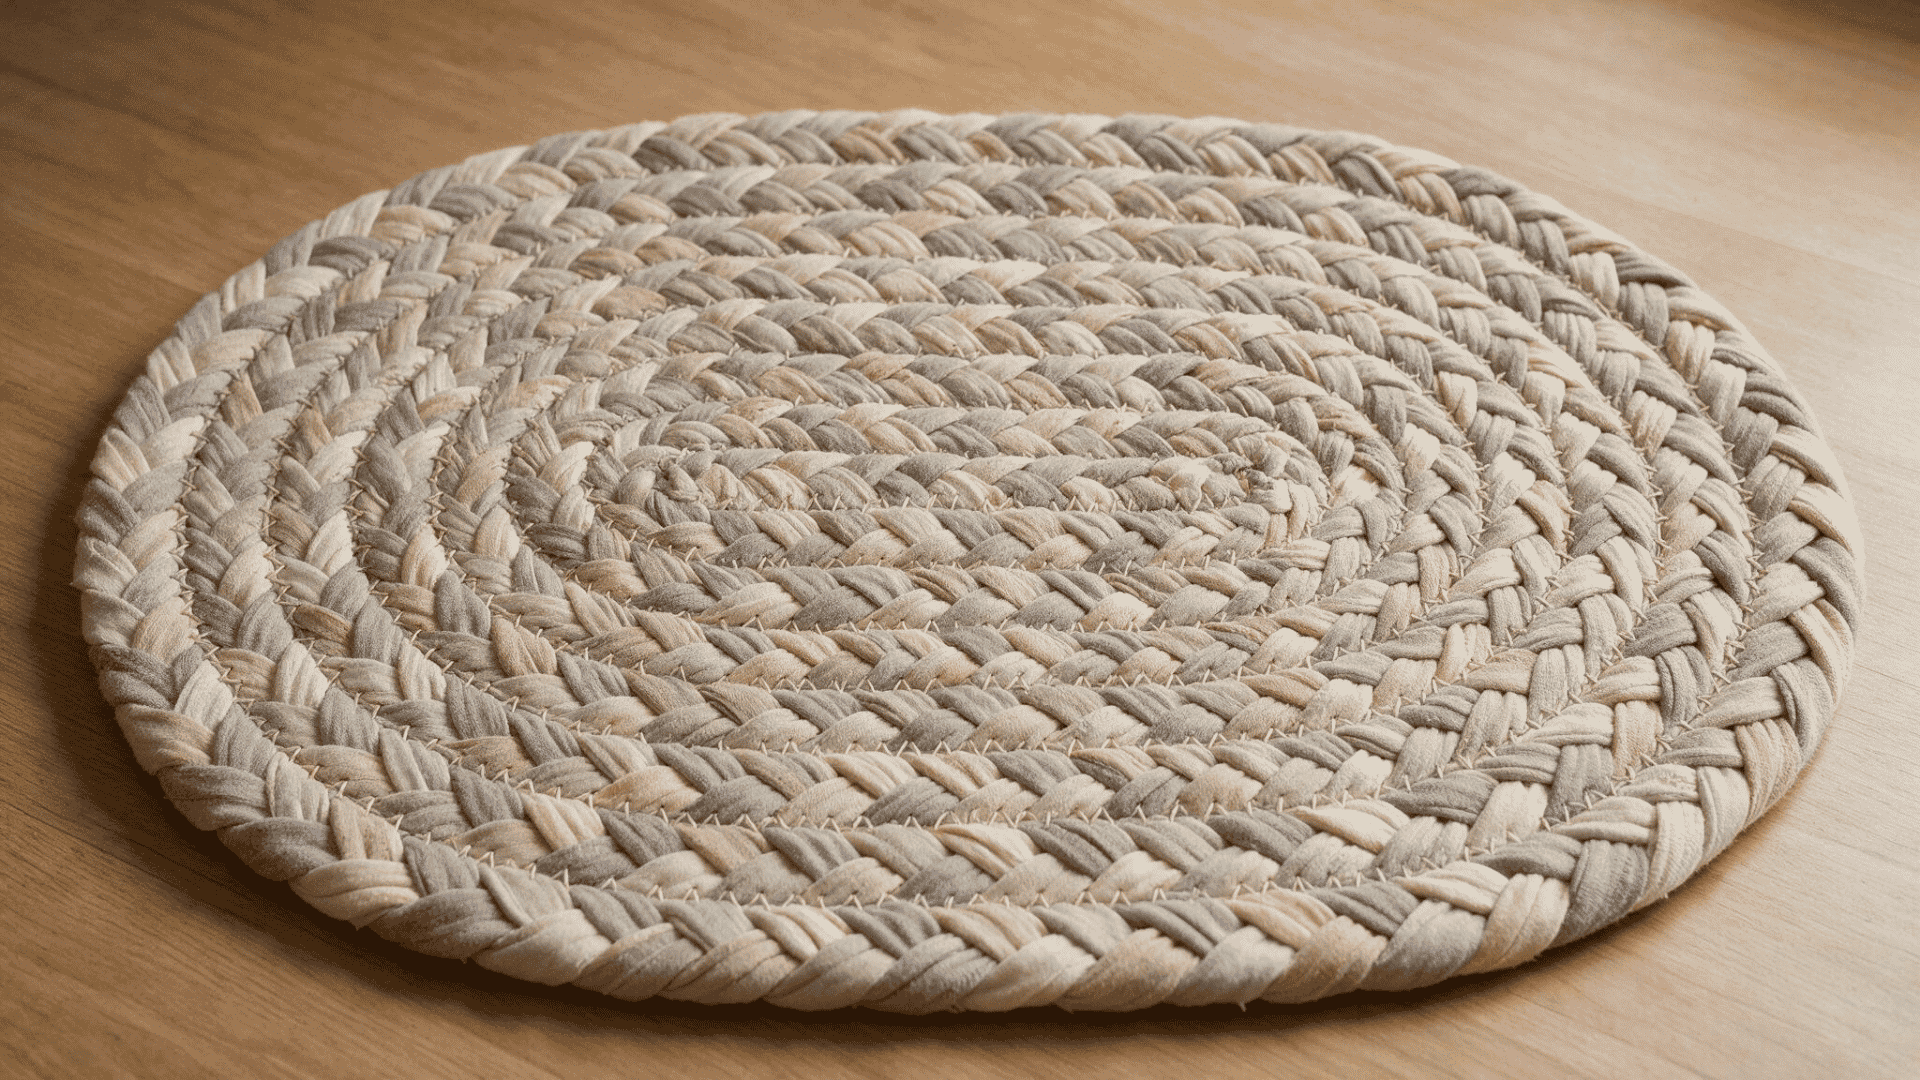
Old clothes and worn-out sheets don’t have to end up in the trash. You’ve probably got a pile of them sitting around right now, honestly.
Turns out there’s a pretty satisfying way to give that fabric a second life, and it won’t cost much or need fancy tools.
I remember staring at a stack of old t-shirts once, wondering what could even be done with them. A little patience changed that fast.
If it’s something cozy for a bedroom or a mat for the kitchen floor, there’s a method that fits your style. Ready to learn how to make a rag rug from scratch? Keep reading below.
What Is a Rag Rug?
A rag rug is a handmade rug created by joining strips of fabric from old clothes, sheets, or leftover textiles.
Similar to reusing fabric scraps for a rag quilt, this project gives old clothes, sheets, and leftover textiles another practical use around the home.
You can make rag rugs using different methods. They are popular DIY projects because they are affordable, customizable, and beginner-friendly.
You can choose different fabrics, colors, and patterns to match your space. With simple supplies and basic techniques, you can turn old textiles into a useful home decoration.
Materials Required
Gathering the right items before you start will make the work easier and help the rug hold its shape. Most supplies are simple, low-cost, and may already be available at home.
| Item | Purpose | Notes |
|---|---|---|
| Fabric strips | Makes the rug | Use clean fabric of similar weight |
| Fabric scissors | Cuts strips | Sharp blades give cleaner edges |
| Ruler | Measures strip width | Helps keep sizing even |
| Fabric clips | Holds strips together | Useful while braiding or joining |
| Large needle | Secures sections | Choose one made for thick fabric |
| Strong thread | Holds the rug together | Upholstery thread works well |
| Rug pad | Reduces slipping | Cut it smaller than the rug |
| Crochet hook | Makes looped rugs | Use only for the crochet method |
| Rug canvas | Supports knotted rugs | Pick a firm base with wide holes |
A large needle and strong thread help secure thicker sections, so being comfortable with threading a needle can make the sewn methods easier to handle.
Creative Rag Rug Making Ideas
Rag rugs come in various styles, like stitched braids, fabric loops, mesh-based, and frame-made designs. Each offers different textures, shapes, and firmness levels.
Select the method based on your tools, fabric, time, and desired finish before starting.
1. Braided and Sewn Rag Rug
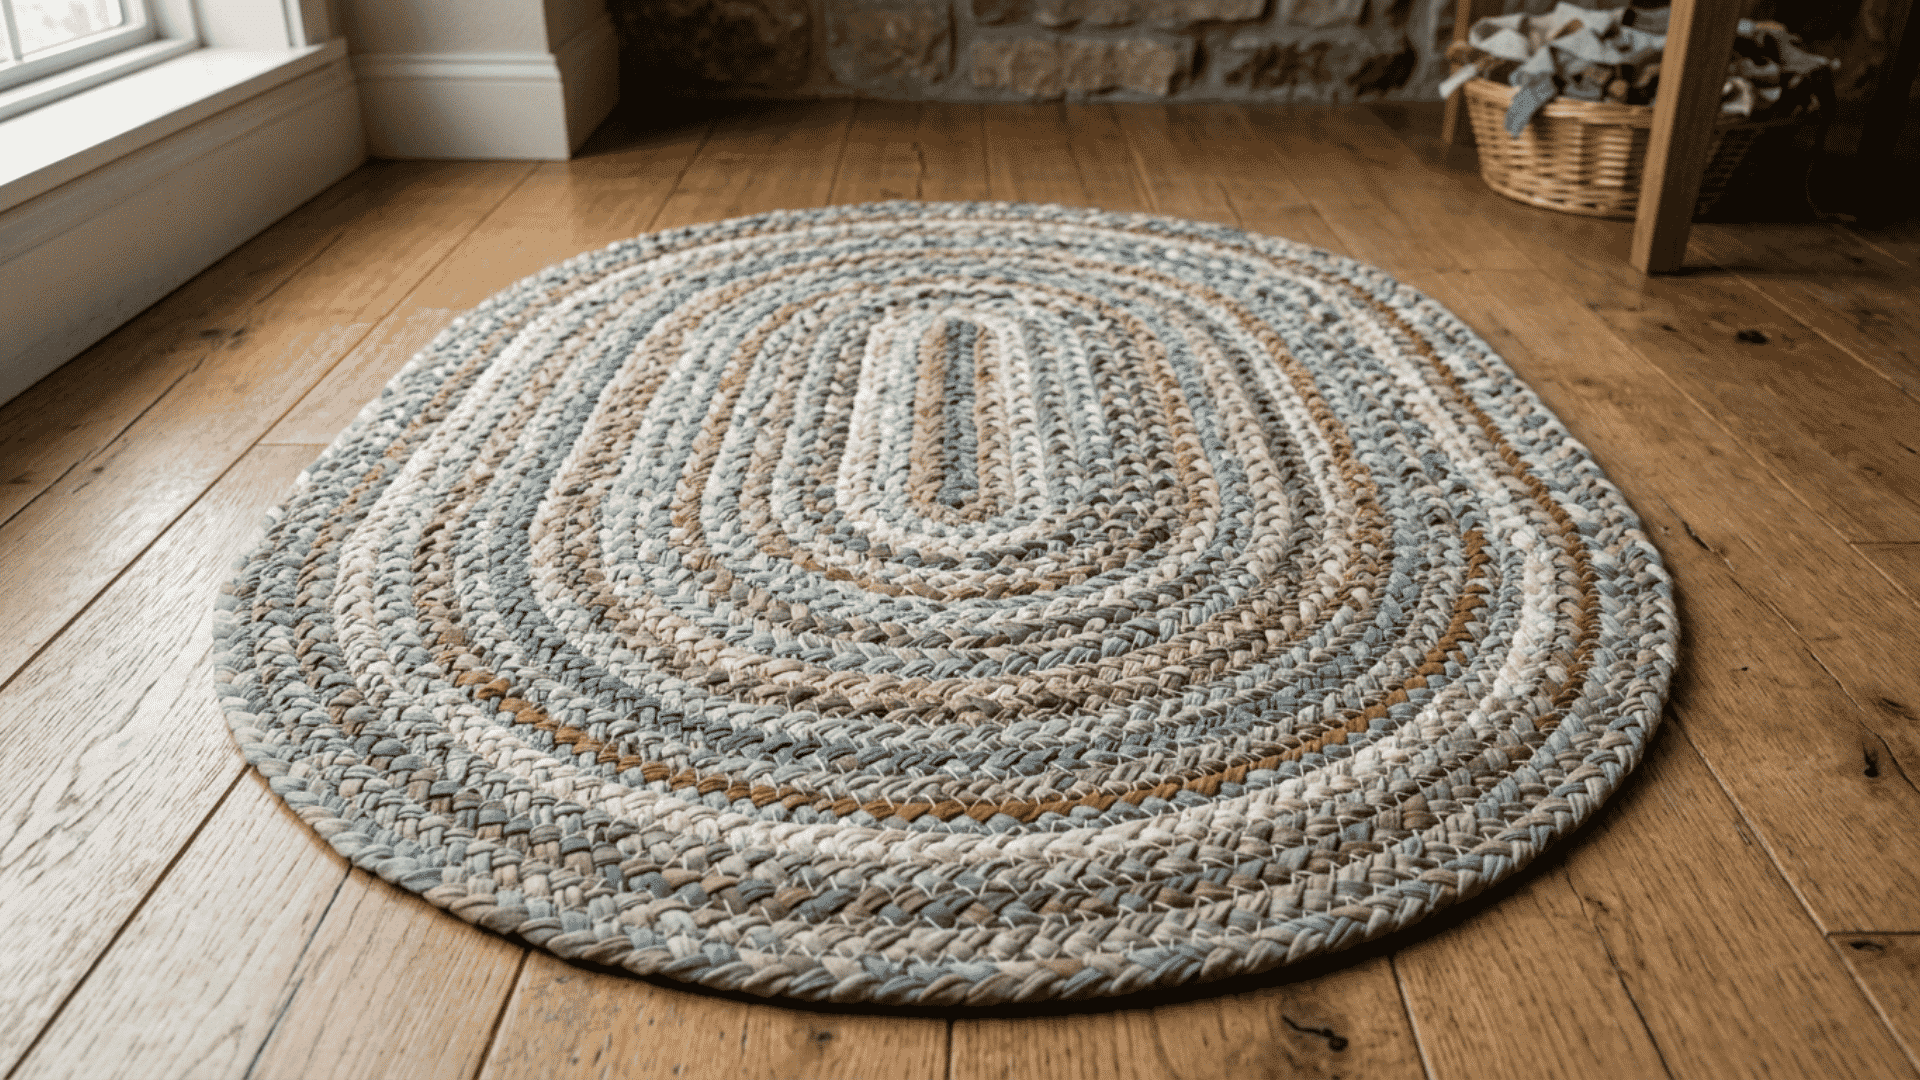
This method creates a firm round or oval rug by braiding fabric strips and sewing rows together. It’s a good starting point as you can check and fix shape issues early before the rug enlarges.
Steps to follow:
- Cut three fabric strips 2 to 3 inches wide and remove thick hems
- Join new strips at different points so bulky seams do not gather together
- Braid with steady tension and keep the finished braid flat, not twisted
- Coil the braid on a table, leaving each row snug but not pulled tight
- Sew through the touching sides every ½ to 1 inch with strong upholstery thread
Tip: I check the rug on a flat floor every few inches so you can correct curling before adding more rows.
2. No-Sew Interlaced Rag Rug
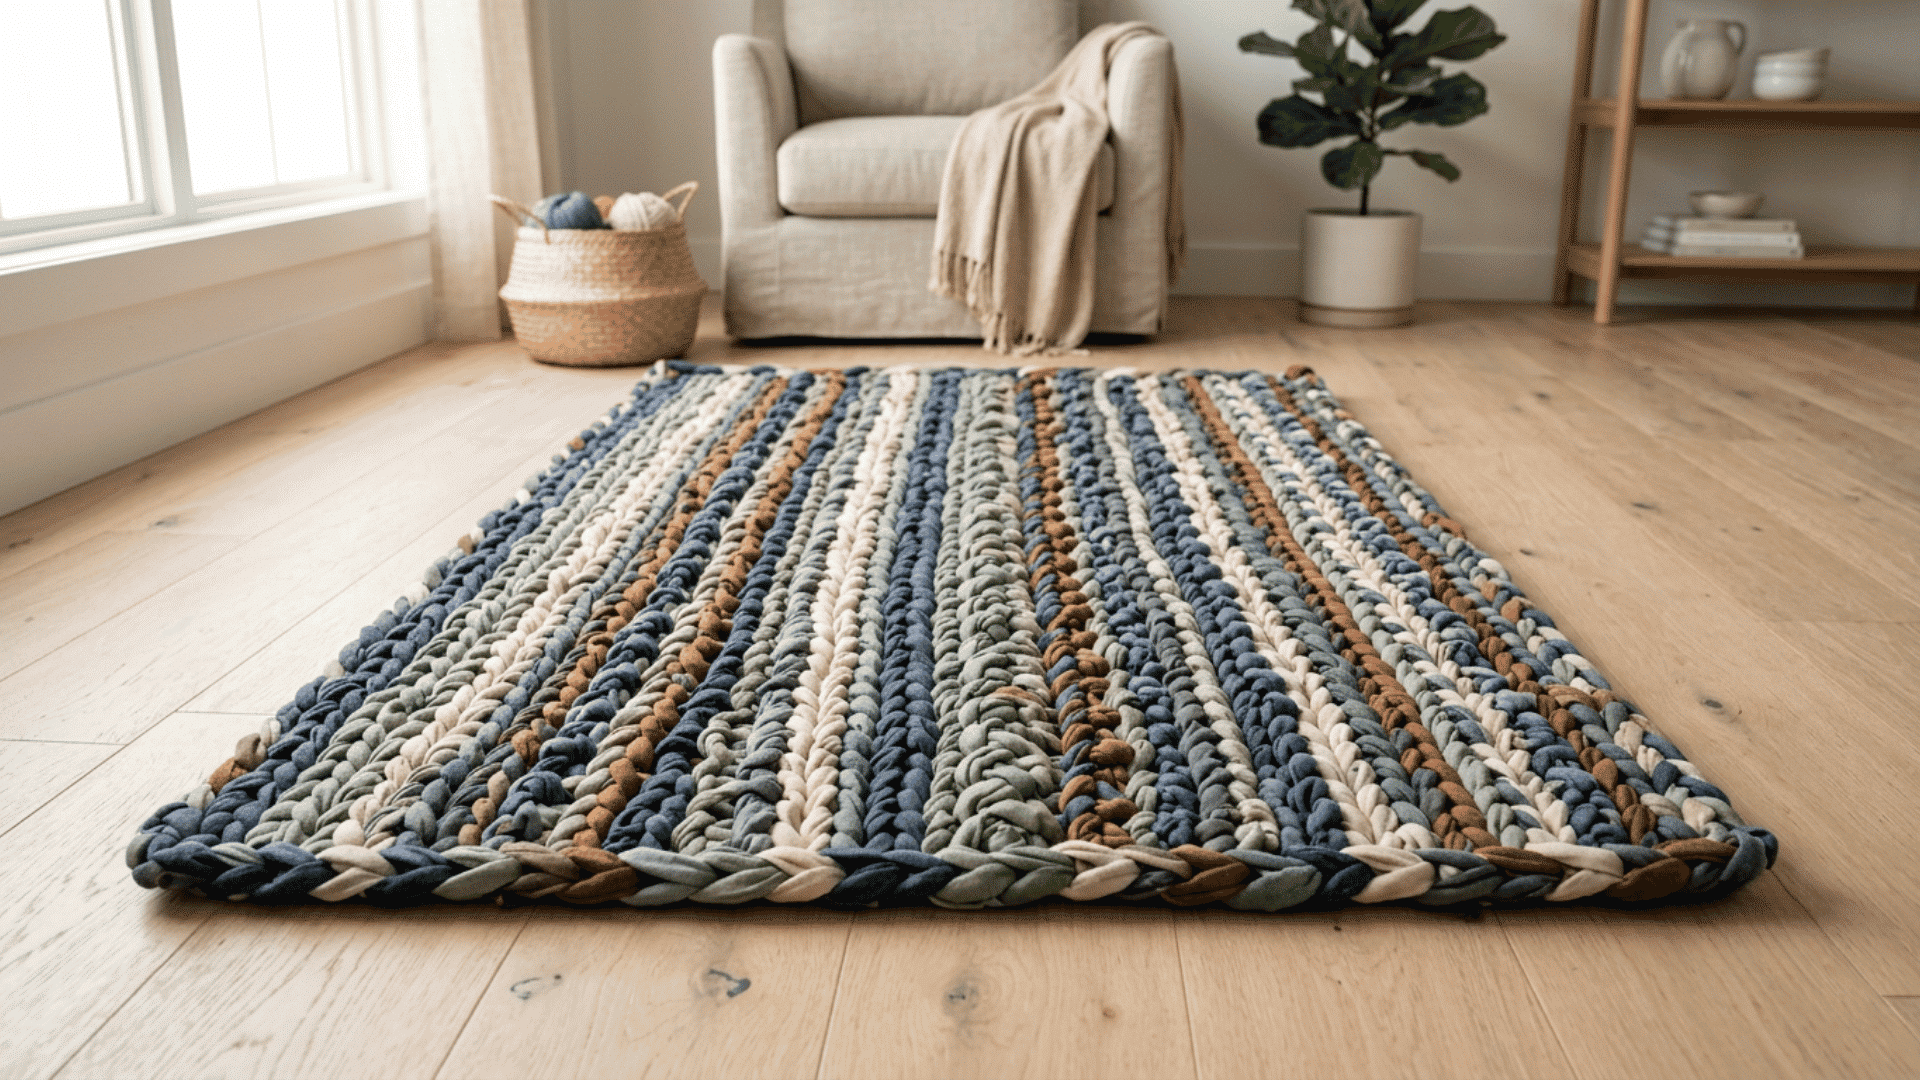
This method forms a flat rug by passing fabric strips through one another without using a needle or thread. It works best with soft, slightly stretchy fabric that can hold tight joins without fraying.
Steps to follow:
- Cut fabric into strips about 1 to 1½ inches wide for easier handling
- Make a small slit near both ends of each strip for joining
- Link the strips by pulling one end through the matching slits
- Cross each strip over and under the next while keeping the rows close
- Secure the final ends by tucking them back through nearby loops
Tip: Keep the tension even across every row because tight sections can pull the rug inward at the sides.
3. Loopy Hooked Rag Rug
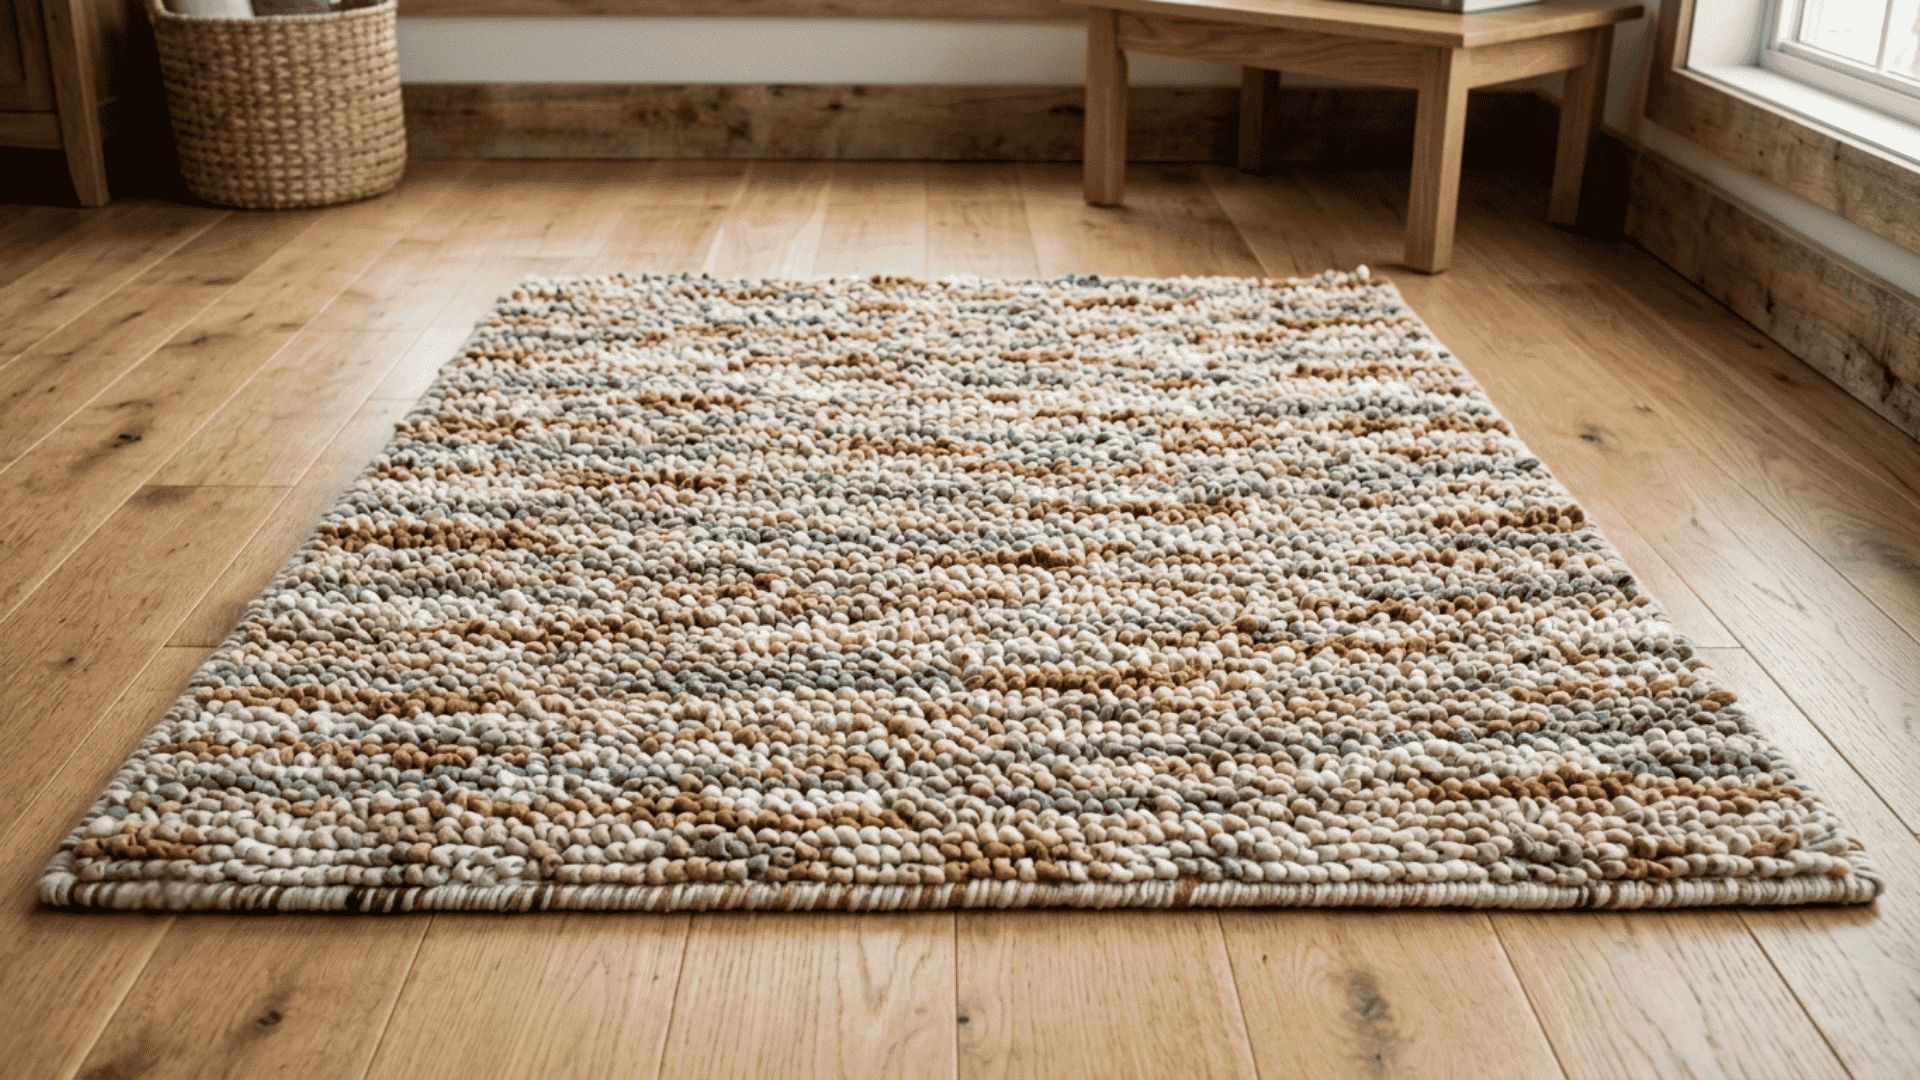
This method uses a rug hook to pull fabric strips through a strong backing, forming soft loops across the front. The backing keeps the rug steady and makes it easier to control the shape and thickness.
Steps to follow:
- Cut the fabric into strips about ½ to 1 inch wide
- Secure rug canvas or burlap tightly inside a sturdy wooden frame
- Push the rug hook through one opening from the front side
- Catch the fabric underneath and pull up a small, neat loop
- Continue through nearby openings until the backing is fully covered
Tip: Keep the loops at a similar height so the rug feels smooth and does not develop uneven raised areas.
4. Shaggy Prodded Rag Rug
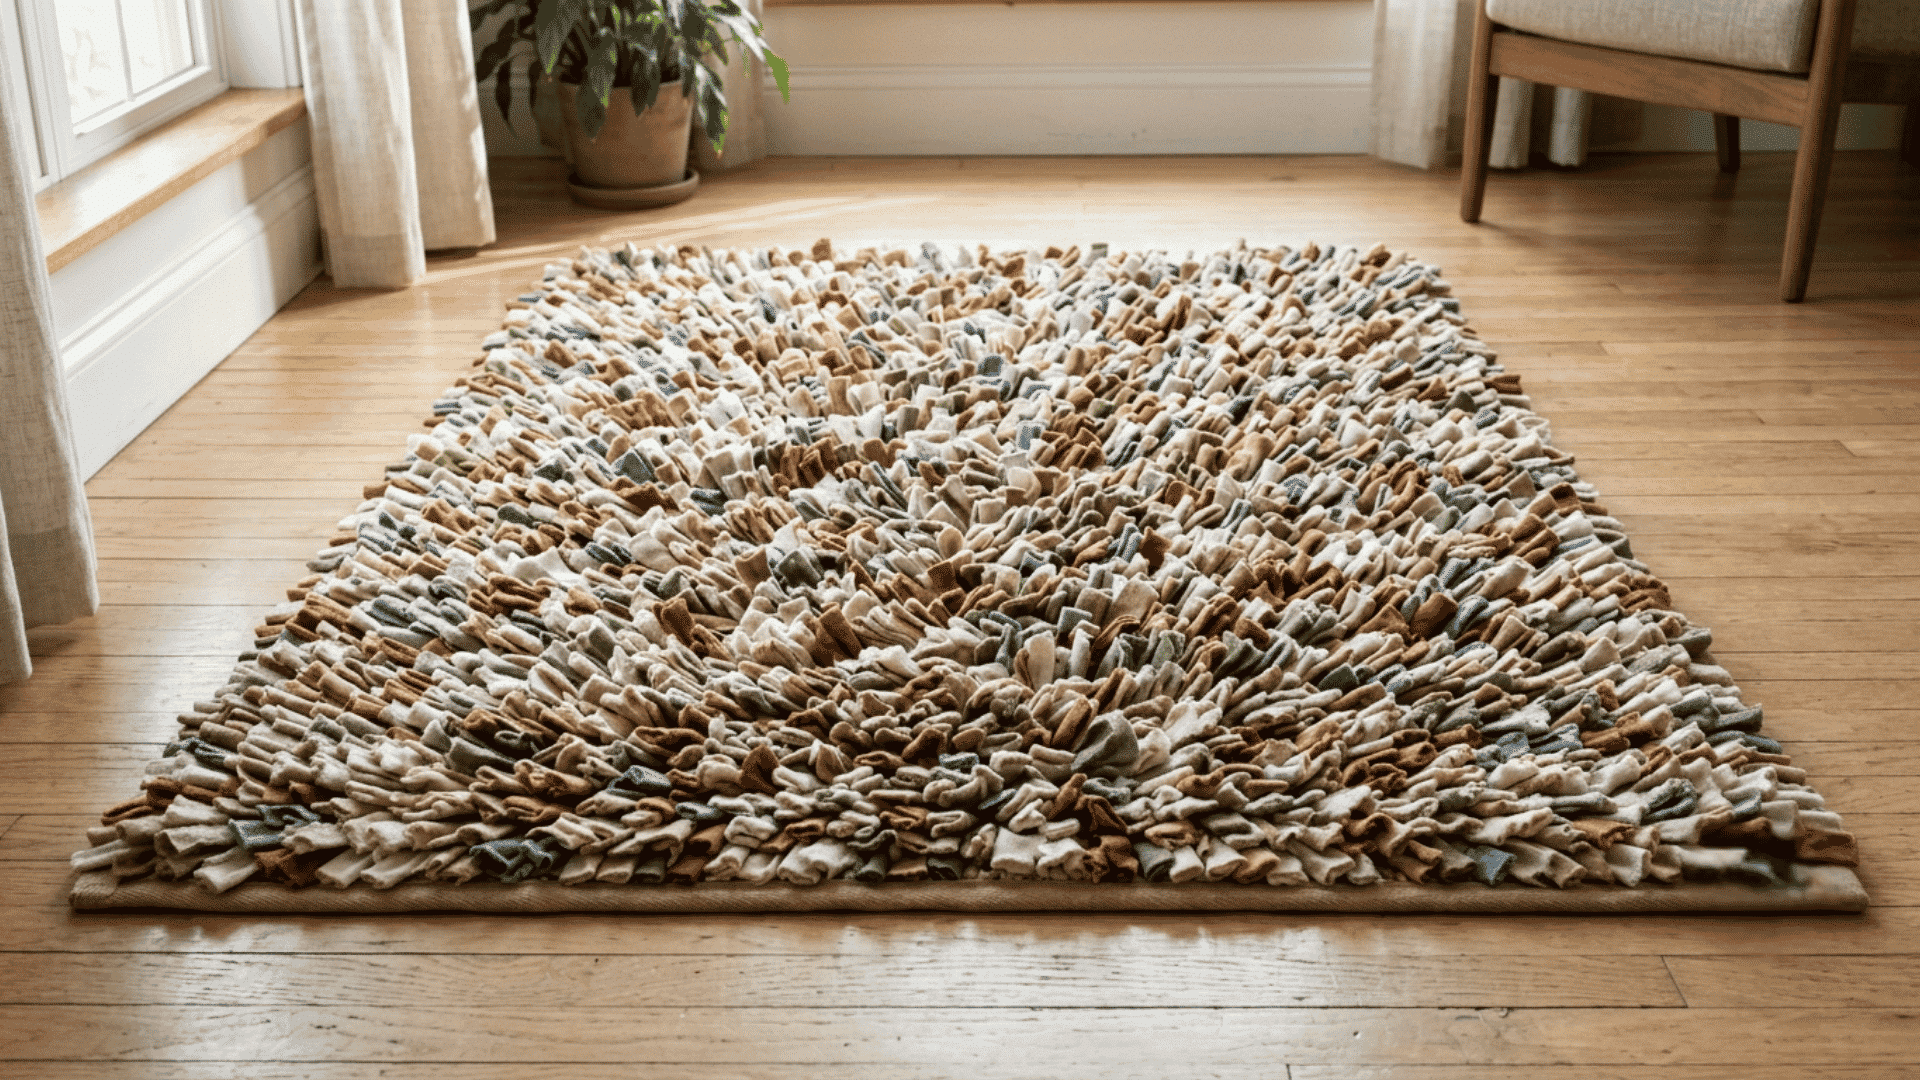
This method pushes short fabric strips through a firm backing, leaving both ends raised on the front. It creates a thick, soft rug that works well for small bedside or bathroom mats.
Steps to follow:
- Cut the fabric into strips about 1 inch wide and 4 inches long
- Stretch burlap or rug canvas firmly across a wooden working frame
- Push a prodding tool through two nearby holes in the backing
- Guide one fabric strip through so both ends remain on top
- Fill each row evenly until no large gaps show through the rug
Tip: Test a small section first because thick fabric needs wider spacing than thin cotton strips.
5. Latch Hook Mesh Rag Rug
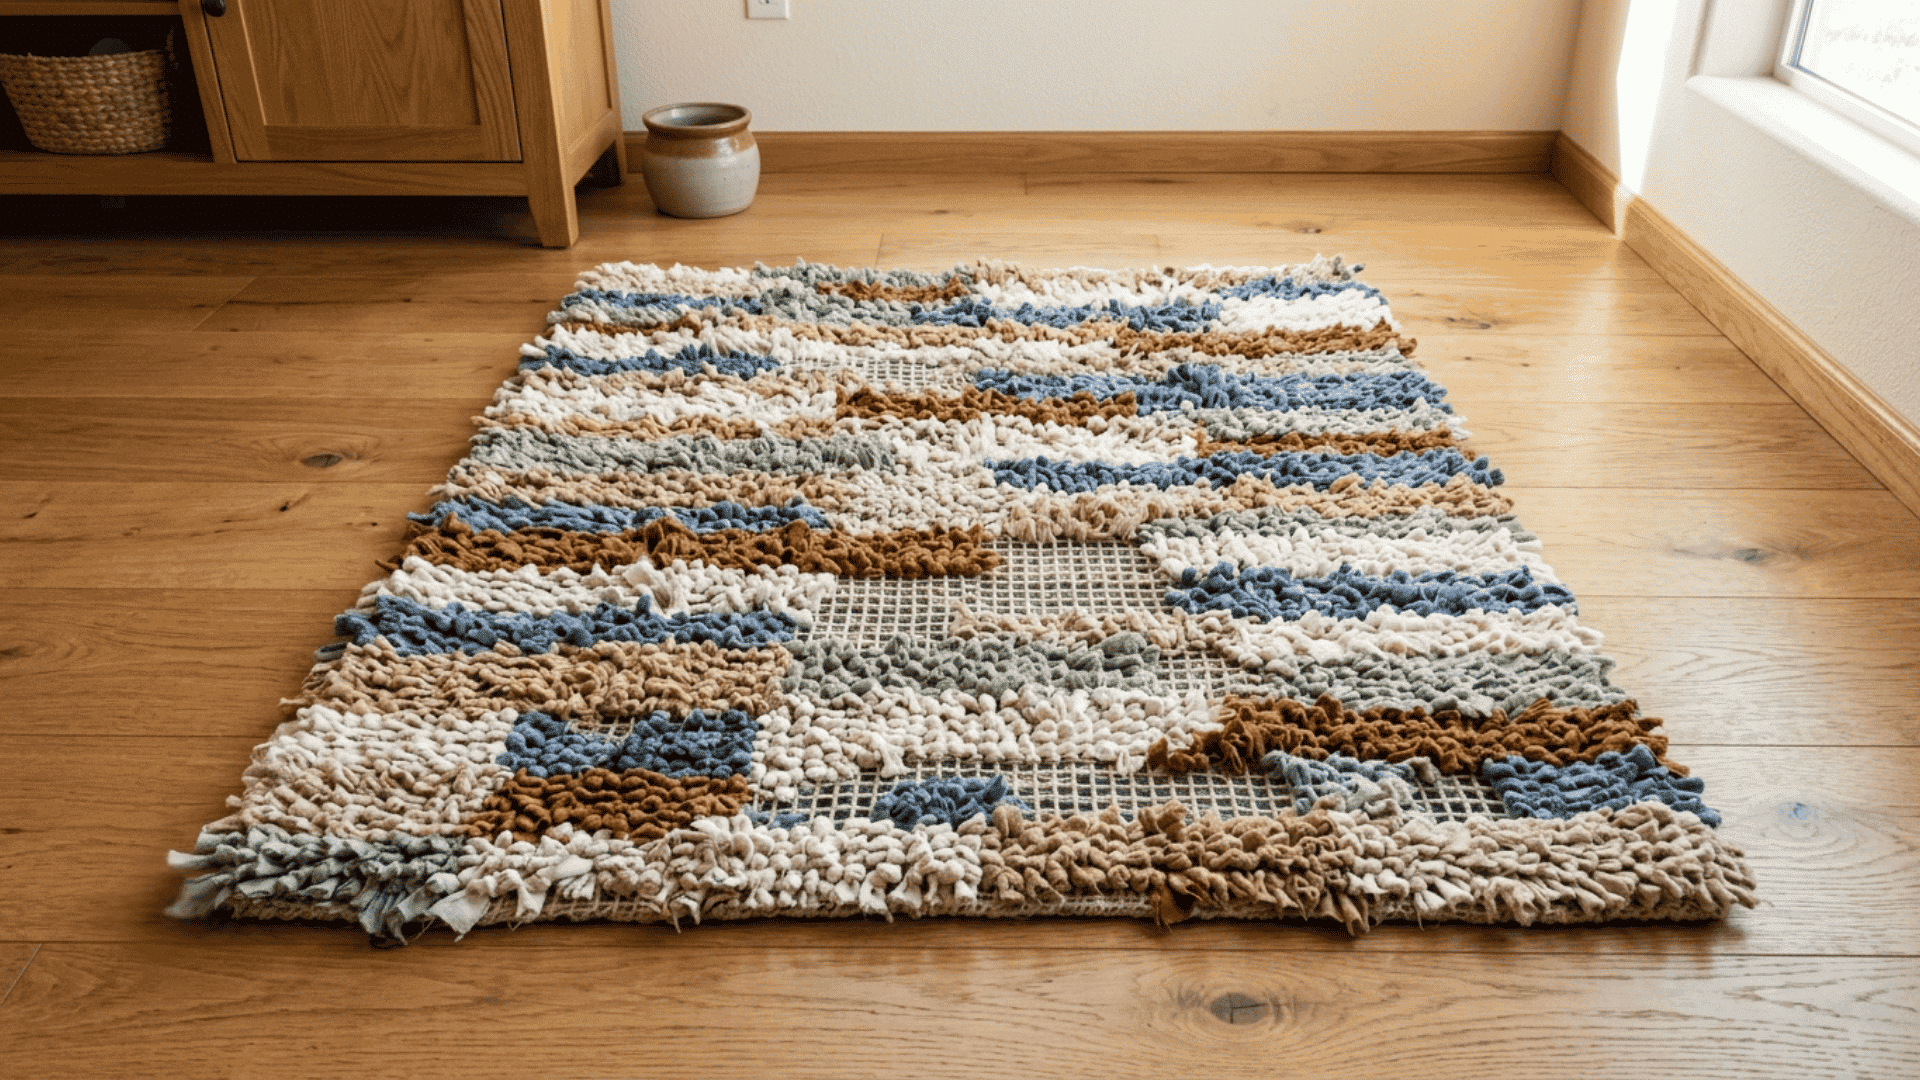
This method uses a latch hook tool to fasten short fabric pieces onto a mesh base. It creates a thick surface and lets you control the color pattern one square at a time.
Steps to follow:
- Cut the fabric into strips about 1 inch wide and 5 inches long
- Place the mesh on a flat table with the edges held steady
- Slide the latch hook under one mesh bar from the front
- Fold one strip around the hook and pull both ends through
- Repeat across each row until the mesh base is fully covered
Tip: Leave one empty mesh row around the edge so you can fold and secure the border neatly.
6. Frame Loom Rag Rug
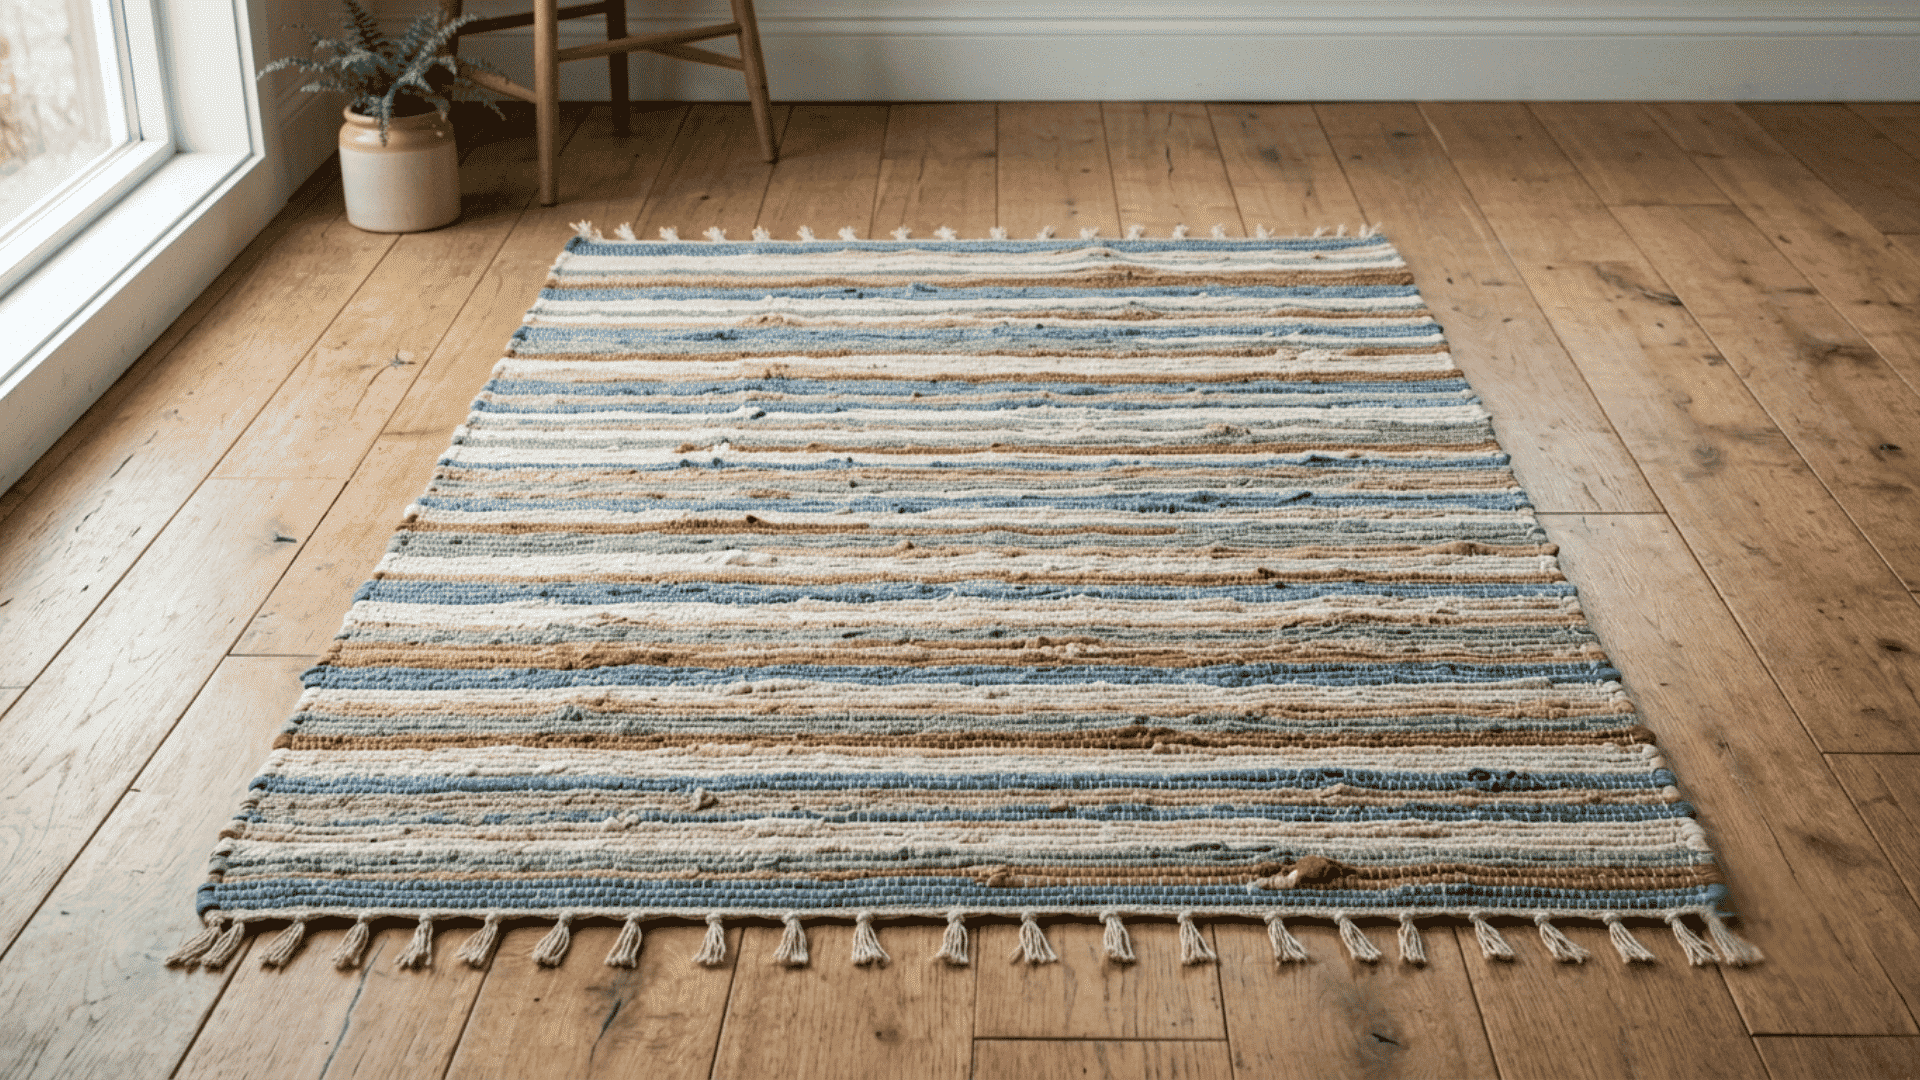
This method uses a simple wooden frame and firm base cords to form a flat rectangular rug. It gives you steady control over the width, edge shape, and spacing between fabric rows.
Steps to follow:
- Tie strong cotton cord vertically across the frame at even ½-inch spaces
- Secure the first fabric strip near the lower corner of the frame
- Pass the strip over and under each cord across the full row
- Reverse the pattern on the next row and press each section downward
- Tie off the final strip before removing and securing the base cords
Tip: Avoid pulling the fabric too tightly at the edges, as this can make the rug narrow in the middle.
7. Oversized Crochet Rag Rug
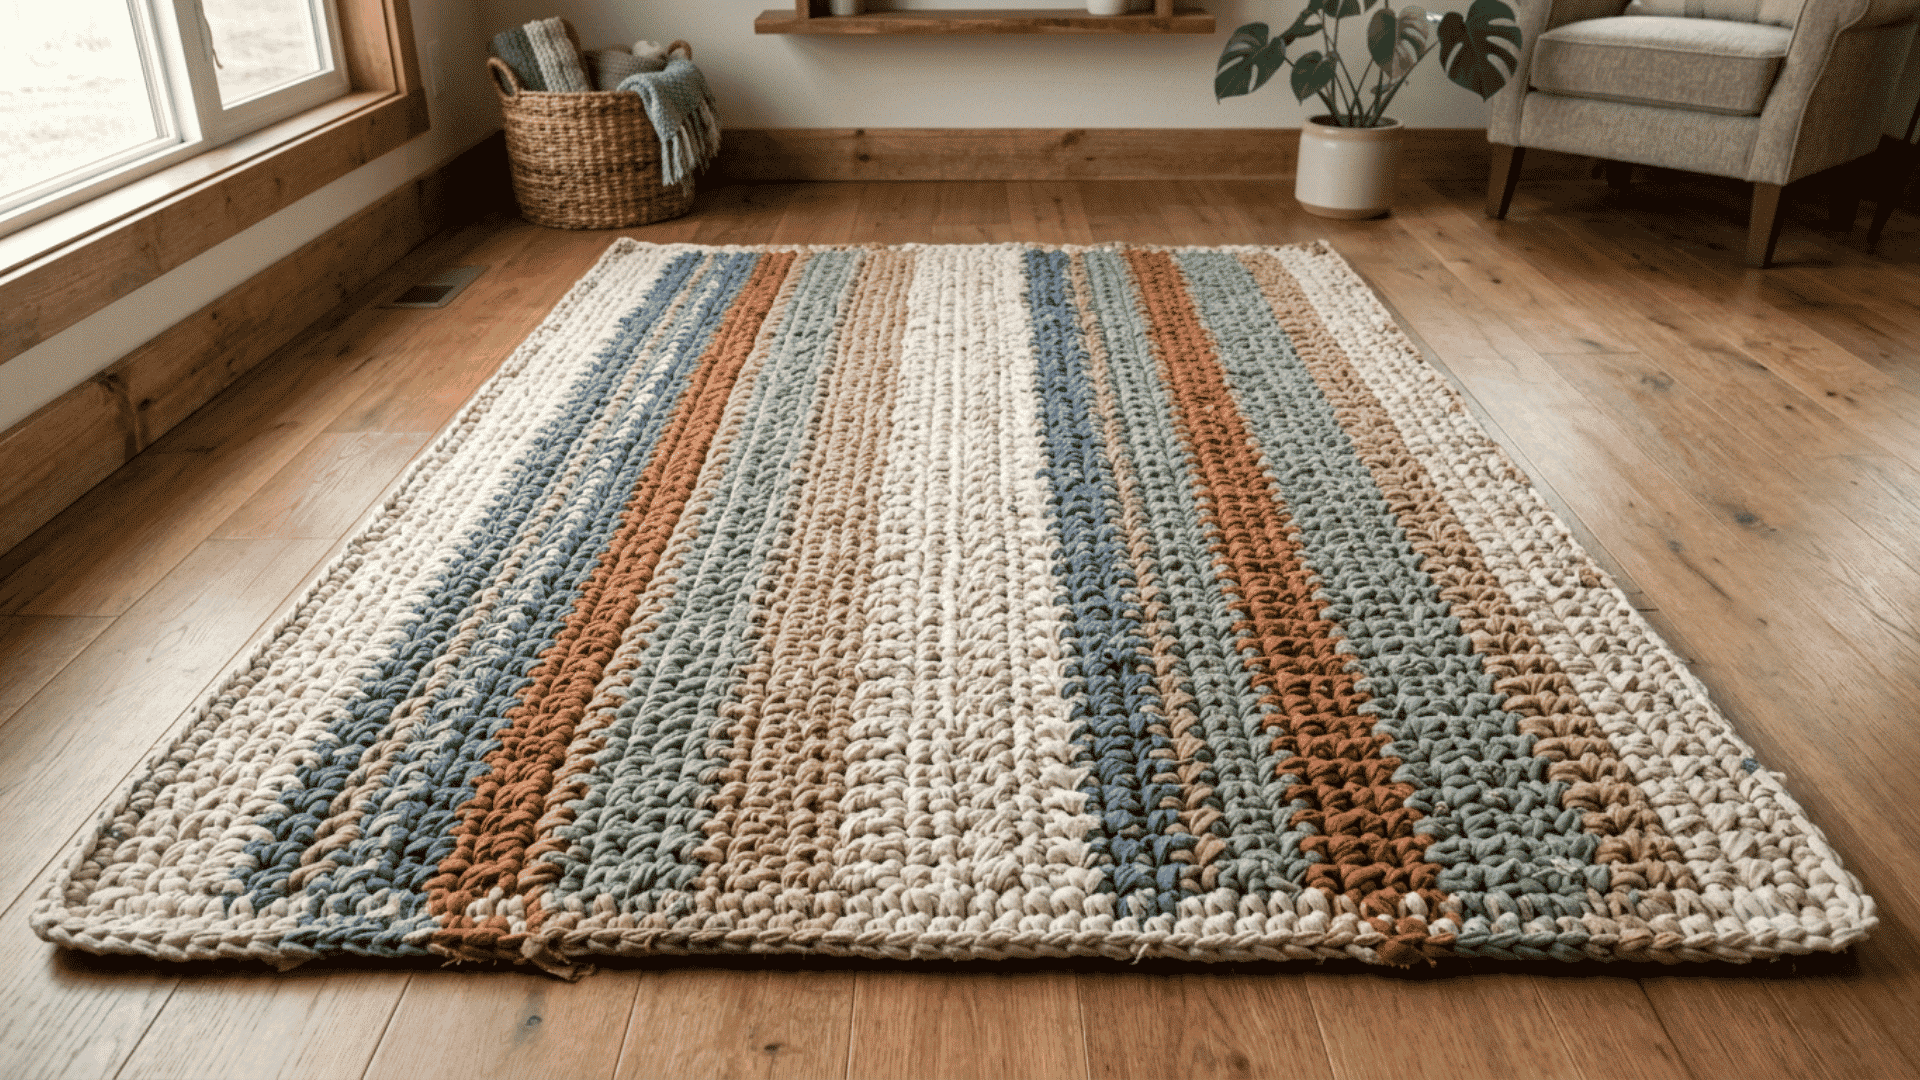
This method uses a large crochet hook and long fabric strips to form a thick rug with firm, linked stitches. It works best with soft cotton fabric that bends easily and does not create bulky joins.
Steps to follow:
- Cut the fabric into strips about 1 to 1½ inches wide. Once the fabric strips are joined, basic crochet stitches can help you get comfortable working the rows with a large hook
- Join each strip with flat knots or small sewn seams
- Make a starting chain that matches the planned rug width
- Work single crochet stitches across each row with steady tension
- Add rows until the rug reaches the length you need
Tip: I use the same hook size and strip width throughout so the rug stays even and lies flat.
8. Arm-Knitted Rag Rug
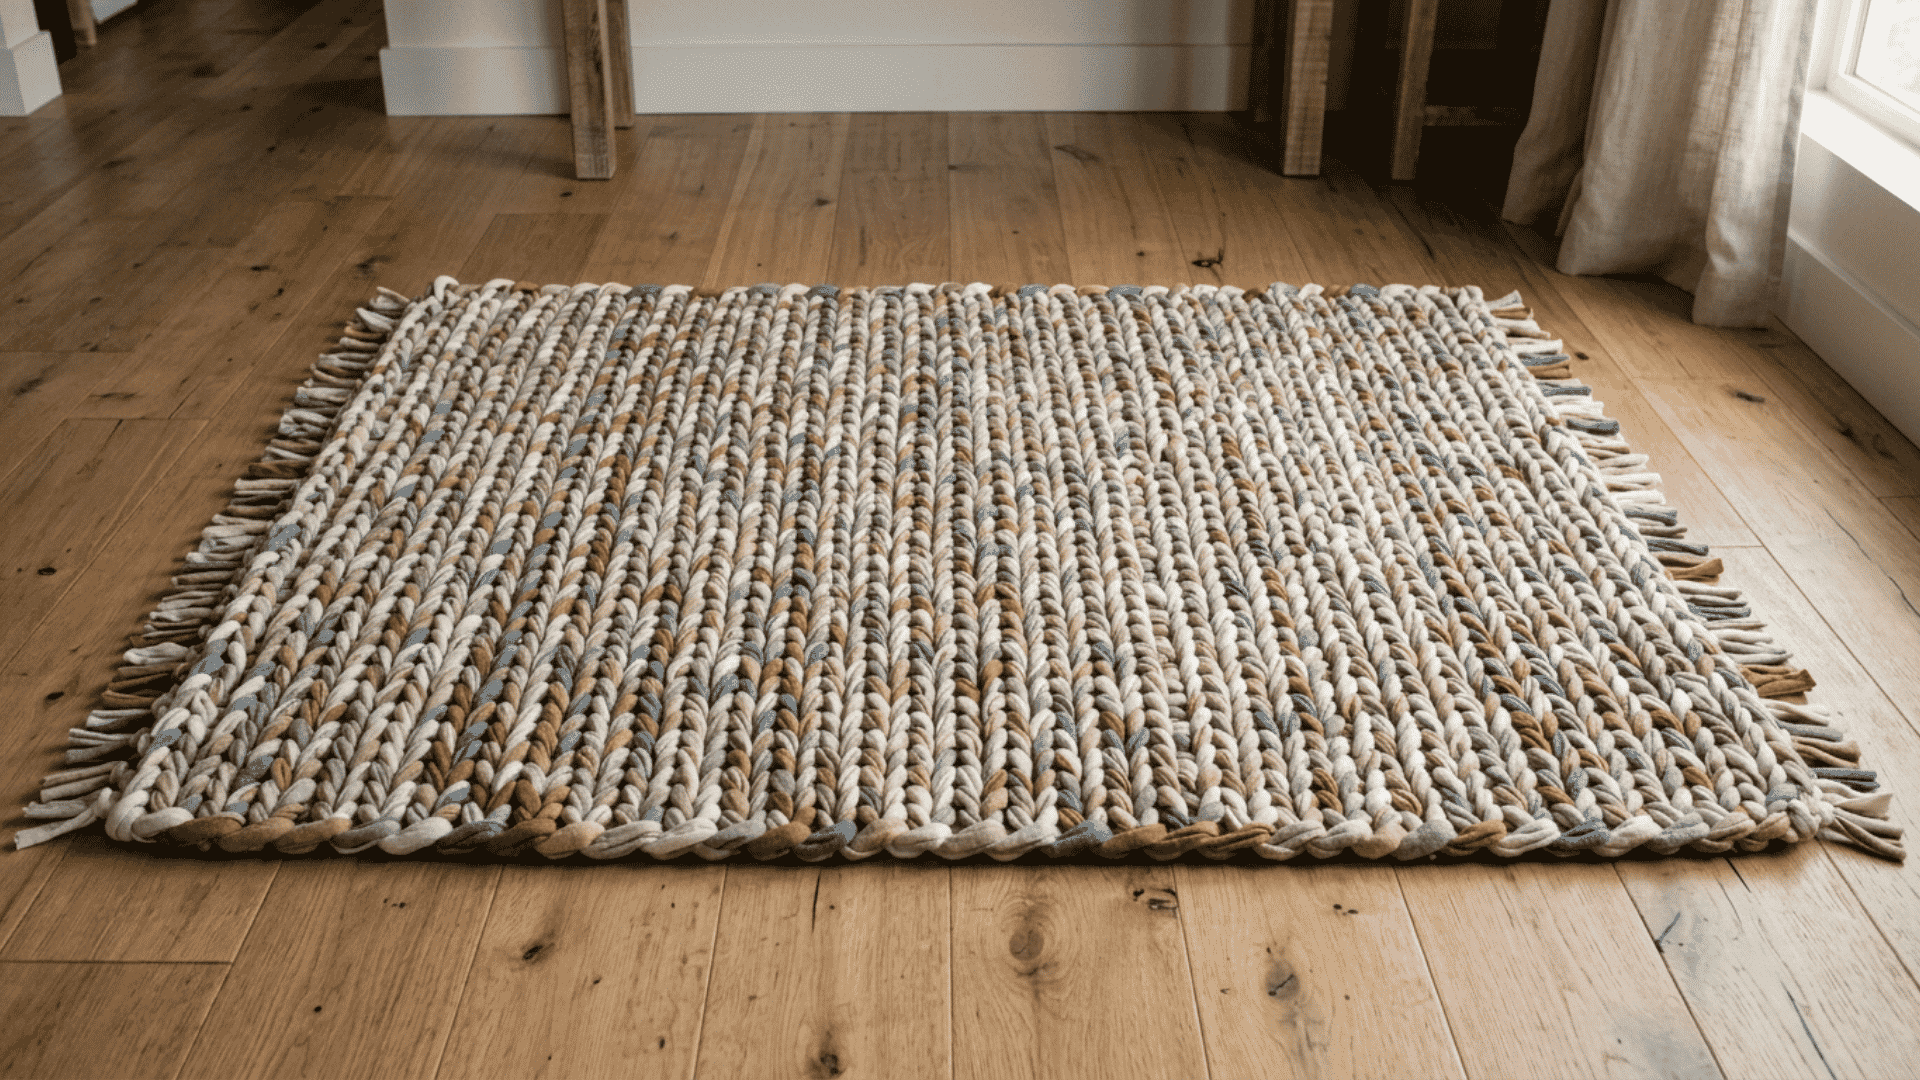
This method uses your arms instead of needles to form large, loose stitches with thick fabric strips. It works well for soft rugs, but steady tension is important to keep the shape even.
Steps to follow:
- Cut soft fabric into strips about 2 to 3 inches wide
- Join the strips with flat seams to reduce thick spots
- Make a large starting loop and place it over one arm
- Pull each new loop through the last while keeping equal tension
- Continue adding rows until the rug reaches the planned size
Tip: Keep each loop close in size, since loose sections may stretch more after the rug is placed on the floor.
9. Locker Hooking Rag Rug
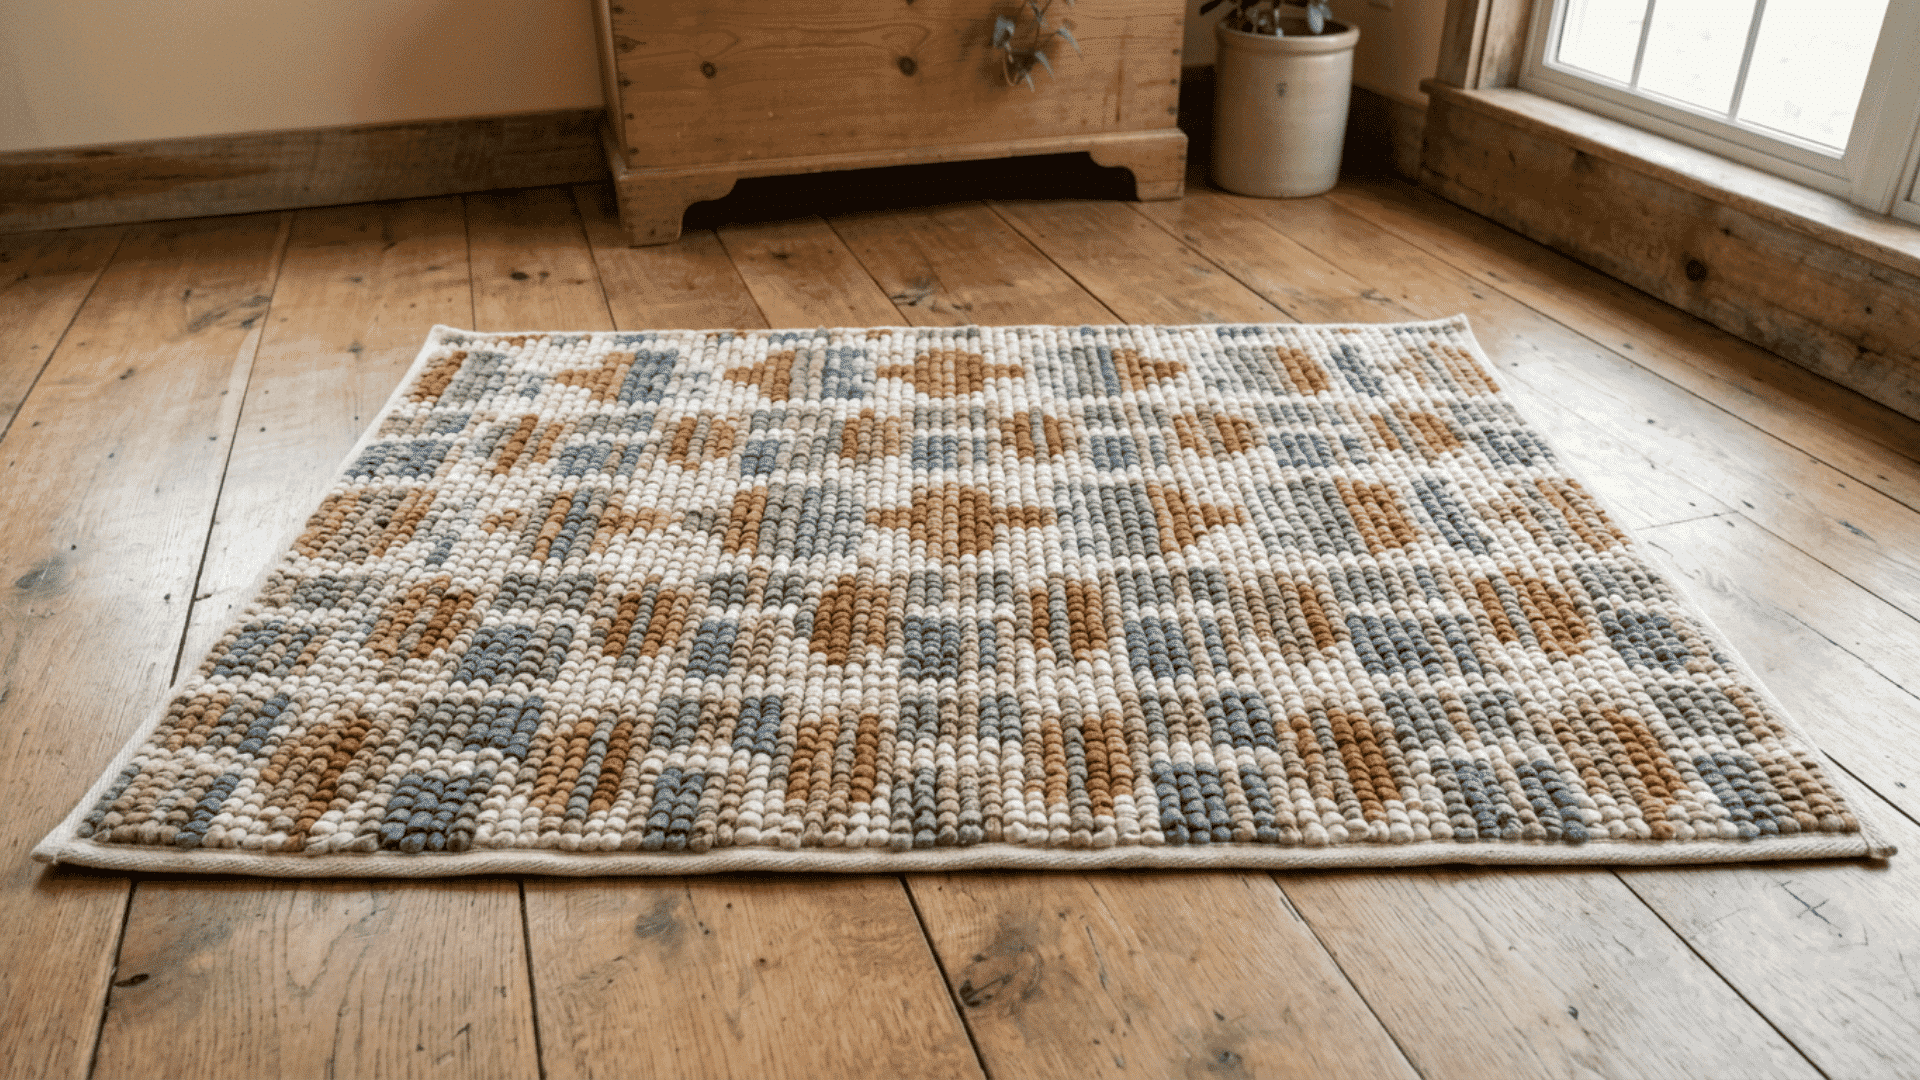
This method uses a locker hook, fabric strips, and strong cord to secure each loop against a mesh base. It creates a firm rug with a neat surface that holds its shape well.
Steps to follow:
- Cut the fabric into strips about 1 inch wide and several feet long
- Thread strong cord through the eye of the locker hook
- Pull each fabric strip through the mesh to form an even loop
- Slide the cord through the loops as each row is completed
- Continue across the base until the mesh is fully covered
Tip: Keep the cord snug without pulling too hard, since excess tension can make the rug curl at the edges.
10. Wrapped Coiled Rope Rag Rug
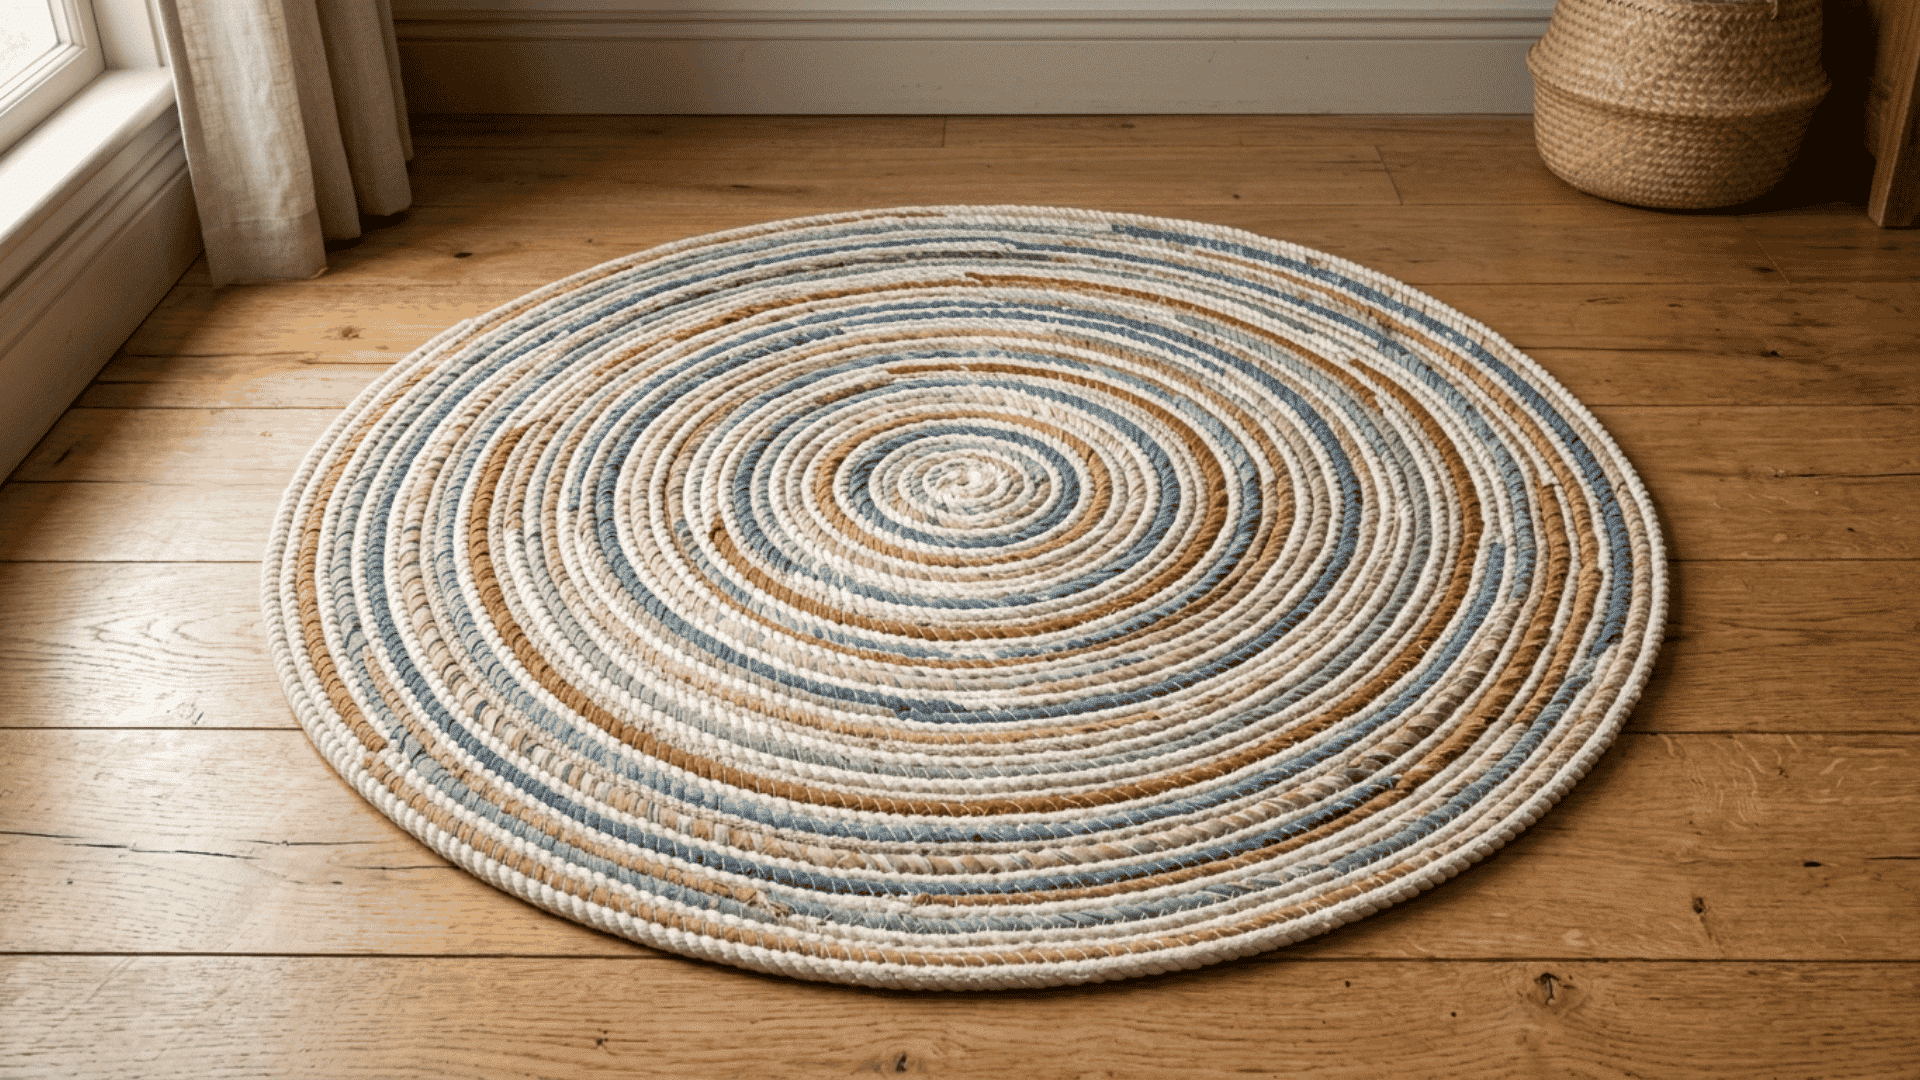
This method wraps narrow fabric strips around a sturdy rope core, then coils each section into a round or oval rug. The rope adds strength, while the fabric controls the color and surface feel.
Steps to follow:
- Cut the fabric into strips about 1 to 2 inches wide
- Wrap one strip firmly around the rope with slight overlap
- Secure each new strip before the previous piece runs out
- Coil the covered rope flat and keep each row close together
- Stitch through nearby coils with strong thread as the rug grows
Tip: Keep the rope relaxed during coiling because pulling it tight can make the center rise or the edges curl.
11. Hula Hoop Fabric Rug
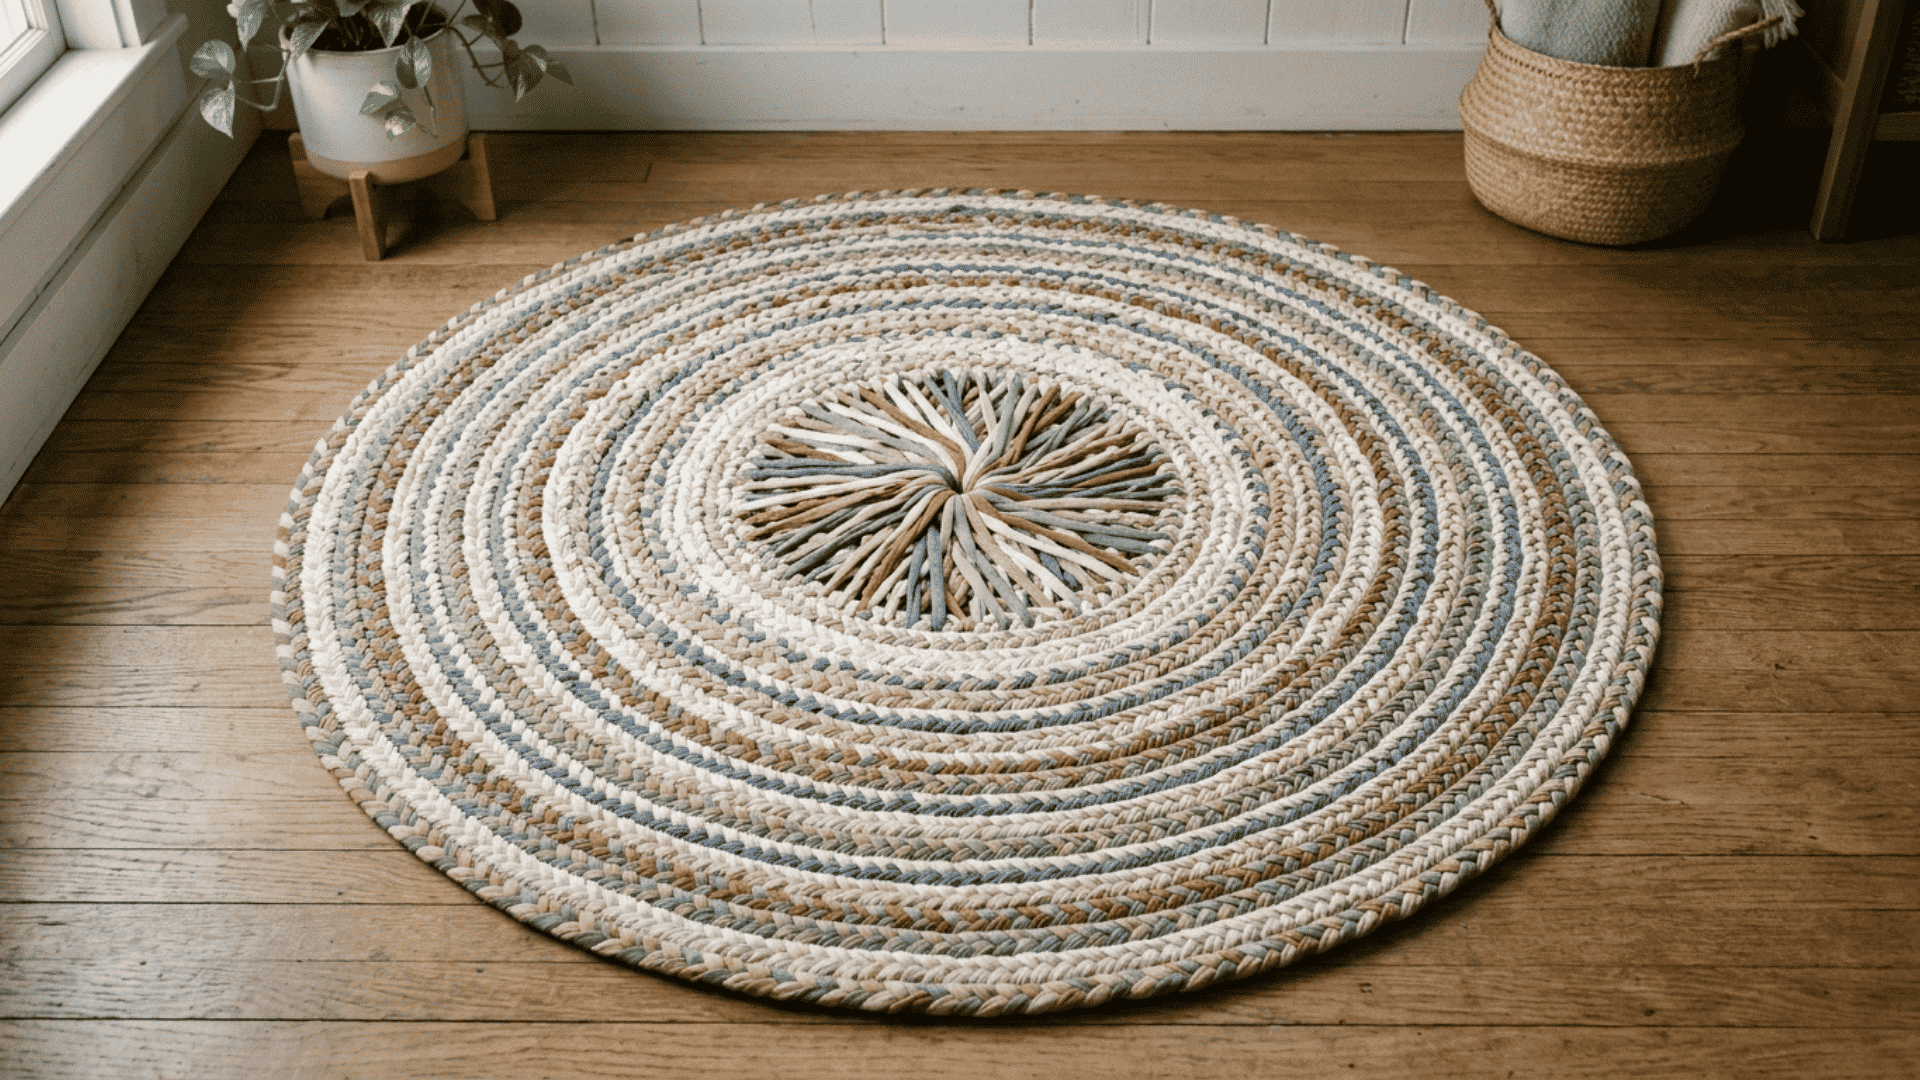
This method uses a hula hoop as a round frame, with fabric strips crossed through the center to form a circular rug. It works best for small mats because the finished size depends on the hoop width.
Steps to follow:
- Stretch several long fabric loops across the hoop at even spaces
- Separate each loop to create more support lines around the frame
- Tie one fabric strip near the center with a secure knot
- Pass the strip over and under each support line in a circle
- Continue outward, then tie and trim the ends before removing the rug
Tip: Keep the rows loose near the center so the finished rug stays flat after it comes off the hoop.
How Long Can a Rag Rug Last?
Many rag rugs can last for years, though the result depends on fabric strength, construction, foot traffic, and cleaning habits.
The table below compares popular rag rug types, their expected lifespan, and the areas where they work best.
| Rag Rug Type | Typical Lifespan | Best For |
|---|---|---|
| Braided and sewn | 5 to 10 years | Entryways and living rooms |
| Locker hooked | 4 to 8 years | Bedrooms and reading areas |
| Frame loom | 4 to 7 years | Kitchens and hallways |
| Oversized crochet | 3 to 6 years | Bedrooms and playrooms |
| Latch hook mesh | 2 to 5 years | Low-traffic indoor spaces |
| Hula hoop fabric | 1 to 3 years | Light-use areas and decorative spots |
Note: These time ranges are estimates. A nonslip pad, gentle washing, regular rotation, and quick repairs can help the rug stay in good condition longer.
Avoid These Common Errors While Making a Rag Rug
Making a rag rug takes simple materials, but small mistakes during preparation or construction can affect the final shape, strength, and appearance.
Avoid these common mistakes to keep your handmade rag rug even, durable, and well-finished.
- Mixing different fabric weights: Use similar fabrics to prevent uneven sections and bumps.
- Cutting uneven strips: Keep fabric strips the same width for a smoother rug surface.
- Pulling fabric too tightly: Maintain gentle tension to prevent curling and shrinking edges.
- Joining strips in one spot: Spread fabric joins throughout the rug to avoid thick areas.
- Using weak thread: Choose strong thread that can handle regular use and washing.
- Skipping shape checks: Flatten and check the rug regularly to catch curling early.
- Leaving fabric ends loose: Secure all ends properly to prevent unraveling.
- Using high heat: Avoid hot washing and drying methods that can damage fabric fibers.
Why Does a Braided Rag Rug Stand Out?
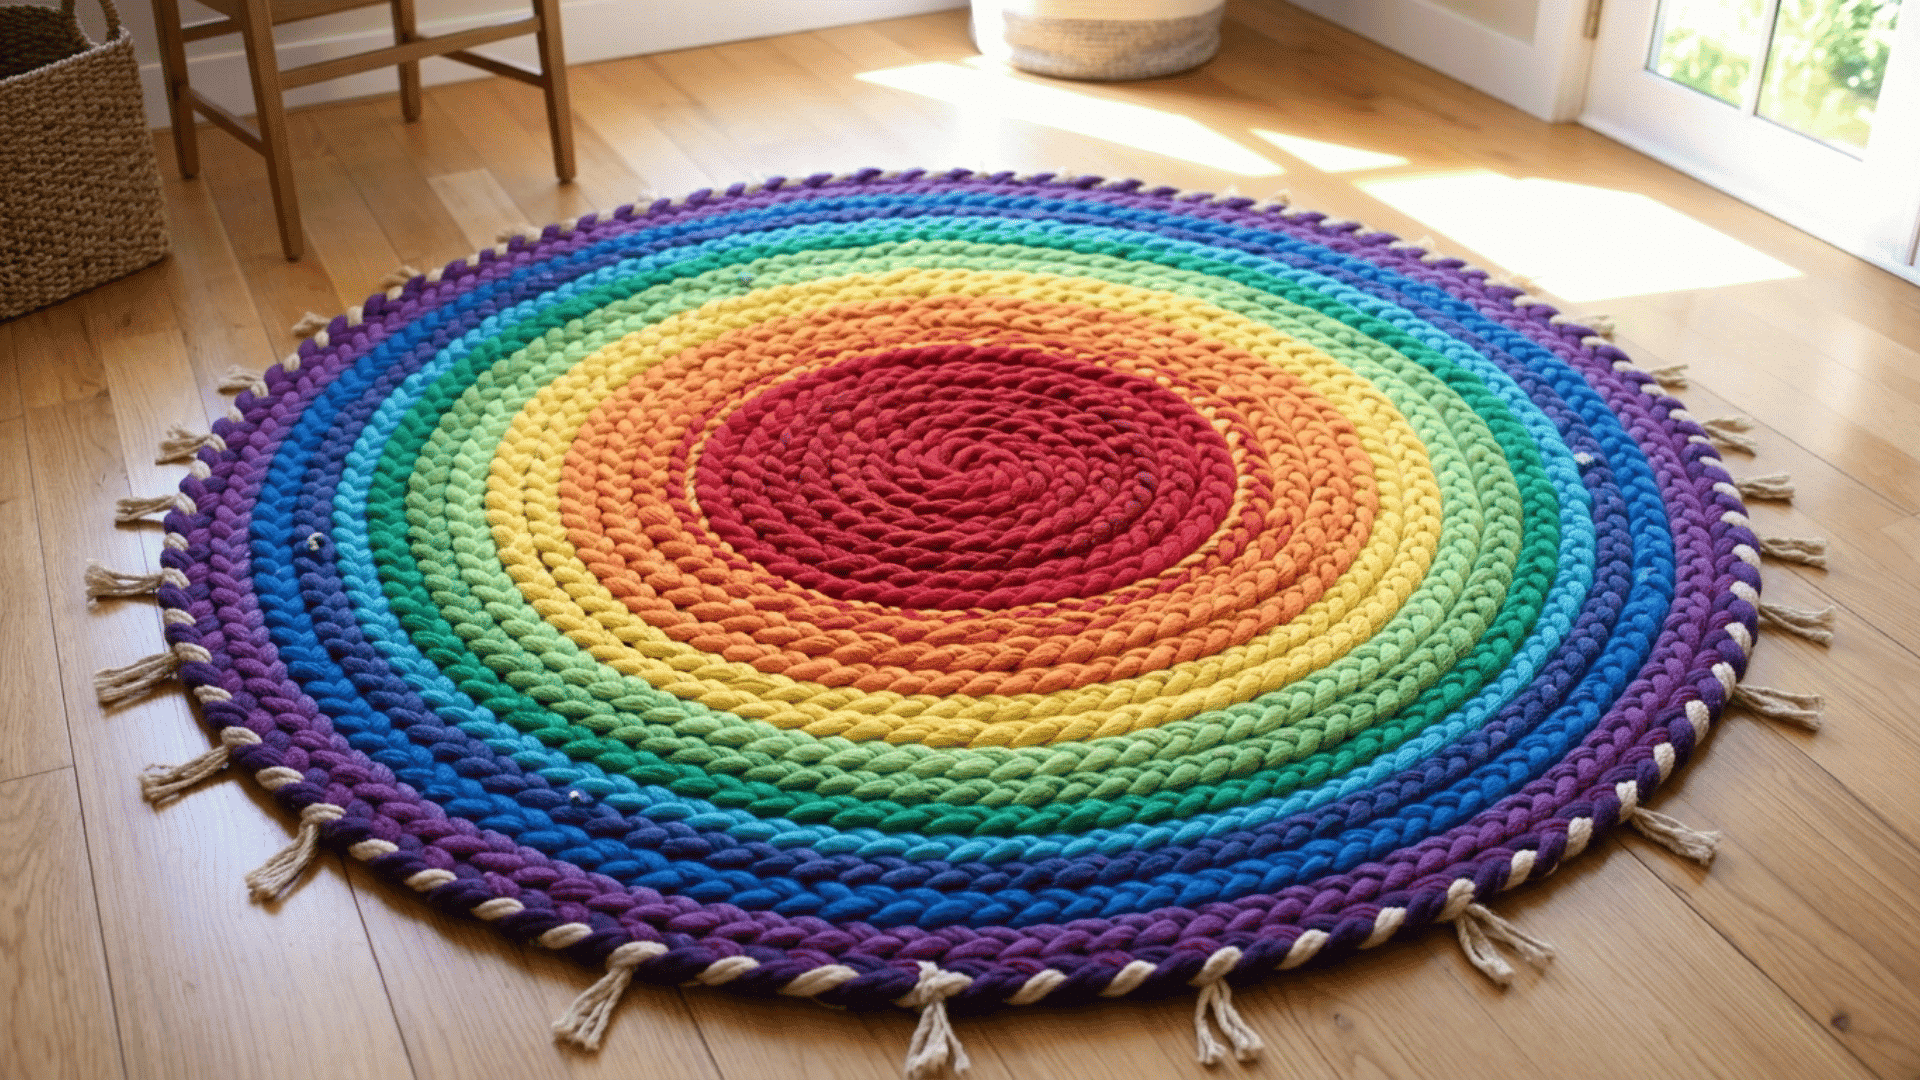
There are many ways to make a rag rug, but the braided method offers a strong mix of simple work and lasting results. The braid gives the rug a firm structure while keeping the surface soft enough for daily use.
Its shape is also easy to control as the rug grows. The braid can be coiled into a round or oval form, and each row can be checked before it is sewn in place.
A Braided rag rug also makes good use of mixed colors and fabric patterns. Small changes in shade become part of the design, giving the finished rug a warm, handmade look without needing complex tools.
How to Keep Your Rag Rug Clean and Durable
Rag rugs need gentle care to stay clean, soft, and strong over time. Regular maintenance can help prevent dirt buildup, fabric damage, and loose sections from getting worse.
I follow these simple cleaning and care tips to protect my rag rug and keep it looking its best:
- Remove loose dirt: Shake the rug outdoors each week to clear away dust, crumbs, and pet hair.
- Vacuum carefully: Use low suction without a rotating brush to protect loops, strips, and raised fibers.
- Clean spills quickly: Blot the area with a clean cloth and mild soap instead of rubbing the stain.
- Wash with cool water: Hand-wash heavy rugs and use a gentle machine cycle only for firmly secured, washable rugs.
- Handle wet rugs properly: Support the full rug when lifting because wet fabric can place stress on joins and seams.
- Dry it flat: Reshape the edges while damp and place the rug on a clean, level surface to dry.
- Repair loose areas: Secure open stitches, loops, and fabric ends before placing the rug back on the floor.
- Avoid harsh cleaning: Hot water, bleach, and high dryer heat may shrink the fabric or change the rug’s shape.
Wrapping It Up
There’s something quietly satisfying about looking down at a rug made from clothes that used to sit in a donation pile. It’s not just fabric anymore; it’s got a story woven right into it.
I still remember the first time I stepped on mine and thought, wait, I actually made this. That little spark of pride never really fades.
So grab those old scraps sitting in the back of a closet somewhere. Once this rag rug comes together, it might just become the one thing in the room everyone asks about.
Frequently Asked Questions
Can Rag Rugs Be Used on Carpet?
Yes, but place them in low-traffic areas because they may shift or bunch on soft flooring.
Can Different Colors Be Mixed in One Rug?
Yes, plan the color order before starting so shades appear balanced across the finished rug.
Are Rag Rugs Safe for Homes with Pets?
Yes, but trim loose threads and repair lifted loops that claws could catch.
Can Rag Rugs Be Used Outdoors?
Use them only in covered, dry areas because rain and damp floors can damage the fabric and cause odors.
Can You Add a Border to a Rag Rug?
Yes, attach a final fabric row around the edge to strengthen the shape and give it a cleaner finish.