Kneading dough is an essential step in baking that helps develop gluten, giving dough its structure, elasticity, and ability to rise properly.
Understanding the feel of dough is more helpful than relying only on time, since every recipe and environment can affect how quickly it develops.
With practice, recognizing the right texture becomes more natural and improves overall baking consistency.
This guide explains how to identify properly kneaded dough and what changes to look for as it moves toward proofing, shaping, and baking, making the baking process more consistent and reliable each time overall.
What Does Kneading Do to Dough?
Kneading helps develop gluten, a network of proteins that gives dough its structure, elasticity, and ability to rise properly.
As you work the dough, the ingredients become more evenly combined, and the texture gradually changes from rough and sticky to smooth and flexible.
This stronger gluten structure allows the dough to trap gases produced during fermentation, resulting in better rise and a lighter texture after baking.
Since different doughs require different levels of gluten development, understanding the purpose of kneading can help you choose the right technique and achieve more consistent results.
How to Knead Dough by Hand: Step-by-Step Instructions
Before you start kneading, make sure you have the basic ingredients needed for your dough recipe. The exact quantities will vary, but most yeast doughs are built from the same core ingredients.
Ingredients Needed
| Ingredient | Purpose in the Dough |
|---|---|
| Flour | Provides structure and forms gluten. |
| Water | Hydrates the flour and helps gluten develop. |
| Yeast | Produces gas that helps the dough rise. |
| Salt | Adds flavor and strengthens the dough structure. |
| Sugar (Optional) | Adds sweetness and can support yeast activity. |
| Butter or Oil (Optional) | Creates a softer texture and adds richness. |
| Milk (Optional) | Makes the dough softer and adds flavor. |
| Eggs (Optional) | Add richness, color, and a tender crumb. |
Once your ingredients are mixed into a dough, the next step is kneading.
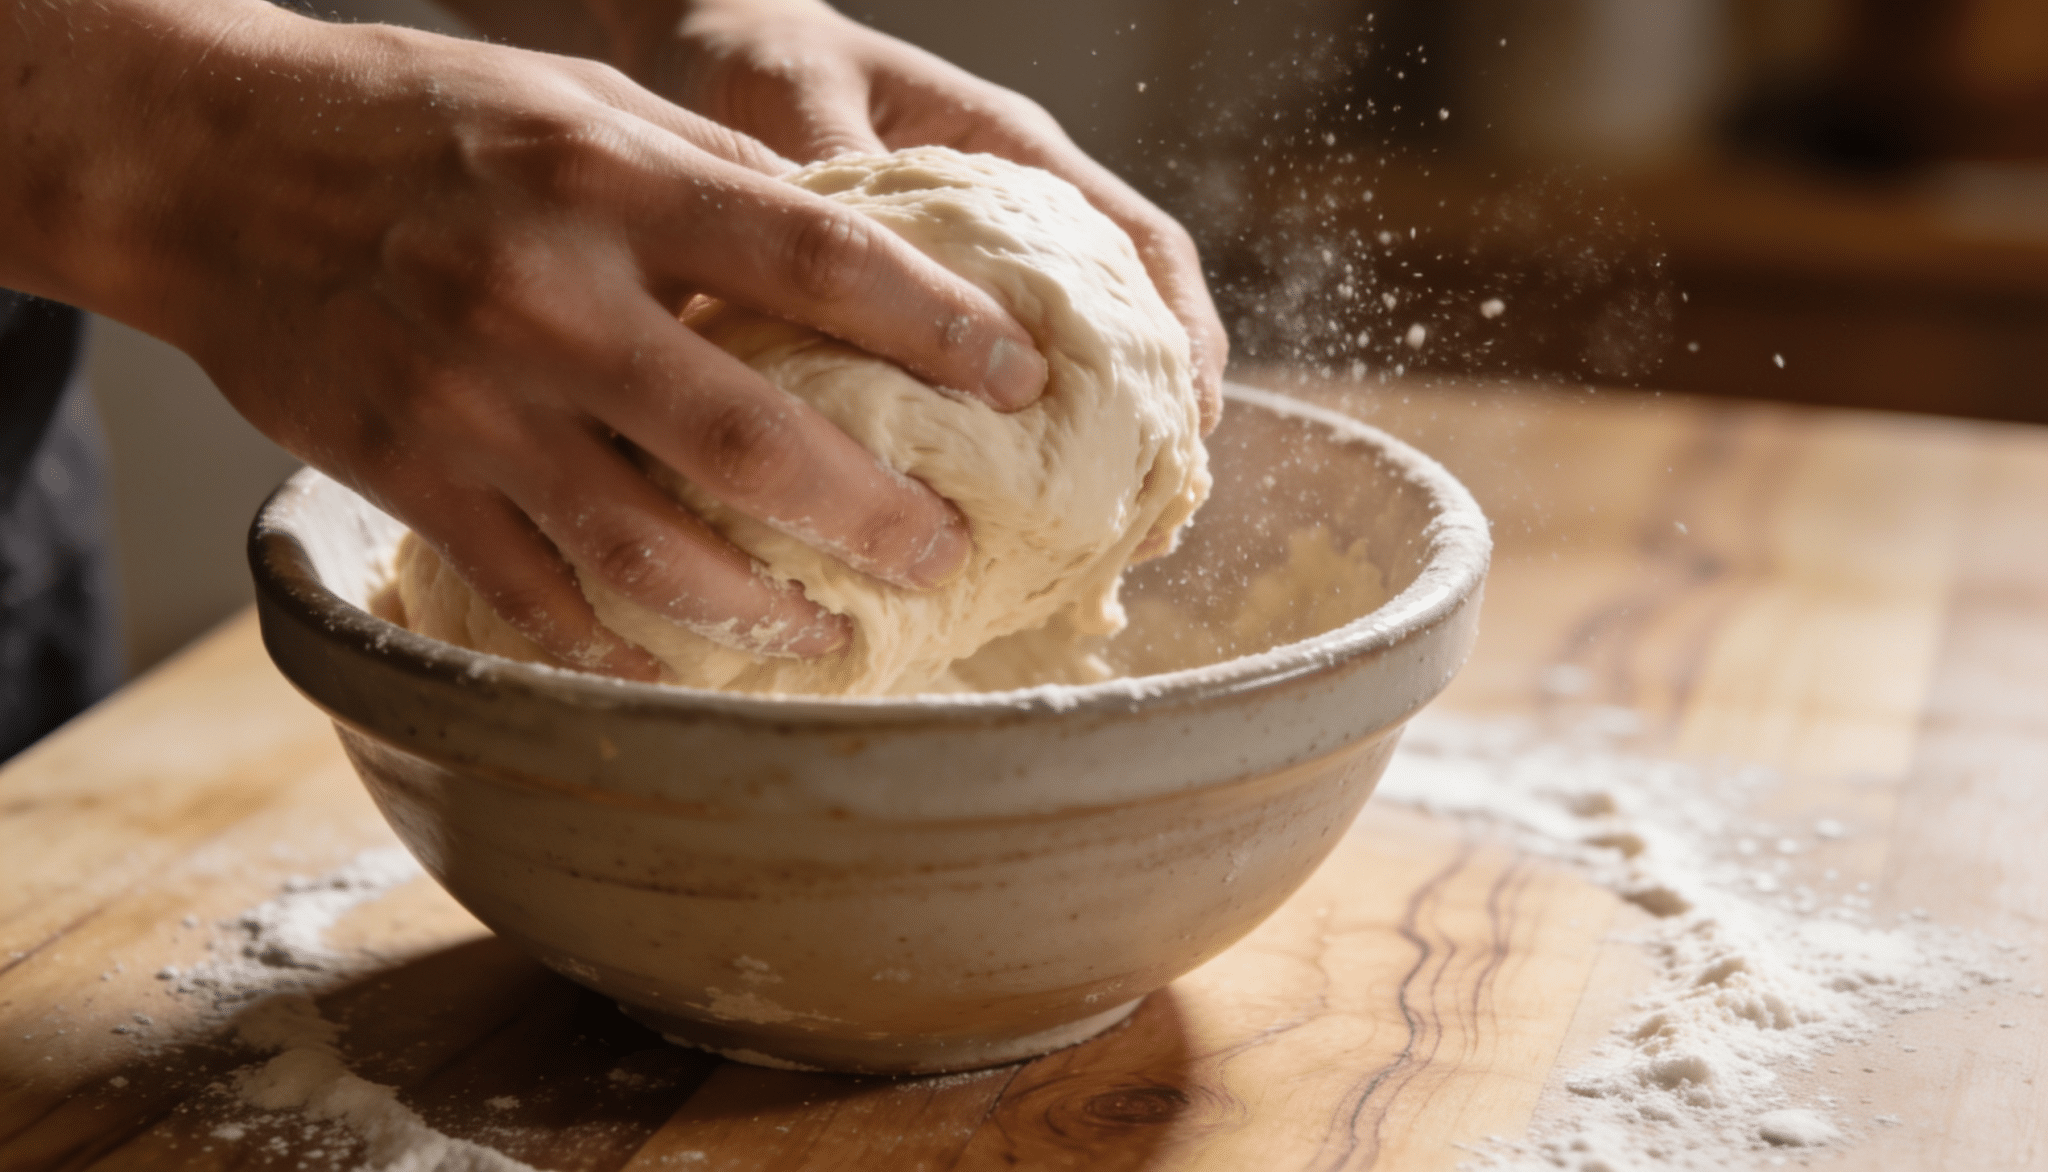
Step 1: Combine and Mix the Ingredients
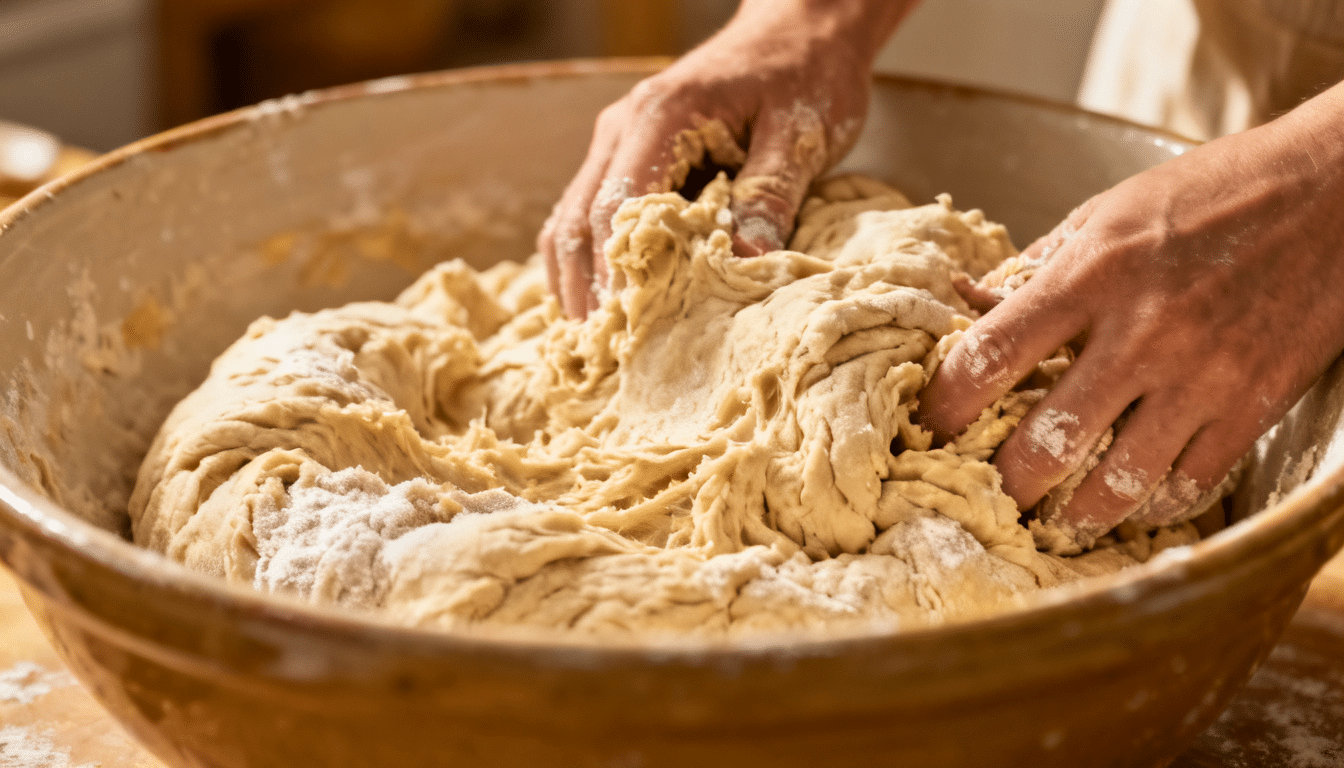
Add all the ingredients required by your recipe to a large mixing bowl. Stir them together until the flour is fully incorporated and no dry patches remain.
The dough will usually look rough, shaggy, and slightly sticky at this stage, which is completely normal.
Focus on bringing the ingredients together into a cohesive mass rather than creating a smooth dough. Once everything is evenly mixed, you’re ready to let the dough rest before beginning the kneading process.
Step 2: Rest the Dough After Mixing
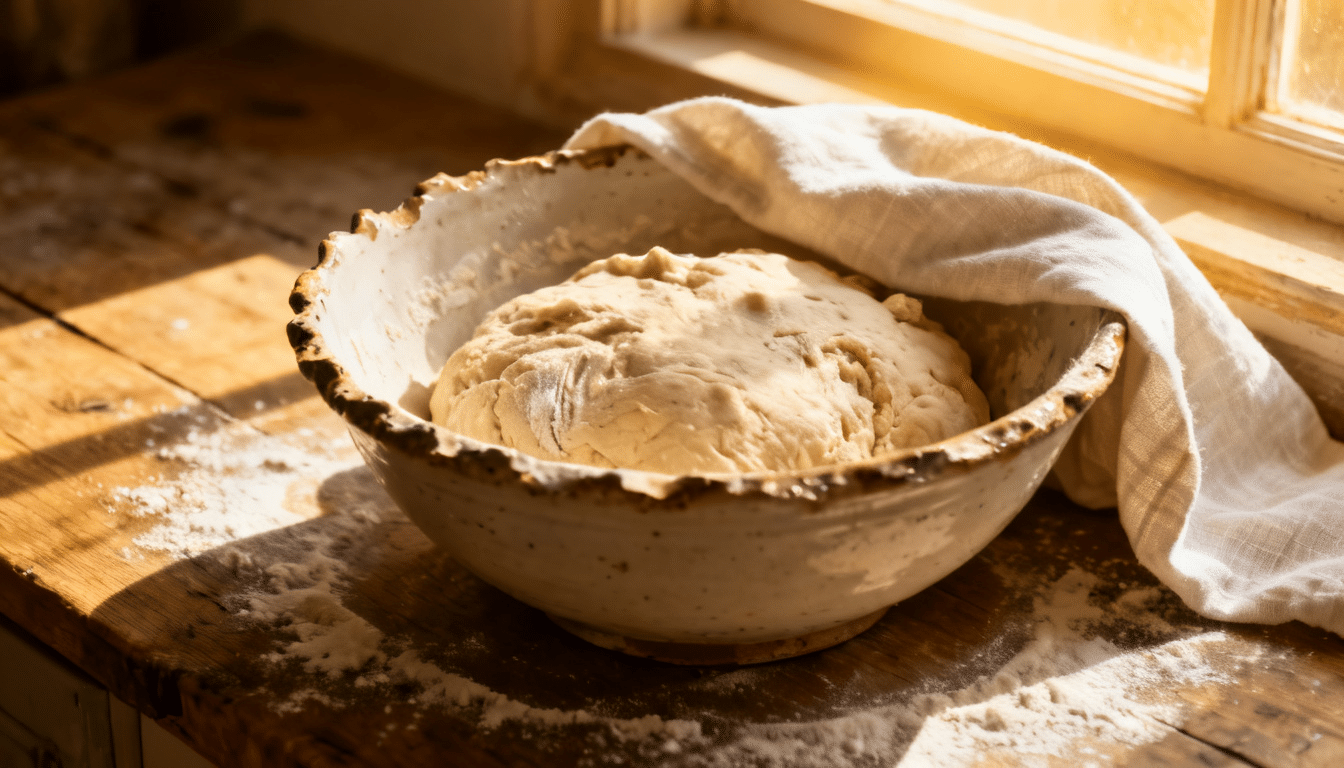
Once all the ingredients are combined and no dry flour remains, let the dough rest for 5 to 10 minutes. This resting period allows the flour to absorb the liquid fully, making the dough less sticky and easier to knead. Even a short rest can improve the dough’s texture and reduce the amount of effort needed during kneading.
Step 3: Place the Dough on a Work Surface
Transfer the dough to a clean countertop or work surface. If the dough feels extremely sticky, lightly dust the surface with flour, but use as little as possible. Too much extra flour can make the dough dry and affect the final texture of your bread, pizza, or rolls.
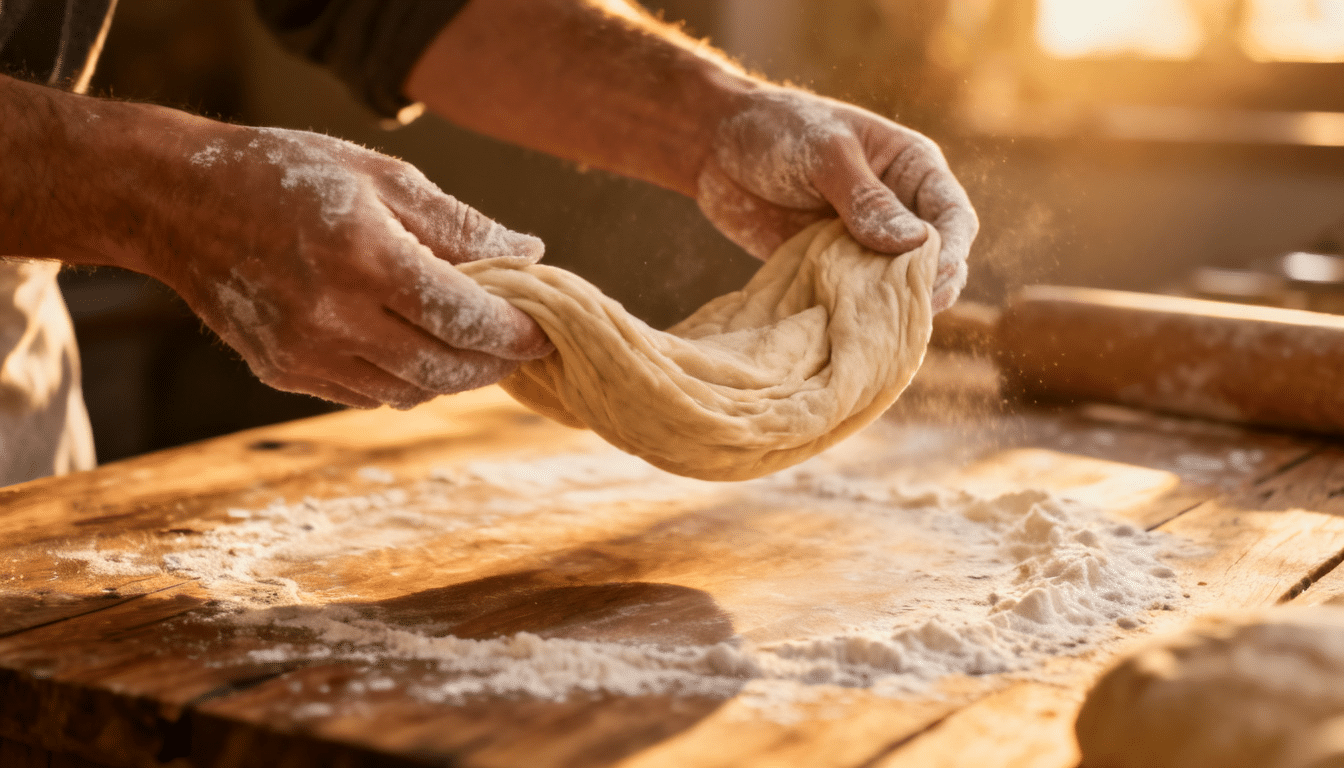
Step 4: Push the Dough Forward
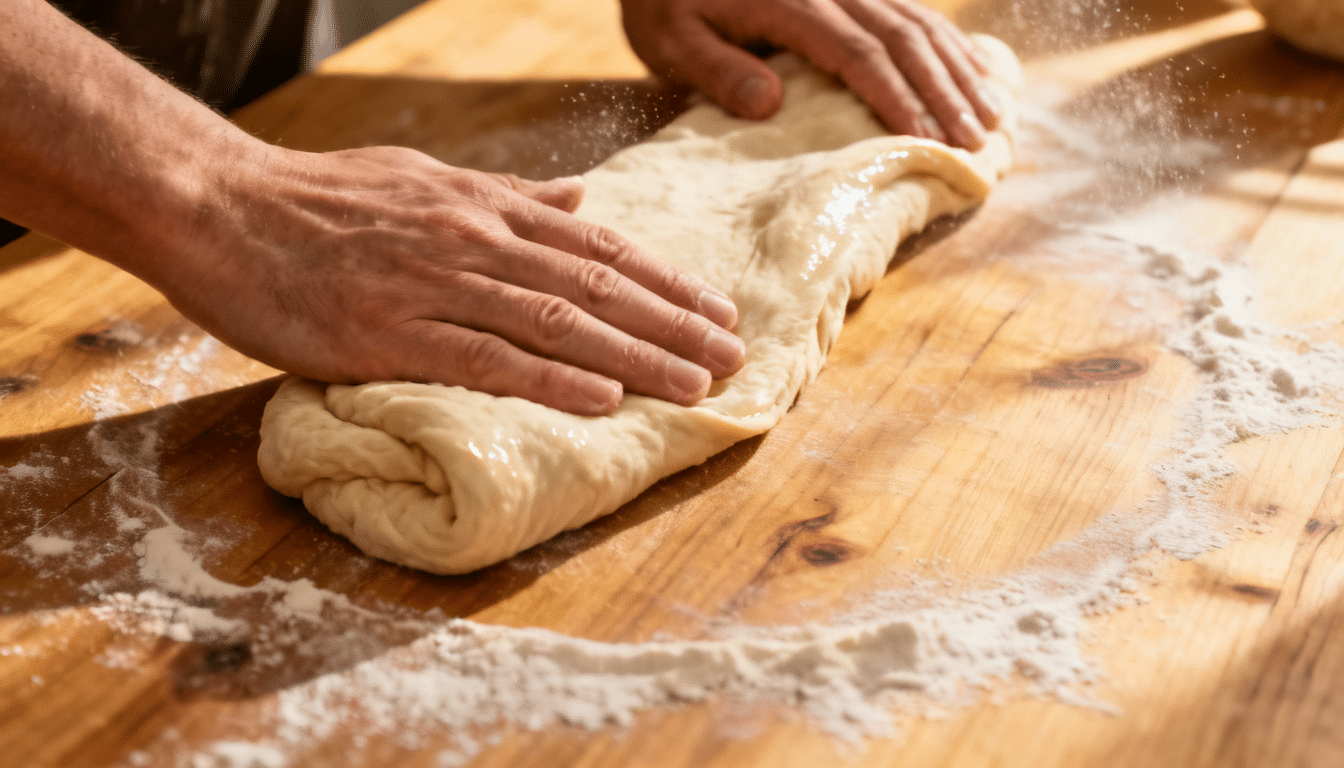
Using the heel of your hand, press the dough away from your body in one smooth motion. Apply firm but controlled pressure to stretch the dough without tearing it.
This action helps align and strengthen the gluten structure, which gives the dough its elasticity and ability to rise properly.
Step 5: Fold and Turn the Dough
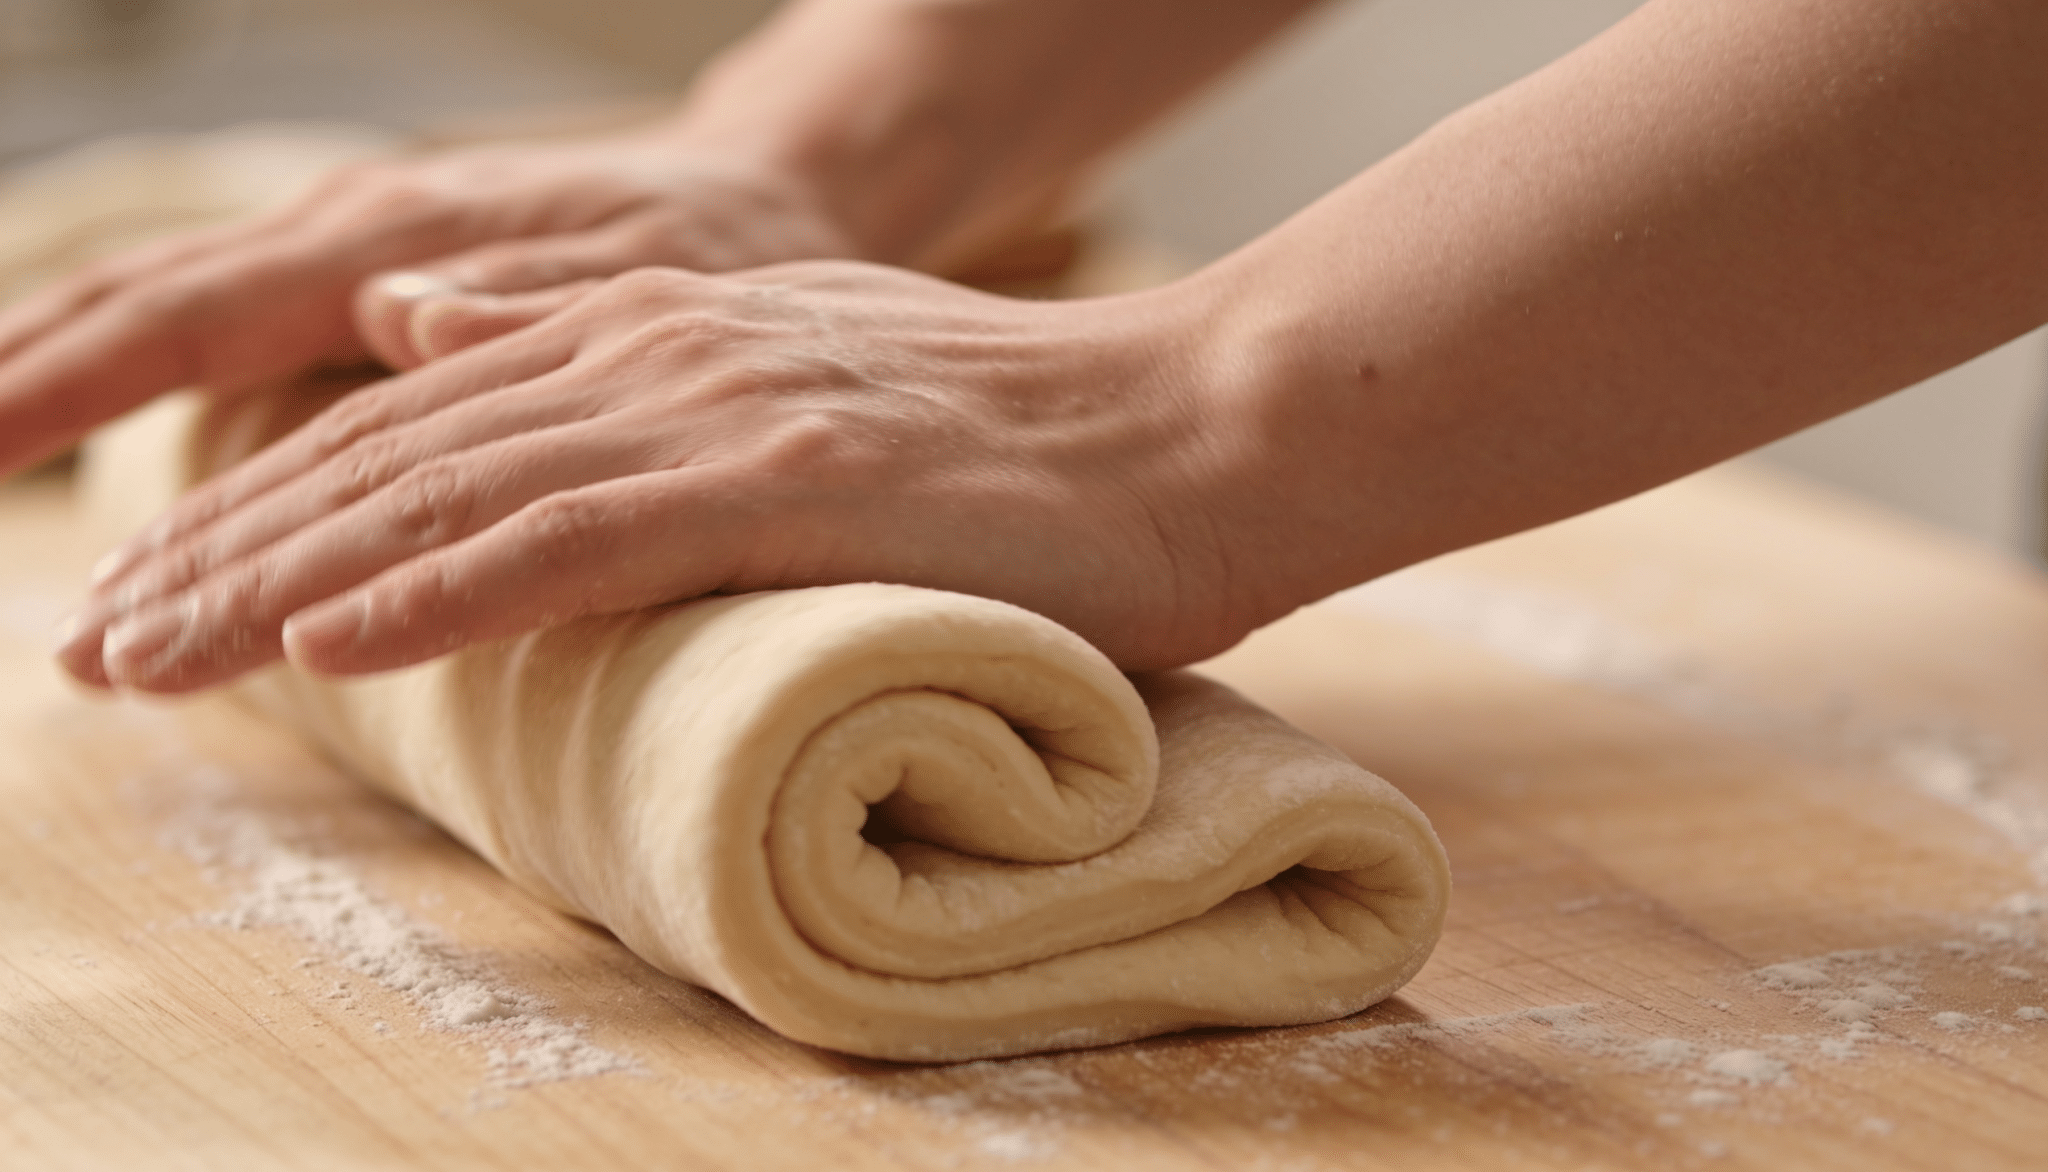
After pushing the dough forward, fold the far edge back toward the center. Then rotate the dough about a quarter turn.
Repeating this fold-and-turn motion ensures that every part of the dough is worked evenly and develops strength throughout.
Step 6: Continue Kneading Until the Texture Changes
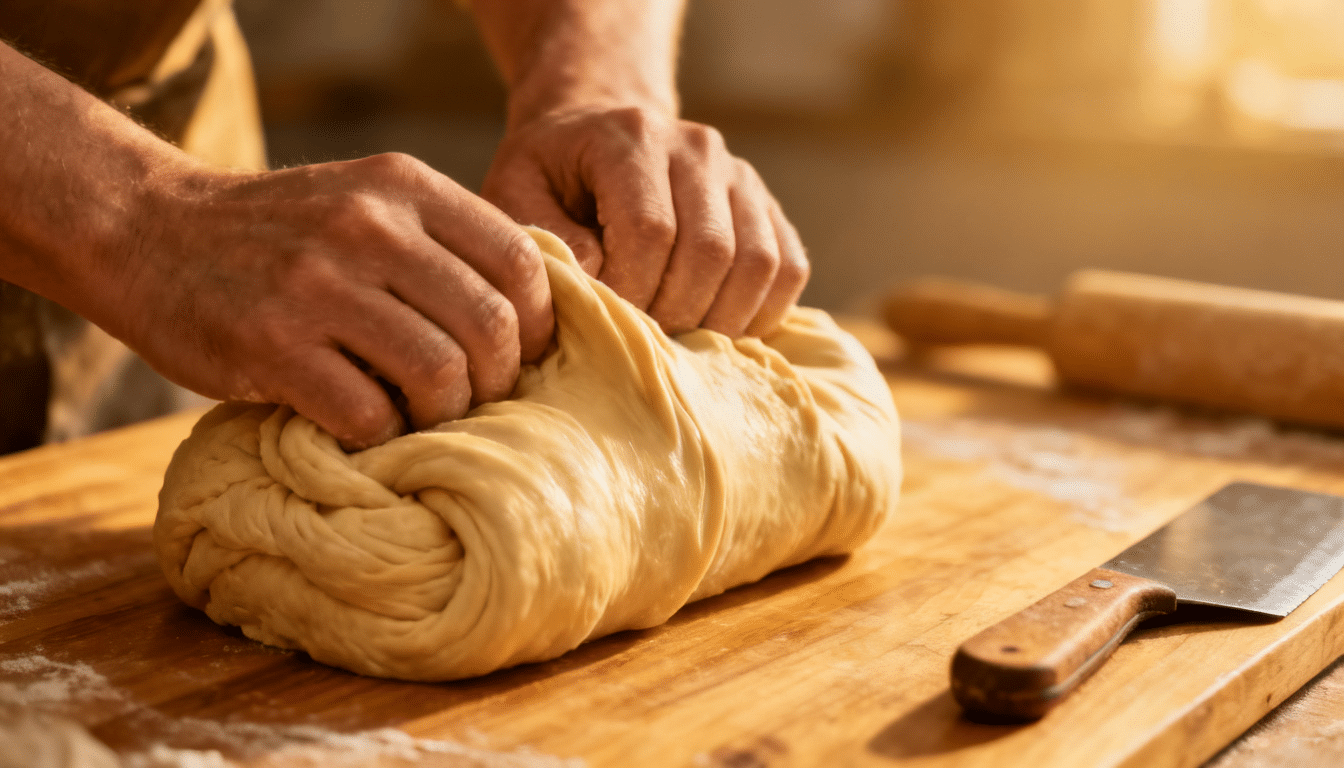
Keep repeating the push, fold, and turn pattern. At first, the dough may look rough, sticky, or uneven. As you continue kneading, it should become smoother, more elastic, and easier to handle.
Tip: If the dough sticks to the surface, use a bench scraper to lift it rather than adding large amounts of flour.
Step 7: Check if the Dough is Ready

At this point, the dough should look more even and feel easier to handle. The rough, uneven texture from the early mixing stage will usually become calmer and more connected.
This change means the ingredients have come together well enough for the dough to move on. From here, you can follow your recipe’s next step, such as resting, proofing, or shaping.
How to Tell When Dough is Properly Kneaded
Knowing when dough is kneaded enough can save you from underworked or tough bread. Instead of relying only on time, check the dough’s texture, stretch, and overall feel.
- Check the Texture: The dough should feel smooth, elastic, and slightly springy when pressed.
- Notice the Stickiness: It should feel less sticky than it did at the beginning, though some doughs may stay a little tacky.
- Try a Gentle Stretch Test: Pull a small piece of dough slowly; it should stretch without tearing right away.
- Watch How It Holds Shape: Properly kneaded dough should hold together better and look more structured.
- Consider the Dough Type: Flour type, hydration, and room temperature can all affect how quickly the dough develops.
Kneading Techniques and Tips for Different Types of Dough
While the basic goal of kneading is the same for most recipes, not all doughs should be handled in exactly the same way.
The amount of water, type of flour, and ingredients such as butter, milk, or eggs can change how the dough behaves. Using the right technique for each dough type can help improve texture, structure, and overall baking results.
1. Bread Dough
Traditional bread dough responds well to the classic push, fold, and turn method. As you knead, the dough should gradually become smoother and more elastic.
Most bread doughs require moderate gluten development to achieve a good rise and an even crumb. If the dough feels sticky at first, continue kneading before adding extra flour, as it often becomes easier to handle with time.
2. Pizza Dough
Pizza dough should be kneaded until it feels smooth, stretchy, and slightly tacky. A dough that is too dry can produce a tough crust, so avoid adding unnecessary flour during kneading.
Once kneaded, pizza dough benefits from a longer resting period. This allows the gluten to relax, making the dough easier to stretch into shape without shrinking back.
3. Dinner Roll Dough
Dinner roll dough is often enriched with ingredients such as milk, butter, or eggs. These ingredients create a softer dough that may require a slightly longer kneading time.
The finished dough should feel soft and supple rather than firm. Proper kneading helps create the light, fluffy texture that is expected in homemade rolls.
4. Bagel Dough
Bagel dough is one of the firmest doughs you’ll work with. Because it contains less water than many other doughs, it requires more effort and longer kneading to develop strength.
A properly kneaded bagel dough should feel dense, smooth, and very elastic. This strong gluten structure contributes to the chewy texture that bagels are known for.
5. Focaccia Dough
Focaccia dough contains a higher amount of water and can feel sticky throughout the process. Traditional kneading is often less effective for this type of dough.
Instead, periodic stretch-and-fold techniques help build structure while preserving the airy texture that makes focaccia unique. Lightly oiling your hands can make handling the dough much easier.
6. Ciabatta Dough
Ciabatta dough is highly hydrated and often appears too wet compared to traditional bread dough. Resist the urge to add large amounts of flour, as this can change the final texture.
Gentle folding during resting periods helps strengthen the dough while maintaining the open, airy crumb that ciabatta is known for.
7. Sourdough Dough
Many sourdough recipes rely on stretch-and-fold sessions instead of continuous kneading. This approach gradually develops gluten while allowing fermentation to continue.
During each folding session, the dough becomes stronger and easier to handle. Over time, it develops the structure needed to hold its shape during proofing and baking.
8. Cinnamon Roll Dough
Cinnamon roll dough should remain soft and slightly tacky throughout the kneading process. Since this dough often contains butter, milk, and sugar, it may take longer to develop than basic bread dough.
Avoid adding excessive flour while kneading. Keeping the dough soft helps produce tender, fluffy rolls after baking.
Common Dough Problems and How to Fix Them
Even when you follow a recipe carefully, dough can sometimes be difficult to work with. Here are some common problems and practical solutions.
- Dough is too sticky: Continue kneading for a few more minutes before adding flour. Let the dough rest for 5–10 minutes and use a bench scraper to handle it more easily. If necessary, add flour gradually in very small amounts.
- Dough is too dry: Lightly wet your hands and continue kneading. If the dough feels stiff or crumbly, add a small amount of water and work it in slowly until the texture improves.
- Dough tears when stretched: This usually indicates insufficient gluten development. Knead for a few more minutes and allow the dough to rest if it feels tight before testing it again.
- Dough won’t hold its shape: Continue kneading or use stretch-and-fold techniques to build strength. Resting the dough between handling sessions can also improve structure.
- Dough feels tough: Avoid adding too much flour and let the dough rest for several minutes. This allows the gluten to relax, making the dough easier to shape.
- Dough isn’t rising well: Check that your yeast is fresh and active. Place the dough in a warm, draft-free area and ensure it has been kneaded enough to develop structure.
Final Thoughts
Learning how to knead dough by hand takes practice, but it becomes easier once you understand what the dough should look and feel like
Instead of focusing only on kneading times, pay attention to changes in texture, elasticity, and structure as you work.
Every dough behaves a little differently, so don’t be discouraged if your first attempt isn’t perfect.
With the right technique and a bit of patience, you’ll be able to handle everything from bread and pizza dough to rolls, bagels, and other baked goods with greater confidence and consistency.
Frequently Asked Questions
Can I Use Olive Oil on My Hands Instead of Flour While Kneading?
Yes. Lightly coating your hands with olive oil can prevent sticking without adding extra flour, which helps maintain the dough’s intended hydration level.
Does the Type of Mixing Bowl Affect Dough Development?
While the bowl itself doesn’t affect gluten development, a larger bowl provides enough room for mixing and resting the dough, making the process easier and less messy.
Can I Knead Dough on a Wooden Surface?
Yes. Wood, granite, quartz, stainless steel, and butcher block surfaces all work well for kneading. The best surface is one that is clean, stable, and large enough for comfortable movement.
Why Does Dough Sometimes Develop a Thin Skin on Top?
This usually happens when dough is exposed to air for too long. Covering the dough with a damp towel, plastic wrap, or a lid helps prevent the surface from drying out.
Is It Better to Use Bread Flour or All-Purpose Flour for Hand-Kneaded Dough?
Bread flour generally produces a stronger gluten structure because it contains more protein. However, all-purpose flour can still produce excellent results for many bread, pizza, and roll recipes.