Your quilt top is quilted. The batting’s trimmed. The backing looks great. But something still feels unfinished. That “something” is binding.
Binding a quilt is the last step, and it’s easy to rush. But it’s also what decides how long your quilt lasts, protecting raw edges from fraying while giving the whole piece a clean, finished look.
The good news? Binding a quilt isn’t complicated once you know the steps. Once you understand the methods and techniques, the actual sewing is the easy part.
What Exactly Does Binding a Quilt Mean?
Binding a quilt is the process of sewing a fabric strip along its raw edges, sealing the top, batting, and backing into a single finished border.
Unlike regular quilt binding, rag quilt edges are usually finished with exposed seams that fray softly after washing.
Binding isn’t just decorative. It’s a structural step that keeps edges from fraying and corners from curling over time, and the right method depends on your quilt’s edges and how it’ll be used.
And hand binding takes longer, while machine binding is faster but slightly less polished. Neither is wrong. It depends on the finish you want.
Common Quilt Binding Methods
Not every quilt calls for the same binding. The right method depends on your quilt’s edges and how much wear it’ll see. Picking the right one now saves you from having to redo it later.
| Method | Best For | Key Trait |
|---|---|---|
| Straight Grain Binding | Straight-edge quilts, beginners | Simple to sew, low fabric waste |
| Bias Binding | Curved or scalloped edges | Stretches well, resists fraying |
| Single Fold Binding | Wall hangings, decorative pieces | One layer, less durable |
| Double Fold Binding | Everyday quilts, frequent washing | Two layers, most durable |
Basic Techniques to Know for Binding a Quilt
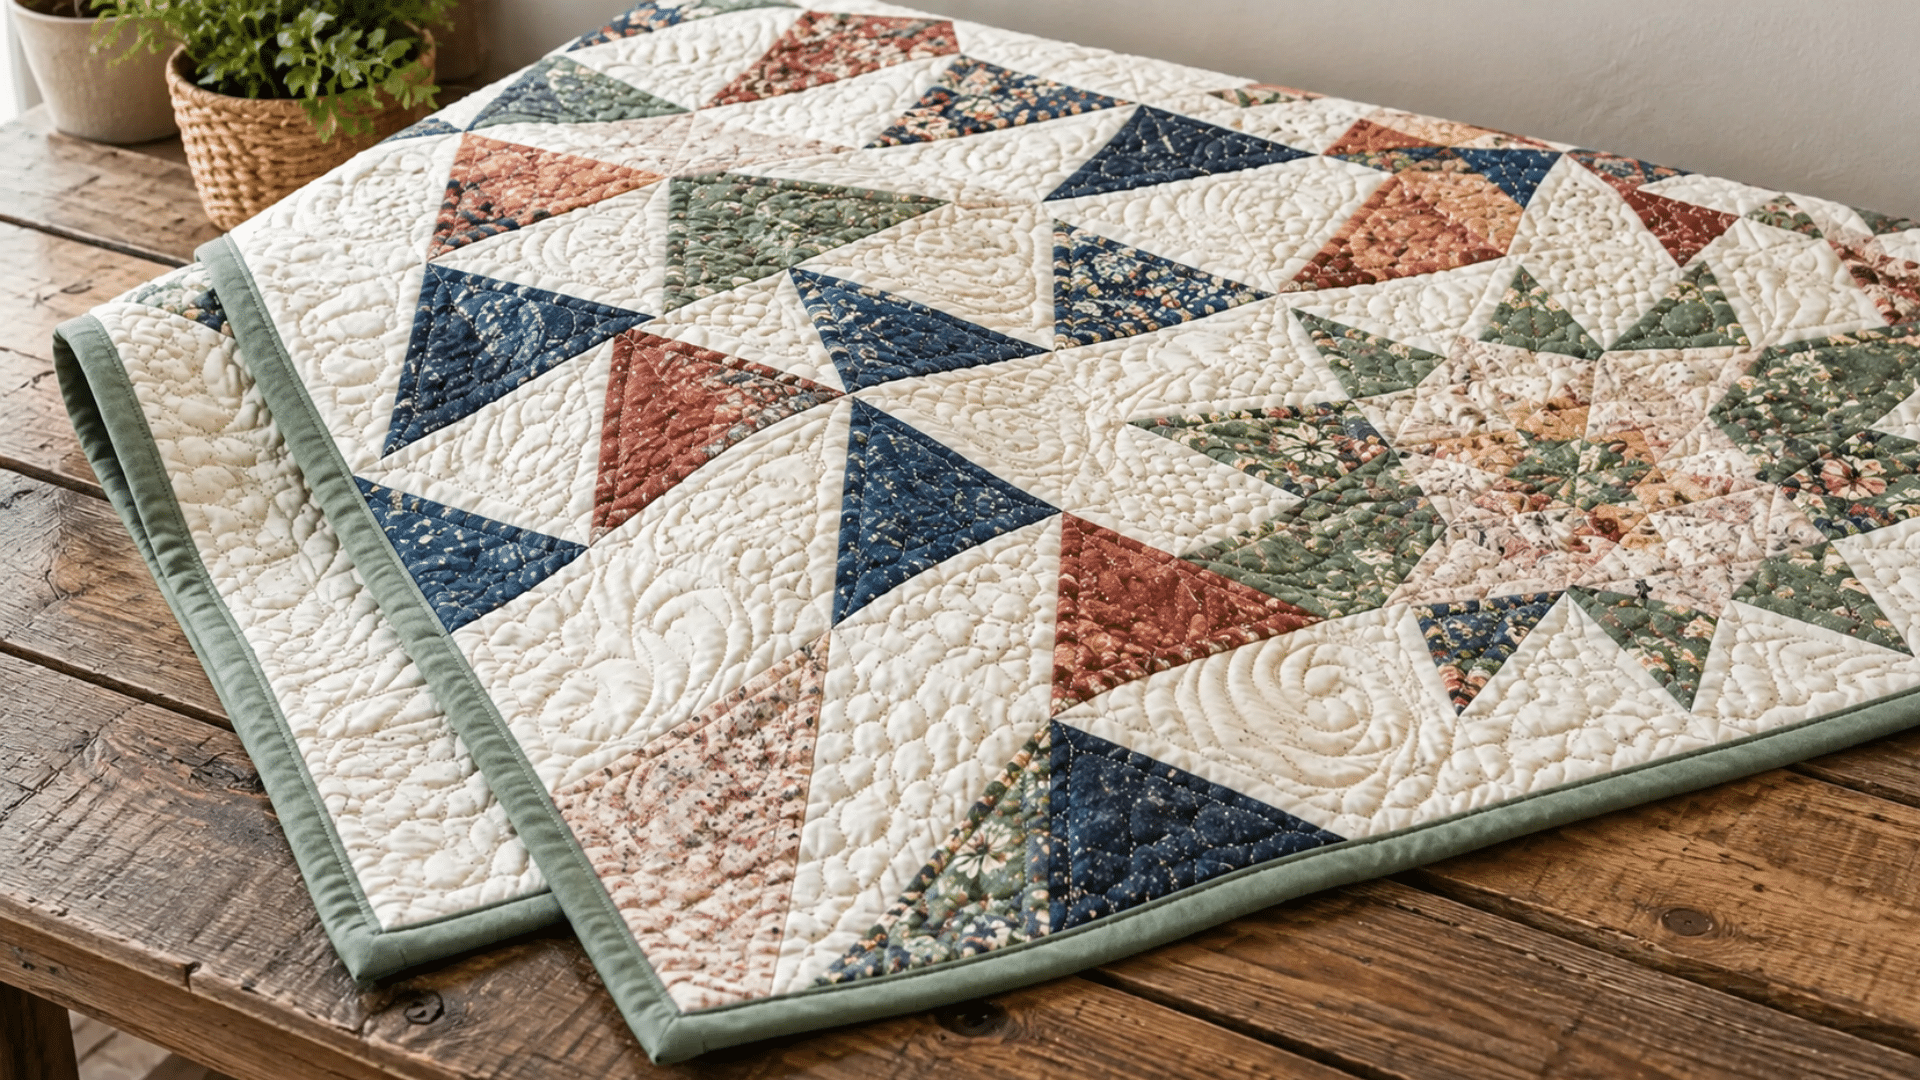
Binding a quilt relies on a few core techniques. Knowing them upfront makes the steps ahead easier to follow. Most of it comes down to folding, pressing, and stitching at the right moment.
- Diagonal Seam Joining: Binding strips are joined at an angle rather than straight across. This spreads out the bulk so the seam lies flat once folded, instead of creating a noticeable lump.
- Mitered Corners: At each corner, the binding is folded at a 45-degree angle. This technique creates a clean, sharp point instead of a bulky, folded-over edge.
- Hand Stitching: The back of the binding can be secured by hand. This gives a nearly invisible finish, since the stitches blend into the fabric.
- Machine Stitching: The back can also be secured with machine stitching. This is faster than hand stitching and holds up well to regular use.
Materials You’ll Need
A few supplies make binding a quilt easier and more accurate. None of this is expensive or hard to find. Most of it you may already have in your sewing kit. The table below covers exactly what to gather before you start.
| Item | Recommended Choice | Why It Matters |
|---|---|---|
| Fabric | Cotton | Presses well, holds a crease |
| Strip Width | 2.5 inches | Standard width for clean, even binding |
| Grain Type | Straight grain or bias | Straight for square edges, bias for curves |
| Fold Type | Double fold | Two layers, holds up to regular washing |
| Cutting Tools | Rotary cutter, ruler, cutting mat | Faster, more accurate than scissors |
| Sewing Tools | Machine + hand needle | Machine for front, hand for invisible back finish |
| Thread | Cotton, matching fabric | Keeps stitches blended and clean |
Binding a Quilt in Simple Steps
Binding finishes the edge once your quilt top, batting, and backing are sewn together. It takes seven steps. Follow them in order, and you’ll go from raw edges to a clean, finished border.
Step 1: Trim and Square Up Your Quilt
Lay your quilt flat on a large table or cutting mat, making sure the quilt top, batting, and backing are smooth and aligned. Trim away any extra fabric along all four sides so the edges sit even.
Use a rotary cutter and ruler for cleaner, straighter lines. Then check each corner with a square ruler to make sure it forms a true right angle. Uneven corners at this stage can lead to crooked binding later.
Step 2: Cut Binding Strips
Cut your binding strips 2.5 inches wide using a rotary cutter for clean, straight edges. Choose straight-grain strips for quilts with square corners, or bias-cut strips for curved or scalloped edges since they bend more easily.
Measure your quilt’s total perimeter and cut enough strips to cover all four sides, adding a little extra for corners and joins. Keep each strip the same width so the finished binding looks neat and even all the way around.
Step 3: Join Strips Into One Continuous Length
Place two strip ends right sides together at a right angle, forming an L-shape. Stitch across the diagonal instead of sewing straight down, as this spreads out the bulk and keeps the seam from creating a lump once the binding is folded.
Trim away the extra corner fabric, leaving a quarter-inch seam allowance. Press each seam open so it lies flat, then repeat the process until all strips are joined into one long, continuous binding piece.
Step 4: Attach Binding to the Front of the Quilt
Fold the joined binding strip in half lengthwise with the wrong sides together, then press it flat. Start sewing a few inches away from a corner instead of right at one, and leave a short tail unstitched at the beginning so you can join the ends later.
Line up the raw edge of the binding with the raw edge of the quilt. Sew with a consistent quarter-inch seam allowance, keeping the edges aligned as the fabric feeds through the machine. This helps the binding sit evenly when it is folded over.
Step 5: Miter Corners and Join Ends Cleanly
As you reach a corner, stop stitching a quarter-inch from the quilt’s edge. Fold the binding straight up and away from the quilt, then fold it back down along the next side. This creates a neat mitered corner instead of a thick, bulky fold.
Repeat the same process at each corner as you sew around the quilt. When you return to the starting point, overlap the two binding tails, trim the excess, and join them so the binding forms one continuous loop with no visible gap.
Step 6: Fold Binding to the Back and Secure It
Fold the binding over the quilt’s raw edge and wrap it around to the back. Pin or clip it in place as you go, ensuring the folded edge fully covers the original stitch line, with no raw edges showing.
From here, hand-stitch the binding for a nearly invisible finish, or machine-stitch from the front for a faster, stronger hold. Keep the tension even as you sew so the binding lies flat without pulling, puckering, or bunching.
Step 7: Final Press and Quality Check
Once the binding is fully stitched down, press the entire edge with an iron. Work in short sections so the fabric lies flat and the corners keep their shape. Check each corner for a sharp, clean point, and make sure the binding width looks even all the way around.
Run your hand along the edge to feel for gaps, puckers, or loose threads. If anything looks uneven, fix it now before the quilt goes through a wash.
How to Get a Neater Quilt Binding?
Even with the steps down, small issues can show up in the final result. Most of these come down to small habits during sewing, not a lack of skill. Catching them early saves you from having to redo a section later.
- Uneven Corners: This happens when the quilt wasn’t squared before binding. No amount of careful sewing fixes it later, so it’s worth checking early.
- Twisted Binding Strips: This happens when binding isn’t kept flat while sewing. Slow down at corners to check, since that’s where twisting shows up most.
- Puckering Edges: This is often caused by pulling the binding too tight. Let the fabric feed naturally instead, at its own pace.
- Binding Too Tight or Too Loose: This comes down to seam allowance. Keep the same measurement all the way around for an even edge.
- Visible Stitches on the Front: This happens when the needle catches too much fabric. Stitch just into the backing layer, keeping stitches shallow.
Finish What You Started
A quilt without binding is a project, not a finished piece. That edge is the difference between something folded away and something you actually use.
It’s what survives years of washing, stacking, and everyday wear. Binding doesn’t ask for advanced skill. It asks for an afternoon, a few strips of fabric, and a little patience at the machine.
So don’t let this one sit half-done. Pull out your fabric, thread your machine, and give this quilt the finish it’s been waiting for.
Frequently Asked Questions
How Long Does It Take to Bind a Quilt?
Binding a quilt usually takes 2 to 3 hours for a lap- or throw-size quilt. Larger quilts can take a full afternoon, especially with hand stitching.
Can You Bind a Quilt Without a Walking Foot?
Yes, you can bind a quilt without a walking foot, though layers may shift slightly. A walking foot simply makes the process smoother.
Should Quilt Binding Match or Contrast the Quilt Top?
Both work well when binding a quilt. Matching fabric creates a seamless look, while contrasting fabric adds a defined border.
Can You Fix Quilt Binding After It’s Sewn Down?
Yes, mistakes in quilt binding can be fixed by unpicking the stitches with a seam ripper and redoing that section.
What’s the Best Binding Width for a Baby Quilt?
A 2-inch strip works best when binding a baby-sized quilt, since it creates a finer, more proportional edge.