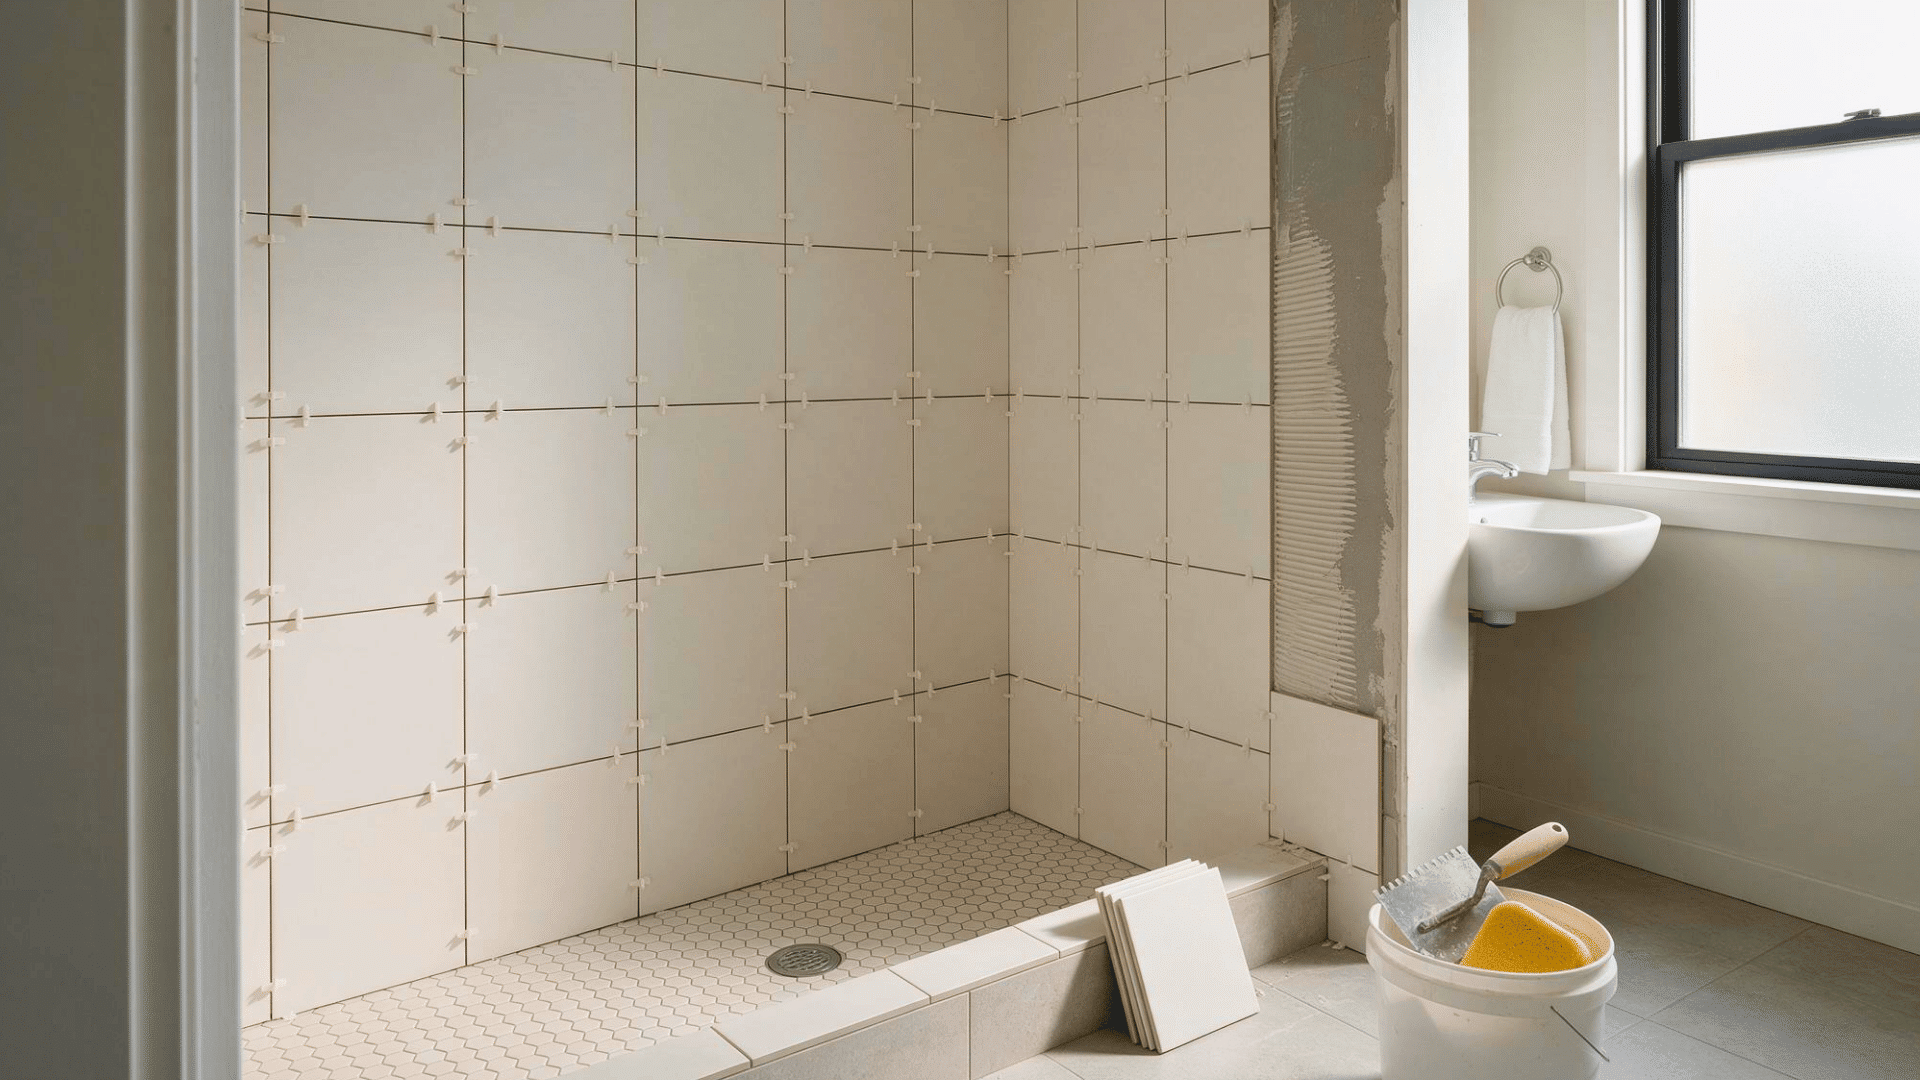
A tiled shower can change the whole feel of a bathroom, but the finished look starts long before the first tile goes up. Small choices about planning, materials, and timing can shape how smoothly the project comes together, especially when the shower is part of a larger home renovation.
I prefer approaching this kind of job with patience, because rushing early steps often creates more work later. If you are learning how to tile a shower, it helps to understand the process before picking up the trowel.
Knowing what comes next also makes each stage feel less overwhelming. This post covers preparation, waterproofing, layout, tile setting, grouting, costs, and finishing.
How to Measure a Shower Before Tiling?
Before you buy tile or mix thinset, measure every shower surface carefully. If you’re planning a walk-in shower in a small bathroom, the available floor space can also affect the shower dimensions and overall layout.
Measure the height and width of each wall, then multiply those numbers to calculate the square footage for each section.
Add the wall totals together and include the shower floor if you plan to tile it. Measure niches, benches, windows, valves, and other openings separately so you know where you’ll need cuts.
Account for tile thickness and grout-joint width, especially around fixtures and trim. Once you know the total area, add about 10% to 15% extra tile for cuts, breakage, and pattern waste.
For diagonal, herringbone, or high-corner layouts, allow slightly more. Double-check every measurement before ordering so you avoid shortages or mismatched replacement tile later.
Tip: I always measure twice and order tile once reordering mid-project means a dye-lot mismatch, and a slightly different tile shade on one wall is the kind of thing that bothers you every time you shower.
Choosing the Right Shower Tile for Walls and Floors
Shower walls and floors don’t take the same tile. Walls can handle larger formats since the surface stays flat. Floors are a different story. They need to shed water toward the drain, and an oversized, flat tile won’t cooperate with that slope.
|
Tile Type |
Best Use |
Common Shower Sizes |
What to Check Before Using |
Cost per sq. ft. |
|---|---|---|---|---|
|
Porcelain |
Walls and floors |
12 x 24 in. walls; 2 x 2 in. floors |
Confirm floor/wet-area rating |
$3–$10 |
|
Ceramic |
Mainly walls |
3 x 6 in. or 4 x 12 in. |
Use on floors only if rated |
$2–$5 |
|
Natural stone |
Walls and approved floors |
12 x 12 in. or 12 x 24 in. |
Check sealing and wet-area suitability |
$7–$65 |
|
Glass |
Walls, niches, accents |
3 x 6 in. or mosaics |
Usually best kept off floors |
$35–$180 |
|
Mosaic |
Shower floors and niches |
1 x 1 in. or 2 x 2 in. |
Check mesh backing and grout joints for wet-floor use. |
$16–$30; up to $50 handmade |
Tools and Materials Needed
A shower tiling job breaks down into five categories, not one long scattered list. Each covers a different stage of the work.
- Substrate and waterproofing: backer board or waterproof tile board, plus a membrane or waterproofing system
- Setting materials: thinset, a notched trowel, and spacers
- Measuring and cutting: a tape measure, a level, and a wet saw or tile cutter
- Finishing: grout, sealant, and silicone caulk
- Safety and setup: dust mask or respirator, safety glasses, gloves, mixing bucket, drill with a paddle mixer, sponge, drain plug
Trowel notch, membrane, and thinset all vary by tile size and material. Check compatibility before you buy, not after.
How to Tile a Shower: Step-by-Step Guide
A clean tile job depends on doing each part in the right order and checking your work as you go. In the process below, I’ve kept each stage clear, so small mistakes are easier to catch before they become bigger problems.
Step 1: Remove Old Tile and Prepare the Shower Walls
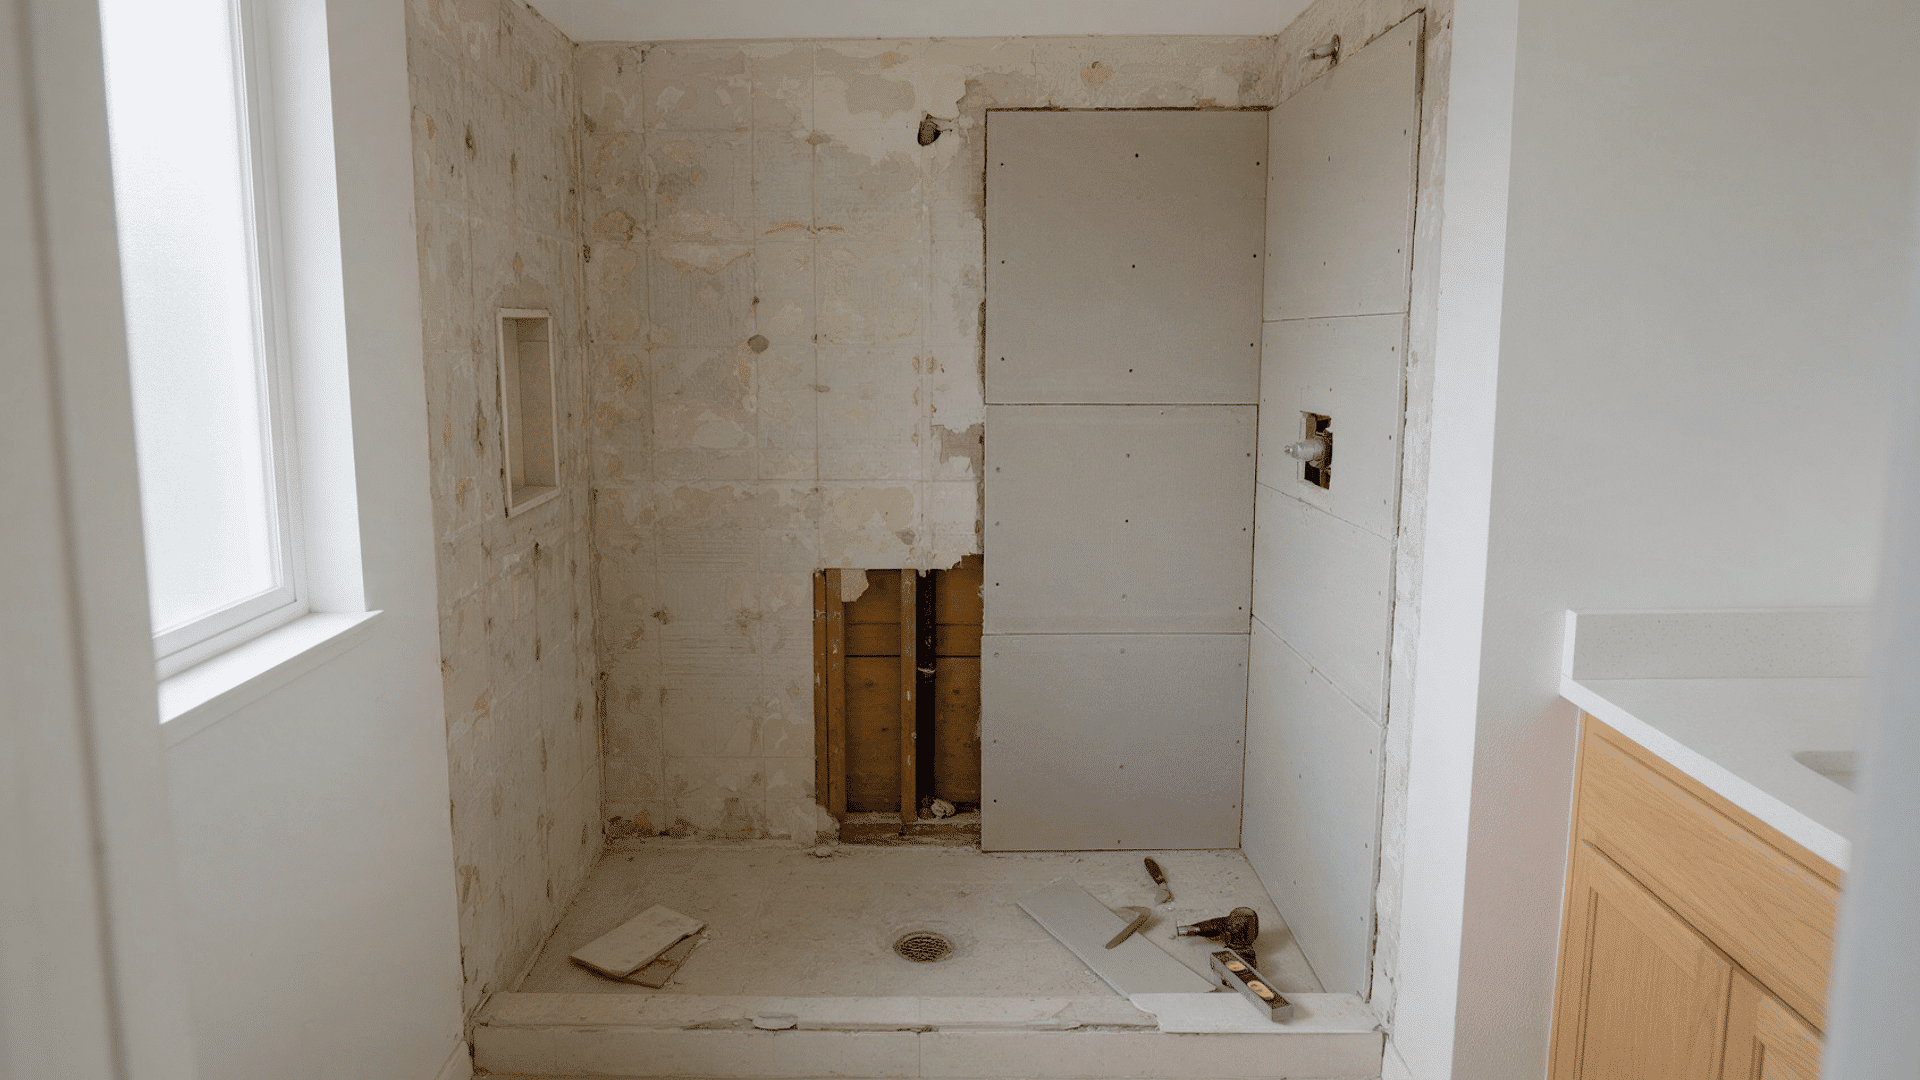
Strip the old tile, adhesive, and caulk in small sections. Clear debris until you reach bare studs. With the wall open, check the framing for rot or moisture damage. Fix any structural issues before closing it back up.
Install the backer board next. Cut panels around plumbing, support the edges on framing, and follow the manufacturer’s clearance and fastener specs.
Step 2: Waterproof the Shower and Perform a Flood Test
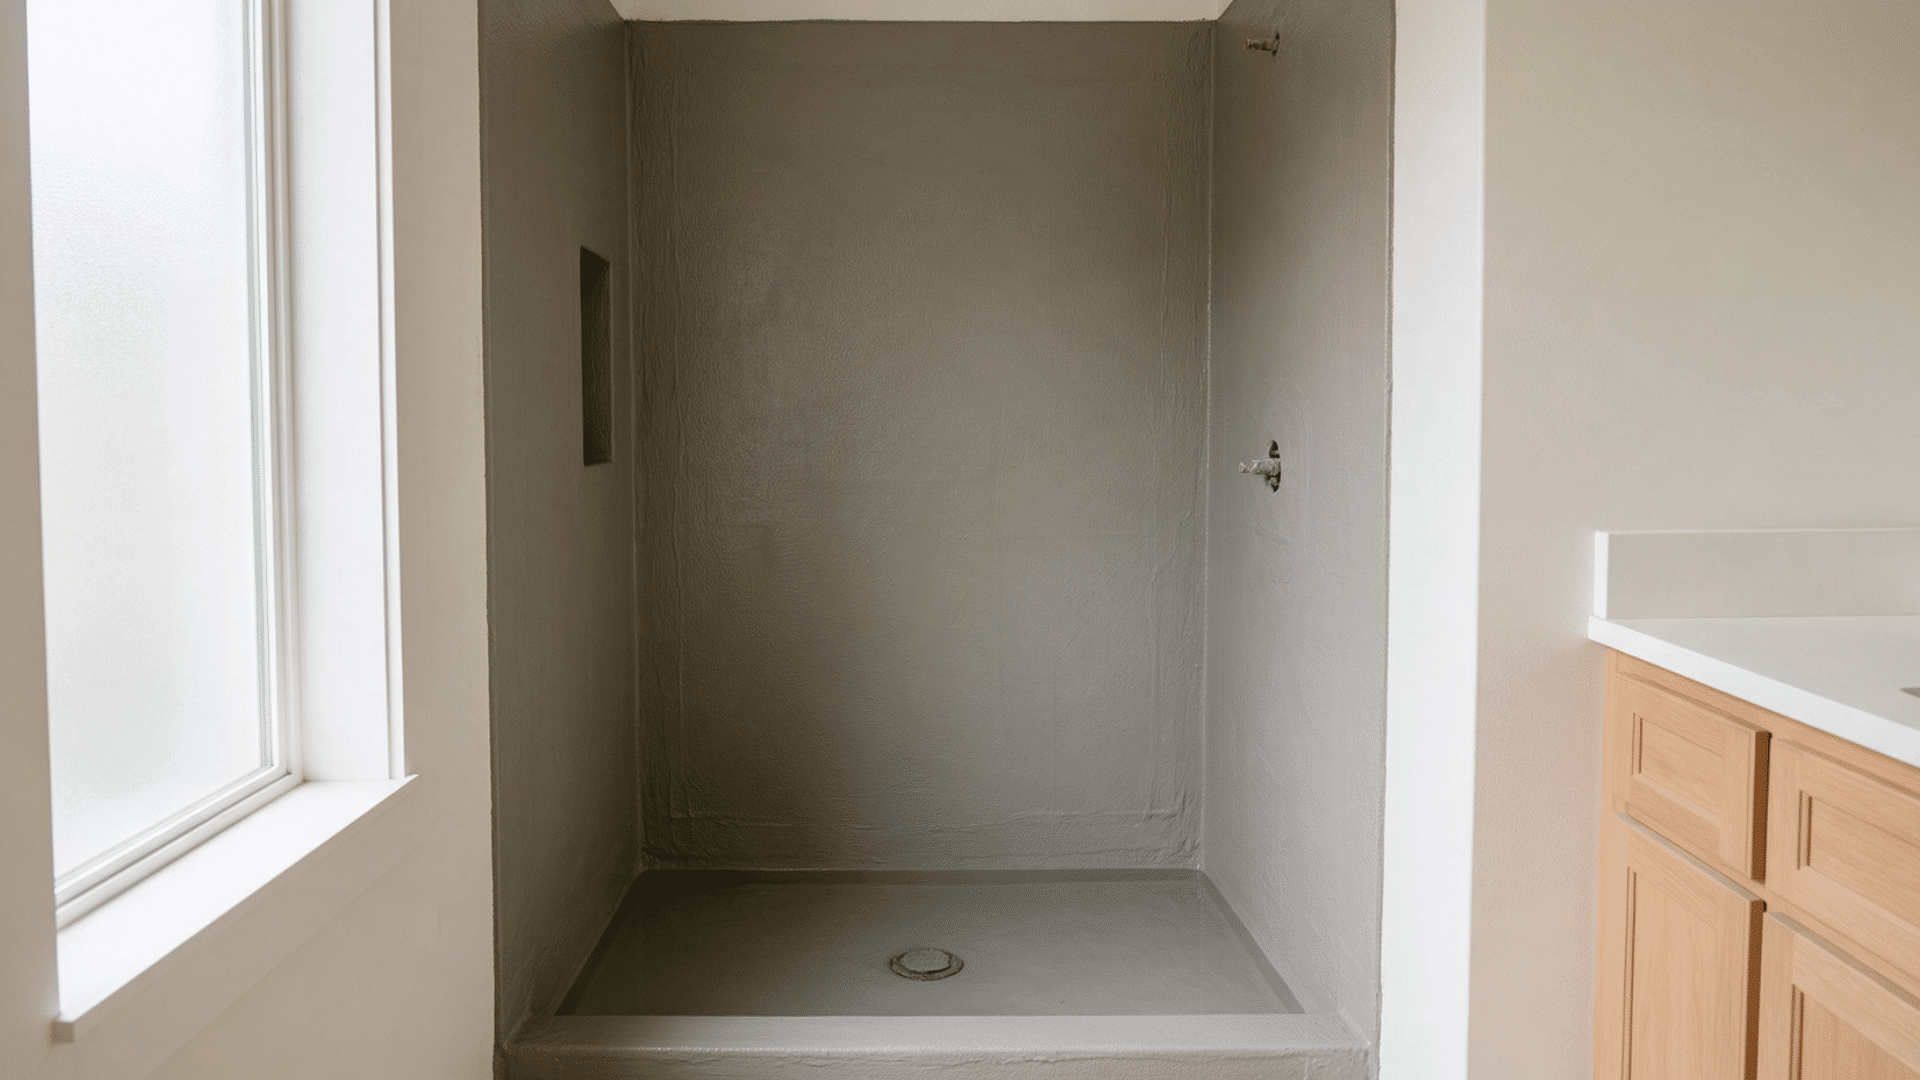
Apply the waterproofing system to match your product. Sheet membranes bond with the specified thinset or adhesive. Apply liquid membranes with a roller or trowel.
Focus on seams, corners, fastener heads, plumbing openings, the shower base, and the curb. This is where leaks start.
Let the membrane fully cure before tiling. Liquid membranes often need multiple coats with drying time between them. Check the manufacturer’s specs for exact timing.
Once cured, flood test before tiling. Plug the drain, fill the base with water, and let it sit as your local code requires, commonly 24 hours.
Watch for dropping water levels or dampness below the pan. Fix and retest before layout. Skip this, and a leak stays hidden until it’s behind finished tile.
Step 3: Plan the Shower Tile Layout
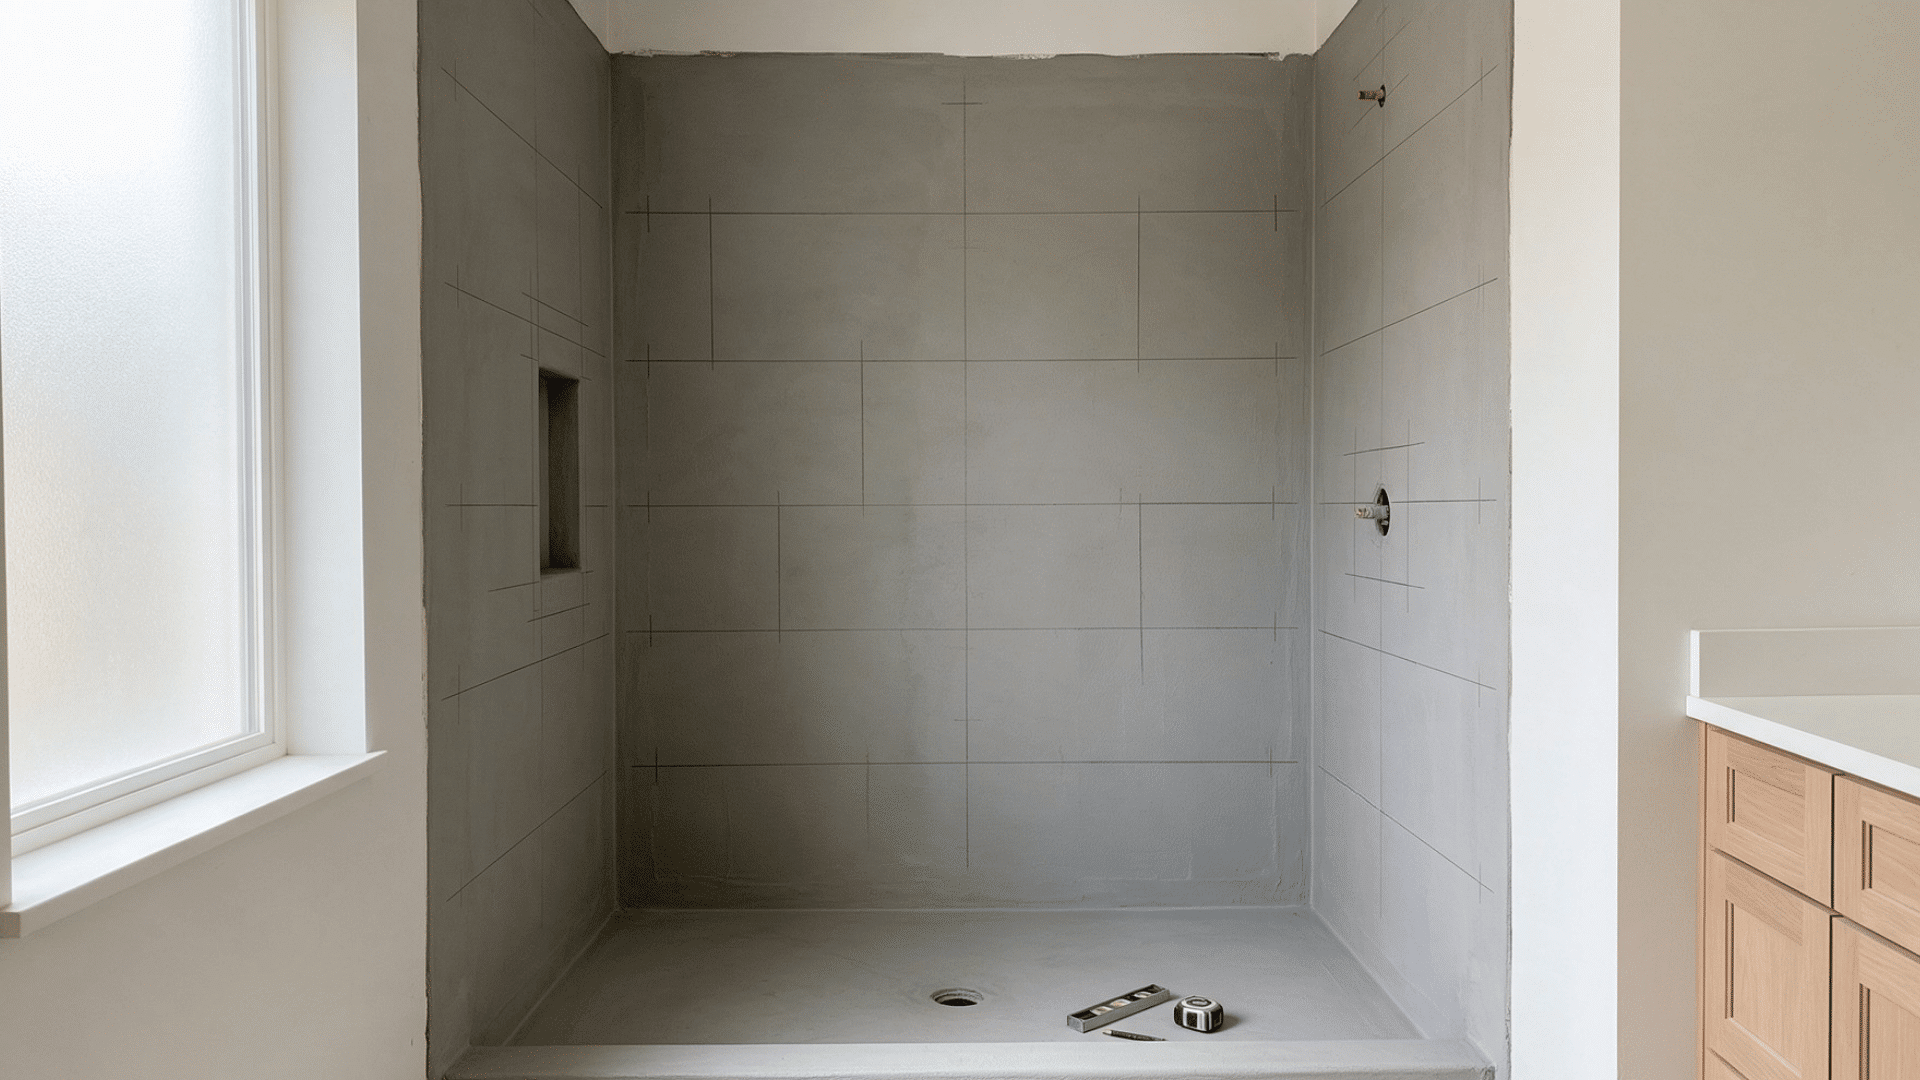
Find the floor’s center point, usually off the drain, before tiling. Dry-lay the tiles first to check grout-joint alignment and adjust starting lines, so you avoid thin slivers at the edges.
For walls, measure bottom to top and adjust so you avoid a skinny top or bottom row. Mark a level line above the pan as your reference. Then pick a starting wall, back wall first, with sides planned around it.
Step 4: Set the Shower Tile and Check Mortar Coverage
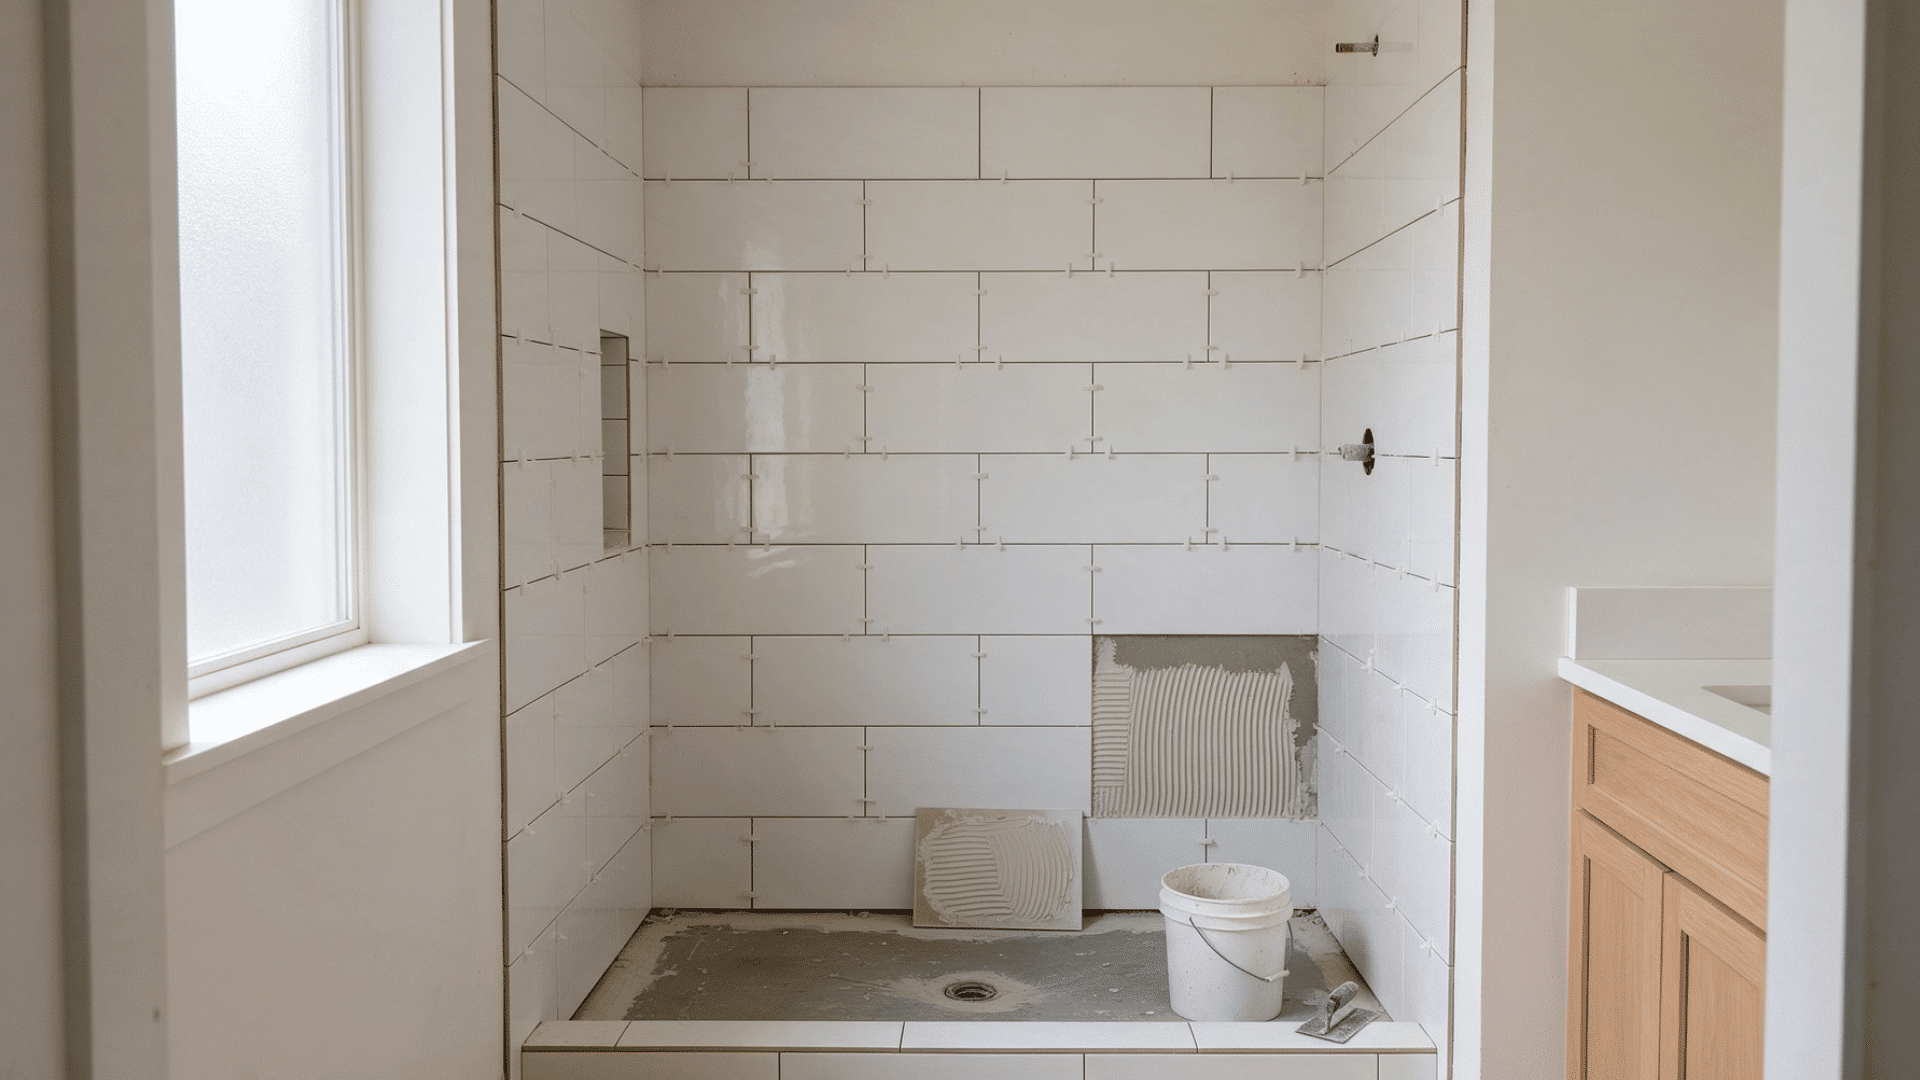
Mix thinset per manufacturer directions, in workable batches. Dampen dry, porous backer board first only if the waterproofing manufacturer allows it.
Match trowel to tile size: a 1/4 x 3/8-inch notch for 8–16 inch tile, 1/2 x 1/2-inch for larger. Trowel in small sections at a consistent angle, and back-butter tile 8 inches or larger to close gaps.
Start at your level guide and work upward, pressing tiles firmly and adding spacers. Use leveling clips on tile 6 inches and larger to prevent lippage.
Pull an early tile to confirm full mortar coverage, not just ridges; adjust trowel size if needed. Cut and install side walls, then the bottom row last.
Step 5: Grout the Joints and Seal the Seams
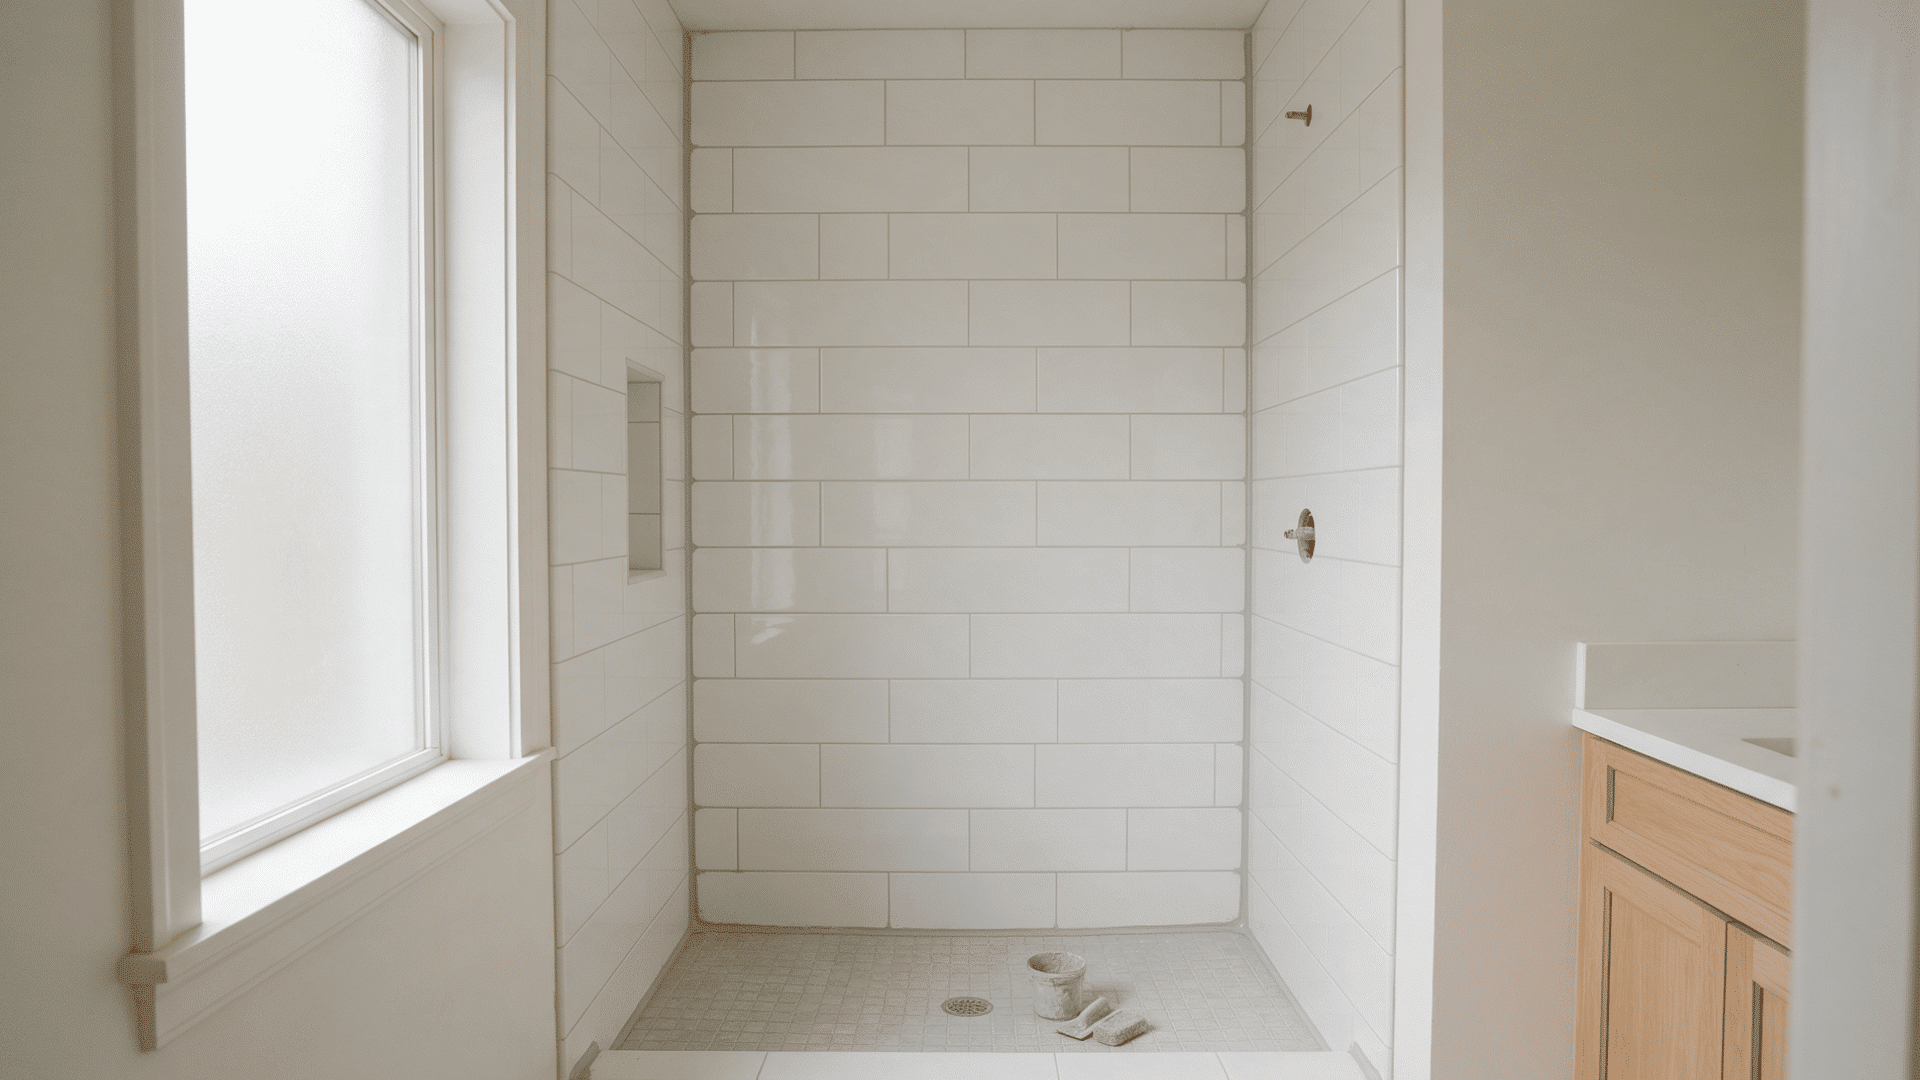
Let thinset cure per manufacturer specs before grouting. Apply grout with a rubber float, packing it diagonally into joints.
Wipe excess with a damp sponge, then clear haze once dry. Seal grout and natural stone only if their manufacturers require it, after full cure.
At inside corners and wall-to-tub or wall-to-floor joints, use flexible, shower-rated silicone caulk instead of grout. It moves with the house. Cure fully before use.
Step 6: Reinstall the fixtures
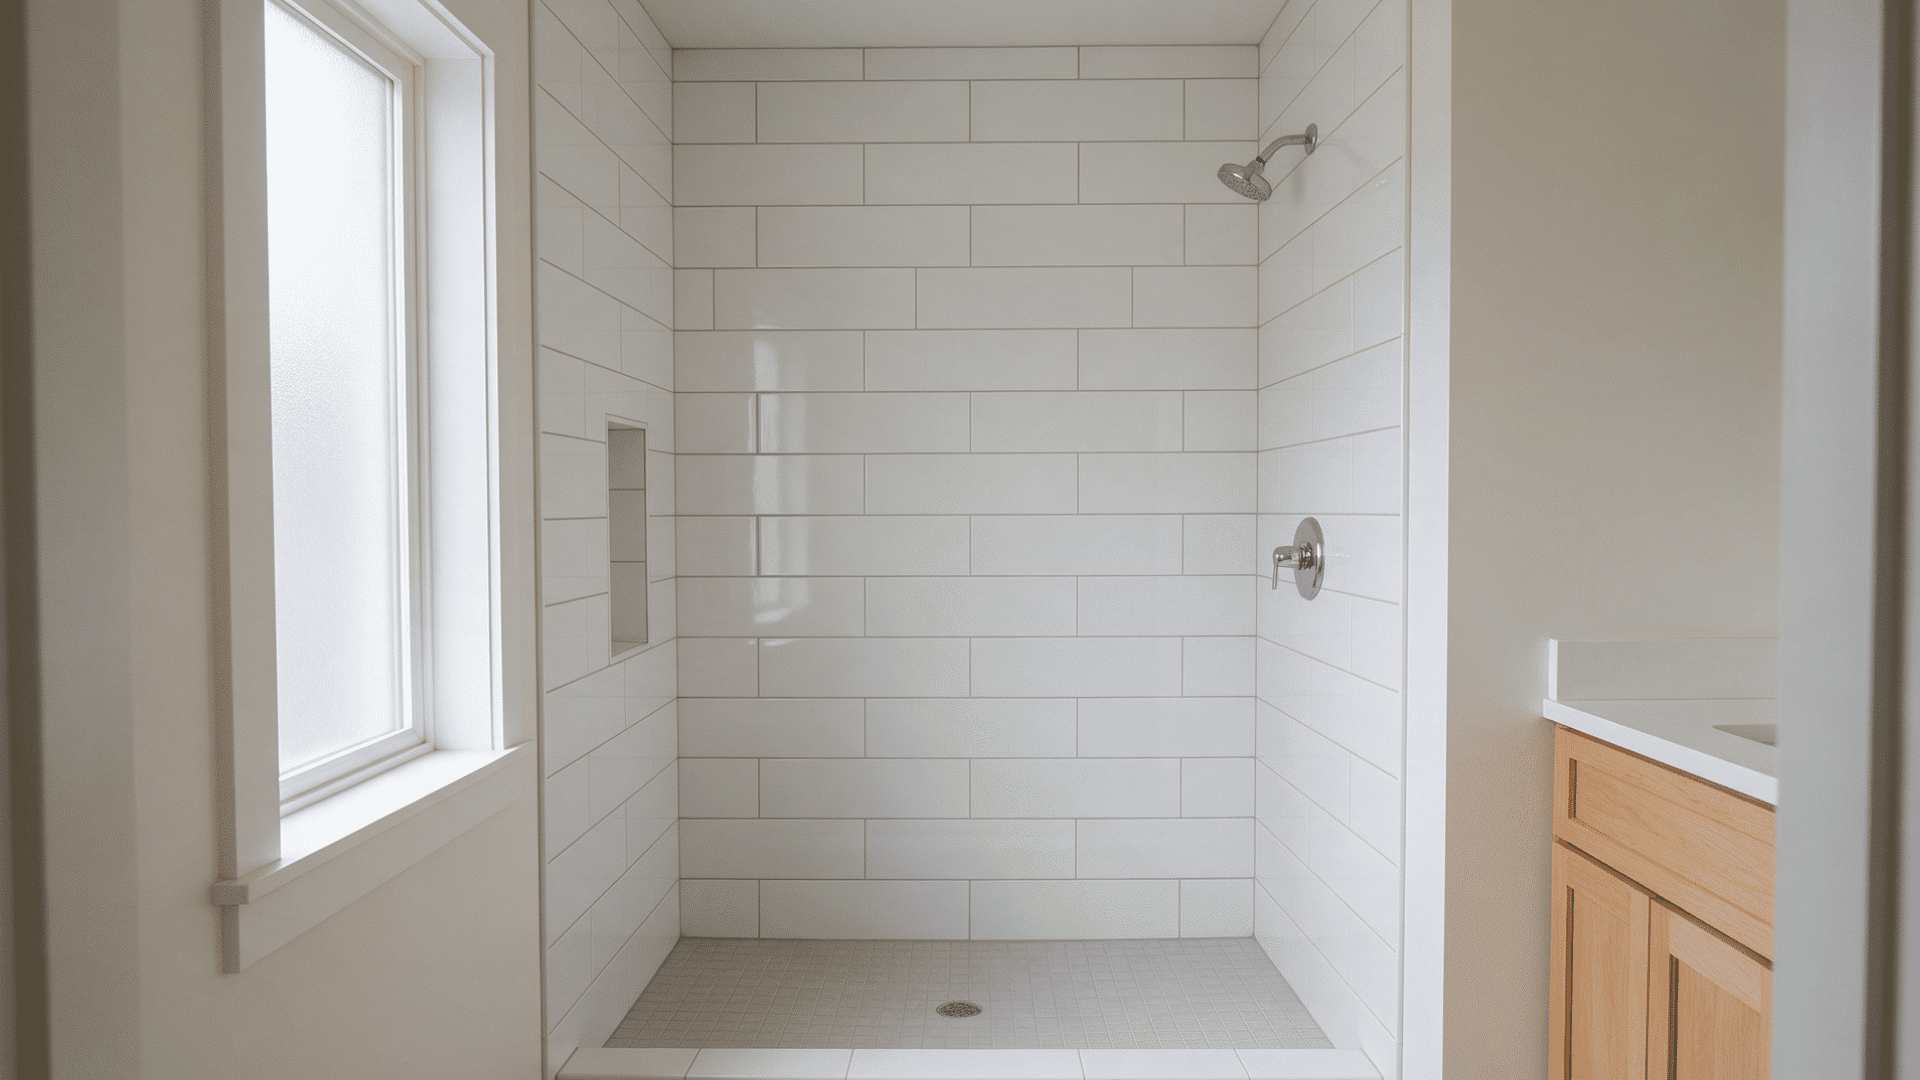
Wait until grout, sealant, and caulk have all reached their required cure times before reinstalling anything. This includes the showerhead, valve trim, tub spout, and any niche accessories set aside during prep.
Reattaching too early can disturb caulk that hasn’t fully set. It can also open a small gap right where water hits hardest.
Step 7: Check Drainage and Test for Leaks
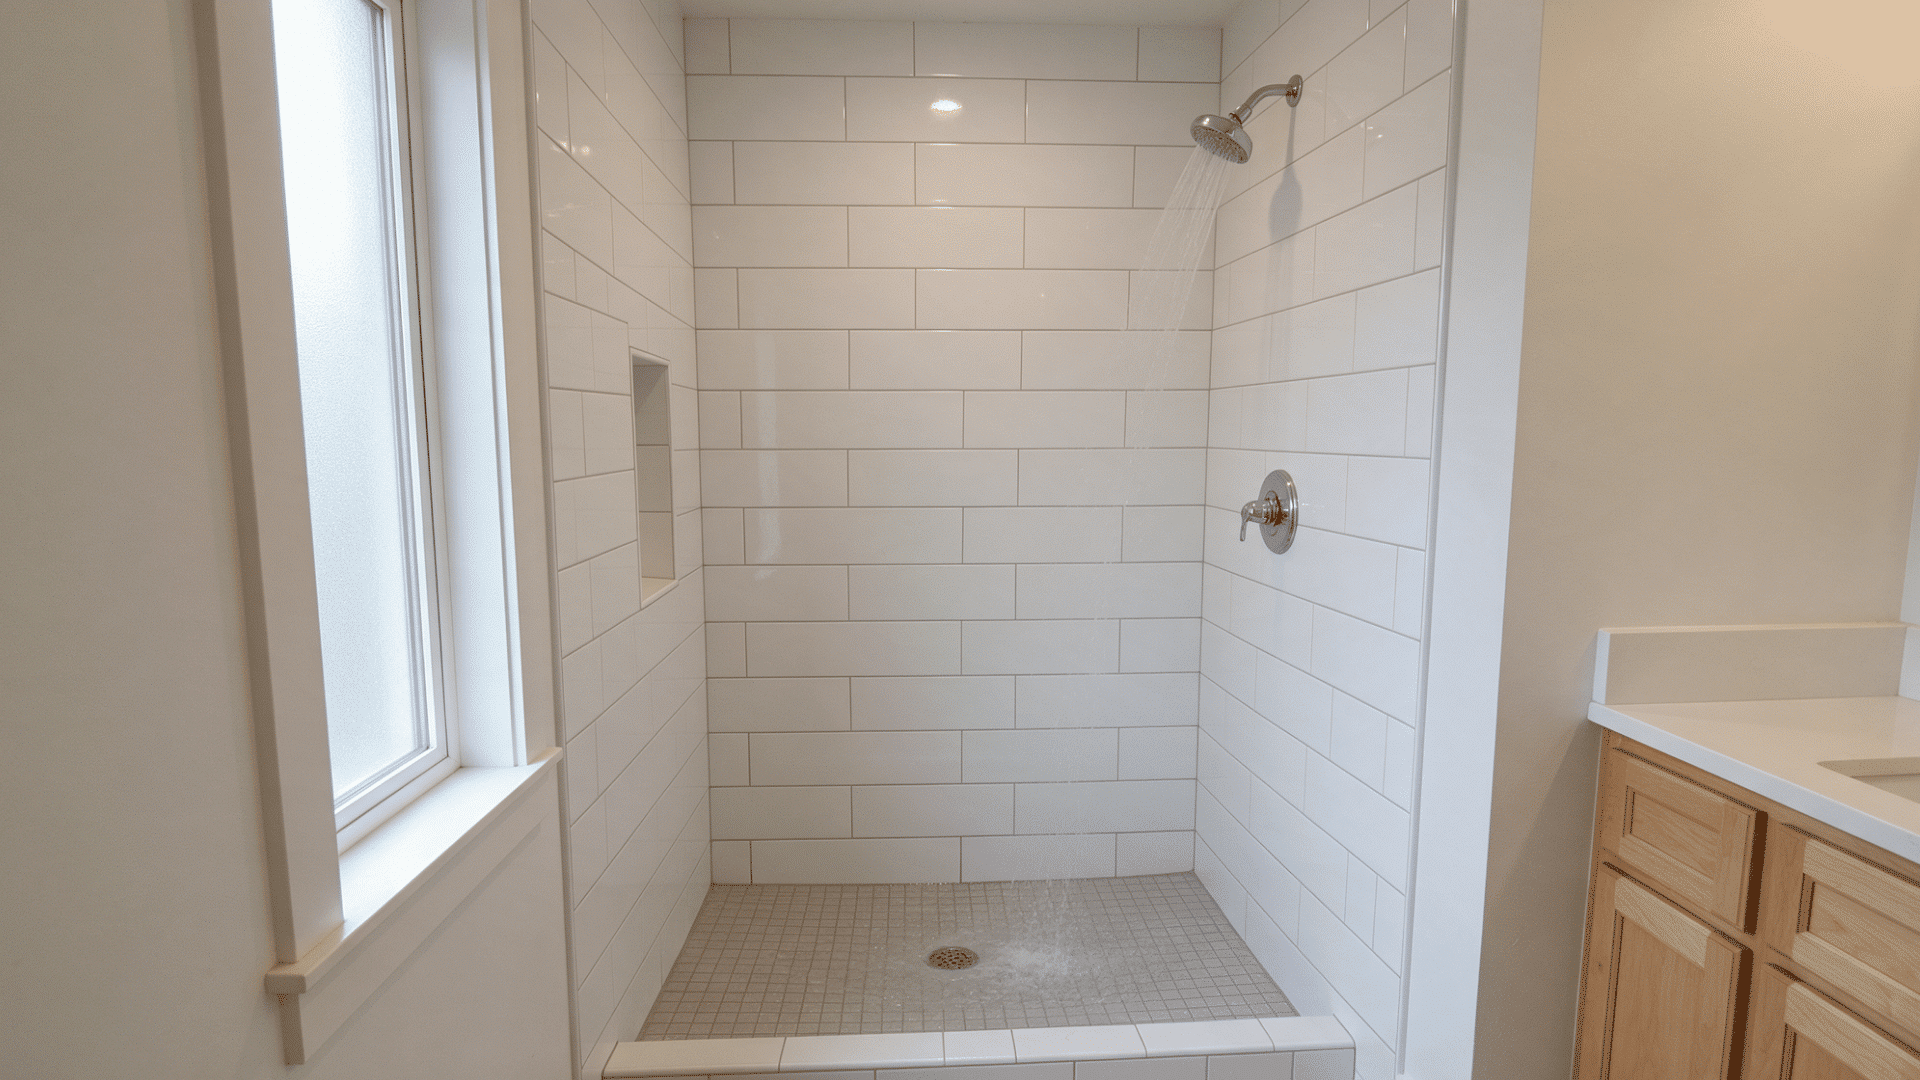
Once all cure times have passed, run the shower for several minutes. Watch how water moves across the floor. If the flow seems unusually weak and you’ve also noticed low water pressure elsewhere in the house, the issue may be separate from the new tile installation.
Water should flow toward the drain without pooling. Shower floors usually slope about 1/4 inch per foot. Check plumbing connections, fixture openings, corners, and perimeter joints for leaks.
Look for low spots where water remains after the shower stops. This final check confirms the finished shower drains properly and keeps water contained.
How to Tile a Tub Surround: Step-by-Step
Tiling a tub surround follows the same core steps as a shower wall. Waterproof, plan the layout, set the tile, then grout and caulk. Two things set it apart. The tub’s rim usually isn’t level, and every joint where tile meets the tub needs caulk, not grout.
- Waterproof the walls: Install approved backer board, treat seams, and apply the required waterproofing system before setting tile.
- Mark a level starting line: Find the tub rim’s lowest point. Use it to establish a level reference above the tub.
- Plan the tile layout: Mark horizontal and vertical guides. Adjust them to avoid narrow tile strips along corners and edges.
- Set the full tiles first: Apply thinset and work outward from your reference lines. Keep grout joints even as you go.
- Cut tiles around openings: Measure each valve, showerhead, tub spout, and corner separately before making cuts.
- Fit the bottom row: Cut these tiles to follow the tub rim while leaving the required movement gap.
- Grout and caulk: Grout regular joints after the thinset cures. Use shower-rated silicone where tile meets the tub or changes direction.
How Long Does It Take to Tile a Shower?
A standard shower usually takes three to five days from prep through final curing. DIY work may take five to seven days or longer.
Size, tile pattern, cuts, niches, and wall condition can extend the schedule. Thinset, waterproofing, grout, and caulk also need proper curing time between stages.
I’d plan an extra day rather than rush those waiting periods, especially before exposing the shower to water cure times are the one part of this project you genuinely cannot speed up by working harder.
How Much Does It Cost to Tile a Shower?
The total cost of tiling a shower can vary widely, but most of the difference comes down to a few practical factors:
- Average total cost: A professionally tiled shower typically costs around $2,700, with many projects falling between $1,800 and $5,000.
- Quantity: A standard shower may require about 90–100 sq ft of wall tile, plus another 10–15 sq ft for the floor if you’re not using a shower pan.
- Labor: Professional tile installation commonly runs around $10–$15 per sq ft. I’d budget toward the higher end for large-format tile, natural stone, or layouts that require extra cutting and alignment.
- Design complexity: Herringbone, diagonal, and other detailed patterns can cost roughly 10–30% more to install than a simple straight-set layout because they require more planning, cutting, and tile waste.
- Built-in features: Niches, benches, shelves, and similar additions raise costs because they need extra framing, waterproofing, and tile cuts. A basic niche may add around $200–$600, while a tiled bench can add several hundred dollars or more.
- Old tile removal: Retiling an existing shower adds demolition costs. Removing old tile generally costs about $1.50–$5 per sq ft, depending on the surface and how difficult the existing material is to remove.
Disclaimer: Costs above are national ballpark ranges and will shift with your region, tile choice, and contractor get at least two local quotes before budgeting a final number
Maintenance Tips to Follow After Shower Tile Installation
Regular care helps shower tile, grout, and caulk hold up better in a wet space. Clean the surfaces with a non-abrasive sponge and a cleaner that is safe for your tile and grout.
Avoid harsh acidic products unless the manufacturer recommends them for that material. Rinse the walls and floor well, then let them dry to limit residue buildup.
Check caulked joints occasionally for cracks, gaps, or lifting, and replace failed caulk completely before applying a fresh bead. Grout and natural stone may also need resealing, but there is no single schedule for every shower.
Follow the sealer and material manufacturer’s guidance, and reseal only after the surface is cleaned and fully dry.
Wrapping Up
Learning how to tile a shower takes more than placing tile in straight rows. The strongest results come from giving preparation, waterproofing, layout, setting, grouting, and curing the attention each stage needs.
I would rather spend extra time checking the work than rush ahead and correct preventable problems later. Material choices and costs may vary, but careful planning keeps the project easier to manage from start to finish.
Before you begin, review your measurements, product instructions, and waterproofing requirements, then work through each step at a steady pace.
Frequently Asked Questions
Do You Tile the Shower Floor or the Walls First?
Either order can work, but many installers tile walls first while protecting the finished shower pan or floor.
What Type of Grout is Best for a Shower?
Epoxy grout resists stains and moisture well, while high-performance cement grout can also suit showers when properly rated.
Can You Tile Over Existing Shower Tile?
You can tile over existing shower tile only if the surface is sound, flat, clean, and properly prepared.
What Grout Joint Size Should You Use for Shower Tile?
Grout-joint width depends on tile size, edge consistency, layout, and manufacturer guidance, not a single universal measurement.