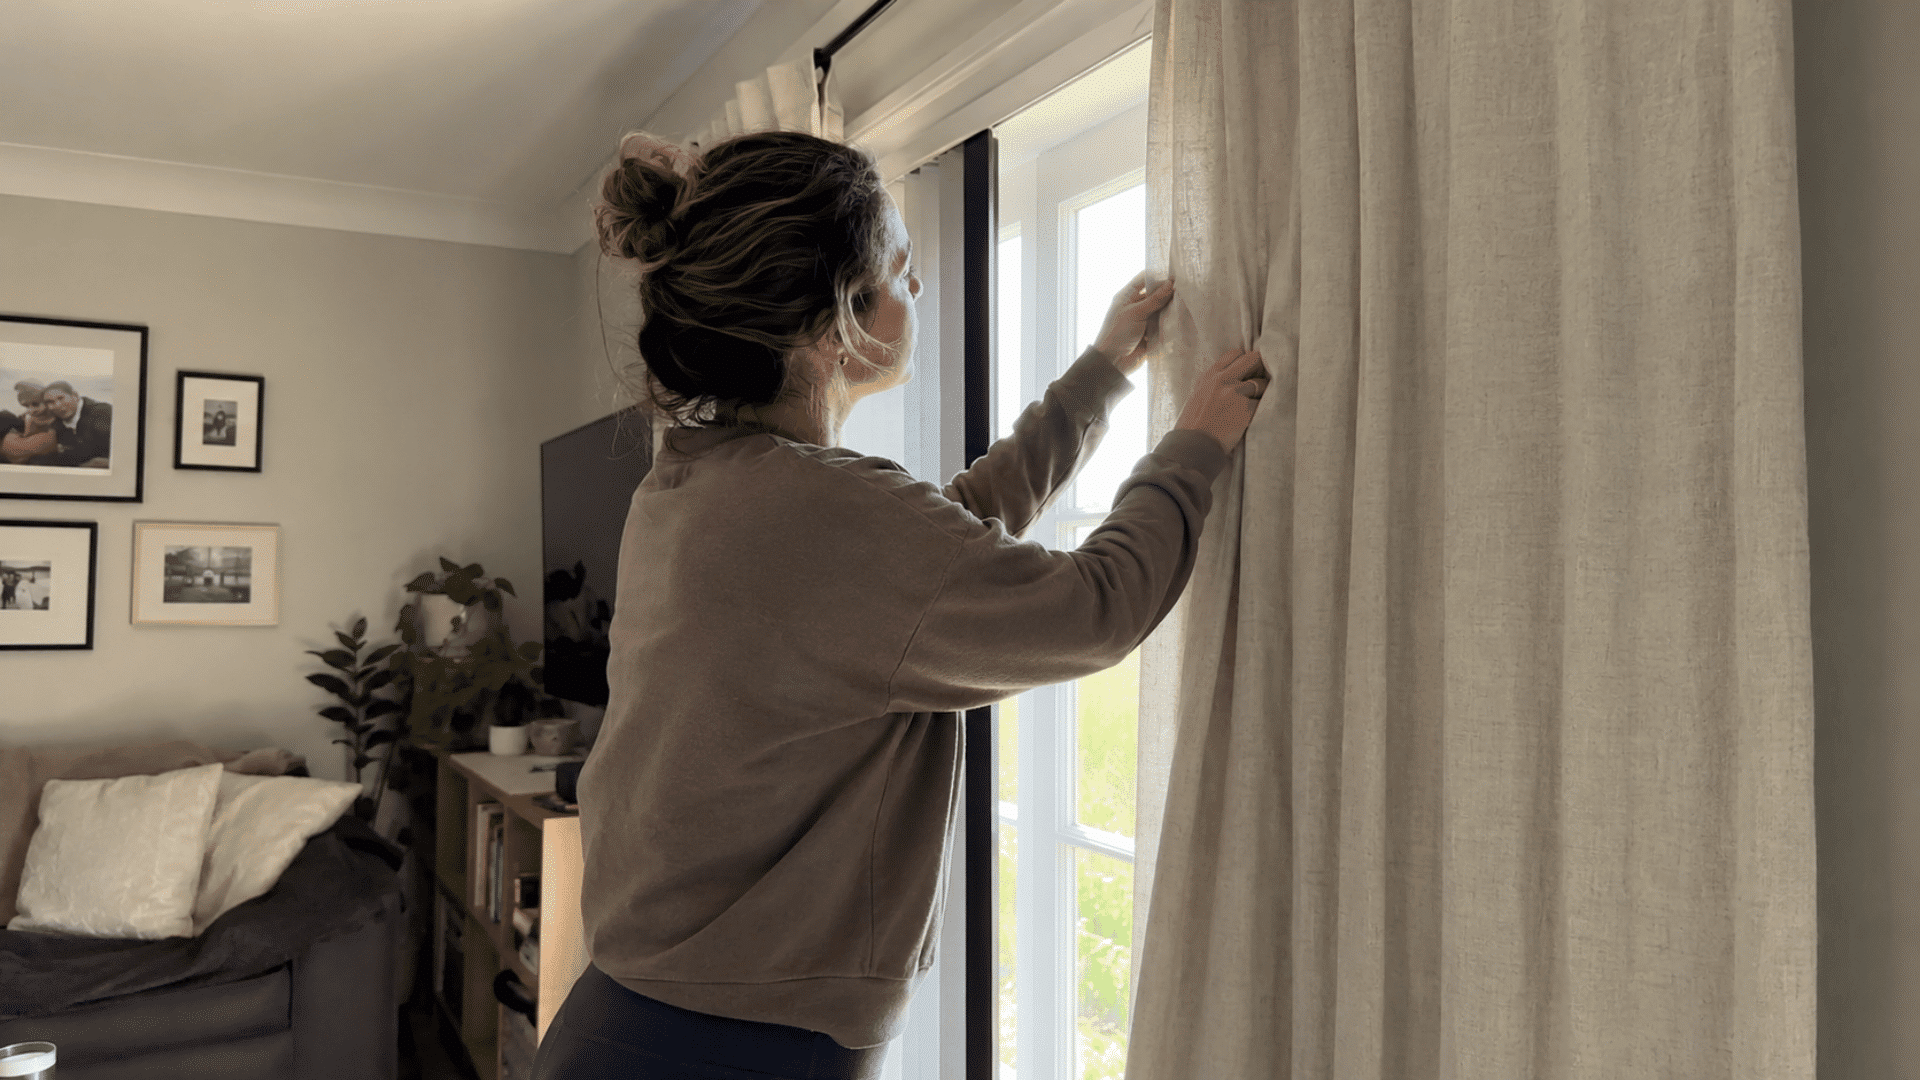
Well-hung curtains can make a room feel brighter, taller, and more balanced. From my experience, learning how to hang curtains correctly makes a noticeable difference in the finished look.
I’ve found that many people rush the process and end up with rods placed too low or panels that don’t fit the window. A few simple steps can help avoid those common mistakes.
From measuring your windows to choosing the right hardware for different types of curtains, every detail matters.
In this blog, I’ll walk you through the complete process of hanging curtains so you can install them with confidence and achieve a polished, well-finished look.
How to Measure for Curtains?
Learning how to hang curtains starts with accurate measurements. One habit that’s worked well for me is keeping a measuring tape, pencil, and notepad or my phone nearby before getting started.
Measure the full width of the window frame,including any window trim, then add 6–12 inches on each side for the curtain rod.This gives the curtains enough room to open fully.
Next, measure from the planned rod position to the floor. Install the rod about 4–6 inches above the window frame, or closer to the ceiling if you want the room to appear taller.
Before you finish measuring, decide should curtains touch the floor, since that determines where to stop.
For a fuller look, choose curtain panels that are 1.5–2 times the width of the curtain rod. Double-check every measurement before moving to the installation.
Tools and Materials Needed to Hang Curtains
Before you start, take a moment to collect all the tools and materials you’ll need. Having everything within reach helps the installation stay organized from beginning to end.
In my experience, gathering all the items before I begin saves time and lets me focus on each step without stopping to look for a missing tool.
| Tool/Material | Purpose | Quick Tip |
|---|---|---|
| Measuring Tape | Measure window dimensions | Measure twice before marking. |
| Curtain Rod | Supports curtain panels | Pick a rod wider than the window. |
| Curtain Rod Brackets | Holds the rod in place | Install both at the same height. |
| Drill or Screwdriver | Secure the brackets | Use the correct drill bit or screwdriver. |
| Screws & Wall Anchors | Fasten brackets securely | Use anchors for drywall. |
| Level | Keep the rod straight | Check alignment before tightening. |
| Step Ladder | Reach higher areas safely | Place it on a stable surface. |
Taking a few extra minutes to prepare can make hanging curtains much easier, helping you work more accurately and achieve a cleaner finish.
How to Hang Curtains: Step-by-Step Instructions
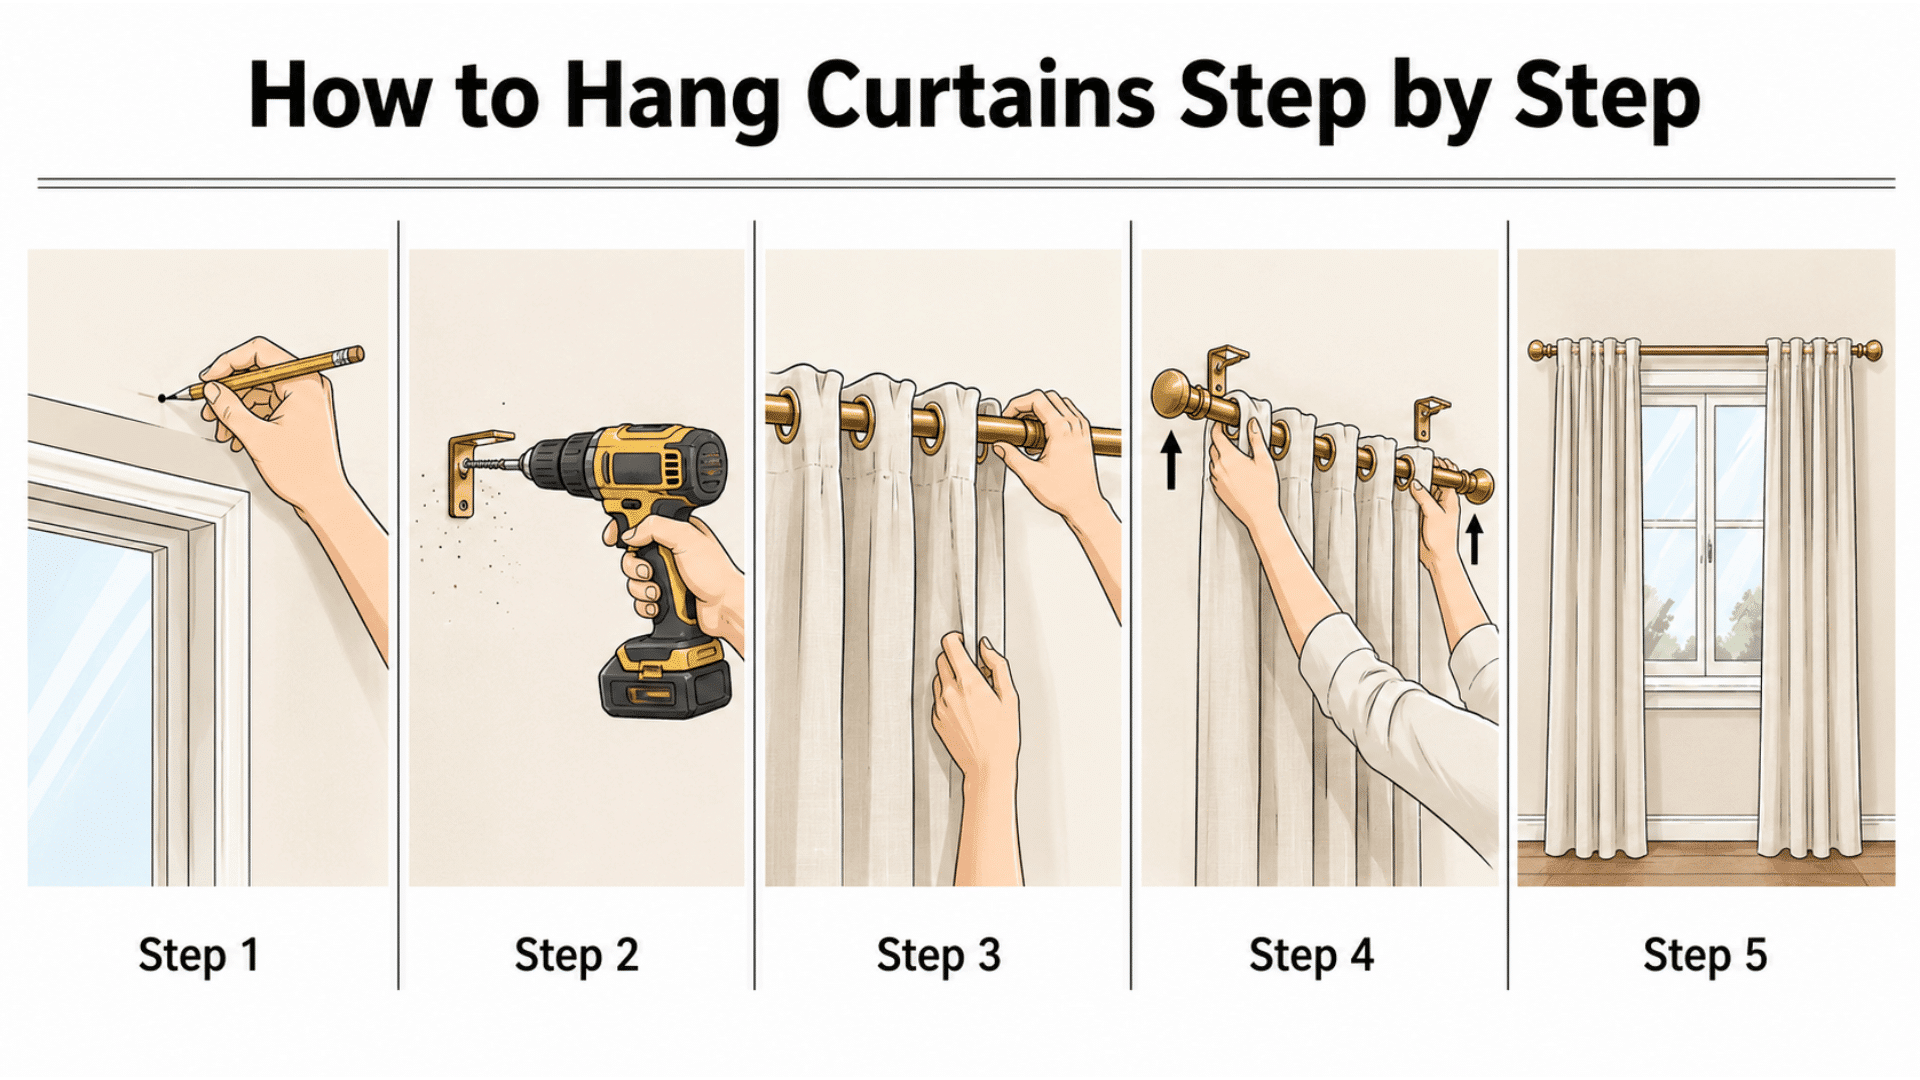
Everything is now in place to begin the installation. Working through each step carefully can help you avoid common mistakes and keep your curtains hanging evenly.
I prefer to take my time with each stage rather than rush through the process. In my experience, those extra few minutes often make a noticeable difference in the overall outcome.
Step 1: Mark the Bracket Positions
Use the measurements you’ve already recorded to mark the bracket locations on the wall. Clear markings help keep the installation aligned and reduce the chance of drilling in the wrong place.
- Transfer your measurements to both sides of the window.
- Mark each bracket location with a pencil.
- Check that the markings line up evenly.
- Review the placement one last time before drilling.
My Tip: One thing I’ve found helpful is stepping back and looking at the markings from across the room before drilling.
Step 2: Install the Curtain Rod Brackets
With the markings complete, it’s time to attach the brackets to the wall. Installing them securely creates a stable foundation for the curtain rod and helps prevent movement over time.
- Drill the mounting holes.
- Insert wall anchors if your wall requires them.
- Fasten the brackets with the supplied screws.
- Make sure both brackets feel firm and secure.
My Tip: Before moving on, I gently test each bracket by hand. If I notice even a slight movement, I tighten the screws before continuing.
Step 3: Hang the Curtain Panels
Before placing the rod on the brackets, slide the curtain panels onto it according to their header style. If you’re layering curtains, add the sheer panels first on a double rod.
- Thread the curtain panels onto the rod.
- Keep both panels facing the correct direction.
- Space rings, hooks, or grommets evenly.
- Check that the fabric moves freely along the rod.
The curtain style you choose also affects how the panels slide, fold, and hang once the rod is installed.
My Tip: I like to smooth out the fabric with my hands before lifting the rod. It helps the curtains hang more evenly once they’re in place.
Step 4: Place the Curtain Rod on the Brackets
Once the curtain panels are in place, carefully lift the assembled rod onto the installed brackets. Secure it properly so it stays stable during everyday use.
- Lift the rod carefully into position.
- Rest it evenly on both brackets.
- Tighten any locking screws or clips.
- Confirm that the rod sits securely without shifting.
My Tip: Before tightening everything completely, I like to take one final look from across the room. It’s much easier to make small adjustments while the hardware is still easy to move.
Step 5: Make Final Adjustments
The final step is making sure everything looks balanced and works smoothly. A few small adjustments can improve both the appearance and the way the curtains open and close.
- Open and close the curtains several times.
- Arrange the folds so both panels look even.
- Check that the fabric hangs at the same height.
- Tighten any loose hardware if needed.
My Tip: I’ve found it helpful to leave new curtains hanging overnight before making any final tweaks. The fabric often settles into a more natural shape, making small adjustments easier the next day.
How to Give Your Curtains a Polished Finish?
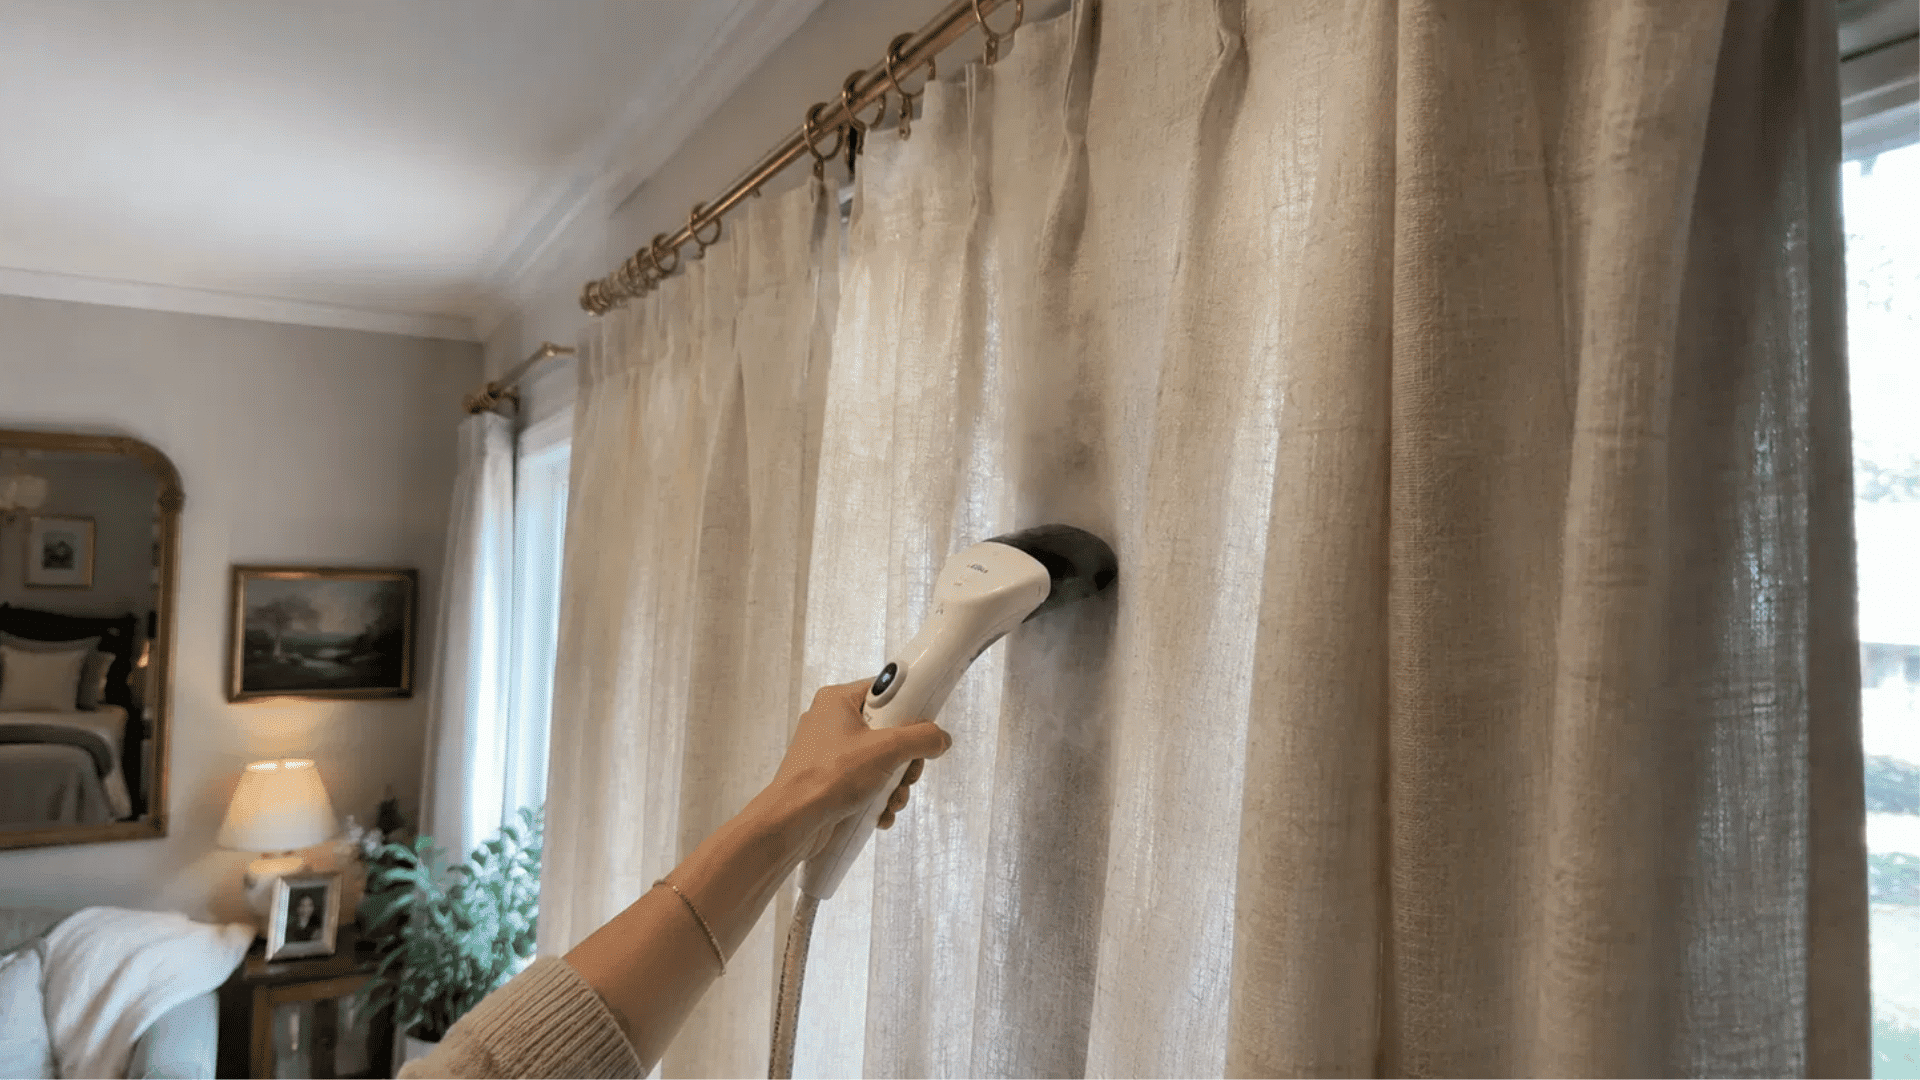
A polished finish comes from the small details afterhanging curtains. Taking a few extra minutes to adjust the fabric can noticeably improve the overall appearance.
Straighten the folds, check that both panels hang at the same height, and remove any wrinkles with a steamer or iron if needed. These small finishing touches help the curtains look neat and even.
From my experience, letting new curtains or drapes hang for a day before making final adjustments works well. The fabric naturally settles over time, making it easier to achieve an even, balanced finish.
Final Thoughts
Learning how to hang curtains is much easier when you take one step at a time. From my experience, slowing down during the installation often leads to a cleaner, more balanced finish.
Every window is different, but careful measurements and thoughtful adjustments can make a noticeable difference. Even small details are worth the extra attention.
I’ve found that hanging curtains becomes much less intimidating once everything starts coming together. A little patience goes a long way throughout the process.
Enjoy the finished look, and don’t worry if everything isn’t perfect right away. Minor tweaks are a normal part of the process and often make the biggest difference over time.
Frequently Asked Questions
How Long Does It Take to Hang Curtains?
Most standard curtain installations take about 30–60 minutes, depending on the window size and wall type.
Can I Hang Curtains Without Drilling into the Wall?
Yes, no-drill curtain rod brackets or tension rods can work for certain windows and lightweight curtains.
Should Curtains Touch the Floor?
It depends on your preference, but curtains that lightly touch or slightly hover above the floor are common choices.
Can Heavy Curtains Be Hung on Drywall?
Heavy curtains can be installed on drywall if you use appropriate wall anchors or mount the brackets into wall studs.