Ever stirred sugar into iced coffee or lemonade and watched it settle at the bottom like it had other plans? I’ve been there more times than I can count, standing at the counter stirring a glass like it owed me money.
Learning how to make simple syrup fixes that problem with two basic ingredients and a few minutes on the stove. It’s one of the first things I picked up messing around in my family’s kitchen.
This easy sugar syrup recipe gives you a smooth liquid sweetener that mixes neatly into cold drinks, cocktails, desserts, and homemade treats.
Below you’ll find the correct ratio, clear cooking steps, storage advice, common mistakes, and practical ways to use it, straight from the notebook of tricks I’ve built up over the years.
What is Simple Syrup and Why is It Used?
Simple syrup is sugar dissolved in water until the mixture becomes smooth and pourable.
Sugar just doesn’t cooperate in cold liquids; the granules sink and sit there no matter how much you stir. Simple syrup solves that problem before it starts, because the sugar is already dissolved by the time it hits your glass.
That’s why it shows up constantly in coffee, tea, or cake soaks, and honestly, it’s one of those things I keep in my fridge at all times.
Making it at home also puts you in charge of the sweetness, thickness, and flavor, instead of relying on whatever bottled syrup happens to be on the store shelf.
And once you know the base recipe, plain syrup and flavored syrup are really just two steps apart.
Ingredients and Tools Needed
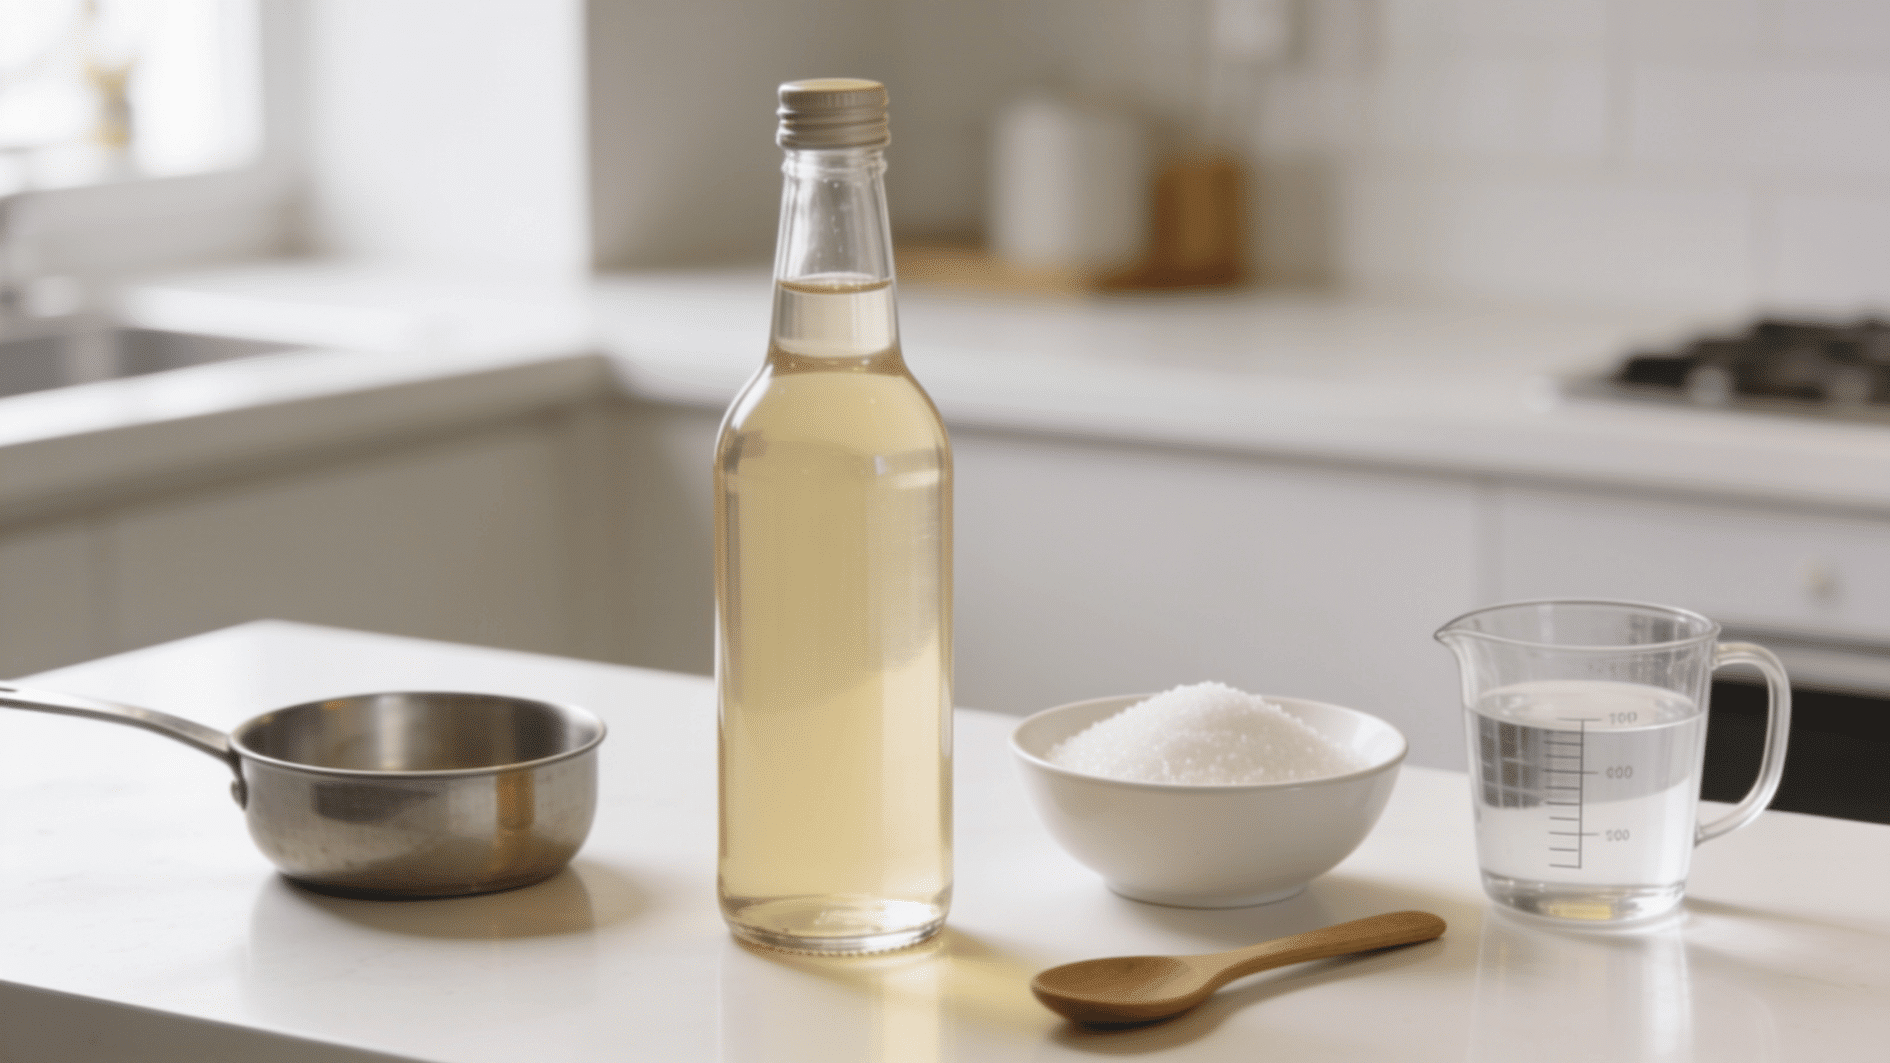
A basic sugar syrup recipe requires only sugar and water, making it one of the easiest kitchen staples to prepare.
You already have everything you need, which is exactly why this ends up on my stove more often than most recipes I make.
- 1 cup granulated sugar
- 1 cup water
- Small saucepan
- Measuring cups
- Wooden spoon or silicone spatula
- Heat-safe jar or bottle
- Funnel, if needed
Note: Make sure your storage container has a tight lid and is completely clean before the syrup goes in.
How to Make Simple Syrup: Step-by-Step Instructions
Learning to make simple syrup takes only a few clear steps and about five minutes of active cooking.
The goal here is to dissolve the sugar, not to boil the mixture for a long time, something I had to unlearn after a few overcooked batches of my own.
Step 1: Measure the Sugar and Water
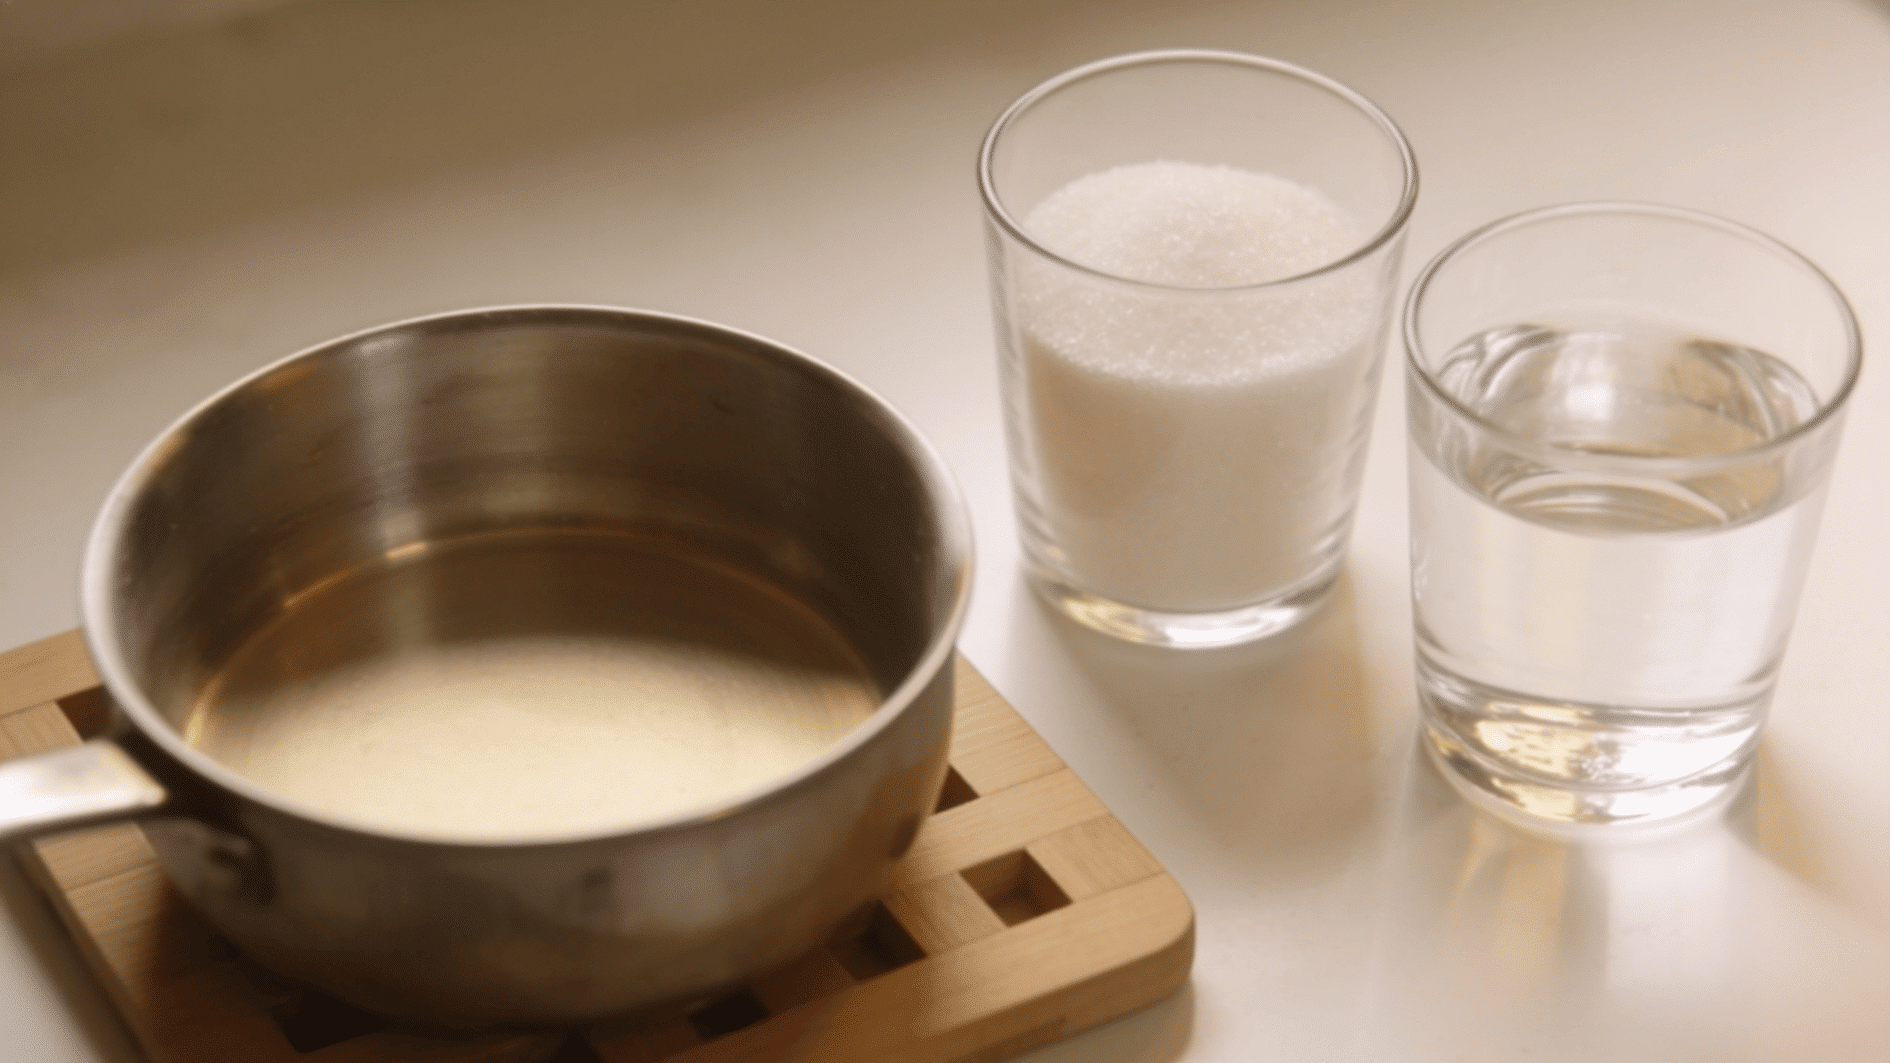
Getting the ratio right helps create a smooth syrup that is not too thin or too thick. Equal portions work well for most drinks and recipes, so measure equal amounts of sugar and water for a balanced texture.
One cup of each makes enough for several drinks or recipes; just add both straight into a small saucepan before you turn on any heat.
Step 2: Heat the Mixture Gently
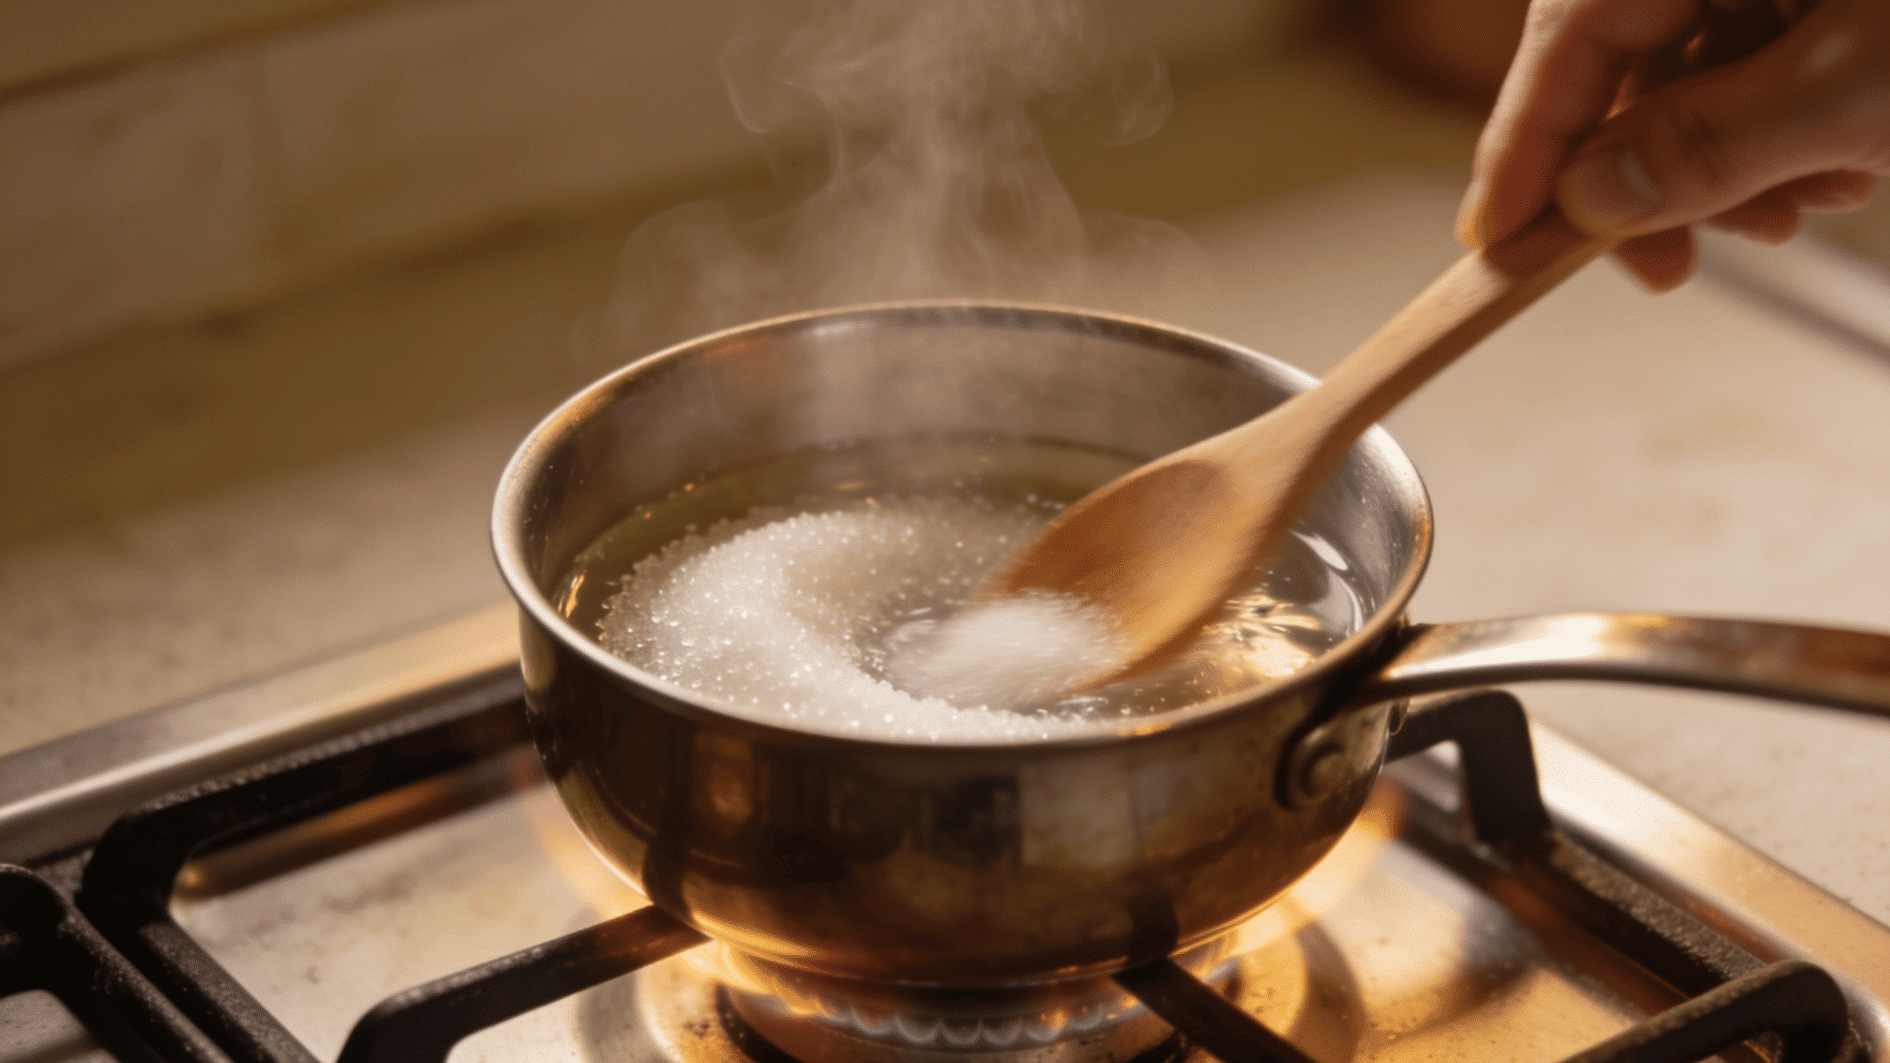
Low, steady heat allows the sugar to dissolve without reducing too much water.
Place the saucepan over medium-low heat and stir as it warms, since gentle heat helps the sugar dissolve without cooking off too much liquid.
Try to avoid a hard boil; a strong boil just makes the syrup thicker than you meant it to be.
Step 3: Stir Until the Sugar Dissolves
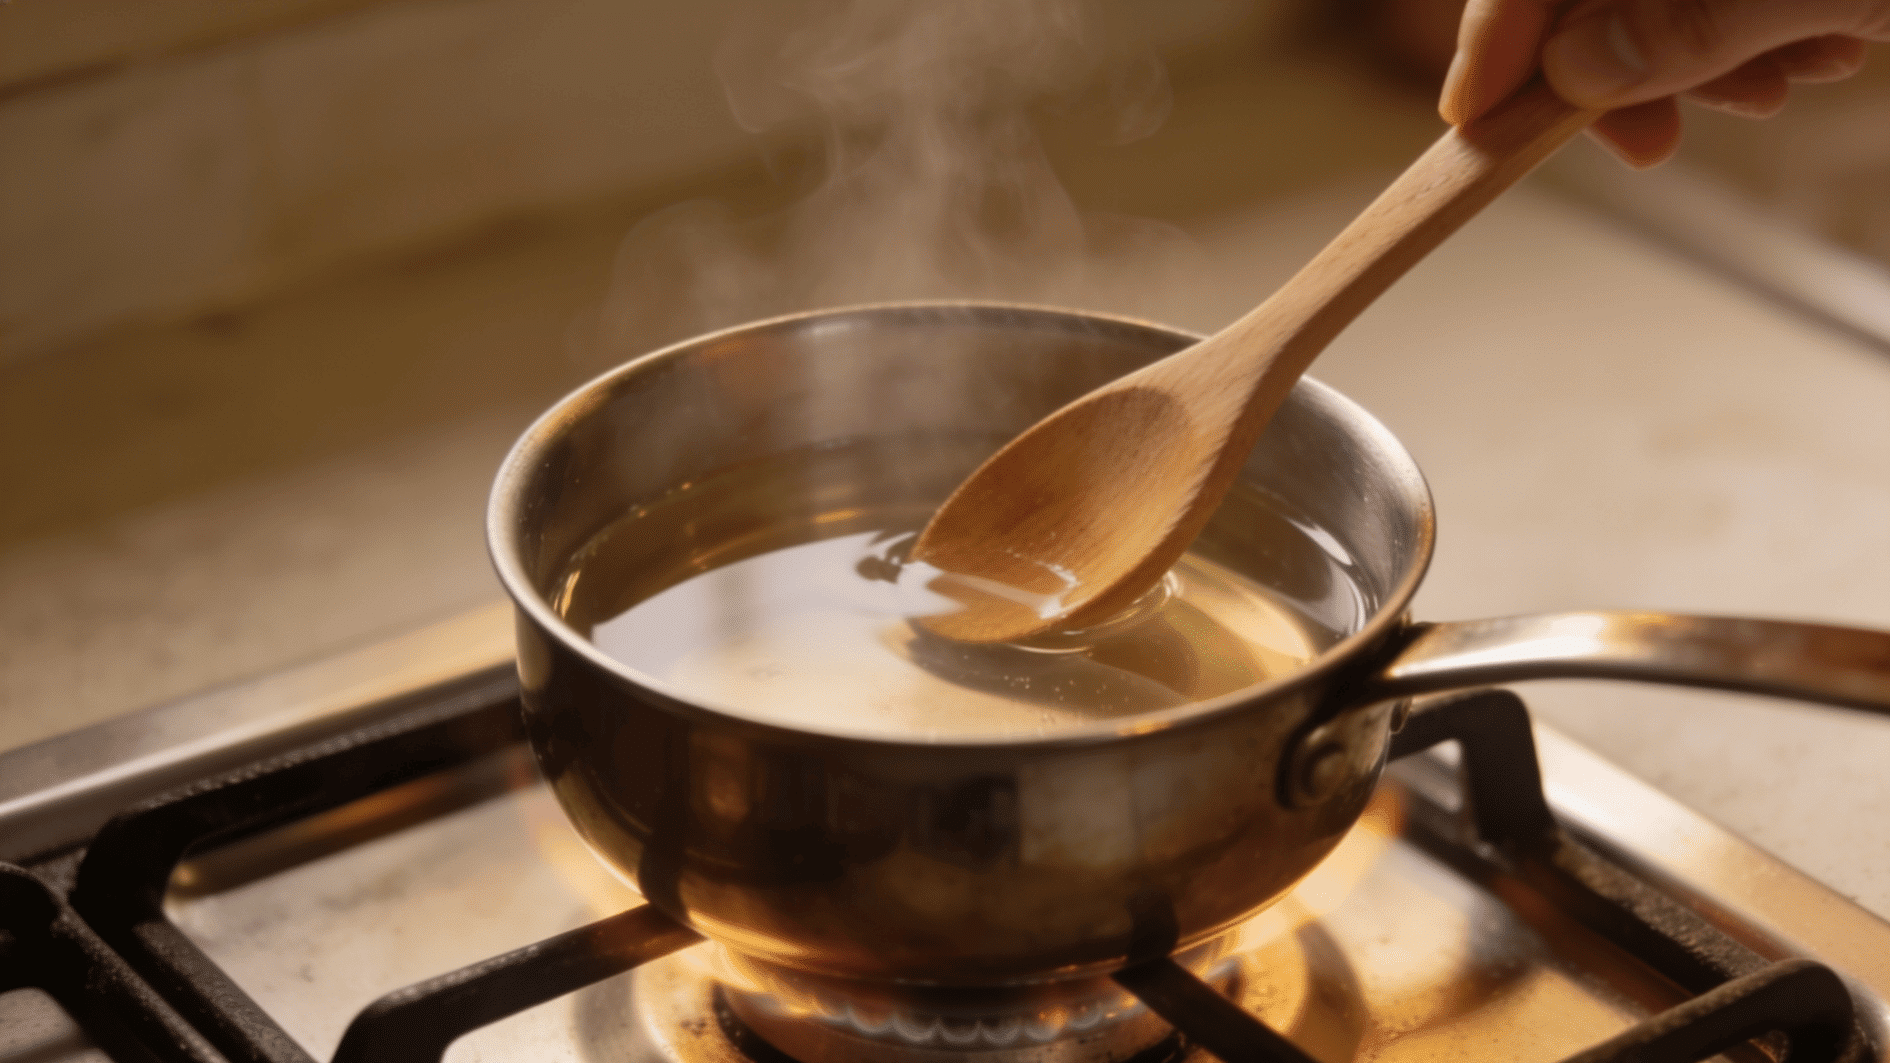
Keep stirring until the liquid turns clear and no sugar crystals remain on the bottom of the pan, which usually takes three to five minutes.
Regular stirring also keeps sugar from settling on the bottom. The syrup is ready once the mixture looks clear and no crystals remain.
Step 4: Remove the Syrup from the Heat
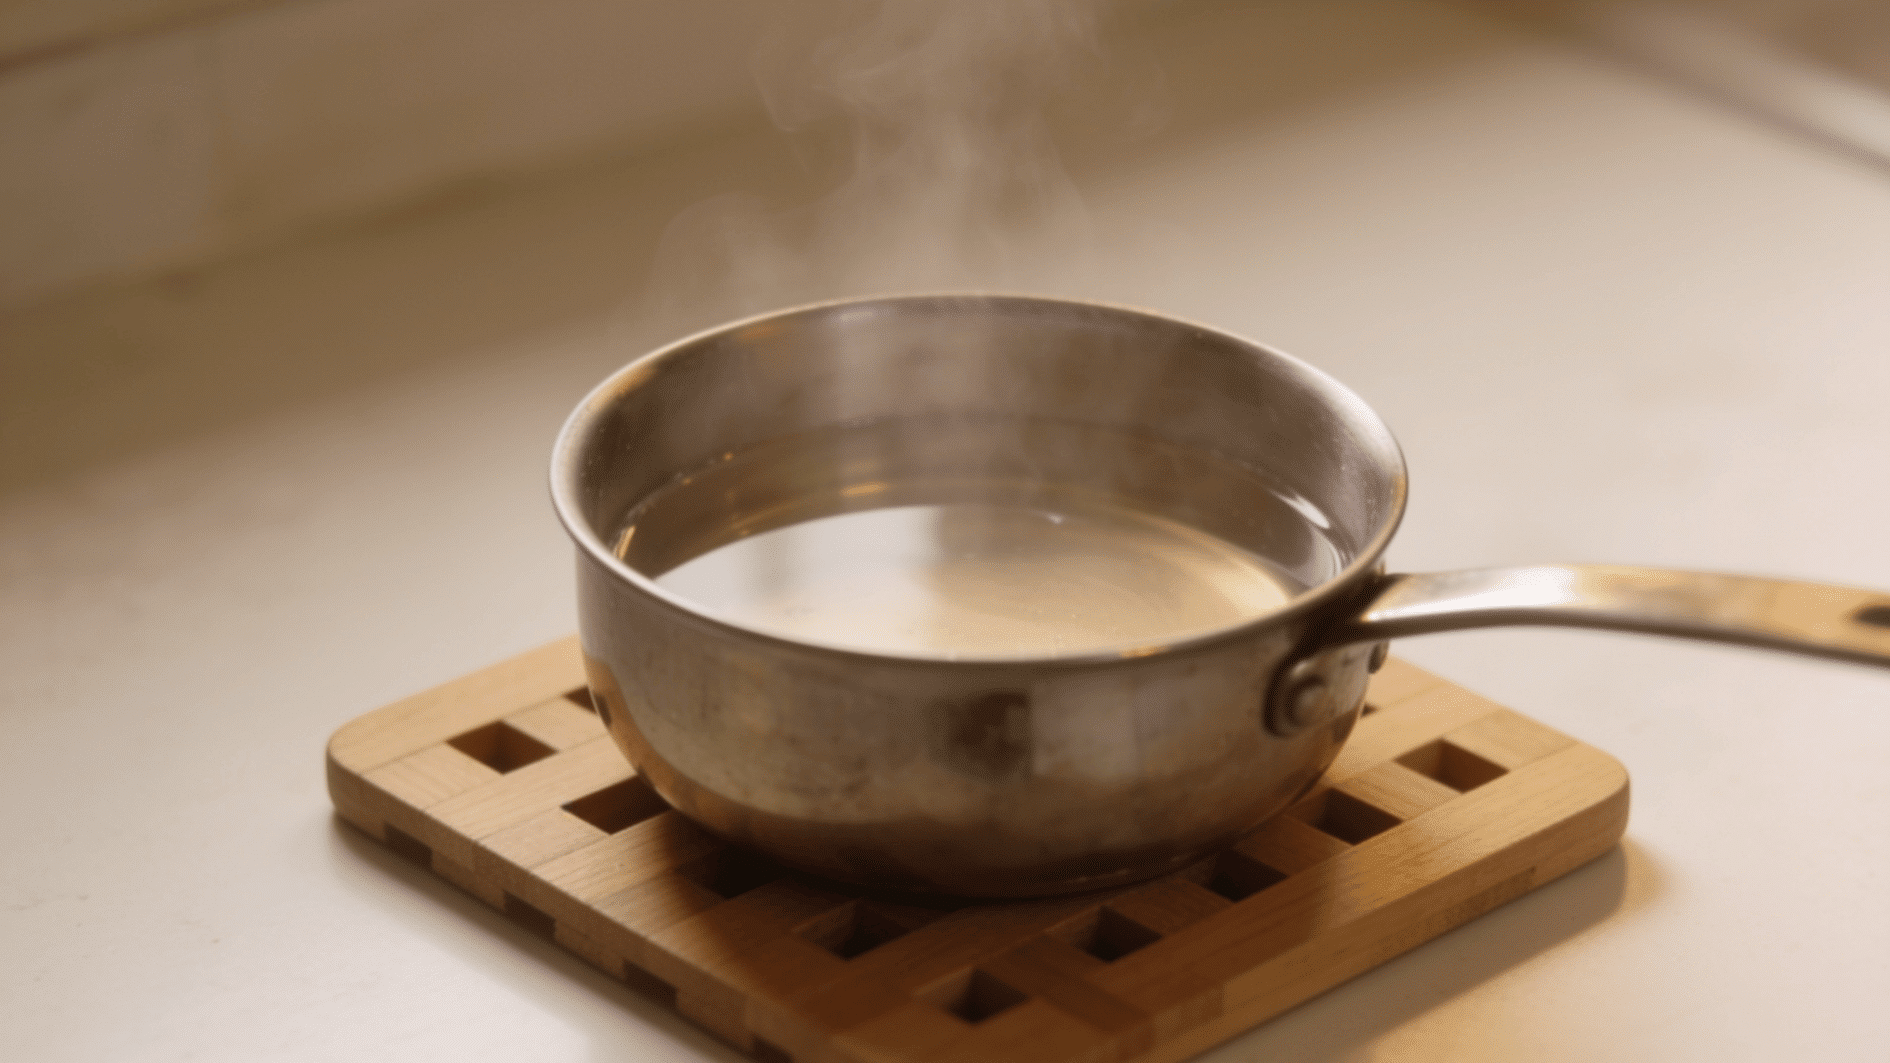
Taking the pan off the burner at the right time keeps the ratio balanced, since extra cooking can cause more water to evaporate.
Take the pan off the burner as soon as the sugar has fully dissolved, then let it sit for a few minutes before transferring it to a container.
Step 5: Cool and Transfer to a Jar
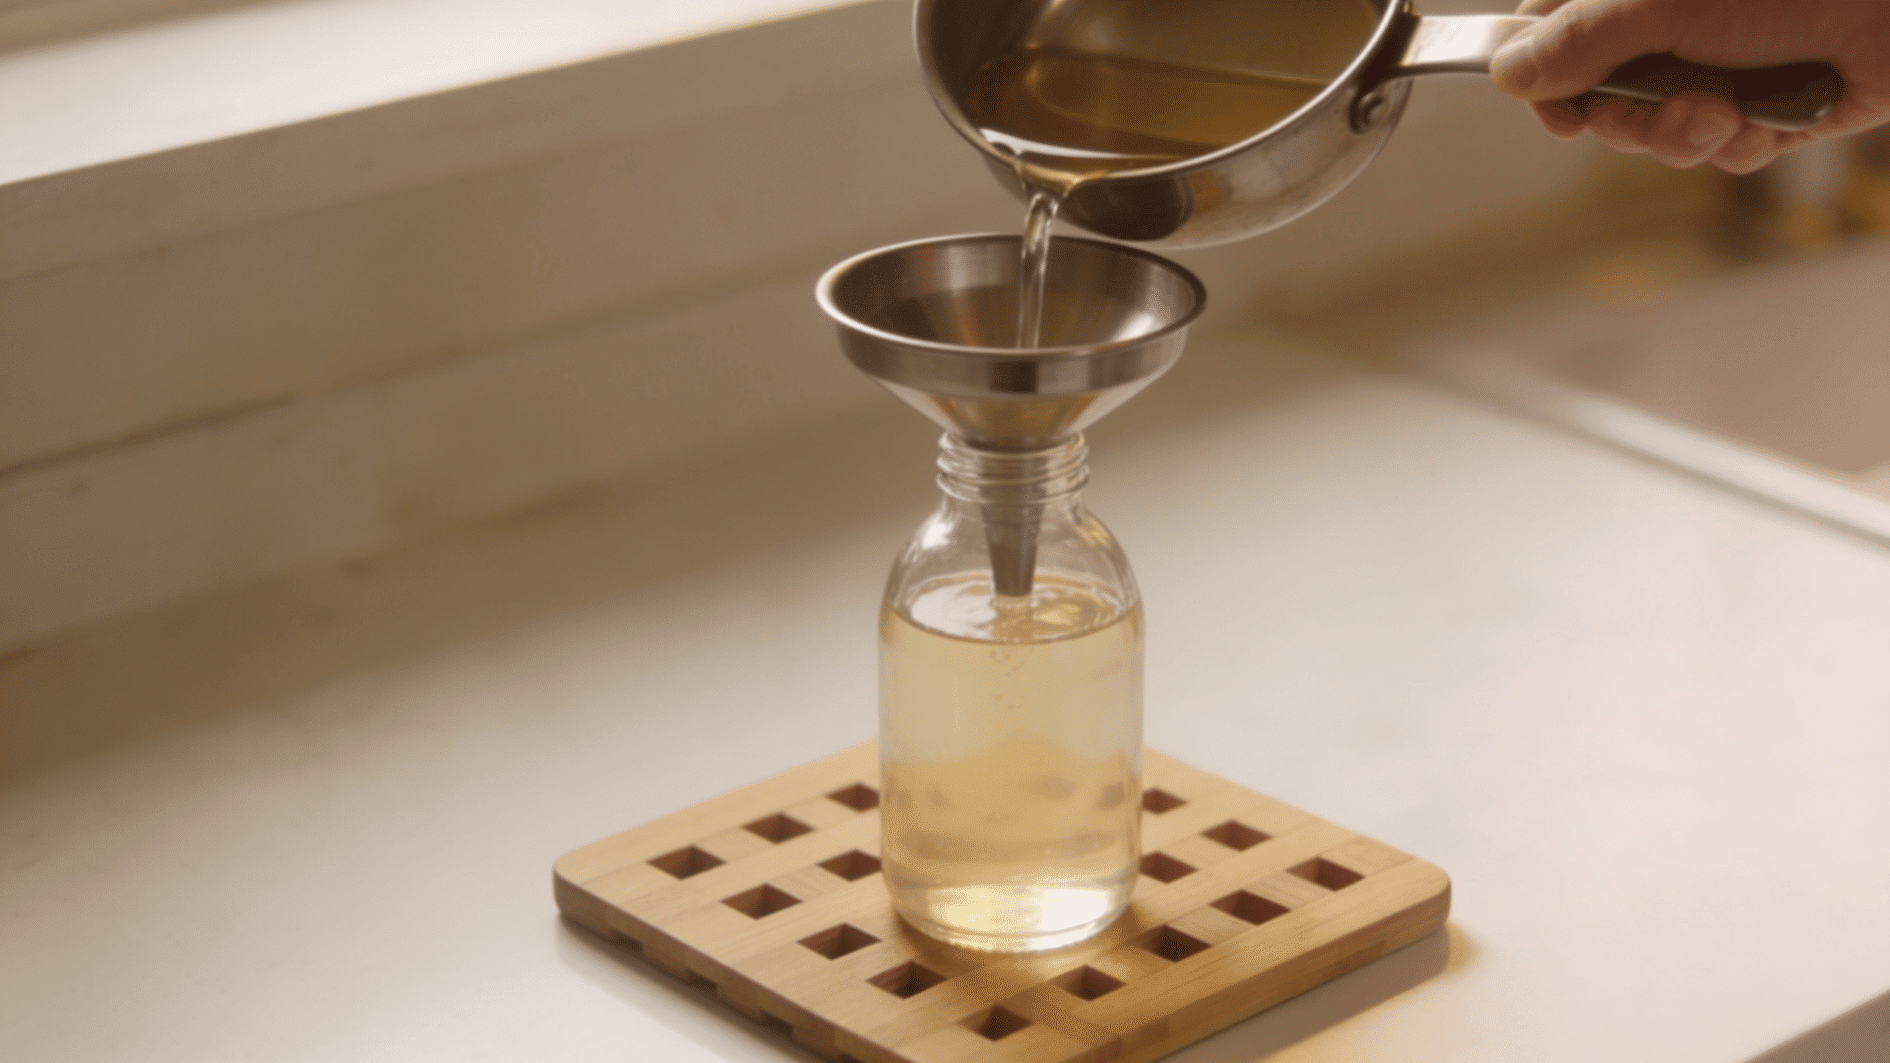
Cooling the syrup protects the storage container and reduces the chance of cracked glass. Let the syrup cool before sealing it in a clean jar or bottle.
Once it’s cooled, label the jar with the date and put it in the refrigerator, where a clean, sealed container will keep it fresh. Pouring very hot syrup into a cold glass container is a good way to crack the glass.
Simple Syrup Ratios and Consistency Options
The sugar-to-water ratio is what decides how sweet and thick your finished syrup will be. The standard one suits everyday drinks, while a richer version leans on more sugar.
| Syrup Type | Sugar-to-Water Ratio | Texture | Suitable Uses |
|---|---|---|---|
| Standard syrup | 1:1 | Light and pourable | Coffee, tea, cocktails, lemonade |
| Rich syrup | 2:1 | Thick and concentrated | Cocktails, desserts, longer storage |
| Light syrup | 1:2 | Thin and mildly sweet | Fruit drinks, lightly sweetened tea |
How to Store Syrup Safely?
Once homemade simple syrup has cooled, transfer it to the refrigerator because it does not contain commercial preservatives that keep bottled products stable at room temperature.
Store it in a clean glass jar or bottle with a tight-fitting lid to protect it from odors, spills, and contamination.
Glass is a practical choice because it washes easily and is less likely to retain previous flavors, which matters more than people expect once you’ve had a syrup pick up a weird note from its container.
Standard simple syrup generally stays fresh for about three to four weeks when refrigerated, while rich simple syrup may last somewhat longer because its higher sugar concentration slows spoilage.
Discard the syrup if you notice mold, cloudiness, an unusual smell, or a change in texture.
Note: Cloudiness, mold, bubbling, or an off smell are all signs that the syrup has gone bad. If the texture or color changes without you adding any flavoring, that’s also a reason to throw the batch out.
What Can You Use Simple Syrup For?
Once you know how to make simple syrup, that same base recipe opens the door to plenty of drinks, desserts, and party recipes.
Herbs, fruit, spices, and extracts all fold in easily, and this is where I have the most fun with it.
- Coffee and Tea – Sweetens hot or iced drinks without undissolved sugar.
- Cocktails and Mocktails – Blends smoothly into mixed drinks for balanced sweetness.
- Lemonade and Iced Beverages – Mixes quickly into cold drinks for even flavor.
- Cakes – Keeps cake layers moist when brushed on before frosting.
- Desserts – Adds sweetness to yogurt, fruit, ice cream, and puddings.
- Fresh Fruit – Creates a light glaze and enhances natural sweetness.
- Popsicles and Sorbets – Helps produce a smoother, less icy texture.
- Flavored Syrups – Serves as the base for mint, vanilla, berry, or cinnamon syrups.
- Breakfast Foods – Drizzles easily over waffles, oatmeal, and warm Dutch baby pancakes topped with fresh fruit.
- Sauces and Marinades – Balances spicy, salty, or acidic flavors.
Easy Flavored Simple Syrup Ideas
Flavoring simple syrup is easy, but the timing can affect how strong and fresh the final taste feels. I learned that adding each ingredient at the right stage helps prevent delicate flavors from fading.
| Flavor Ingredient | When to Add It | How to Use It |
|---|---|---|
| Vanilla Bean | After the sugar dissolves | Split the bean, add it to the warm syrup, and let it steep before straining. |
| Vanilla Extract | After removing the pan from heat | Stir it in once the syrup is off the heat so the flavor does not cook away. |
| Fresh Mint | After the sugar dissolves | Add the leaves to the warm syrup and steep until the flavor is strong enough. |
| Cinnamon Sticks | After the sugar dissolves | Let the sticks sit in the warm syrup before removing them. |
| Lemon or Orange Peel | After the sugar dissolves | Add thin strips of peel without too much white pith and strain before storing. |
| Fresh Ginger | After the sugar dissolves | Add sliced or grated ginger and steep until the syrup reaches the desired strength. |
| Berries | While the syrup is warm | Lightly crush the berries, let them release their juice, and strain well. |
| Rosemary | After the sugar dissolves | Add a small sprig and steep briefly because the flavor can become strong. |
| Lavender | After removing the pan from heat | Use a small amount and steep for a short time to avoid a bitter or soapy taste. |
Common Mistakes to Avoid
The recipe is easy, but a handful of small mistakes can throw off the texture, flavor, or storage life. Most of them trace back to overheating, loose measurements, or an unclean container.
- Boiling the syrup too long: A long boil evaporates water, leaving you with a thicker syrup than you planned, and it can even cause crystals to form as it cools. Heat only until the sugar has fully dissolved.
- Using the wrong sugar-to-water ratio: Eyeballing the measurements can make the syrup too thin or too sweet. Measure both ingredients and pick a standard ratio before you start.
- Storing the syrup while it’s hot: Sealing hot syrup can trap condensation inside the container, and it can crack a cold glass jar. Let it cool first, then seal and refrigerate.
- Leaving flavor ingredients in the jar: Fresh fruit, herbs, and peels left sitting in the syrup can shorten its shelf life and turn the flavor bitter over time. Strain flavored syrup carefully before it goes in the fridge.
Final Thoughts
Making homemade syrup is as simple as combining sugar and water, heating them gently, and stirring until the mixture turns clear.
Now you’ve got the correct ratios, the storage method, some flavor options, and the mistakes that can throw off the result, the same things I wish someone had told me before my first few batches.
If you were wondering how to make simple syrup, this recipe gives you a dependable method that works for drinks and desserts alike.
Your DIY simple syrup can be plain, rich, light, or flavored, depending on what’s waiting in your kitchen.
Make a small batch today and use the first spoonful in your favorite cold drink. And hey, if you keep a snack drawer, this is a great excuse to stock it with something worth dipping.
Frequently Asked Questions
Can You Make Simple Syrup Without a Stove?
Yes, sugar can dissolve in very hot water with steady stirring, though the process may take longer.
Can You Freeze Simple Syrup?
Yes, simple syrup can be frozen in a sealed container or ice cube tray for later use.
Does Simple Syrup Need Lemon Juice?
No, lemon juice is optional and is usually added only for flavor or to reduce crystallization.
Why Did My Simple Syrup Crystallize?
Crystallization can happen when the syrup is overcooked, disturbed while cooling, or exposed to sugar crystals around the pan.