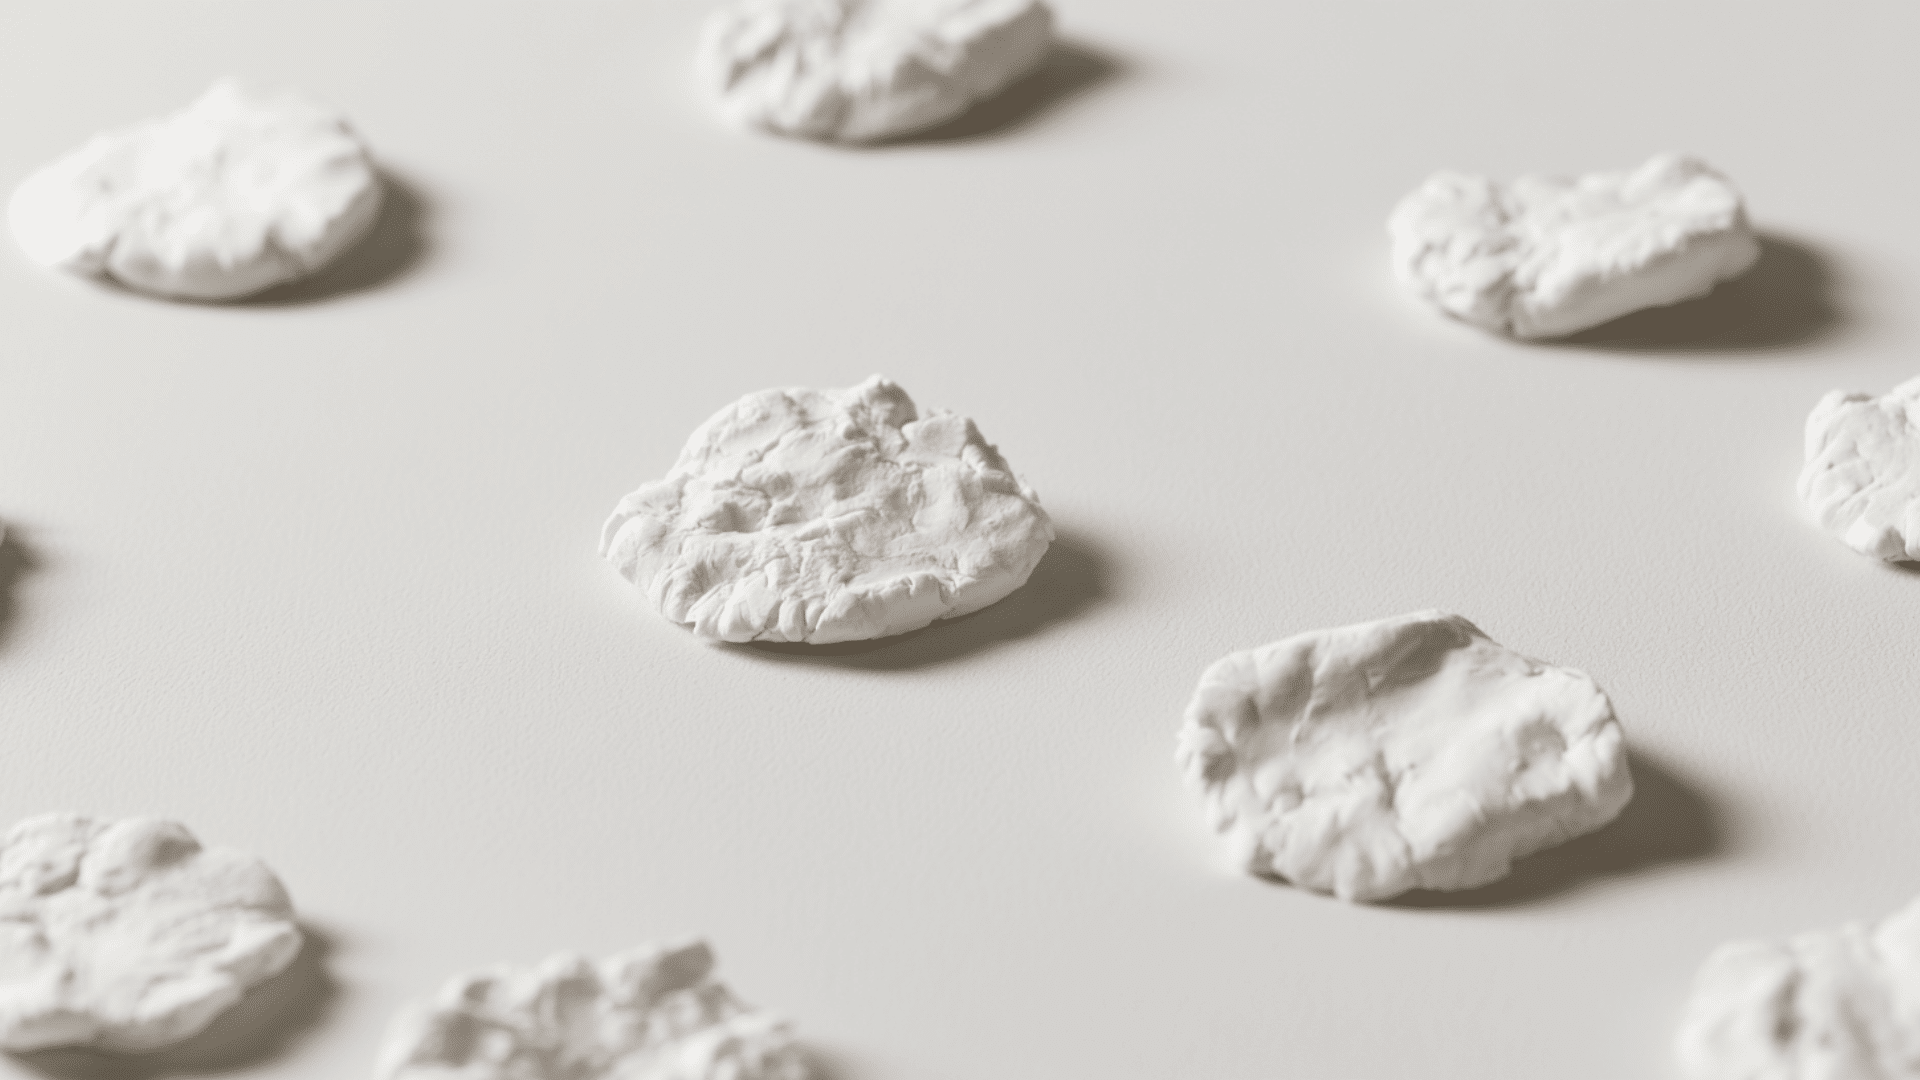
Making air-dry clay at home is a practical craft using common materials. The right recipe and drying method help it keep its shape, making it suitable for ornaments, decorations, gift tags, and kids’ projects.
Various popular methods, such as those utilizing baking soda, cornstarch, flour-and-salt combinations, and glue-based clay, each offer unique textures, drying times, and optimal applications.
Selecting the appropriate method is essential to prevent issues such as cracking, stickiness, or fragility, thereby ensuring durable and aesthetically pleasing results.
Understanding Air Dry Clay: Why It Hardens Without Baking
Air-dry clay is a soft material that hardens at room temperature as moisture evaporates, so no baking is needed. The key is getting the right texture before shaping.
It should feel soft, smooth, and effortless to knead, maintaining its shape without sticking excessively to your hands.
From my experience, the mixing stage is essential. Adding too much water results in sticky clay or slow drying; too much dry powder leads to cracking. A proper mixture feels soft, smooth, and easy to knead.
Water evaporates as it dries, leaving behind a solid structure. Thin pieces dry more quickly and uniformly, whereas thick pieces may crack if the exterior dries first.
For optimal results, mix until smooth, shape at a moderate thickness, and allow to dry slowly at room temperature to avoid shrinking or cracking.
Safety Notes Before You Start
Homemade air-dry clay is simple to make, but a few safety steps can help keep the process clean and safe, especially when kids are helping.
| Safety Point | What to Do | Why It Matters |
|---|---|---|
| Heated Recipes | Use adult supervision. An adult should handle the stove and saucepan. | Cooked clay mixtures can get hot quickly. |
| Kid-Safe Ingredients | Use non-toxic white school glue and basic kitchen-safe ingredients. | This keeps the craft safer for children. |
| Eating Risk | Do not taste or eat homemade clay. | Even pantry-based clay is not meant to be eaten. |
| Clean Work Area | Wipe the table before and after crafting. | This keeps dust and crumbs out of the clay. |
| Hand Washing | Wash hands after crafting. | It removes glue, salt, baking soda, or dried clay from skin. |
| Small Pieces | Keep beads, charms, and dried bits away from toddlers. | Tiny pieces can be a choking risk. |
| Food and Water Use | Do not use finished clay for food, drinks, or water. | Homemade air dry clay is not food-safe or waterproof. |
| Drying Spot | Place projects where kids and pets cannot reach them. | This prevents breaking, chewing, or moving while drying. |
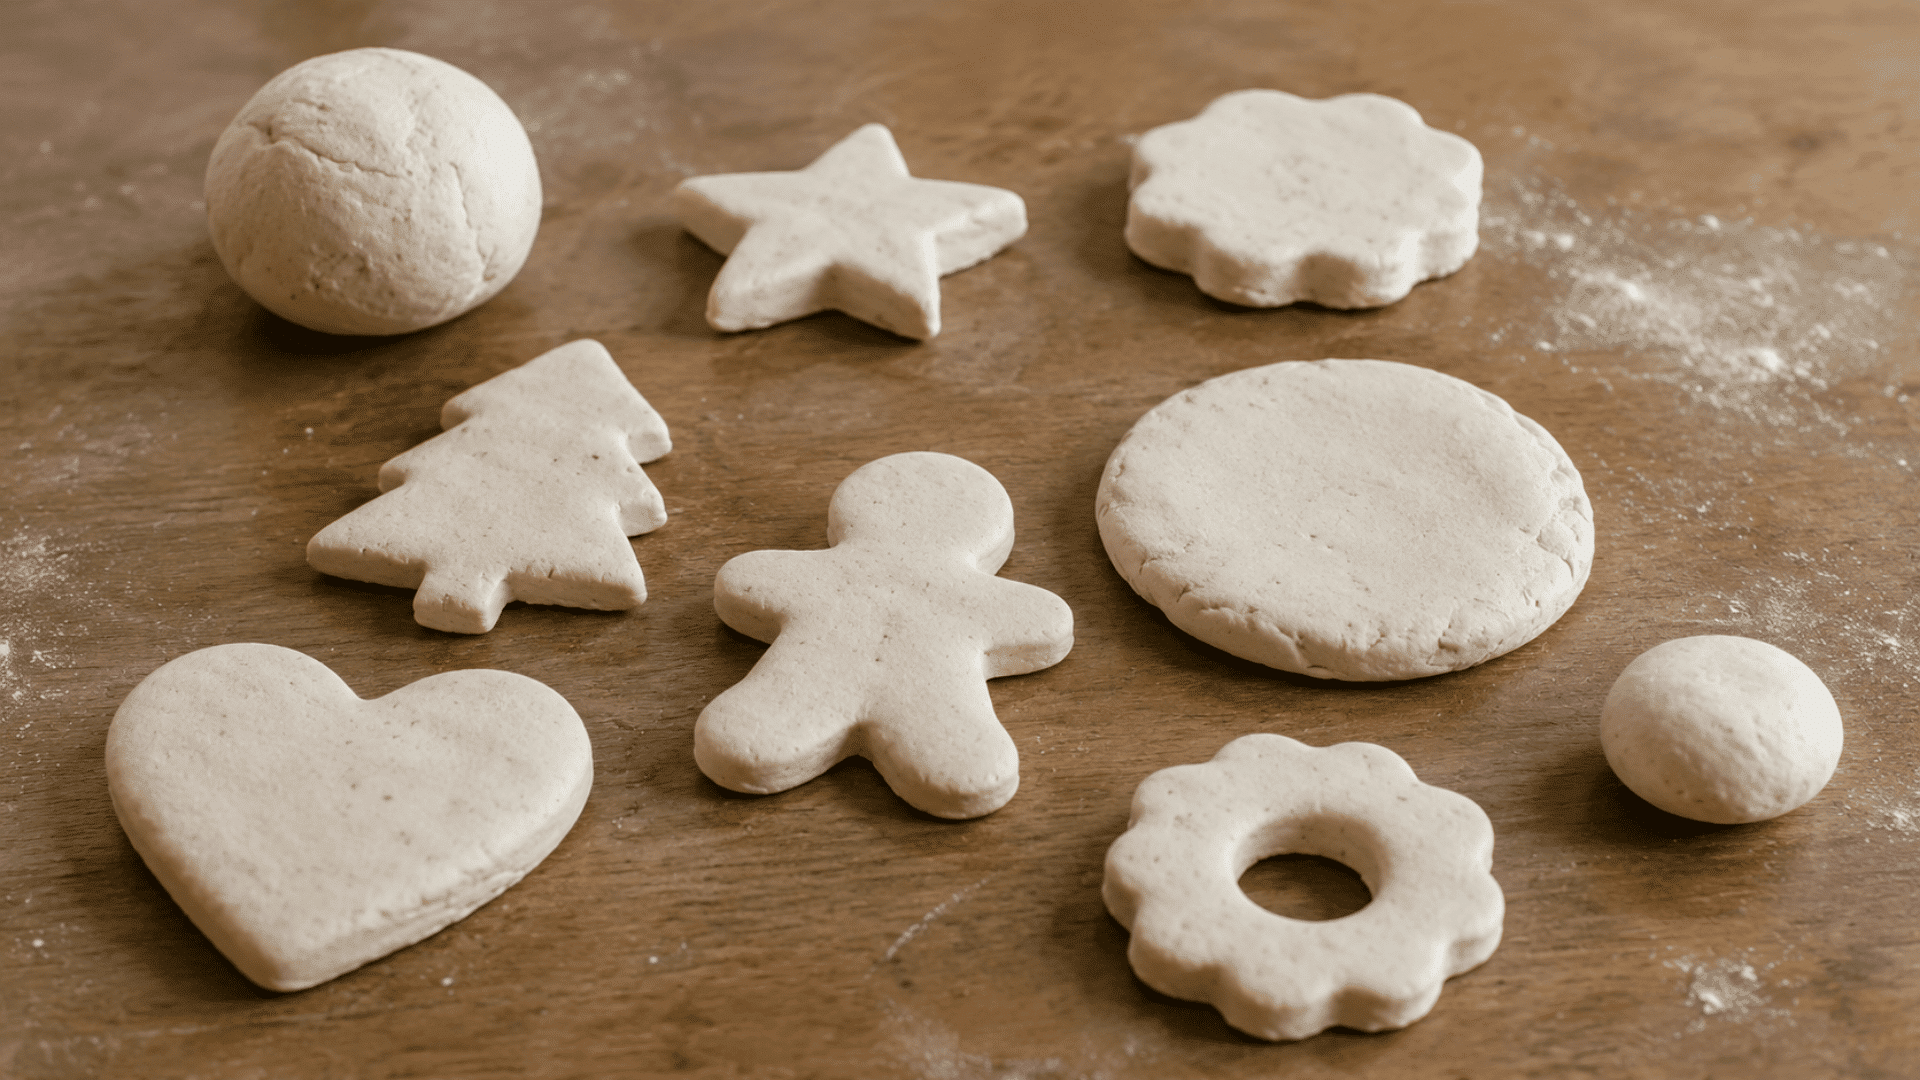
Easy Air Dry Clay Recipes to Try
There are several reliable ways to make air-dry clay at home. The best recipe depends on the type of craft, the texture you want, and how strong the finished piece needs to be.
The recipes below include clear measurements, practical steps, and experience-based tips to help reduce cracking, stickiness, and weak dried pieces.
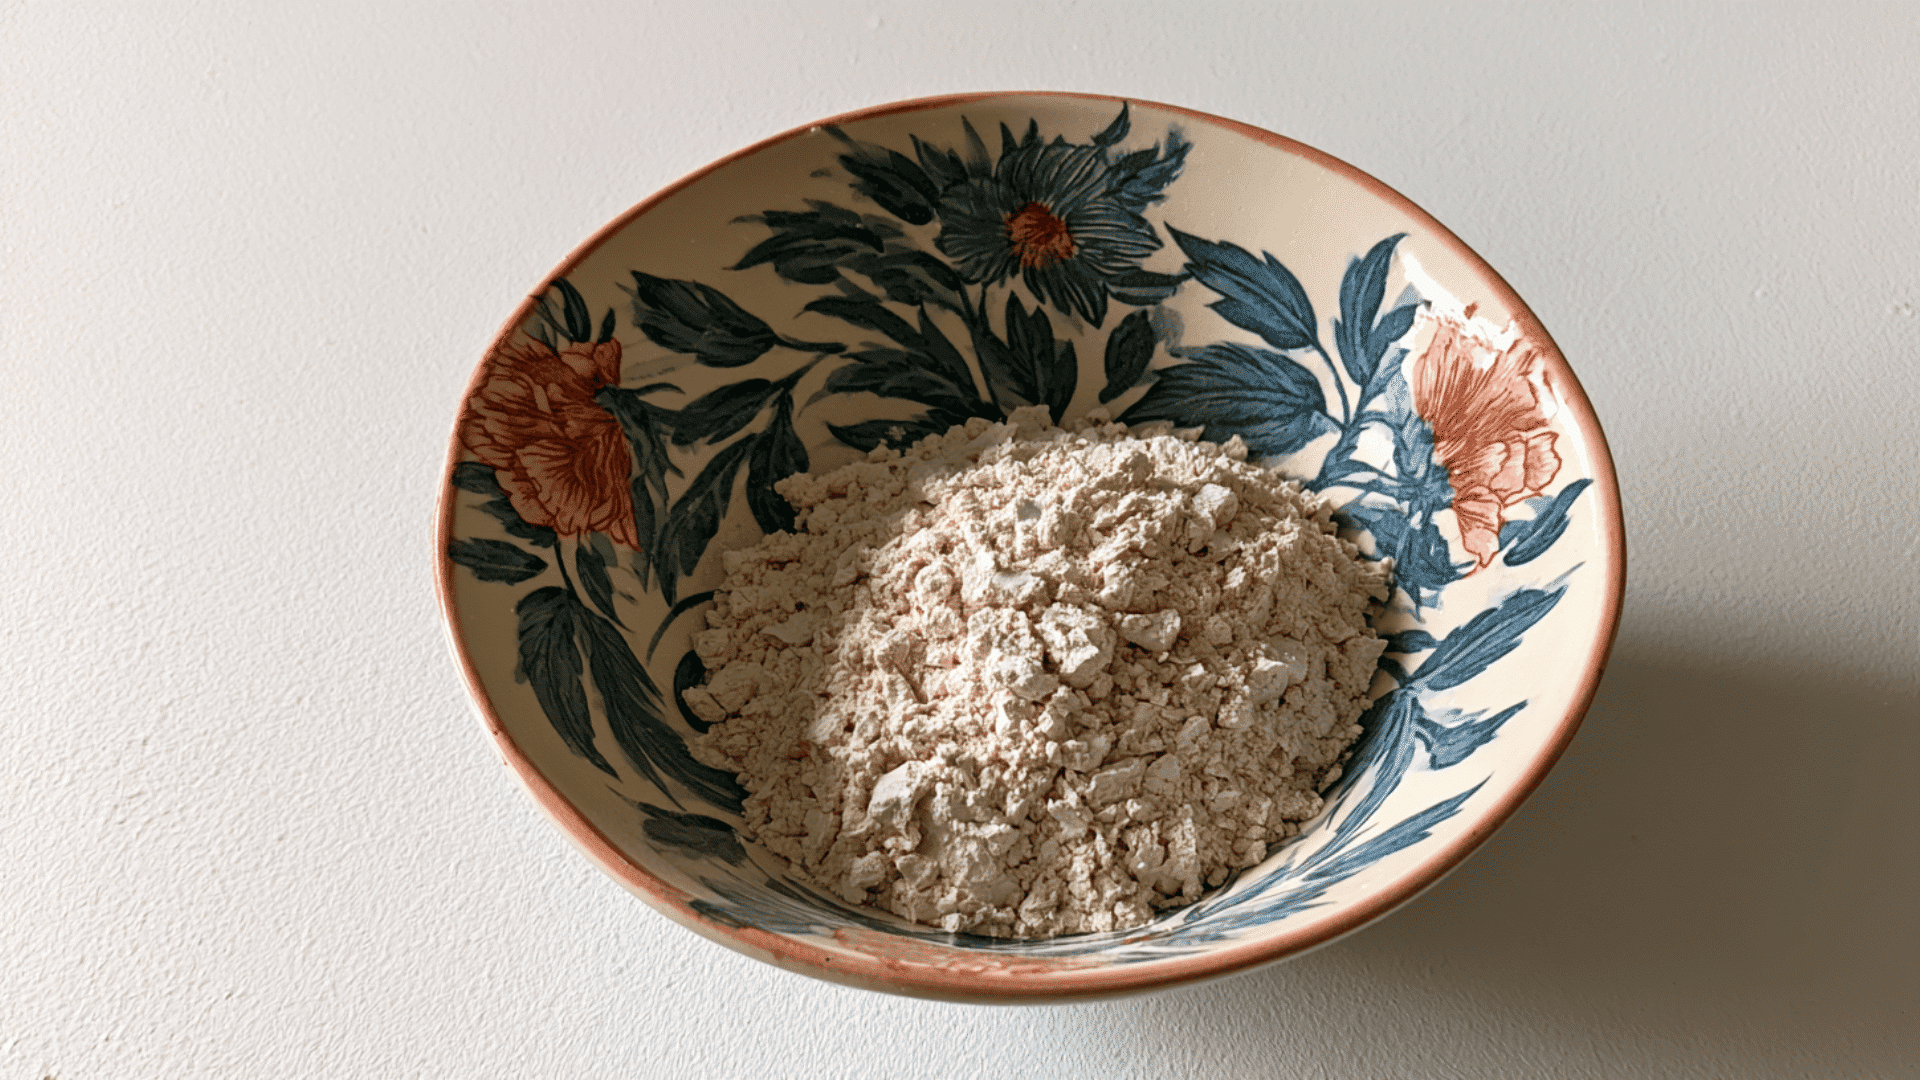
1. Cornstarch and Baking Soda Air Dry Clay
This recipe is a good choice for ornaments, gift tags, handprint keepsakes, and small decorative pieces. It dries with a smooth, light finish and can be painted once fully dry.
Best For: Ornaments, gift tags, handprint keepsakes, small shapes, and painted crafts.
Ingredients:
- 1 cup baking soda
- 1/2 cup cornstarch
- 3/4 cup water
Steps:
- Add baking soda and cornstarch to a saucepan.
- Pour in the water and stir until the mixture looks smooth.
- Cook over medium heat while stirring often.
- Keep stirring until the mixture thickens and resembles mashed potatoes.
- Remove it from the heat.
- Move the clay to a bowl and cover it with a damp cloth.
- Let it cool until it is safe to touch.
- Knead the clay until it feels smooth and soft.
Tip: This clay works best when rolled to an even thickness. Very thick pieces may crack because the outside dries faster than the center.
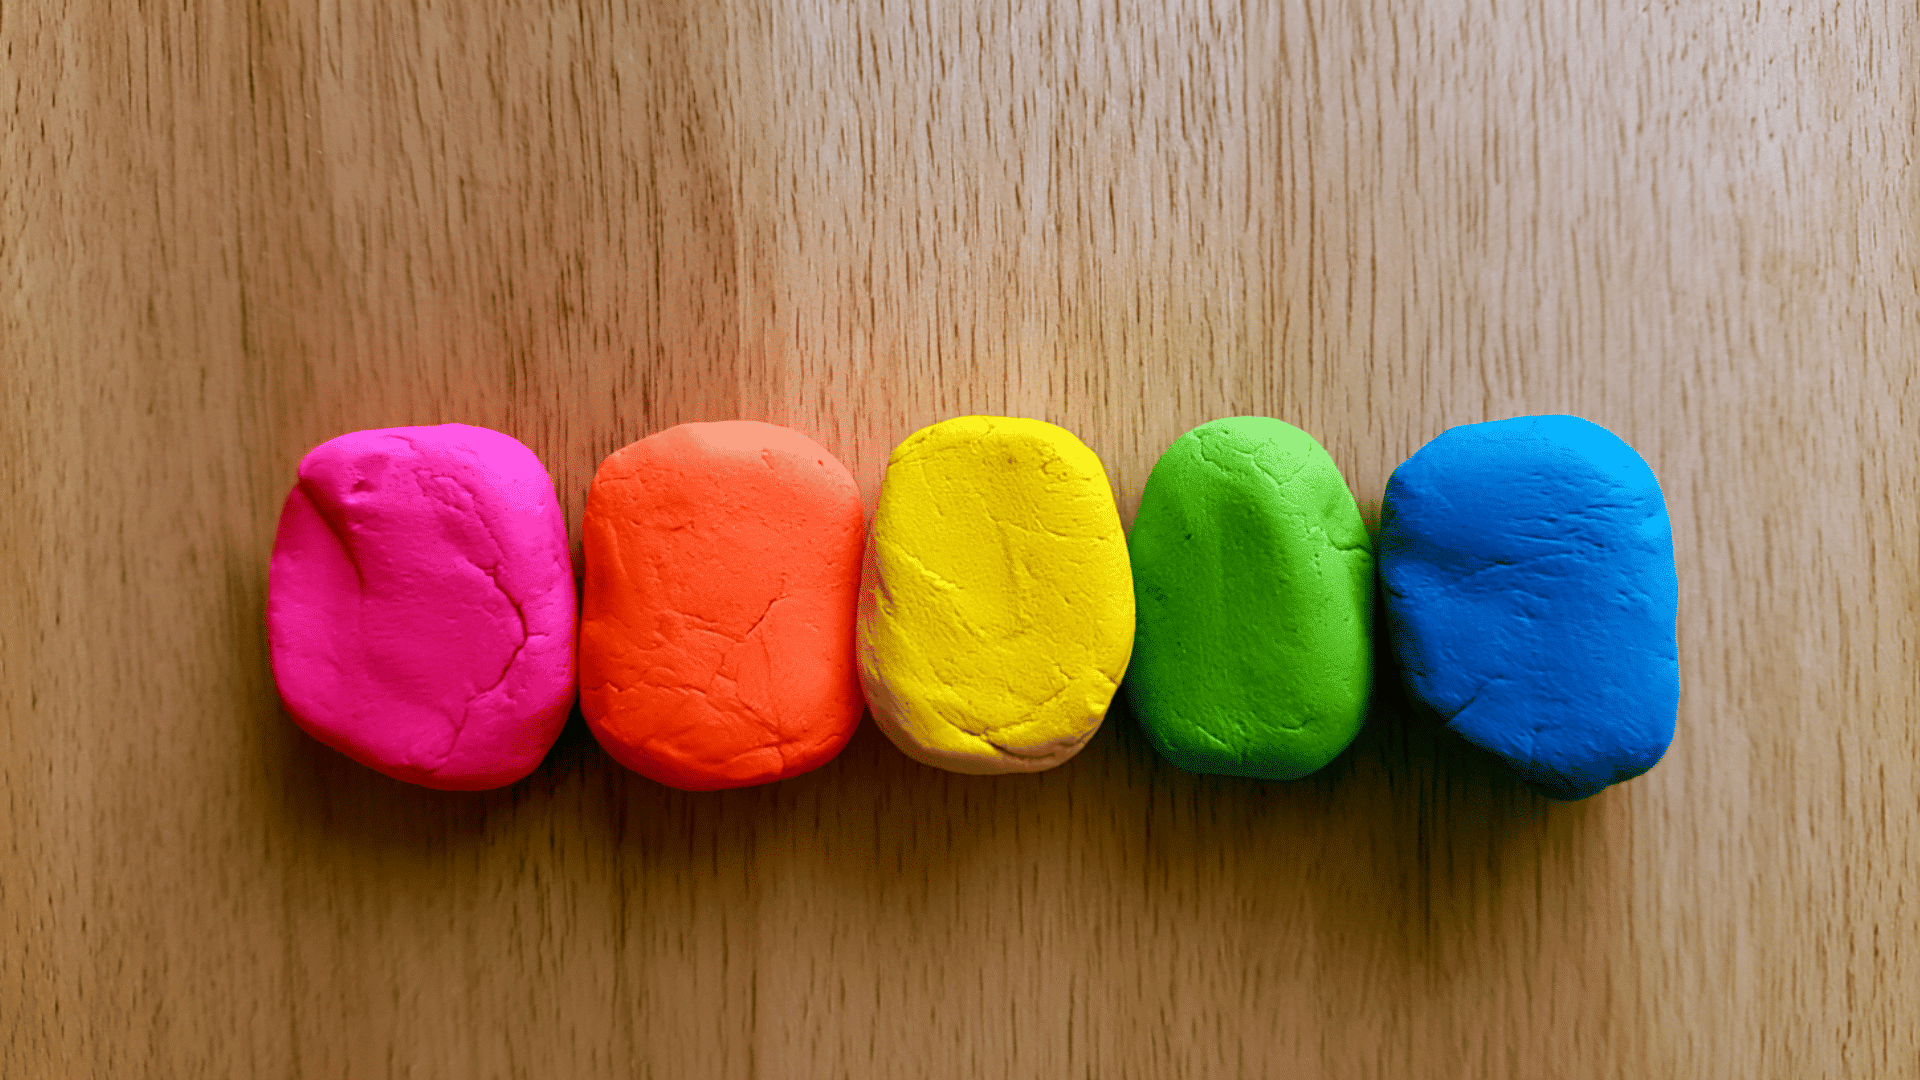
2. Glue and Cornstarch Air Dry Clay
This recipe makes a softer clay that holds together better than many basic homemade mixes. it is useful for beads, charms, small figures, and pieces with light detail.
Best For: Beads, charms, small figures, and craft pieces with light details.
Ingredients:
- 1 cup cornstarch
- 1 cup white school glue
- 1 tablespoon cooking oil or baby oil
- 1 tablespoon lemon juice or vinegar
Steps:
- Add cornstarch and white school glue to a nonstick pan.
- Mix in the oil and lemon juice or vinegar.
- Stir the mixture over low heat.
- Keep stirring until the clay pulls away from the pan.
- Remove it from the heat and let it cool slightly.
- Rub a small amount of oil on your hands.
- Knead the clay until it feels smooth.
- Wrap it tightly if you are not using it right away.
Tip: This clay may feel sticky at first, but it usually becomes smoother after kneading. Add extra cornstarch only in small amounts, since too much can make the clay dry out and crack.
3. Flour and Salt Air Dry Clay
This is the simplest option and works well for basic kids’ crafts. It has a slightly grainy texture compared with cornstarch clay, but it is easy to make with pantry supplies.
Best For: Kids’ crafts, simple ornaments, handprints, and basic shapes.
Ingredients:
- 1 cup all-purpose flour
- 1/2 cup fine salt
- 1/2 cup water
Steps:
- Add flour and salt to a mixing bowl.
- Stir them together until evenly mixed.
- Add water slowly while mixing.
- Knead the dough until it forms a soft clay.
- Add a small amount of flour if it feels sticky.
- Add a few drops of water if it feels too dry.
- Shape the clay right away for best results.
Tip: Fine salt gives the clay a smoother feel than coarse salt. This recipe is best for simple projects and may not hold thin details as well as glue-based clay.
4. No-Cook Cornstarch Clay

This no-cook option is useful when you want a quick clay mix without using the stove. It is softer than cooked clay, so it works best for simple shapes and small beginner projects.
Best For: Quick crafts, small shapes, and beginner clay projects.
Ingredients:
- 1 cup cornstarch
- 1/2 cup white school glue
- 1 teaspoon oil
Steps:
- Add cornstarch to a mixing bowl.
- Pour in the white school glue.
- Add oil and mix slowly.
- Knead the mixture until it forms a soft clay.
- Add a little more cornstarch if it feels too sticky.
- Wrap the clay for a few minutes before shaping.
Tip: This clay should feel soft but not wet. If it sticks heavily to your hands, add cornstarch in very small amounts so it does not become crumbly.
5. Paper-Based Air Dry Clay
This recipe is a good option when you want a lightweight clay for simple sculpting. It uses softened paper to create a pulp-like base, so the finished piece feels lighter than flour or baking soda clay.
Best For: Lightweight figures, small sculptures, textured crafts, and practice projects.
Ingredients:
- 1 cup shredded paper or paper towel pieces
- 1/2 cup warm water
- 1/2 cup white school glue
- 1/2 cup cornstarch
Steps:
- Soak the shredded paper in warm water for 10 to 15 minutes.
- Squeeze out extra water until the paper feels damp, not dripping.
- Tear the softened paper into smaller bits.
- Mix in the white school glue.
- Add cornstarch slowly and knead until the mixture feels like soft clay.
- Add a little more cornstarch if it feels too sticky.
- Shape the clay and let it dry at room temperature.
Tip: This clay will not dry as smooth as cornstarch-based clay, but it works well when you want a handmade, textured finish. Keep pieces small or medium-sized so they dry evenly.
How to Store Homemade Air-Dry Clay?
Homemade air-dry clay loses moisture when exposed to air, so proper storage is crucial to keep it workable. After use, tightly wrap the clay to prevent the edges from drying out.
Store leftover clay in plastic wrap inside an airtight container, pressing out extra air. Use within a few days, as homemade mixes don’t stay fresh as long as store-bought clay.
Finished pieces should be fully dry before storage. Keep them in a cool, dry place away from water, direct heat, and pressure. If the piece is painted, add a clear craft sealer first to help protect the surface from light handling.
Conclusion
Making air-dry clay at home is a simple process that involves common household supplies, allowing you to create small crafts with ease and enjoy a satisfying DIY experience.
Knowing how each recipe feels and dries helps select the right clay for ornaments, tags, handprints, beads, or children’s projects.
By carefully mixing, shaping, and drying, homemade air-dry clay can turn into clean, functional craft pieces without needing special tools. Begin with small batches, test the texture, and refine it for future projects.
Frequently Asked Questions
Can Homemade Air-Dry Clay be Sanded?
Yes, fully dried clay can be lightly sanded with fine-grit sandpaper. Use gentle pressure so thin areas do not break.
Can Homemade Air-Dry Clay be Used Outside?
It is not the best choice for outdoor use. Rain, humidity, and direct sunlight can weaken or damage homemade clay over time.
Can You Use Cookie Cutters with Homemade Clay?
Yes, cookie cutters work well for flat shapes like stars, hearts, tags, and ornaments.
Can You Make Air Dry Clay Magnets?
Yes, make small flat shapes, let them dry fully, then glue magnets to the back.
Can You Fix a Broken Clay Piece?
Yes, small broken pieces can often be fixed with strong craft glue once the clay is dry.