Whitewashing a table is one of my favorite ways to give old wood furniture a softer, lighter look without hiding all its character.
The first time I tried whitewashing, I realized the process was less about perfect painting and more about patience, thin layers, and wiping at the right time. That is what makes it beginner-friendly.
In this blog, I’ll walk you through what whitewashing means, the supplies you need, how to prep the table, how to apply the finish, and how to decide if your table is the right fit.
What is Whitewashing and Why is It Popular?
Whitewashing is a simple finishing technique that uses diluted white paint to lighten wood while allowing the natural grain to remain visible. The result is a softer, more natural look than traditional paint.
It’s a popular choice for farmhouse-style furniture because it creates a worn, welcoming appearance without completely covering the wood’s character.
A whitewashed table also fits well with many farmhouse decor ideas because it adds a soft, worn-in wood finish.
Another reason homeowners like whitewashing is its versatility. A whitewashed table can work in rustic farmhouse, modern farmhouse, country, and coastal-inspired spaces.
Unlike solid paint, whitewashing highlights natural details such as grain patterns and knots. It can also help older furniture feel lighter and more updated without requiring a full refinishing project.
While the technique is beginner-friendly, results can vary based on the wood type, existing finish, and amount of paint applied. Testing a small area first can help you achieve the look you want.
Supplies You’ll Need Before You Start
Gathering your supplies before you begin can save time and help you achieve a more consistent whitewashed finish.
| Supply | Why You Need It |
|---|---|
| White Latex Paint or Chalk Paint | Creates the whitewashed effect while allowing the wood grain to remain visible. |
| Water | Used to thin the paint and create the whitewash mixture. |
| Paintbrush | Helps apply the mixture evenly across the surface. |
| Lint-Free Cloths | Useful for wiping away excess paint and controlling coverage. |
| Sandpaper (120–220 Grit) | Helps prepare the surface and improve paint adhesion. |
| Mixing Container | Allows you to combine paint and water easily. |
| Cleaning Cloth | Removes dust and dirt before application. |
| Protective Topcoat (Optional) | Helps protect the finished table from scratches and daily wear. |
You don’t need expensive tools to whitewash a table successfully. In most cases, a few basic supplies and proper preparation are enough to achieve a farmhouse-style finish.
How to Whitewash a Table Step-by-Step
Once your supplies are ready, you can begin the whitewashing process. The technique is simple, but following each step carefully can help you achieve a natural farmhouse-style finish.
Step 1: Clean the Table Thoroughly
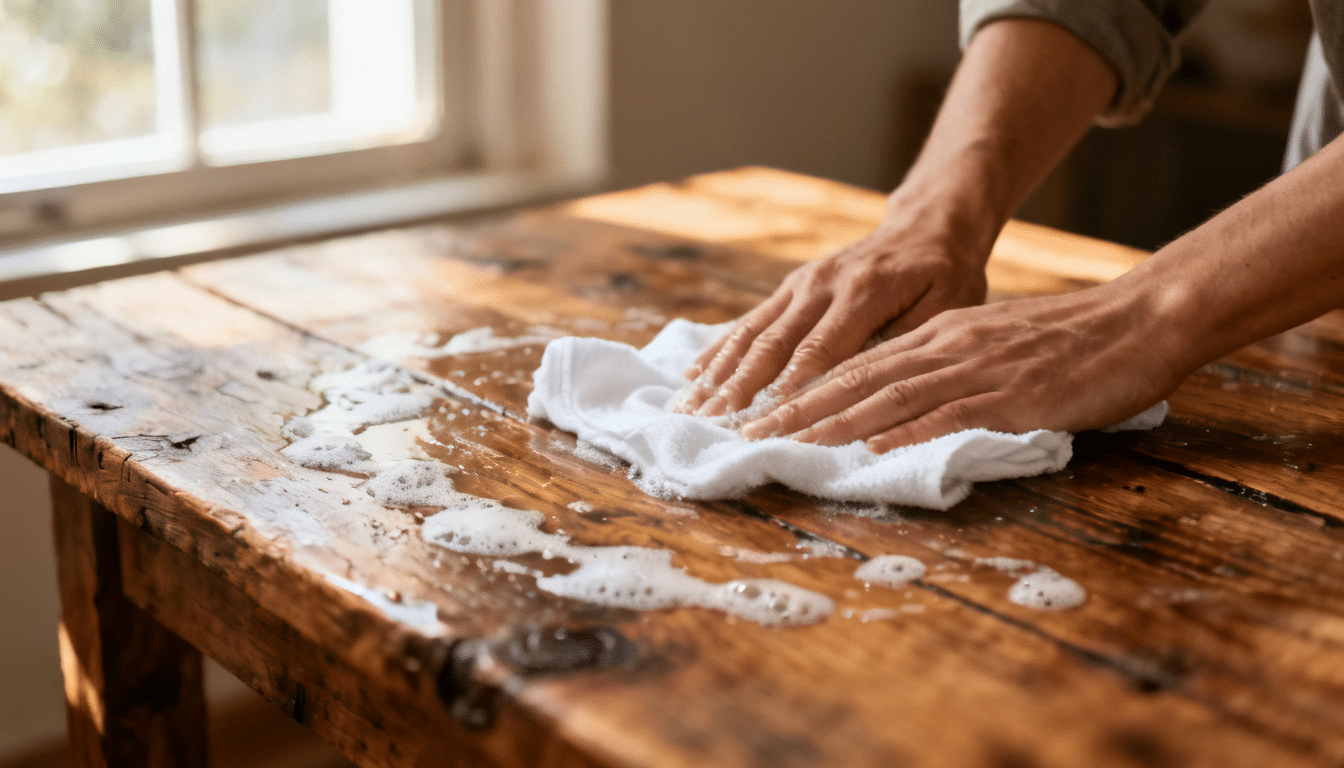
Start by removing dust, dirt, grease, and any residue from the table. Even small amounts of buildup can affect how the whitewash adheres to the surface.
Use a damp cloth and a mild cleaner if needed. Allow the table to dry completely before moving to the next step. A clean surface helps create more even coverage and reduces the risk of patchy results.
Step 2: Sand the Surface
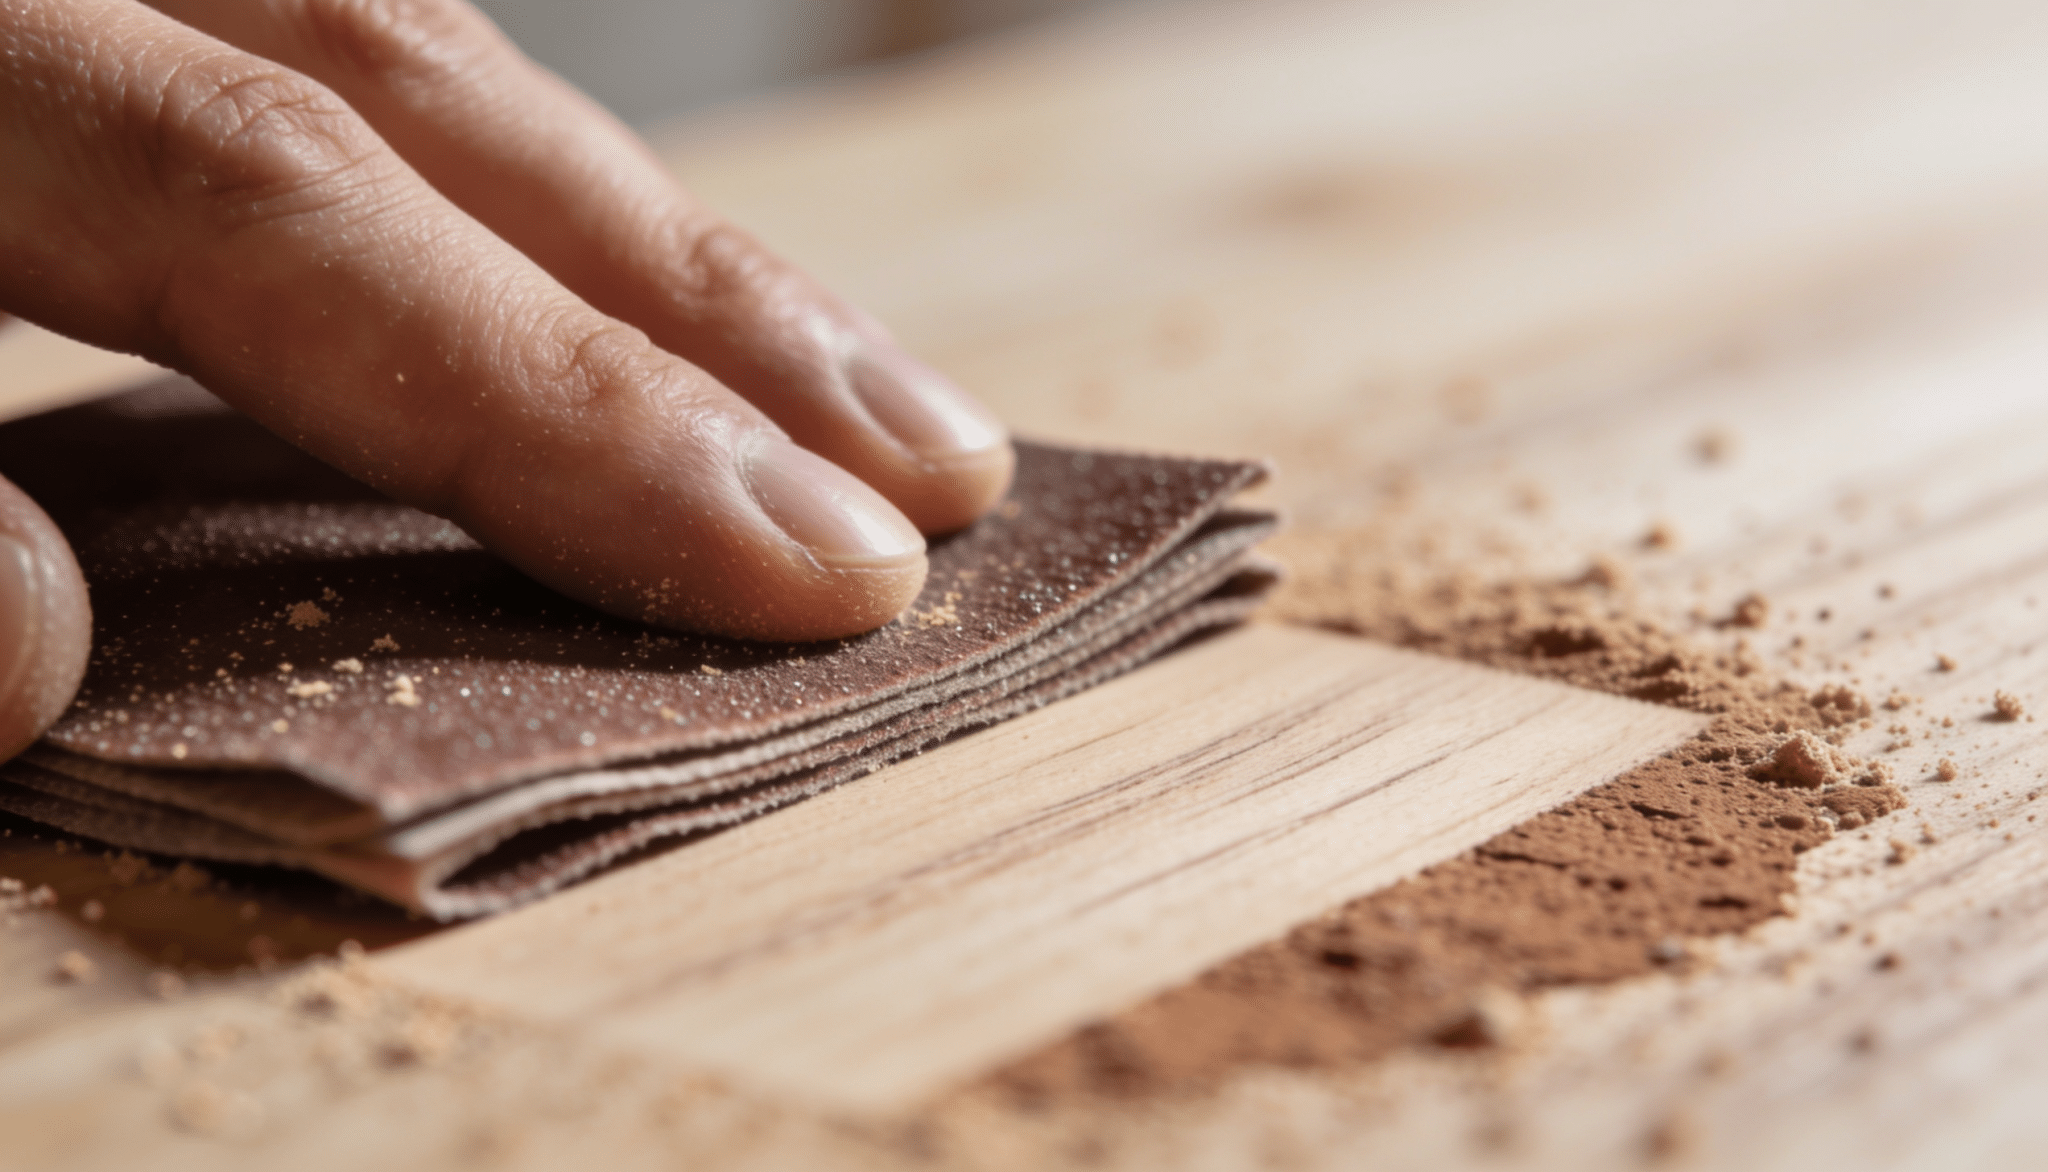
Lightly sand the entire table using 120- to 220-grit sandpaper. This helps smooth rough areas and creates a surface that accepts the whitewash more evenly.
You don’t need to remove all of the existing finish. The goal is to create slight texture for better adhesion.
After sanding, wipe away all dust with a clean cloth. Pay extra attention to corners, edges, and high-use areas where old finishes may still be present.
Step 3: Mix the Whitewash Solution
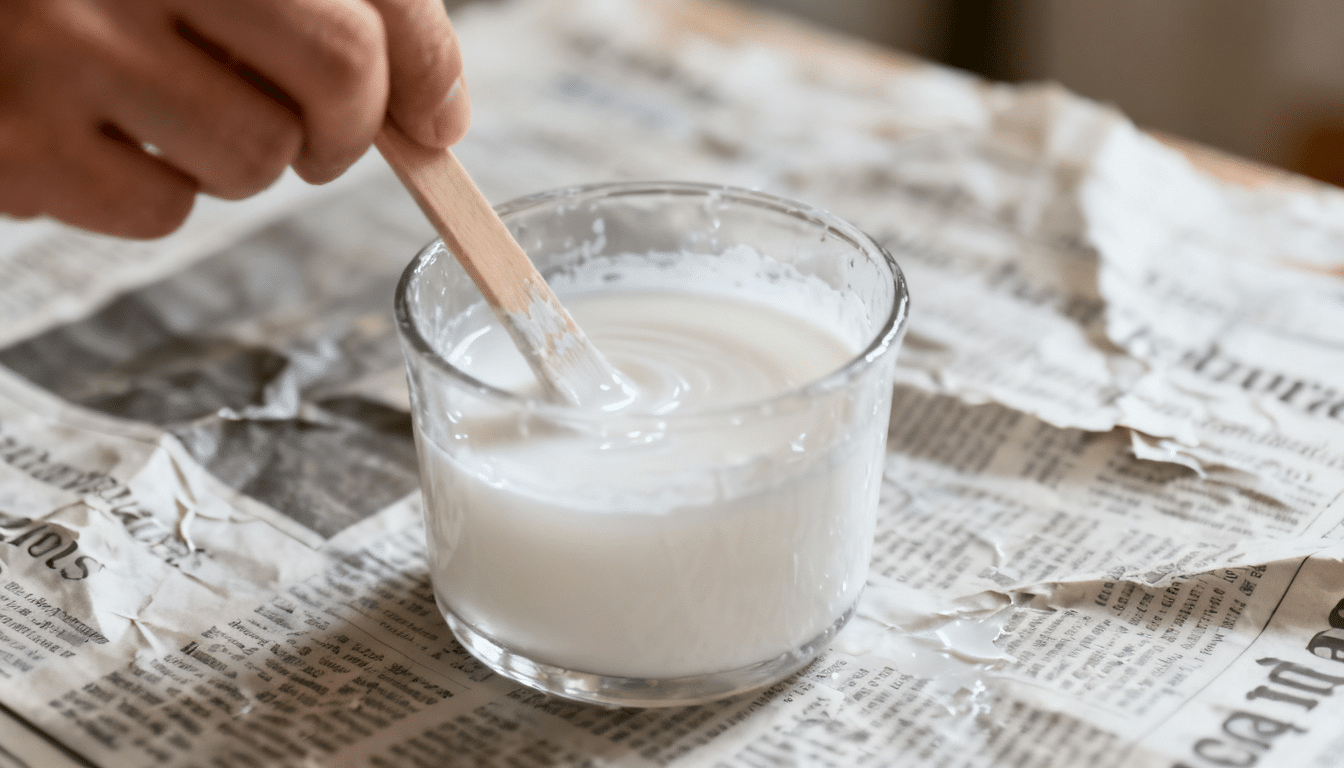
In a mixing container, combine white paint and water. A common starting ratio is equal parts paint and water, although you can adjust it depending on how much coverage you want.
The mixture should be thin enough to spread easily but not so watery that it runs across the surface.
Before applying it to the entire table, test the mixture on a hidden spot to check the appearance. Making a small test batch first can help you avoid wasting paint and achieve your preferred finish.
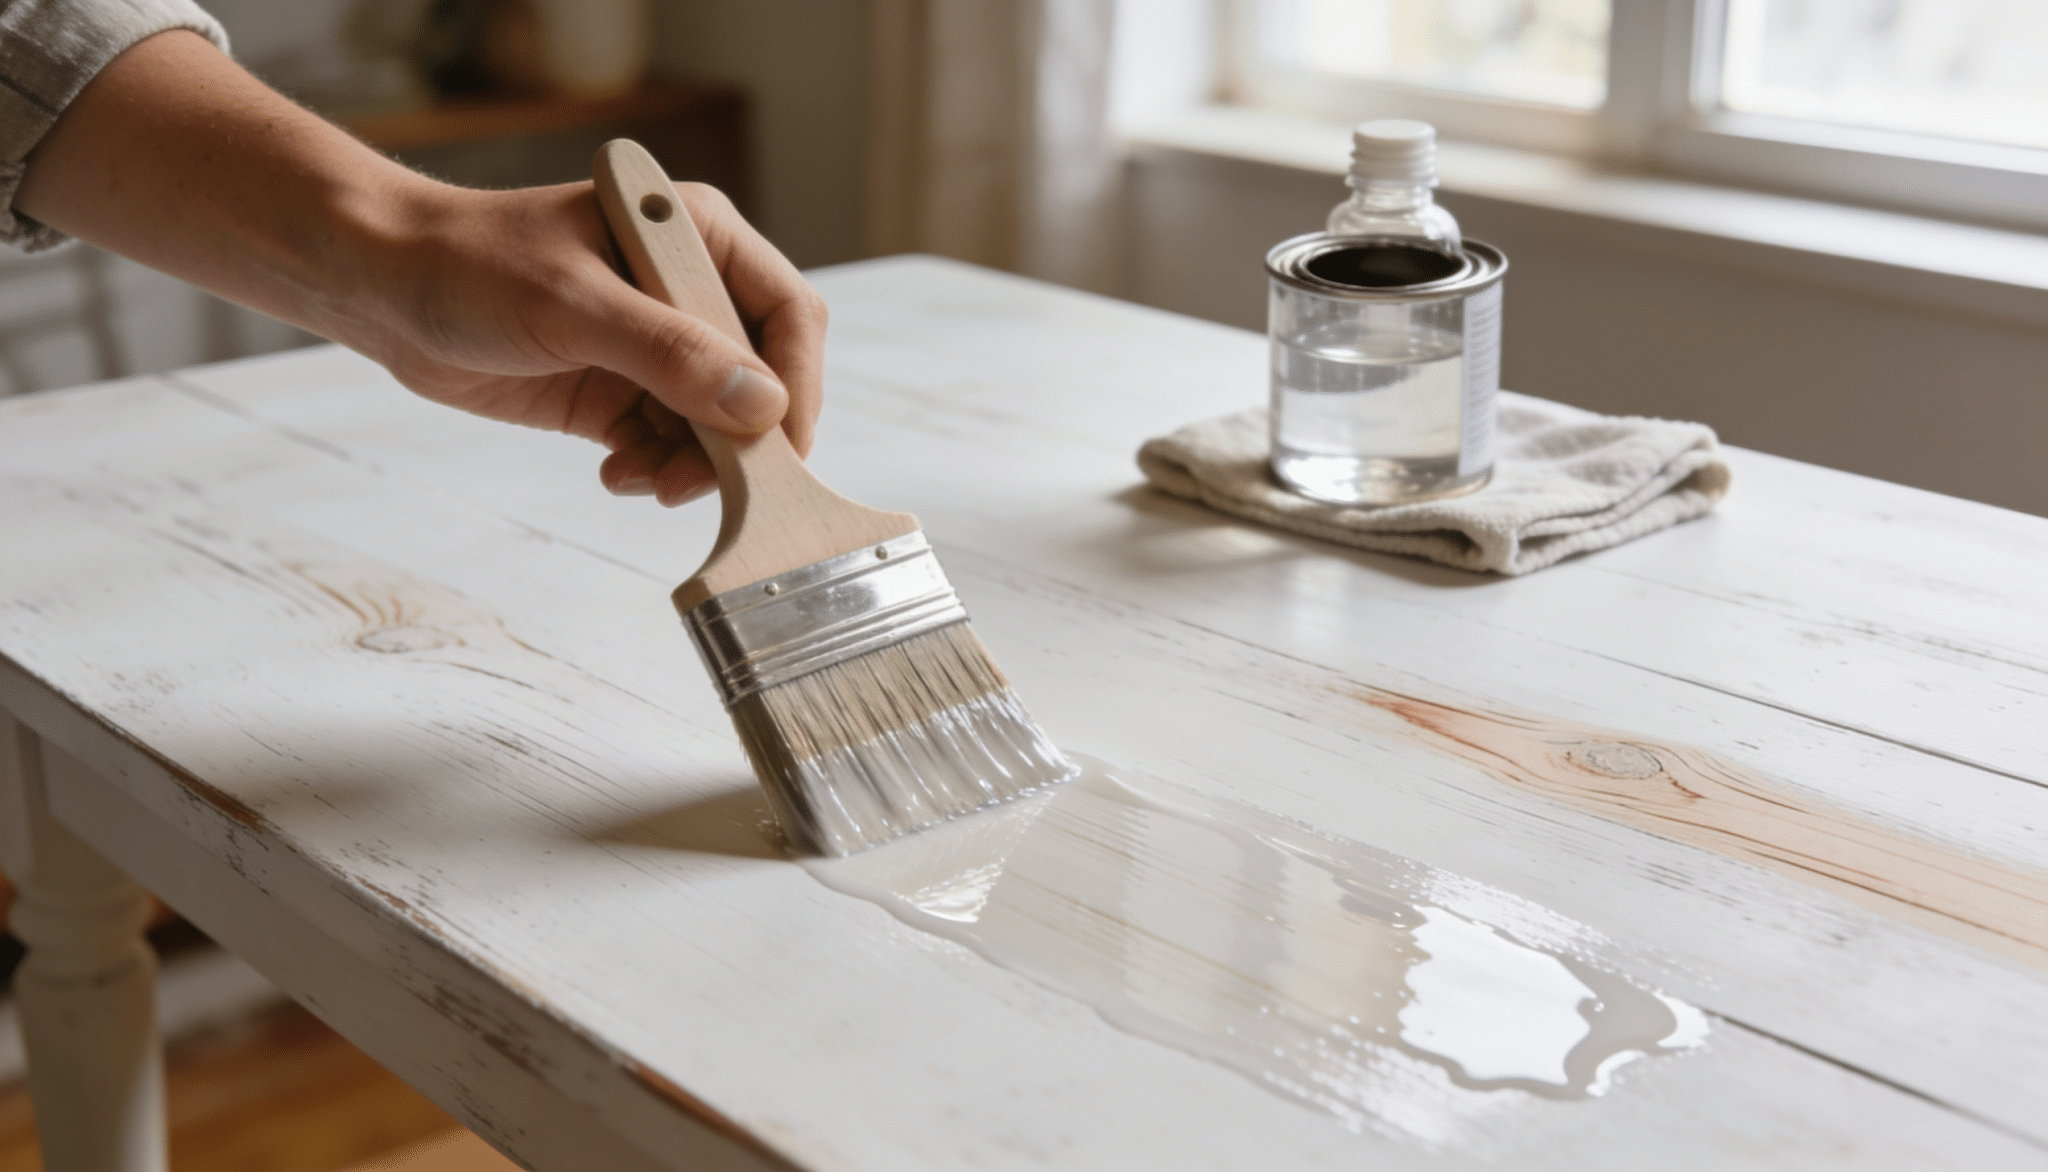
Step 4: Apply the Whitewash
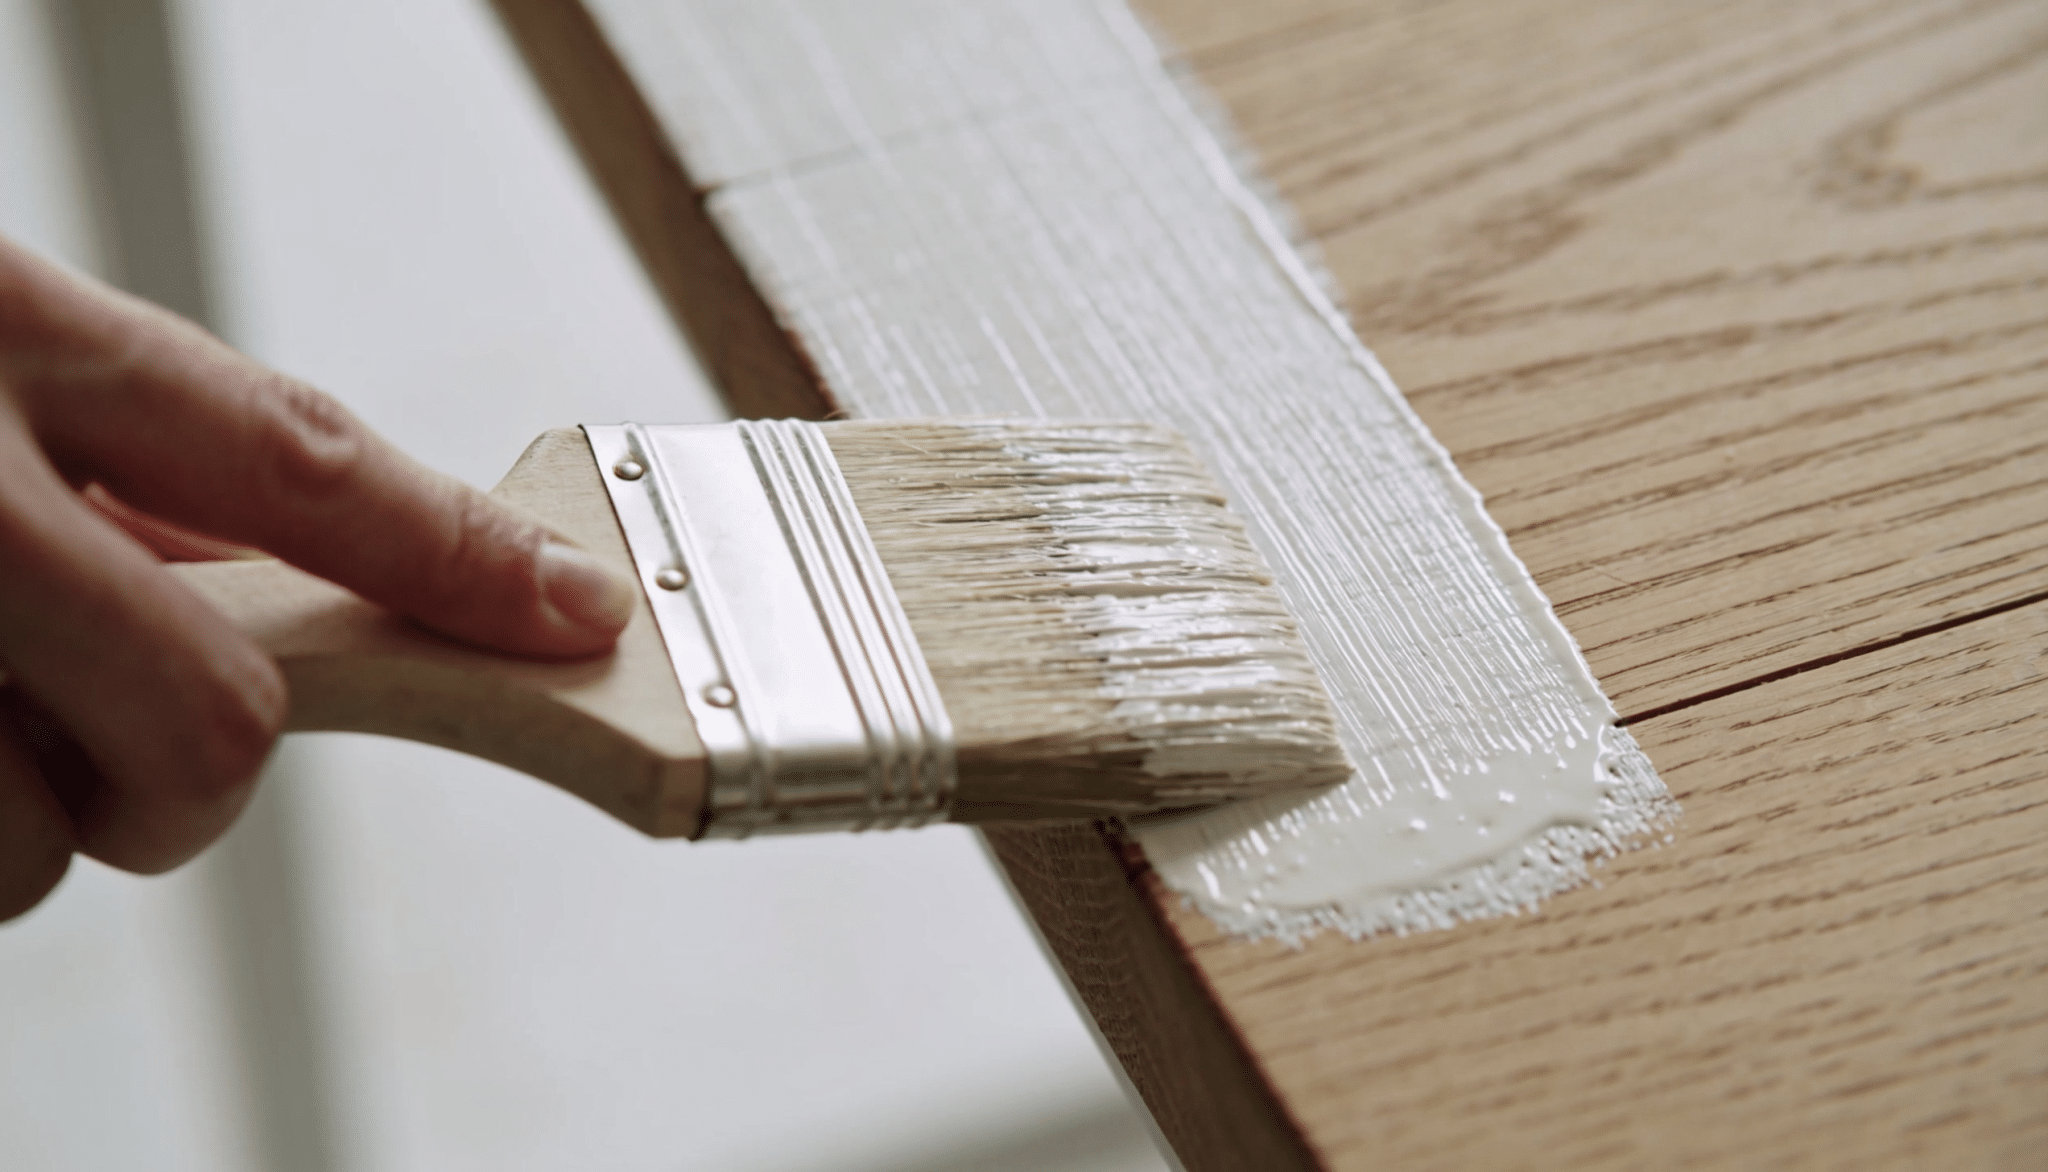
Using a paintbrush, apply the mixture in the direction of the wood grain. Work in small sections so the paint doesn’t dry before you have a chance to adjust it.
Focus on creating thin, even coverage rather than applying a heavy coat. Don’t worry if the first coat looks uneven. Whitewashing often develops its character during the wiping stage.
Working with the grain helps create a more natural look and minimizes visible brush marks.
Step 5: Wipe Away Excess Paint
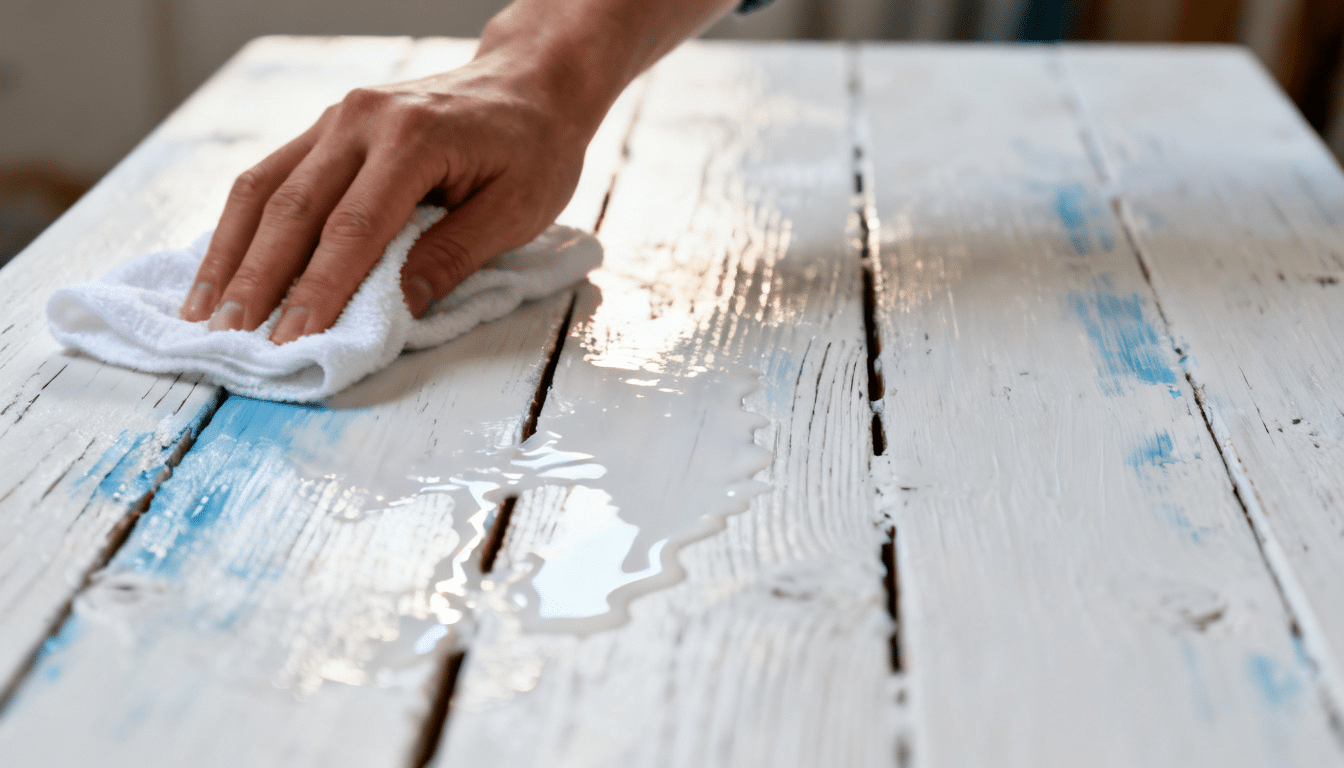
After applying the mixture, use a lint-free cloth to wipe away excess paint while it’s still wet.
The amount you remove will affect the final appearance. Wiping more paint away creates a lighter, more transparent finish, while leaving more paint behind produces a brighter look.
Continue working section by section until the entire table has a consistent appearance. Try using the same wiping pressure across the surface to keep the finish uniform.
Step 6: Let the Surface Dry
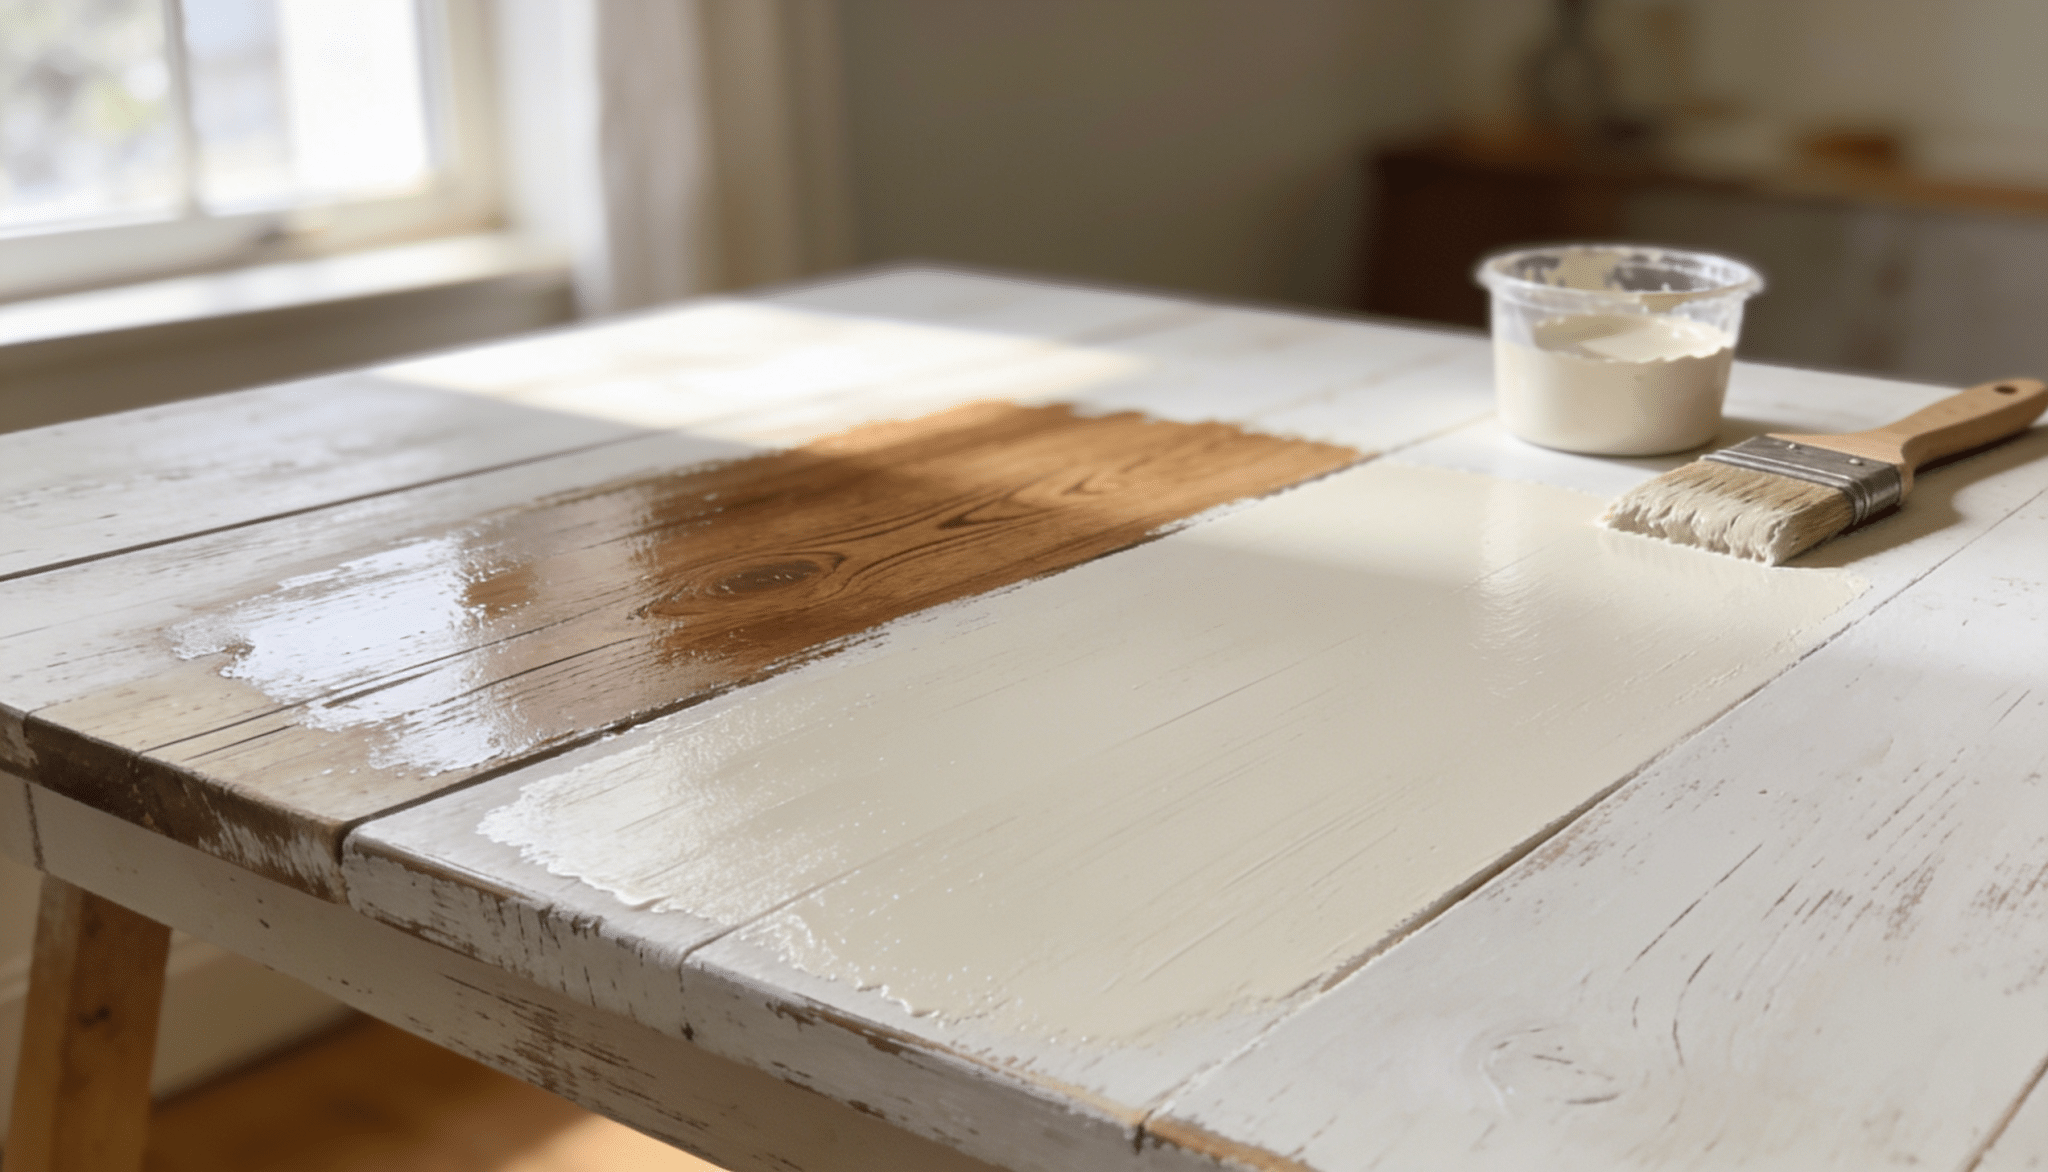
Allow the table to dry completely before judging the final color. Wet paint often appears darker than it will once dry. After the first coat dries, decide if you want additional coverage. If needed, apply a second coat using the same process.
Multiple thin coats generally produce better results than one heavy application. Natural lighting can help you assess the finish more accurately before adding another coat.
Step 7: Seal the Finish
If the table will be used regularly, apply a clear protective topcoat after the whitewash has fully dried.
This extra layer can help protect the surface from moisture, spills, scratches, and everyday wear. Follow the manufacturer’s drying recommendations before placing items back on the table.
For dining tables and coffee tables, a protective finish can help maintain the appearance for a longer period.
Tip: If you’re new to whitewashing, start with less paint and build up coverage gradually. It’s much easier to add another light coat than to remove excess paint after it dries.
Is Your Table a Good Candidate for Whitewashing?
Not every table takes whitewash the same way, so it helps to check the surface before you start. I like looking at the wood type, finish, and condition first because these decide how soft or patchy the final look may be.
| Table Condition | Good For Whitewashing? | What To Know Before Starting |
|---|---|---|
| Raw Wood | Yes | Absorbs whitewash well and gives the most natural finish |
| Lightly Sanded Wood | Yes | Works well if the old finish has been removed evenly |
| Oak, Pine, or Ash | Yes | Visible grain helps the whitewash look soft and textured |
| Dark Stained Wood | Maybe | May need extra sanding or a test spot first |
| Glossy Sealed Table | Not Yet | The coating must be sanded off so whitewash can stick |
| Veneer Table | Maybe | Sand very lightly to avoid damaging the thin top layer |
| Laminate Table | No | Whitewash will not soak in like it does on real wood |
| Damaged or Peeling Finish | Not Yet | Repair, clean, and sand before adding any whitewash |
The Fastest Way to Whitewash a Table
If you’re short on time, you can still give a table a farmhouse-style finish without spending an entire weekend on the project. A simplified whitewashing method can deliver good results in just a few hours.
- Skip Heavy Sanding When Possible – If the table is already smooth and in good condition, a light scuff sanding is often enough. Glossy or damaged surfaces may need additional prep work.
- Use a Pre-Mixed Whitewash Product – Pre-mixed products save time because they’re ready to use straight from the container. They also provide more consistent coverage.
- Work in Small Sections – Apply the whitewash to one area at a time and wipe away excess paint immediately. This helps create a more even finish.
- Stick to One Light Coat – A single coat is often enough for a quick farmhouse-style update. It keeps the wood grain visible and reduces drying time.
- Choose a Fast-Drying Finish – If you’re sealing the table, use a fast-drying water-based topcoat. This helps get the table back into use sooner.
It’s important to remember that quick methods can save time, but they may not produce the same level of durability or customization as a full whitewashing process.
Conclusion
Whitewashing a table is a simple way to give old furniture a lighter, softer look while still keeping the wood grain visible. It feels approachable, even for beginners, and it can make a plain or dated table feel fresh again.
The best results come from good prep, thin layers, and a little patience while wiping back the paint. Always test a hidden spot first, especially if the table has stain, veneer, or an old glossy finish.
Once the table is dry and sealed, you can enjoy a farmhouse-style piece that feels updated but still full of character. Try this method on a small table first, then use what you learn on larger furniture.
Frequently Asked Questions
Can I Whitewash a Table Outdoors?
Yes, but outdoor tables need an exterior-grade sealer for added protection. Without it, exposure to moisture and sunlight can shorten the life of the finish.
Can Whitewashing Help Hide Minor Scratches?
Whitewashing can make small scratches and surface imperfections less noticeable. However, deep gouges and dents should be repaired before starting the project.
How Much Does It Cost to Whitewash a Table?
Most DIY whitewashing projects cost between $20 and $60, depending on the supplies you already have and the products you choose.
Can I Change the Shade of the Whitewash?
Yes. Adding more water creates a lighter, more transparent finish, while using less water produces a stronger white appearance.
What Time of the Year is Best for Whitewashing Furniture?
Moderate temperatures and low humidity generally provide the best conditions. This helps the finish dry more evenly and reduces the risk of extended drying times.