If you’ve ever wanted to make a quilt but felt intimidated by the complexity, a rag quilt is the perfect place to start.
It requires no advanced techniques, no specialized tools, and no prior quilting experience, just fabric, a sewing machine, and a willingness to learn.
In this guide, you’ll find everything you need to know to make your very first rag quilt, from choosing the right materials to that satisfying first wash that brings the whole thing to life.
What is a Rag Quilt?
A rag quilt is a cozy quilt sewn with seams on the outside, which fray after washing into soft, fluffy edges. That fraying is the look, casual, textured, and full of character.
It is made from simple layered fabric squares stitched together, with no binding needed. Just sew, snip the seams, and let the washer do the rest.
Beginners love it because the blocks are straightforward, mistakes hide in the fray, and the result gets softer with every wash.
Flannel works especially well for this project, adding extra warmth and an even softer finish over time. It is one of those makes that looks impressive but asks very little of the person sewing it.
Supplies You’ll Need
Before you start cutting and sewing, having the right materials on hand makes the whole process smoother.
| Category | Details |
|---|---|
| Fabric Options | Flannel, cotton, denim, or batting |
| Best Pick for Beginners | 100% cotton flannel – soft, frays beautifully, and easy to handle |
| Cutting Tools | Rotary cutter, cutting mat, quilting ruler, scissors |
| Sewing Tools | Sewing machine, thread, pins or clips |
| Finishing | Washer and dryer to fray and soften the seams |
How to Make a Rag Quilt: Step-by-Step
One of the best things about rag quilts is how many creative designs you can make with the same basic technique. By changing the fabric, colors, or block layout, you can create a quilt that feels completely unique.
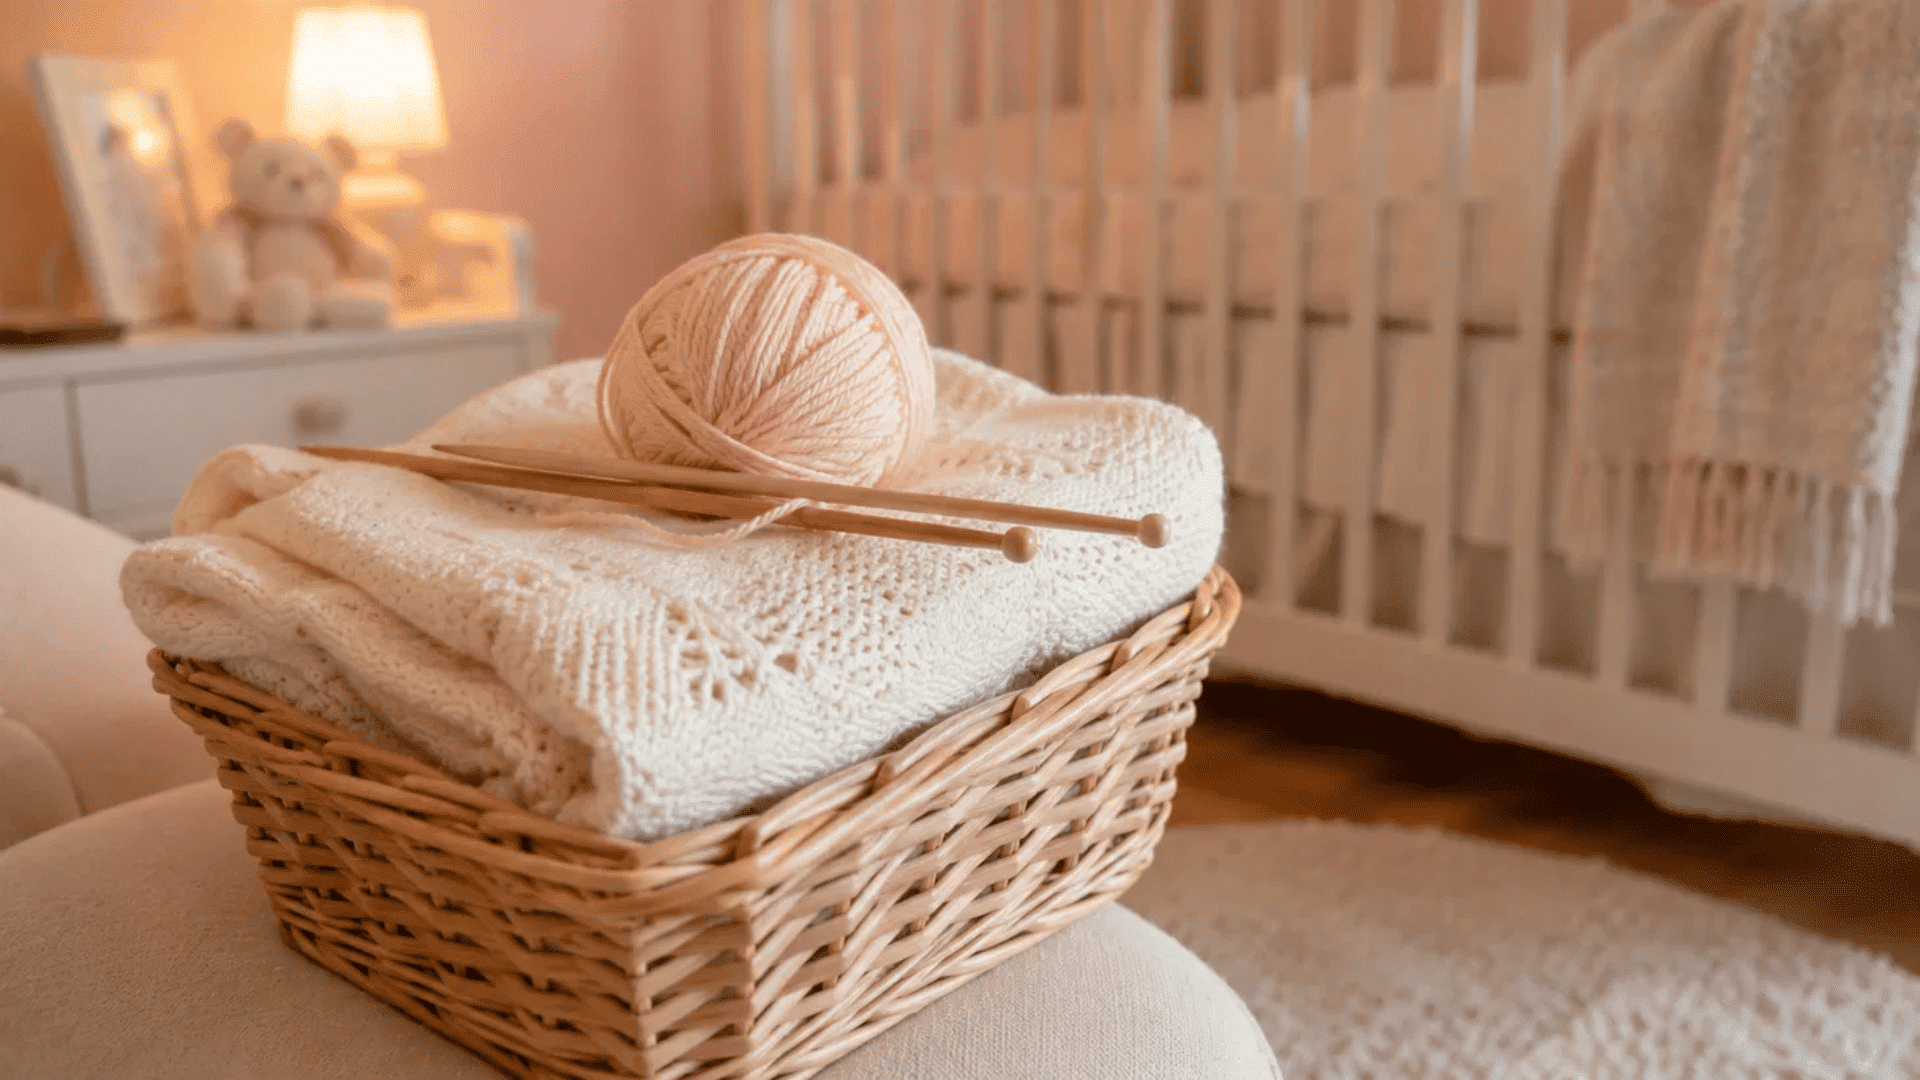
Smaller rag quilts also work well as baby gifts, especially when inspired by modern baby quilt patterns with simple colors and clean block layouts.
1. Classic Square Pattern
- Step 1: Cut and Layer the Squares – Cut all fabric squares to the same size, such as 8 or 10 inches. Layer each block with backing fabric, batting, and top fabric to create a quilt sandwich.
- Step 2: Stitch and Arrange the Blocks – Sew an X from corner to corner on each block to hold the layers in place. Then, lay the blocks out in a straight grid until you’re happy with the pattern.
- Step 3: Sew the Quilt Together – Join the blocks into rows, then sew the rows together with the wrong sides facing each other. This leaves the seam allowances exposed on the front of the quilt.
- Step 4: Give Your Quilt Its Ragged Look – Snip into every seam allowance about 1/4 to 1/2 inch apart, taking care not to cut the stitching. Wash in cold water and dry on low heat to create the soft, frayed edges that give a rag quilt its signature look.
2. Checkerboard Pattern
- Step 1: Choose and Cut Your Fabrics – Pick two contrasting fabrics, such as a solid color and a printed pattern, for a classic checkerboard look. Cut an equal number of 8-inch or 10-inch squares from each fabric.
- Step 2: Create and Arrange the Blocks – Layer each block with backing fabric, batting, and a top square, then stitch an X across the center to secure the layers. Arrange the blocks in alternating colors, reversing the starting color in each row to maintain the checkerboard pattern.
- Step 3: Sew the Quilt Together – Join the blocks row by row with the wrong sides facing outward so the seams remain visible. Once all rows are connected, sew them together to complete the quilt top.
- Step 4: Finish the Rag Quilt – Make small cuts into every seam allowance about 1/4 to 1/2 inch apart, avoiding the stitching lines. Wash in cold water and dry on low heat to create the soft, textured frayed edges.
3. Pinwheel Pattern
- Step 1: Choose and Arrange Your Fabrics – Select two coordinating fabrics with enough contrast to make the pinwheel design stand out. Arrange the squares so the colors appear to rotate around a center point, taking extra time to perfect the layout before sewing.
- Step 2: Prepare the Quilt Blocks – Cut the fabric into uniform 8-inch or 10-inch squares and create a quilt sandwich for each block. Stitch an X across every square to secure the layers and keep them from shifting.
- Step 3: Sew the Quilt Together – Join the blocks row by row with the wrong sides facing outward, keeping the exposed seams on the front. Carefully maintain the planned layout so the pinwheel effect remains visible.
- Step 4: Create the Signature Ragged Finish – Clip the seam allowances every 1/4 to 1/2 inch, avoiding the stitching lines. Wash in cold water and dry on low heat to soften the seams and create the classic rag quilt texture.
4. Strip Pattern
- Step 1: Choose and Prepare Your Fabrics – Select two or more fabrics that look good together and cut them into uniform 8-inch or 10-inch squares. Create a quilt sandwich for each block and stitch an X across the center to secure the layers.
- Step 2: Arrange the Blocks Into Strips – Place matching fabric blocks together to form long vertical or horizontal strips. Alternate the strips across the quilt to create a neat, structured pattern with clear contrast.
- Step 3: Sew the Strips Together – Sew the blocks within each strip with the wrong sides facing outward, keeping the seam allowances exposed. Once the strips are complete, join them together to form the quilt top.
- Step 4: Create the Signature Ragged Finish – Clip the seam allowances every 1/4 to 1/2 inch, being careful not to cut through the stitching. Wash the quilt in cold water and dry on low heat to encourage the seams to soften and fluff up naturally.
5. Courthouse Steps Pattern
- Step 1: Create the Center of the Block – Start with a small center square and choose two contrasting fabrics for the surrounding strips. This center piece acts as the foundation for the entire log cabin block.
- Step 2: Build the Log Cabin Design – Sew fabric strips around the center square, adding them in alternating colors. Attach strips to the top and bottom first, then to the left and right, increasing the strip length as the block grows.
- Step 3: Repeat and Arrange the Blocks – Make enough log cabin blocks to reach your desired quilt size. Lay them out in a straight grid and adjust their placement until you’re happy with the overall design.
- Step 4: Assemble and Finish the Quilt – Sew the blocks together with the wrong sides facing outward so the seams remain visible. Clip the seam allowances, then wash and dry the quilt to create the soft, textured rag quilt finish.
Clip, Wash, and Finish Your Rag Quilts
Once the quilt is fully assembled, clipping is what sets the fraying in motion. Snip into every seam allowance every 1/4 to 1/2 inch, staying close to but never through the stitching.
The more snips, the fuller the fray. Take your time and work through every seam systematically to avoid flat, unfrayed patches after washing.
Once all clipping is done, wash on cold and dry on low heat. Clean the lint trap frequently, as a freshly clipped rag quilt sheds a significant amount of loose threads.
After one or two cycles, the seams will bloom and soften into that cozy, textured finish. The quilt will continue to get softer with every subsequent wash, improving with use over time.
Common Rag Quilt Mistakes to Avoid
A few small errors can affect how your quilt looks and holds up over time. Knowing what to watch for before you start saves a lot of frustration later.
| Mistake | Why It’s a Problem | What to Do Instead |
|---|---|---|
| Cutting Batting Too Large | Batting that matches or exceeds the fabric square size creates stiff, bulky seams that do not fray well. | Keep the batting about 1 inch smaller than the fabric squares on all sides. |
| Sewing Seams the Wrong Way | The seams must sit on the front of the quilt, not the back. Sewing with right sides together can flip the entire look of the finished quilt. | Sew with the seams facing the front so the quilt gets the right ragged edge. |
| Skipping the Outer Stitch Line | Stitching around the perimeter helps hold the quilt shape. Without it, the outer edges may fray unevenly after washing. | Add a stitch line around the full outer edge before clipping and washing. |
| Cutting Into the Stitching | Snipping through the stitch line weakens the quilt and can cause squares to come apart after washing. | Keep scissors close to the stitching, but never cut through it. |
Final Thoughts
A rag quilt is one of those projects that looks far more complex than it actually is. With basic squares, a simple stitch, and a run through the washer, you end up with something genuinely warm and well-made.
It is a great first quilt for anyone who wants real results without an overwhelming process. Start with a baby or lap size, use 100% cotton flannel, and take it one step at a time.
The more you wash it, the better it gets and that is what makes a rag quilt worth making.
Frequently Asked Questions
Can I Mix Different Fabric Types in One Rag Quilt?
Yes, but stick to fabrics with similar weight and shrinkage rates. Mixing heavy denim with lightweight cotton can cause uneven fraying after washing.
How Much Fabric Do I Need for a Lap Quilt?
Plan for around 3 to 4 yards each of top fabric, backing fabric, and batting. Always buy a little extra to account for cutting errors.
How Do I Keep My Sewing Machine from Jamming During the Clipping Stage?
Clear loose threads before sewing and use a walking foot attachment. It helps feed thick, multi-layered blocks through the machine smoothly.
Can I Hand Wash a Rag Quilt Instead of Machine Washing?
Hand washing will clean it but will not produce the fraying effect. Machine washing is what causes the seams to bloom and soften properly.
How Many Times Do I Need to Wash It Before the Fraying Looks Full?
Most rag quilts reach full fray after two to three washes. An extra dry cycle after the first wash can help speed things up.