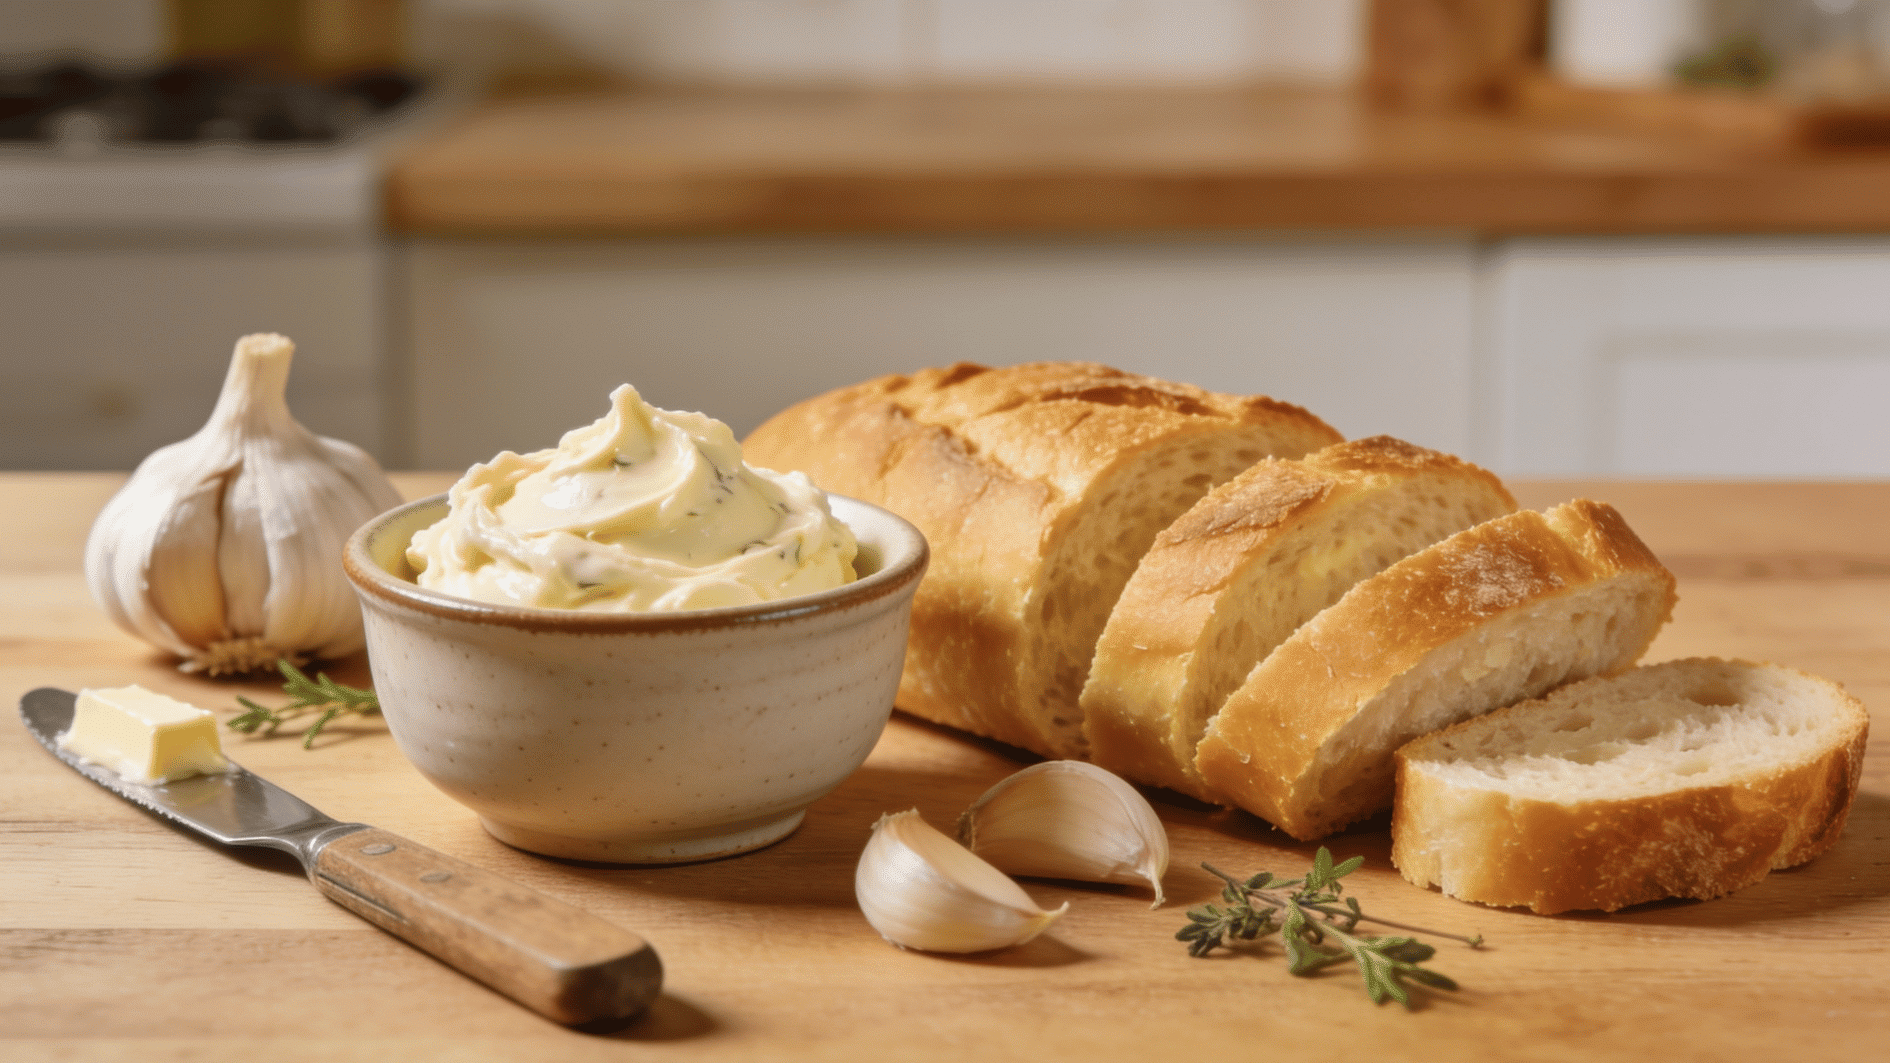
Garlic butter turns ordinary bread, steak, pasta, and roasted vegetables into something people ask you about.
If you have butter and garlic sitting in your kitchen right now, you are roughly five minutes away from a spread that rivals anything sold in a jar at the store.
Learning how to make garlic butter is one of those small kitchen wins that pays off again and again, because once you master the base, you can bend it in a dozen directions.
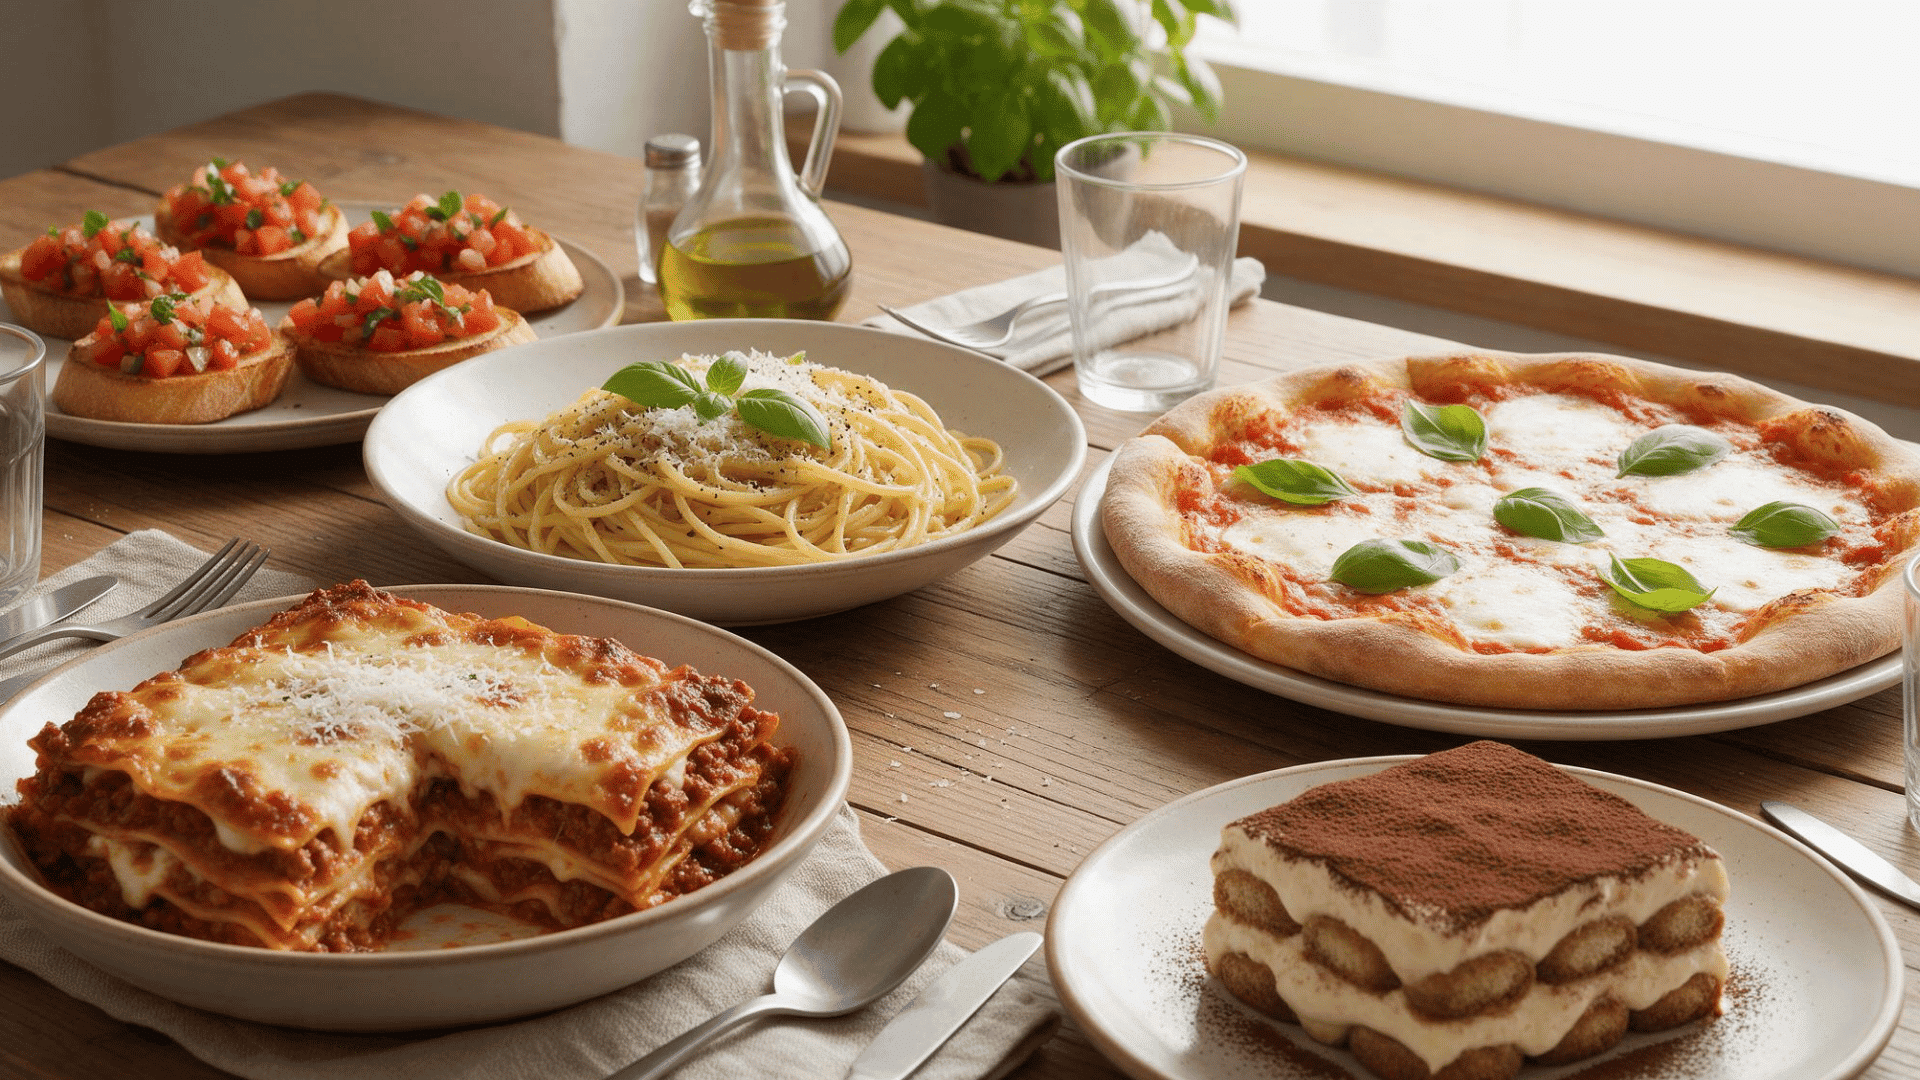
You can also use this spread to make garlic butter Parmesan pasta, where the warm noodles help melt the butter into a quick, silky coating.
This blog walks you through a reliable 3-ingredient garlic butter, the exact steps, the mistakes that trip people up, optional add-ins for more flavor, and how to store it so nothing goes to waste.
Why Homemade Garlic Butter is Above All
Store-bought garlic spreads rely on preservatives, stabilizers, and dried garlic powder, which taste flat compared to the real thing.
When you make it yourself, you control the garlic intensity, the salt level, and the freshness of every component.
Fresh garlic carries a sharp, aromatic bite that softens into something rich and mellow the moment it meets warm butter, and that transformation simply cannot be bottled and shelved for months without losing its edge.
A tub of prepared garlic butter often costs several times as much as the butter and garlic you would buy to make a larger, tastier batch at home. Beyond savings, homemade garlic butter gives you flexibility.
You decide whether it leans savory, herby, spicy, or mild. You can whip up a small portion for tonight’s dinner or a bigger batch to freeze for the weeks ahead.
The Only Ingredients You’ll Need
The beauty of this recipe is its short shopping list. A true 3-ingredient garlic butter relies on pantry and fridge staples most people keep on hand, which means you can make it on impulse without a trip to the store.
| Ingredient | Amount | Purpose and Notes |
|---|---|---|
| Unsalted butter, softened | 1/2 cup or 1 stick | Softened butter blends smoothly and evenly. Unsalted butter gives you better control over the seasoning. Salted butter also works, but reduce the added salt. |
| Fresh garlic, finely minced | 3 to 4 cloves | Fresh garlic provides a bold flavor. Use fewer cloves for a milder taste or add more for a stronger garlic flavor. |
| Salt | 1/4 teaspoon | Salt sharpens and balances the garlic flavor. Fine sea salt or regular table salt both work well. |
Each ingredient carries real weight here, so quality matters more than quantity. Choose good butter, fresh garlic, and a decent pinch of salt, and the result speaks for itself.
How to Make Garlic Butter: Step-by-Step Recipe
This method takes about five minutes of hands-on work and needs nothing more than a bowl and a fork. Follow the steps in order, and you will land on a smooth, spreadable garlic butter every single time.
Step 1: Soften the Butter
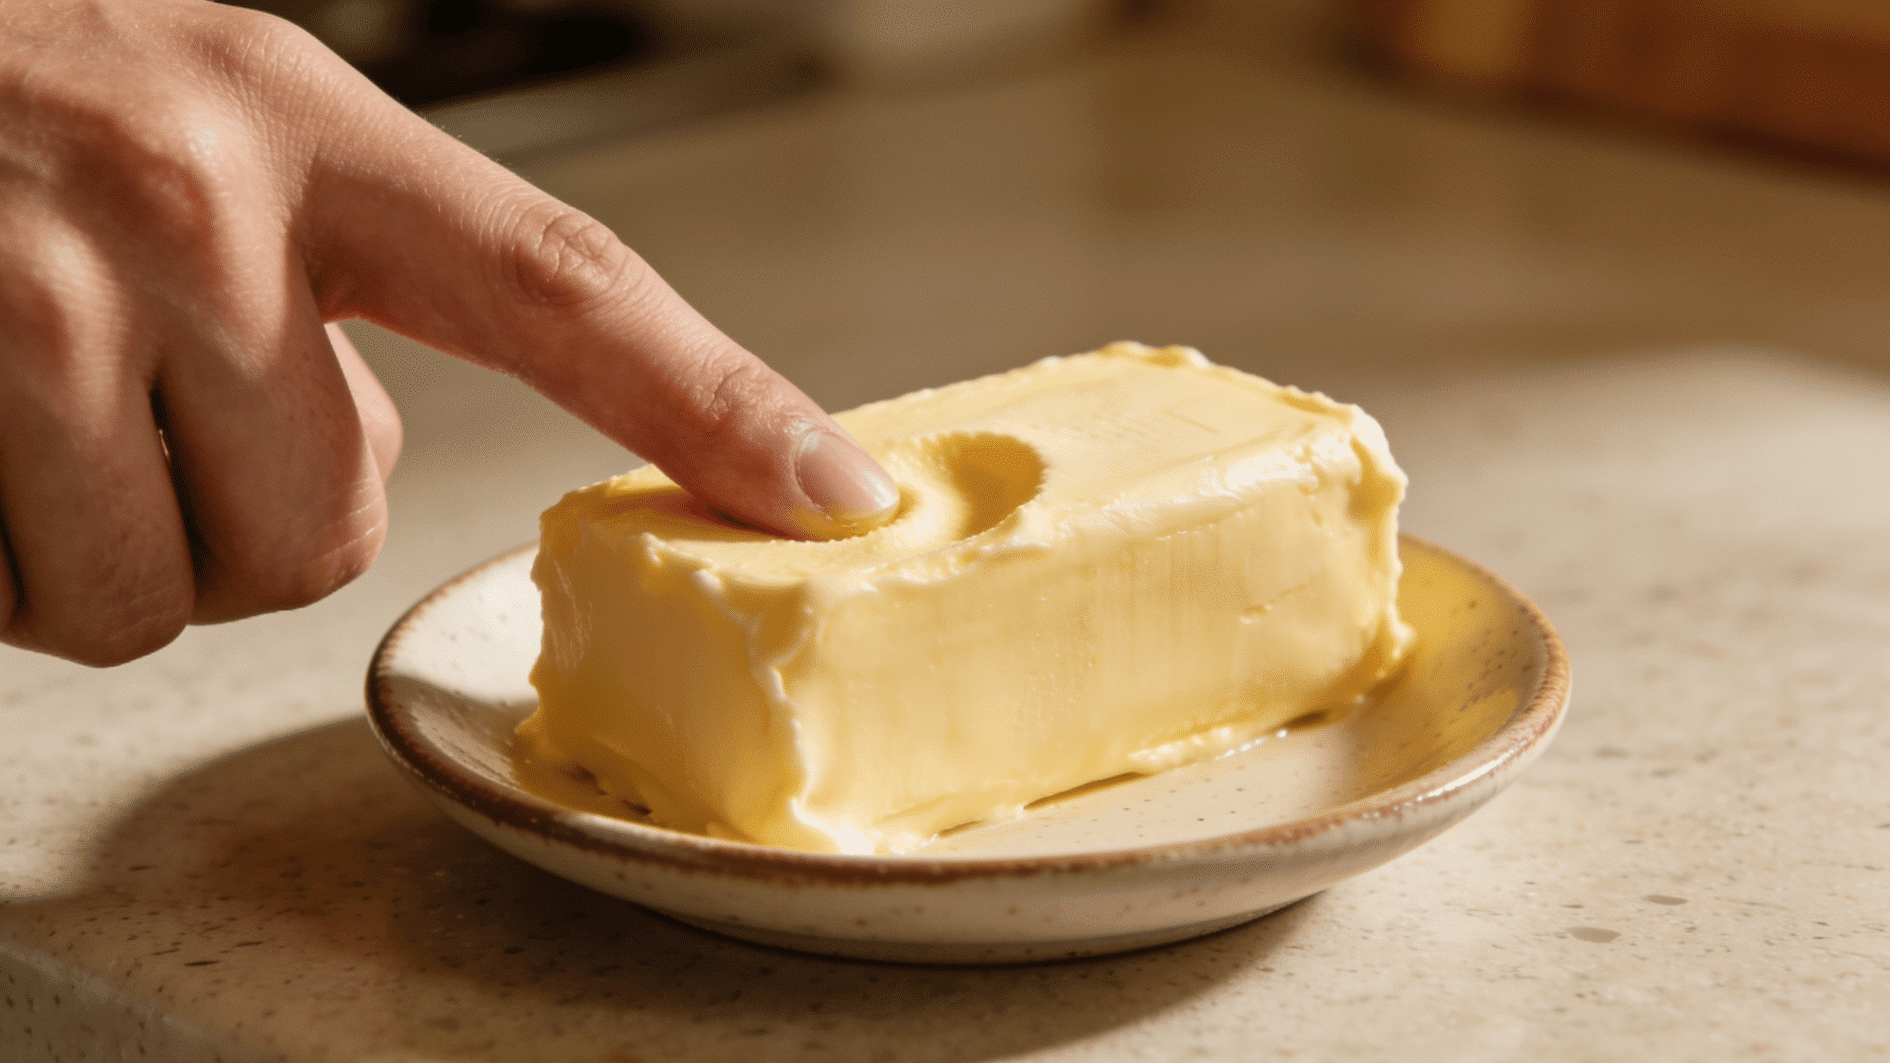
The texture of your finished spread depends almost entirely on this first stage, so it is worth getting right. Leave your butter at room temperature for 30-45 minutes until it yields easily to gentle pressure.
You are looking for a state that mashes and blends smoothly, not one that has begun to turn glossy or pool at the edges. Room temperature does the work for you, loosening the butter just enough to fold in the garlic evenly.
- Set the stick out on the counter well before you plan to cook, ideally while you gather your other ingredients so nothing waits on it.
- Test readiness by pressing lightly with a fingertip; it should leave a clean dent without your finger sliding straight through to the plate.
- If you are short on time, cut the butter into small cubes and spread them out, which exposes more surface area and softens them in roughly half the time.
- Keep the butter away from direct sunlight or a warm stovetop, since uneven warming softens the outside while the center stays hard.
Tip: If you forget to set the butter out, grate the cold stick on the large holes of a box grater. The thin shreds come to room temperature in five to ten minutes without any risk of melting.
Step 2: Mince the Garlic
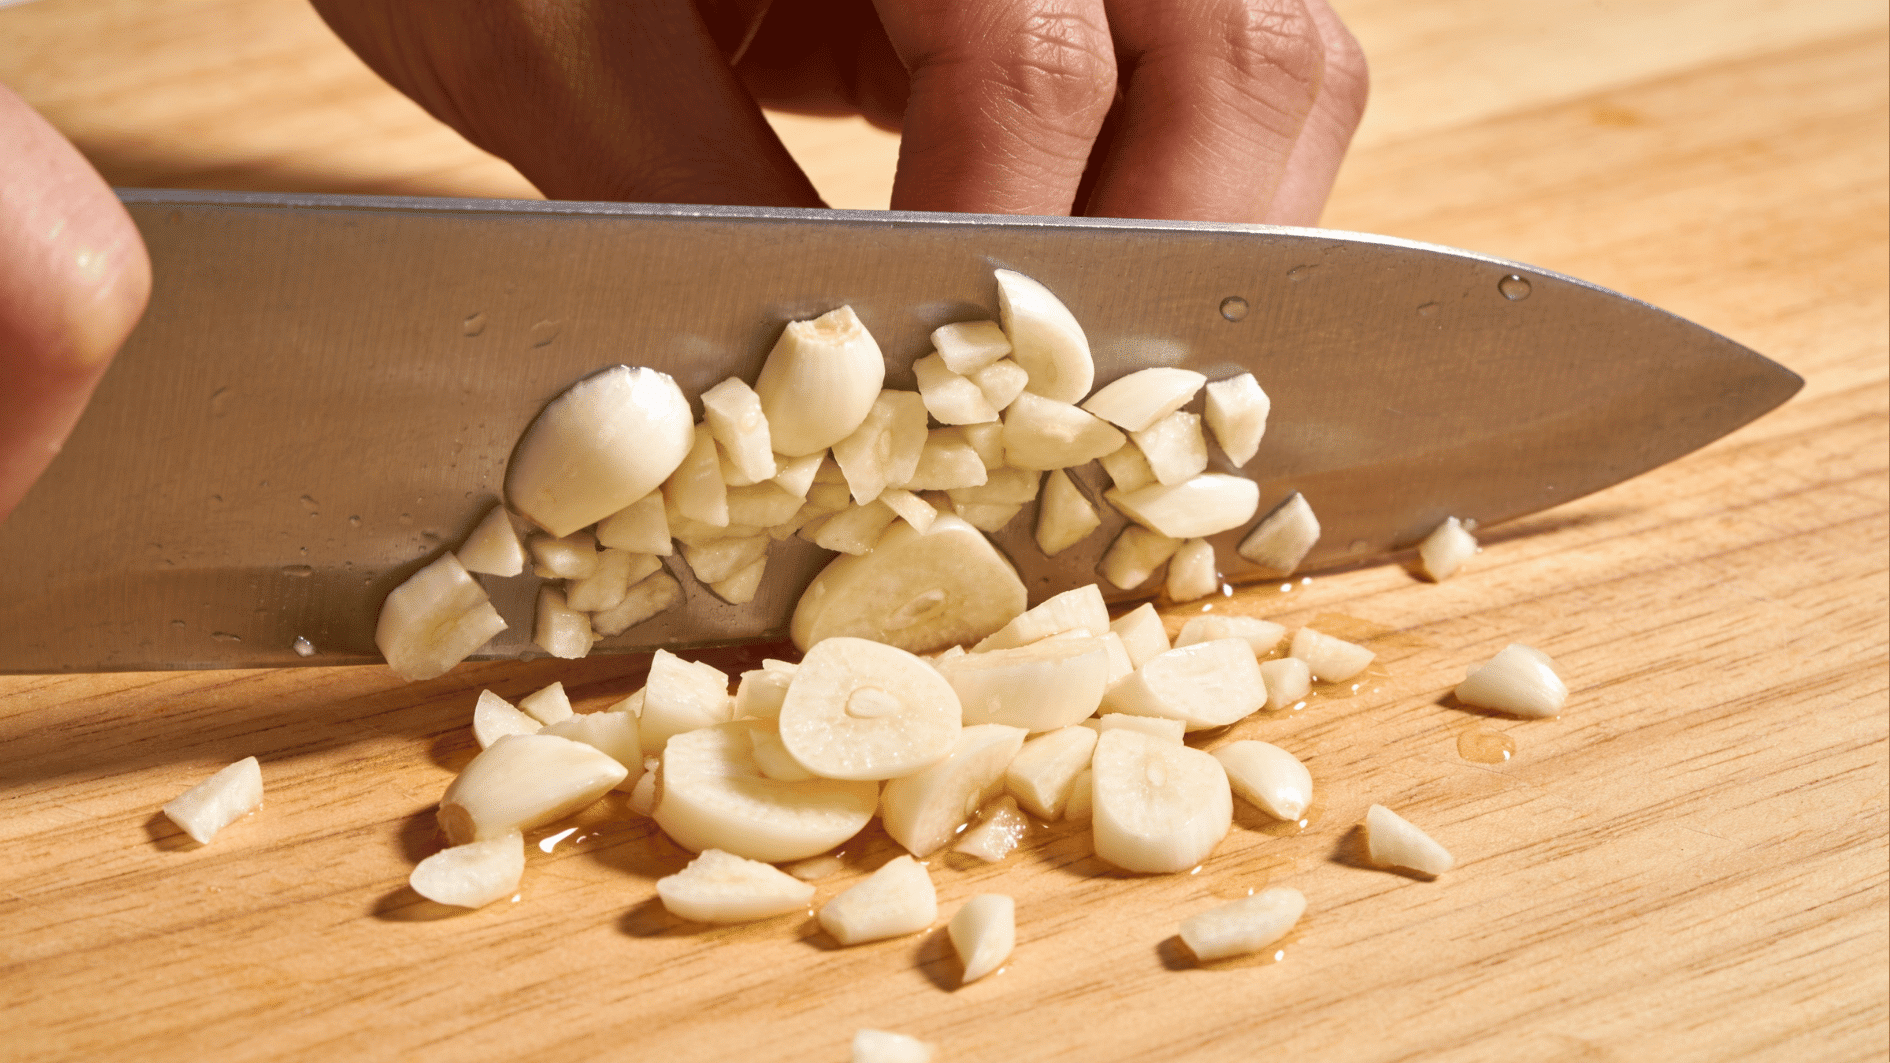
Garlic is the heart of this recipe, so how you cut it shapes the entire flavor. Peel your cloves and mince them as finely as you can manage.
The smaller the pieces, the more evenly the flavor distributes through the butter, and the more surface area each piece exposes to release its aromatic oils.
If you want a rounder, less sharp result, mincing releases compounds that mellow slightly as they sit, so a short pause before mixing softens the bite.
- Use a sharp knife and rock it repeatedly over the cloves, or press them through a garlic press for a fast, uniform mince.
- For a mellower flavor, mince the garlic and let it rest for a few minutes before mixing it into the butter.
- Scrape up every bit from the cutting board, including the sticky juices, since that liquid carries a large share of the flavor.
- Remove any green sprout running through the center of a clove, as it tastes bitter and turns sharp in the finished butter.
Tip: For a softer, sweeter, almost nutty flavor, roast a whole head of garlic first, then squeeze the caramelized cloves straight into the butter and mash. It transforms the spread completely.
Step 3: Combine and Mash
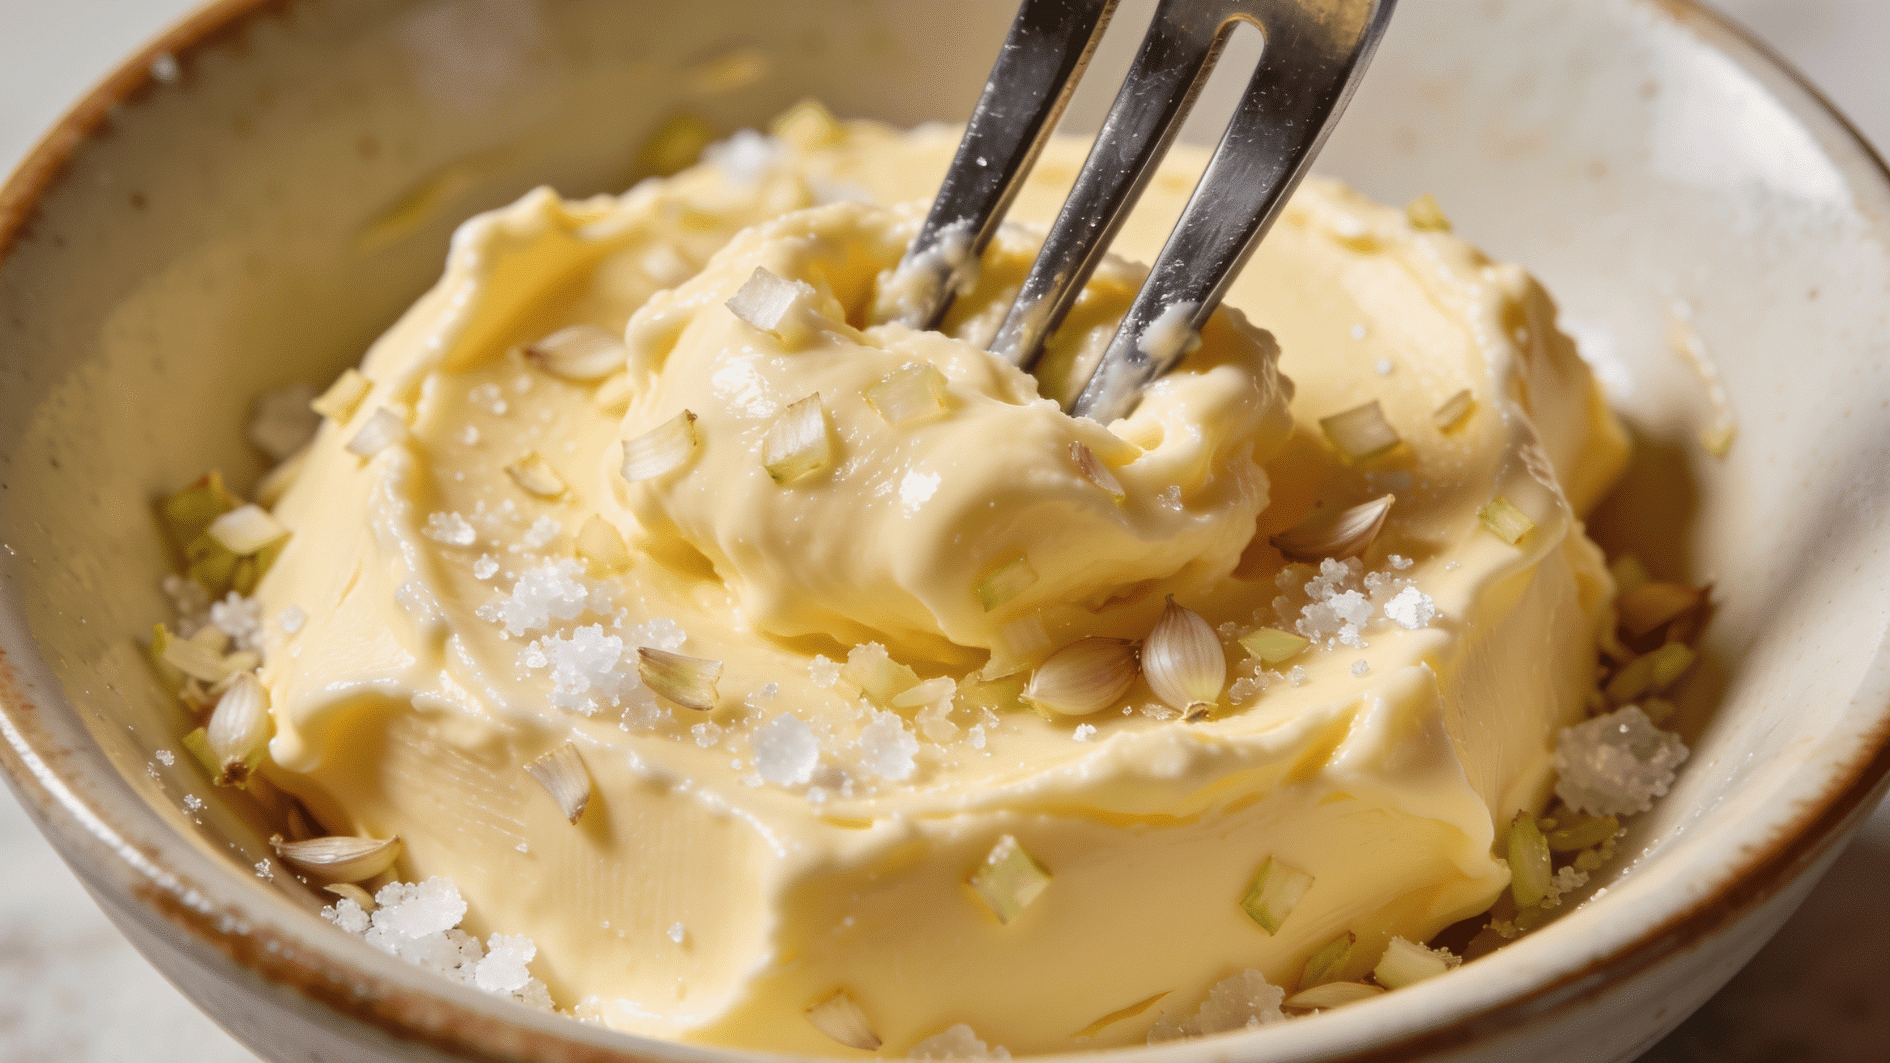
Add the softened butter, minced garlic, and salt to a bowl and work them with a fork until the garlic is fully distributed and the mixture looks uniform in color and texture.
Mashing rather than whisking keeps the butter dense and spreadable rather than whipping air into it, which is exactly what you want for bread, steak, or pasta.
Season as you go and taste along the way so you can steer the balance before it is finished.
- Press the back of the fork against the side of the bowl to break up any clumps and smear the garlic through the butter.
- Keep folding and pressing until you see no streaks of plain butter or uneven color anywhere in the mix.
- Taste the mixture and adjust the salt gradually, adding a pinch at a time rather than a large amount at once.
- Add any optional herbs, cheese, or spices at this stage so they blend in evenly with the garlic.
Tip: Mix with a fork rather than an electric mixer. Beating the butter aerates it and lightens the texture, which is lovely for frosting but wrong for a rich, dense garlic spread.
Step 4: Rest and Serve
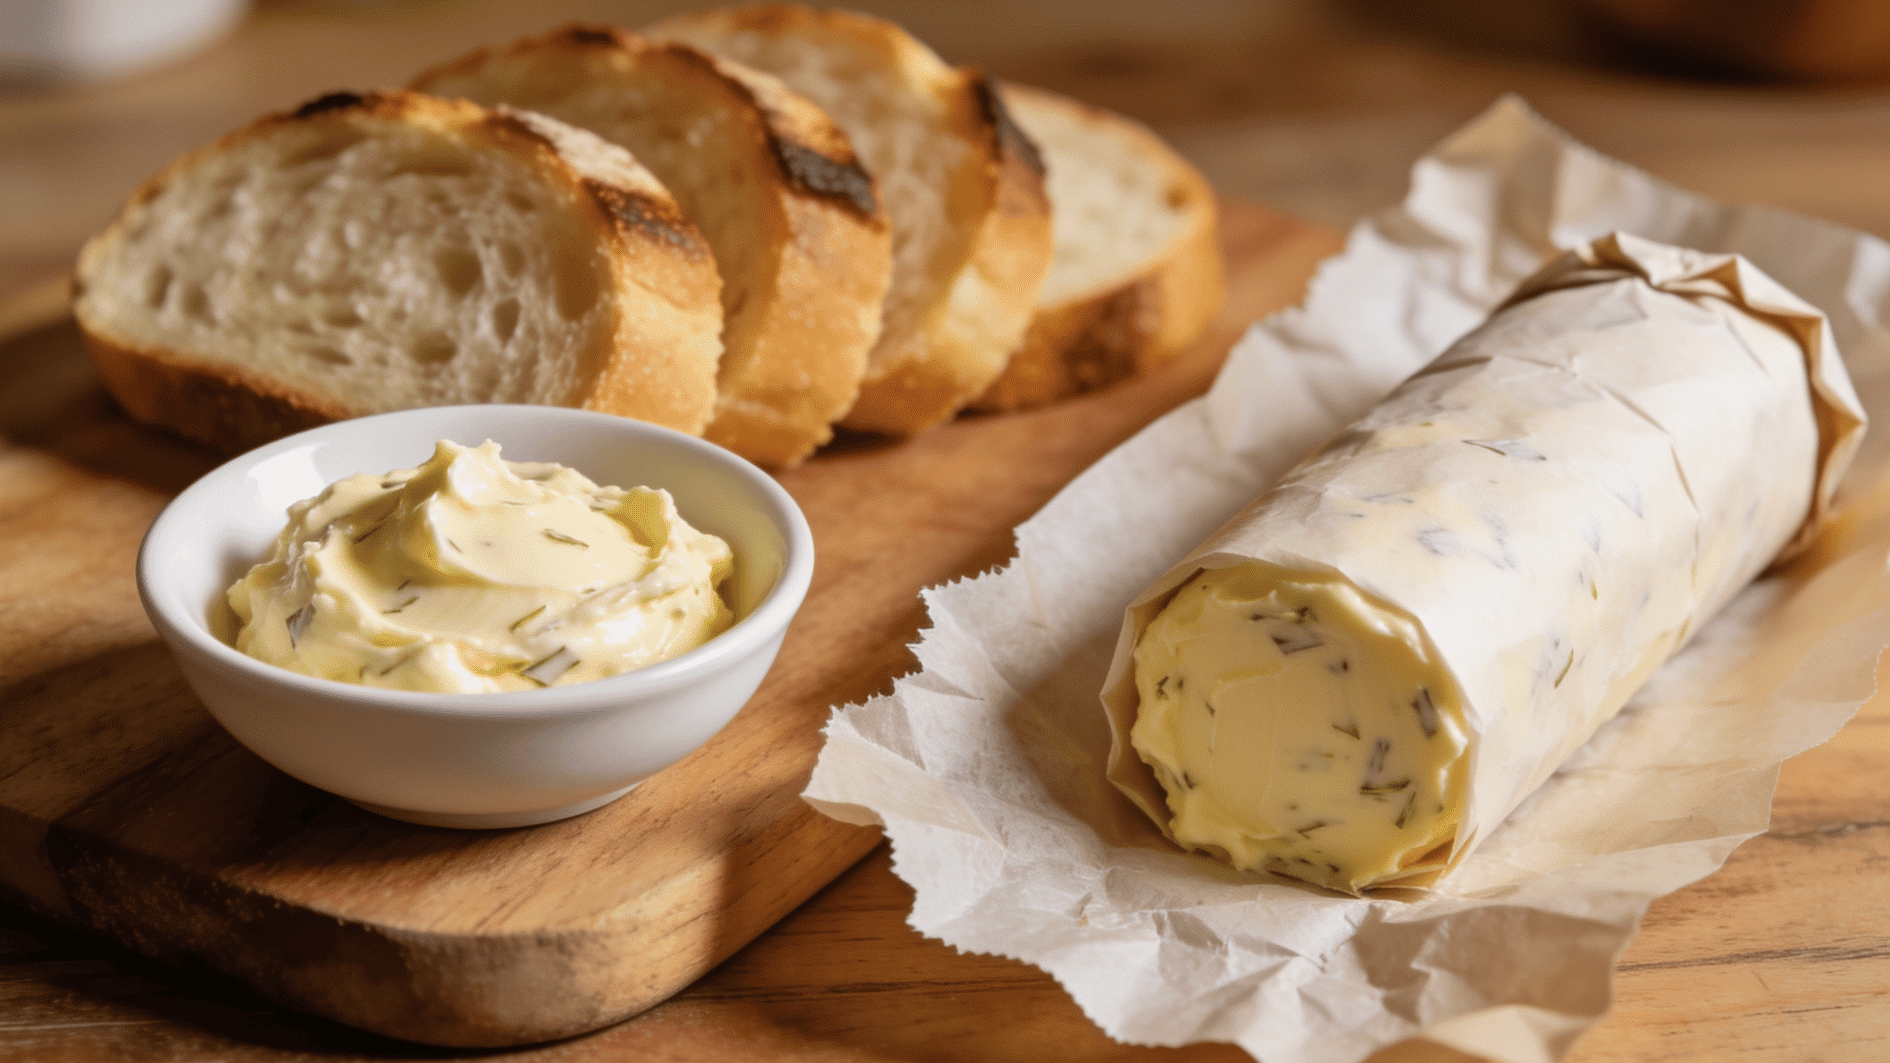
Let the finished butter sit for 10 to 15 minutes so the flavors meld together. During this short rest, the garlic infuses the surrounding butter, the raw edge softens, and the taste rounds out.
You can serve it soft and creamy straight away, or chill it briefly for a firmer texture that holds its shape on a knife. However you present it, this brief pause pays off in flavor.
- Serve immediately on warm bread or a hot steak, or chill it for 15 minutes for a firmer, sliceable spread.
- For a decorative presentation, spoon the butter onto parchment paper and roll it into a tidy log, then twist the ends closed.
- Use it right away, refrigerate it for the week ahead, or freeze it for longer storage.
- Bring refrigerated garlic butter back to room temperature before serving so it spreads smoothly instead of tearing the bread.
Tip: Shape the butter into a log and chill it until firm, then slice off neat medallions to melt over grilled meat or vegetables. It looks polished and portions perfectly.
Optional Ingredients to Elevate Your Garlic Butter
Once you have the base down, the variations are endless. A single addition can send your garlic butter in a completely new direction, whether you want brightness, heat, or extra depth.
Stir any of these into the finished mixture and taste as you go. The table below groups a few favorites by the effect they bring.
| Herby & Fresh | Rich & Savory | Bold & Spicy |
|---|---|---|
| Chopped parsley | Grated Parmesan | Red pepper flakes |
| Fresh chives | Roasted garlic | Cayenne pepper |
| Lemon zest | Black pepper | Hot smoked paprika |
A spoonful can also serve as the base for homemade garlic Alfredo sauce when combined with cream, Parmesan, and hot pasta.
How to Store Homemade Garlic Butter?
Homemade garlic butter can last for weeks when stored correctly, but fresh garlic makes careful handling important. Keep the butter cold, tightly covered, and clearly labeled with the preparation date.
In the refrigerator, store it in an airtight container for up to 1 week to prevent it from absorbing other odors.
For longer storage, shape the butter into a log, wrap it securely in parchment or wax paper, and freeze it for up to 3 months. You can also freeze small portions in an ice cube tray, then transfer them to a sealed freezer bag.
To thaw, place the butter in the refrigerator overnight. For quick use, slice off only what you need and let it soften briefly at room temperature.
Common Mistakes to Avoid
Garlic butter is forgiving, but a few habits can drag down an otherwise perfect batch.
Most problems trace back to temperature, timing, or seasoning. Knowing these pitfalls ahead of time keeps your results smooth, balanced, and full of flavor rather than greasy, harsh, or bland.
- Melting the butter instead of softening it: Melted butter separates and loses the creamy structure that makes the spread work. Aim for soft, not liquid.
- Using old or sprouted garlic: Garlic past its prime tastes bitter and dull. Green sprouts in the center add a sharp, unpleasant note; remove them or use fresher cloves.
- Mincing garlic too coarsely: Big pieces create harsh, uneven bites. A fine, consistent mince spreads the flavor evenly.
- Over-salting: Salt is easy to add and impossible to remove. Start light, taste, then adjust.
- Skipping the rest time: Serving instantly means the garlic has not yet infused the butter. A short rest makes a noticeable difference.
Conclusion
Making garlic butter at home is one of the easiest ways to upgrade everyday meals with almost no effort.
With just softened butter, fresh garlic, and a pinch of salt, you can create a rich, flavorful spread in about five minutes, and this 3-ingredient garlic butter becomes a foundation you can build on endlessly.
Soften your butter properly, mince the garlic fine, season carefully, and give the mixture a short rest, and you will avoid the common mistakes that trip up beginners.
Store it in the fridge for the week ahead or freeze a log for later, and you will always have something special within reach. Once you learn how to make garlic butter this way, the jarred version has no place in your kitchen.
Frequently Asked Questions
Can You Make Garlic Butter with Garlic Powder?
Yes. Use about 1/2 teaspoon of garlic powder per 1/2 cup of butter, then taste and adjust. It gives a milder, smoother flavor than fresh garlic.
Can You Make Garlic Butter with Margarine?
Yes, margarine can replace butter in the same amount. The result may be softer and less rich, so choose a firm, high-quality margarine to match the texture.
Is Garlic Butter Gluten-Free?
Plain garlic butter made with butter, garlic, and salt is naturally gluten-free. Check the labels of any seasoning blends or added sauces to confirm they contain no gluten.