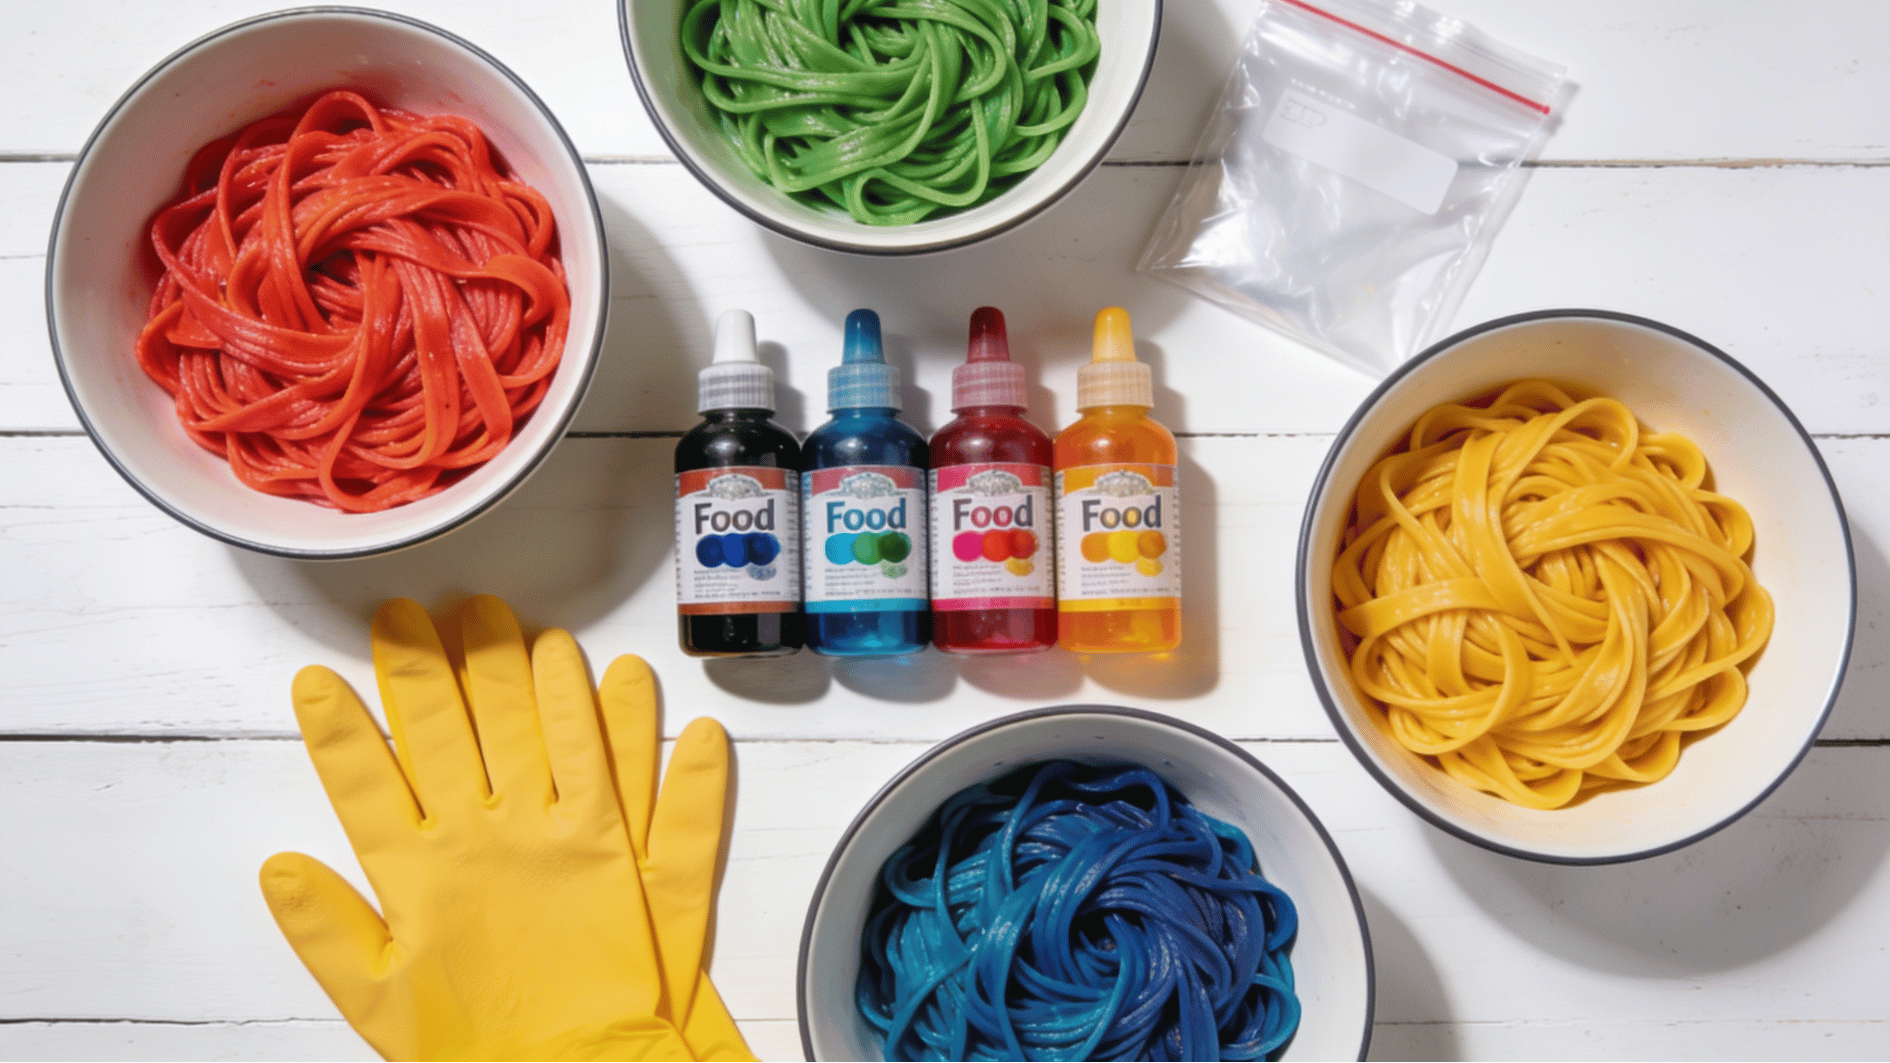
Ever wondered how to make your sensory bins pop with color or give your pasta crafts that perfect finishing touch?
Plain, beige pasta just doesn‘t cut it when you‘re going for bold, vibrant DIY projects. The good news? Dyeing pasta is easier than you think, and way more fun.
If you‘re setting up a sensory bin for little ones, creating colorful pasta art, or prepping for a fun rainy-day activity, colored pasta is your secret ingredient.
In this guide, you will walk you through exactly how to dye pasta at home, the simple materials you‘ll need, and a foolproof step-by-step process to get good results every time.
Why Dyeing Pasta is Worth It
Dyed pasta is one of those simple, low-cost ideas that punches way above its weight. For kids, colored pasta makes the perfect sensory bin filler.
It‘s safe, easy to handle, and keeps kids busy for hours while quietly building fine motor skills and color recognition. Teachers and parents love it for sensory play because it‘s mess-friendly and reusable.
Beyond sensory bins, dyed pasta is a go-to material for pasta crafts, from DIY jewelry and pasta art to holiday decorations and school projects.
It‘s also a wonderful rainy-day activity that the whole family can enjoy together, no special skills or expensive supplies needed.
If you‘re a parent, teacher, or craft enthusiast, learning how to dye pasta at home opens up a world of colorful, creative possibilities that are as practical as they are fun.
Materials You’ll Need
Before you get into dyeing pasta at home, gather the right materials to make the whole process smoother and more fun. Here is everything you will need to get started:
| Material | Purpose |
|---|---|
| Uncooked dry pasta | The base for dyeing |
| Food coloring or liquid watercolors | Adds color to the pasta |
| White vinegar or rubbing alcohol | Helps the color bind to the pasta |
| Resealable zip-lock bags | For mixing and coating the pasta evenly |
| Paper towels or a baking sheet | For drying the pasta after dyeing |
| Gloves | To keep your hands stain-free |
Types of Pasta That Work Best
Not all pasta shapes are created equal, some absorb color better, dry faster, and work beautifully for specific craft projects.
- Penne: Its hollow center absorbs color beautifully, making it one of the best pasta shapes for dyeing.
- Rigatoni: Its large surface area makes it easy for kids to handle and color evenly.
- Farfalle (Bow Ties): Its unique butterfly shape soaks up dye smoothly, giving you vibrant, eye-catching results.
- Rotini: Its twisted grooves catch and hold color exceptionally well for rich, deep hues.
- Macaroni: Its small, lightweight shape is perfect for fine motor activities, collages, and beginner craft projects.
- Ziti: Its smooth, long surface takes on color vibrantly, making it ideal for threading and pasta necklaces.
Food Coloring vs. Liquid Watercolors
Choosing the right dye can make a big difference in how vibrant and long-lasting your colored pasta turns out.
| Feature | Food Coloring | Liquid Watercolors |
|---|---|---|
| Cost | Very affordable | Slightly more expensive |
| Color vibrancy | Bright and bold | Extremely vibrant |
| Safety | Food-safe, kid-friendly | Non-toxic but not edible |
| Availability | Found in any grocery store | Available online or at craft stores |
| Best for | Beginners, kitchen use | Crafters wanting richer color |
| Drying time | Standard | Slightly longer |
How to Dye Pasta: Step-by-Step Guide
Now that you have everything ready, it‘s time to get into the fun part. Dyeing pasta at home is a quick, easy process that takes less than 30 minutes from start to finish, and the results are always worth it. Follow these simple steps to get perfectly colored pasta every time.
Step 1: Prepare Your Workspace and Pasta
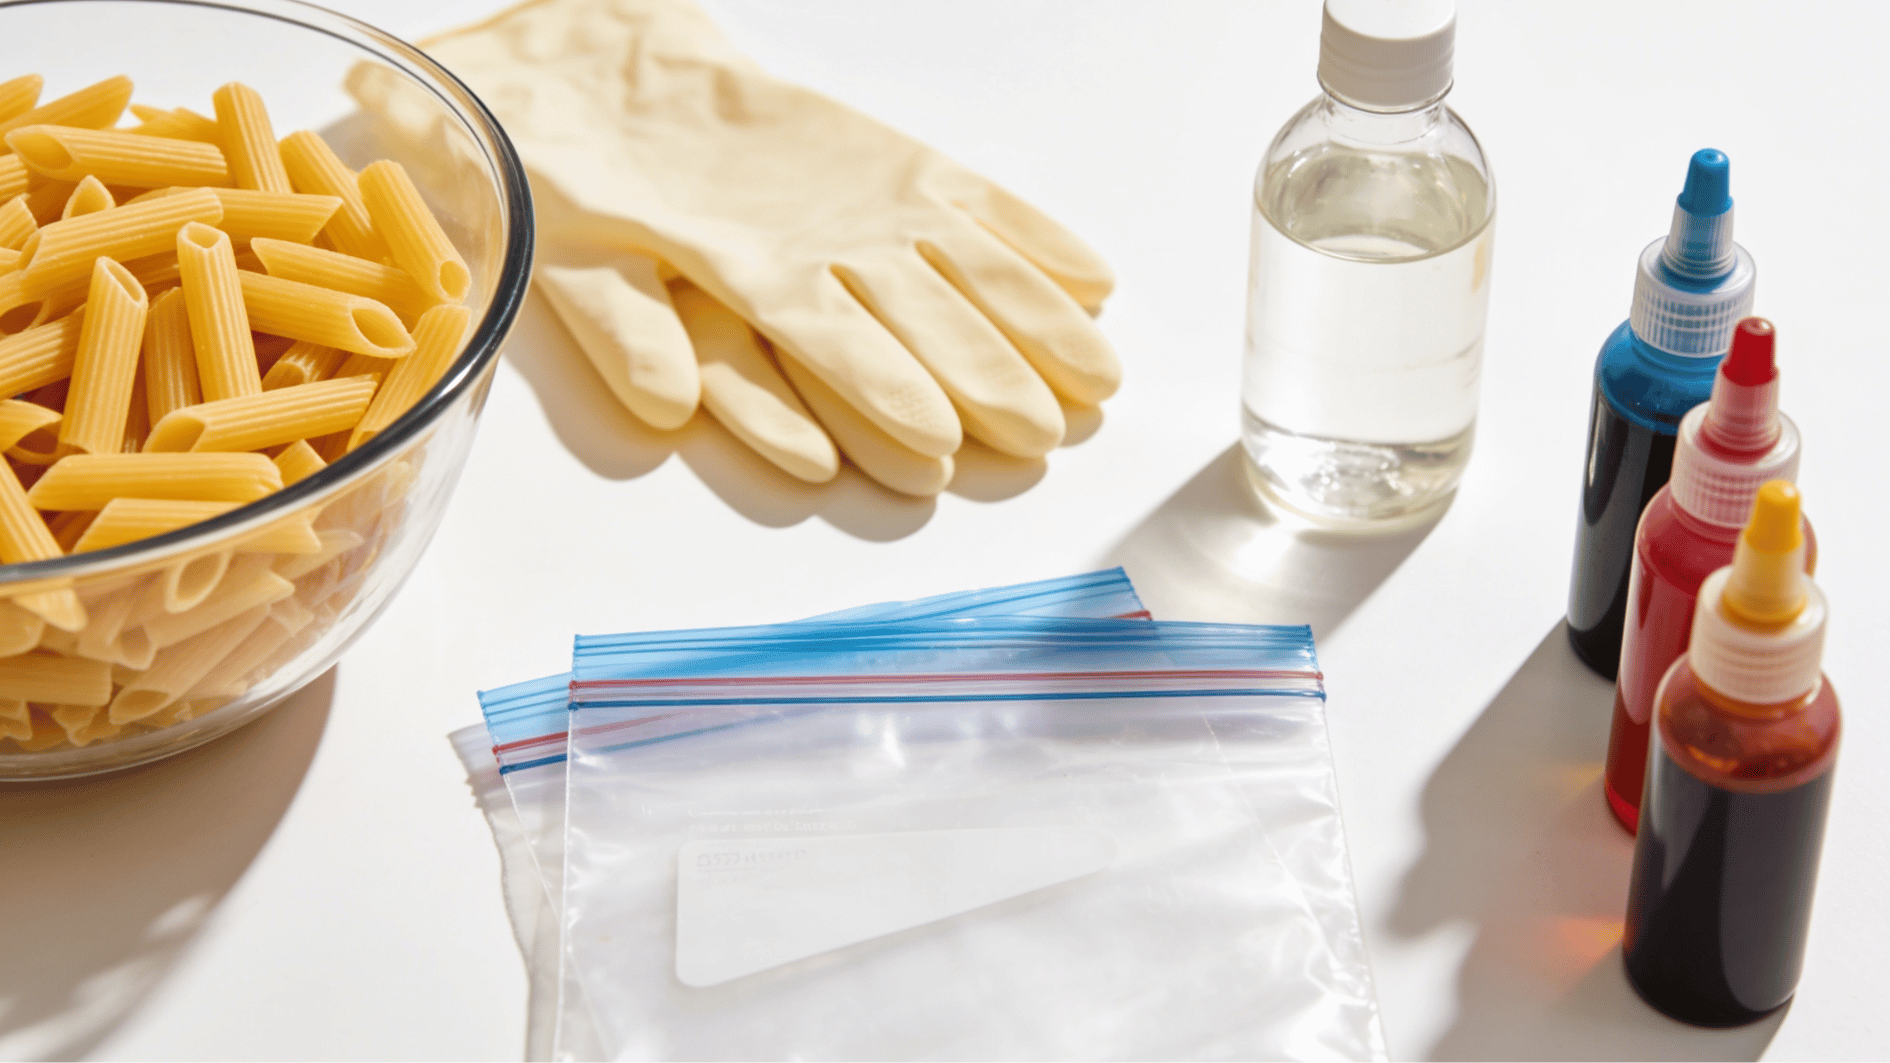
A little prep goes a long way in making your pasta dyeing experience smooth, clean, and stress-free.
- Lay down newspaper or a plastic sheet to protect your work surface from spills and stains.
- Put on a pair of gloves to keep your hands free from color.
- Measure out your uncooked dry pasta and set it aside, avoid using fresh or cooked pasta as it won‘t hold color well.
- Have your zip-lock bags, dye, and vinegar or rubbing alcohol ready before you begin.
- Work in a well-ventilated area, especially if you are using rubbing alcohol.
Pro Tip: Set up separate bags and dye for each color you plan to make before starting. This saves time and keeps the process organized, especially when dyeing multiple colors at once.
Step 2: Mix Your Dye
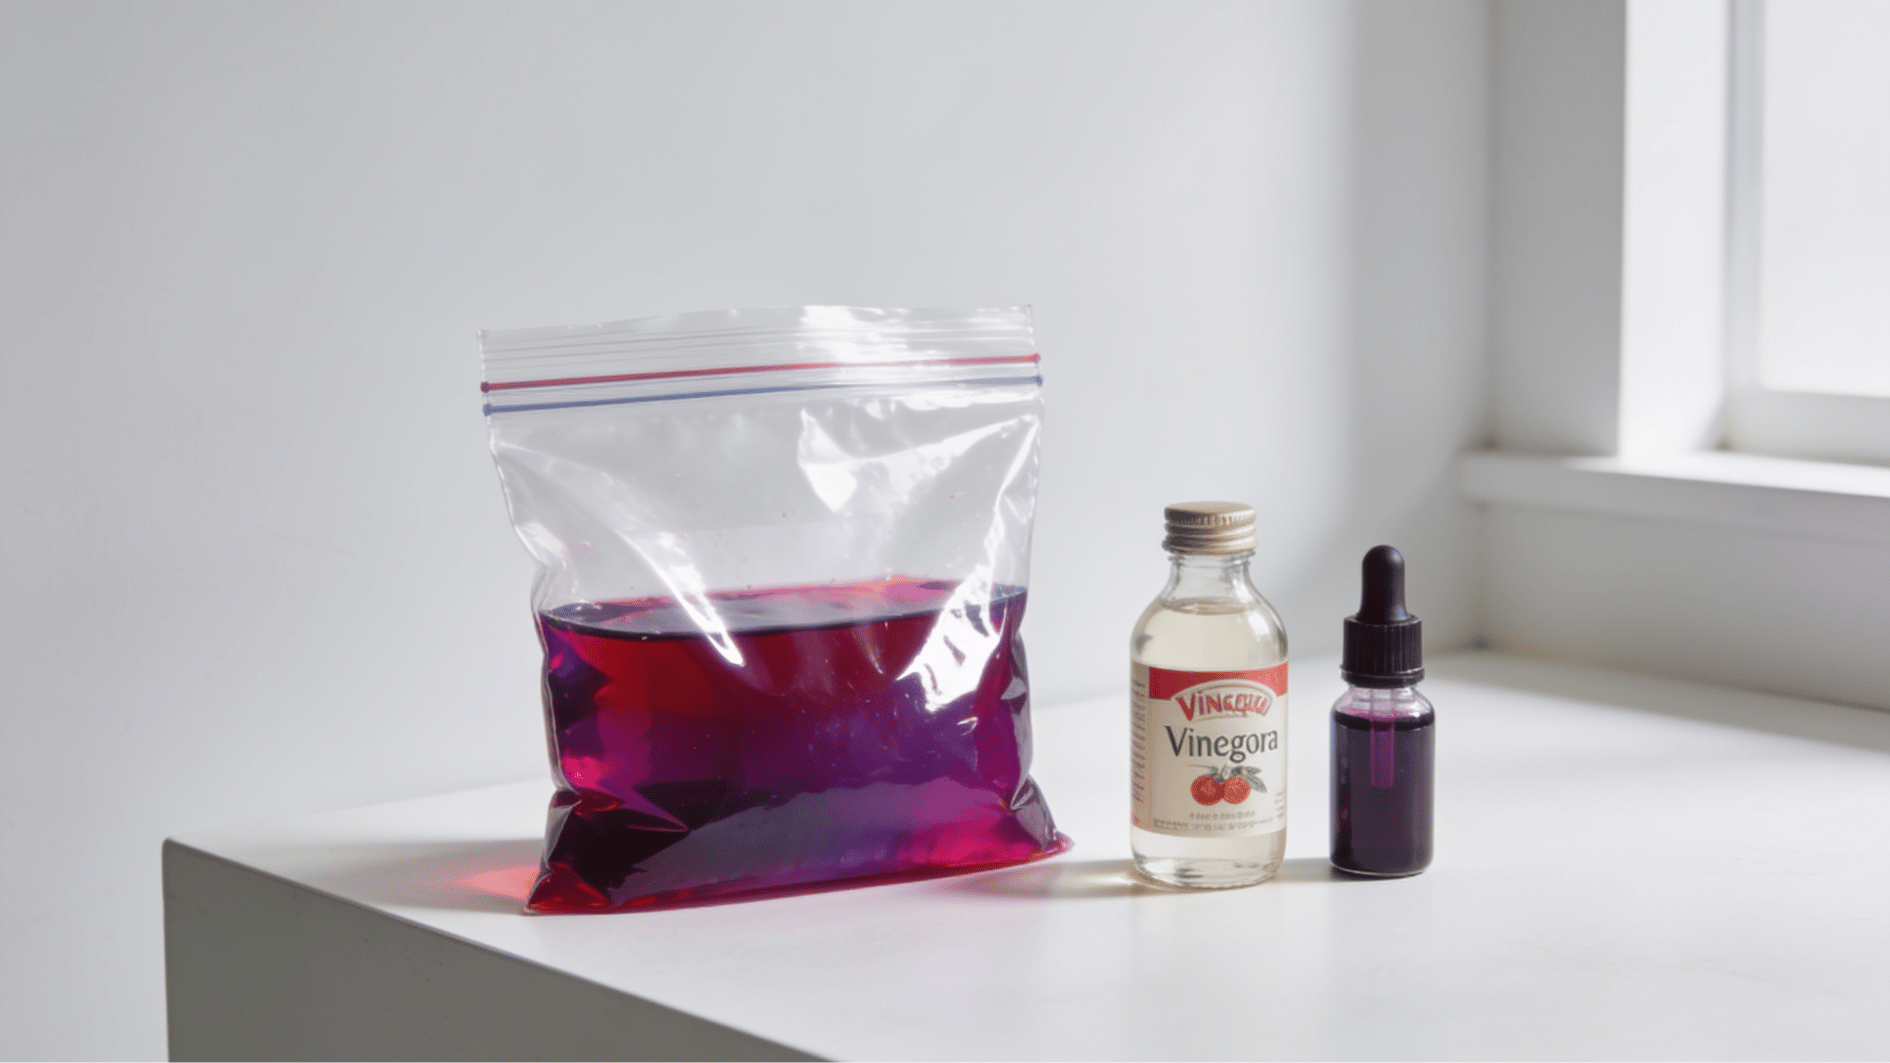
Getting the right dye mixture is the key to achieving bold, vibrant color on your pasta.
- Add one tablespoon of white vinegar or rubbing alcohol into a resealable zip-lock bag.
- Squeeze in 10 to 15 drops of food coloring or a small splash of liquid watercolor.
- Seal the bag and give it a gentle shake to mix the dye evenly before adding the pasta.
- For deeper, richer color, add more drops of dye, for a pastel effect, use fewer drops.
- Prepare a separate bag for each color you want to make.
Pro Tip: Rubbing alcohol tends to produce a more vibrant, even color than vinegar. If you want really bold, saturated pasta for crafts or sensory bins, go with rubbing alcohol for the best results.
Step 3: Add the Pasta and Coat Evenly
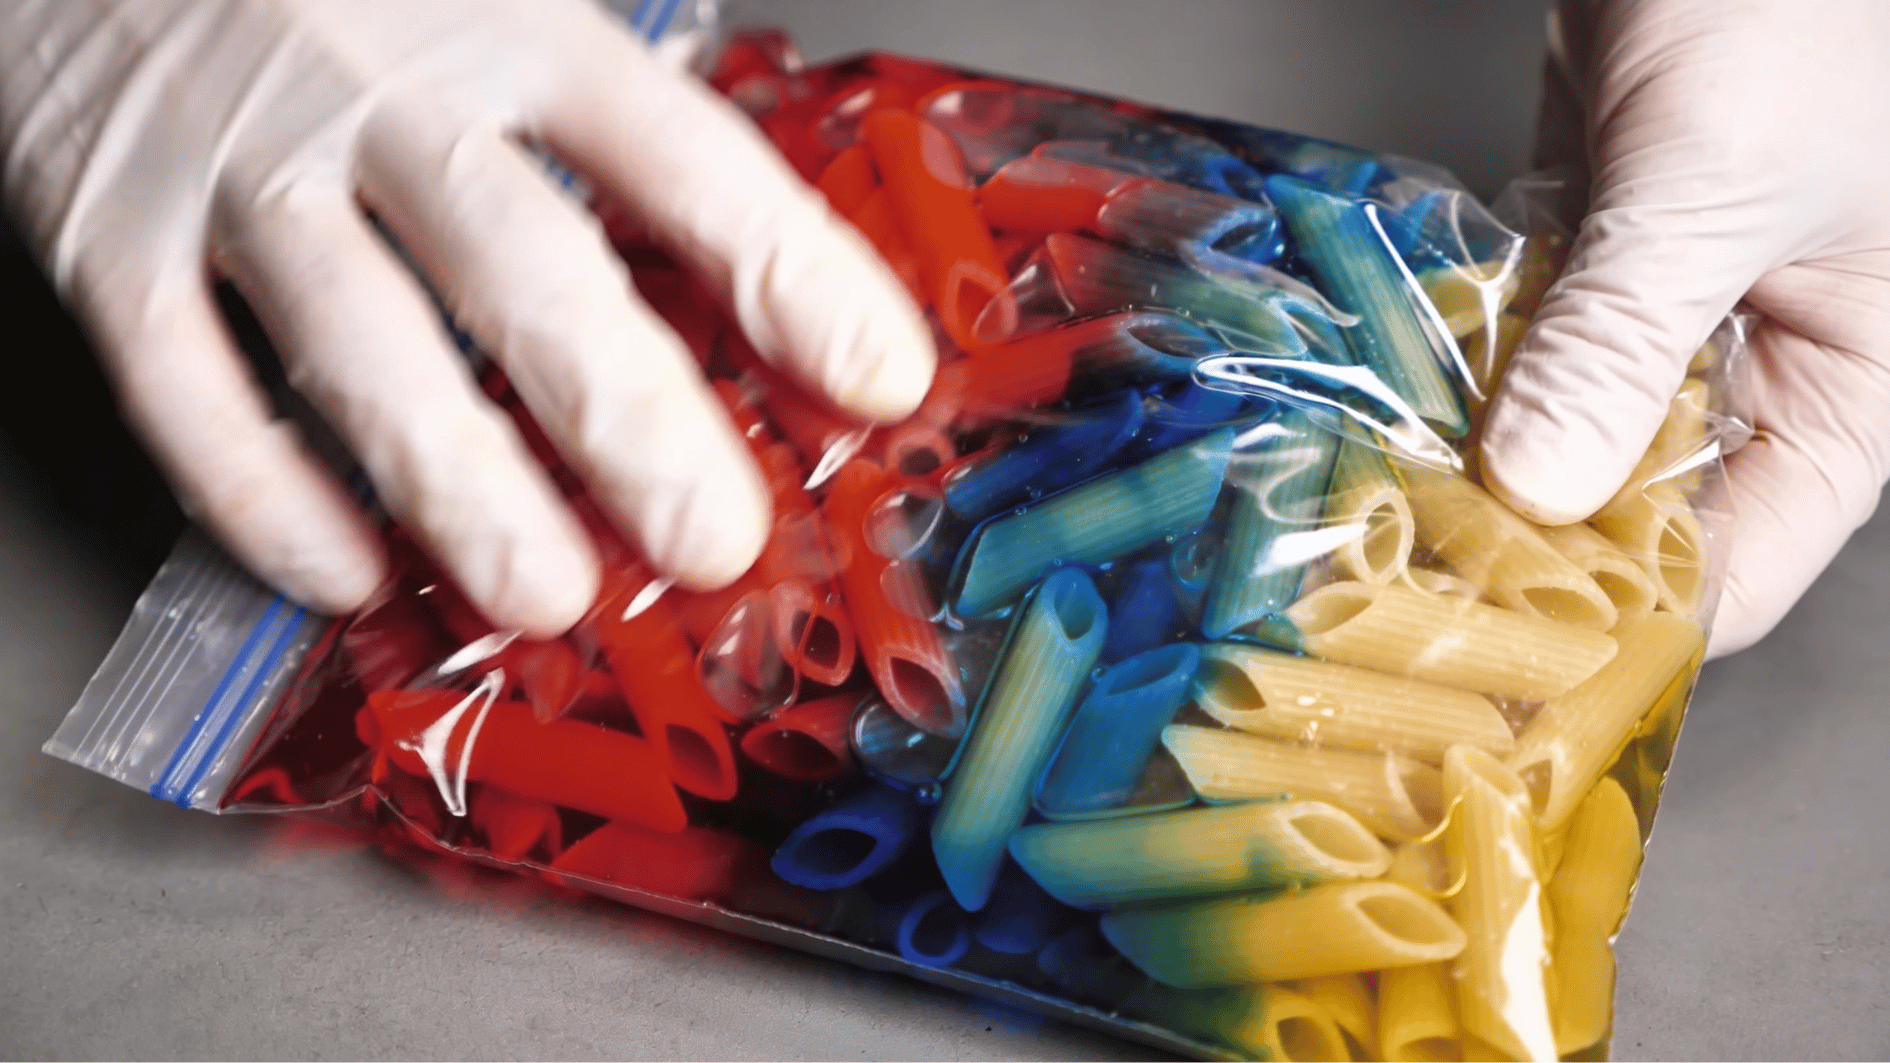
This is where the magic happens: watching plain pasta transform into a burst of color is genuinely satisfying.
- Pour your measured dry pasta into the zip-lock bag with the dye mixture.
- Seal the bag tightly, pressing out as much air as possible before shaking.
- Shake and massage the bag thoroughly for one to two minutes until every piece is evenly coated.
- Open the bag and check for any uncoated pieces, reseal and shake again if needed.
- Make sure no pasta is clumped together, as this can leave uneven patches of color.
Pro Tip: For extra vibrant results, let the pasta sit in the sealed bag for five to ten minutes after shaking. This gives the dye more time to fully absorb into the pasta surface before drying.
Step 4: Check and Fix for Even Color
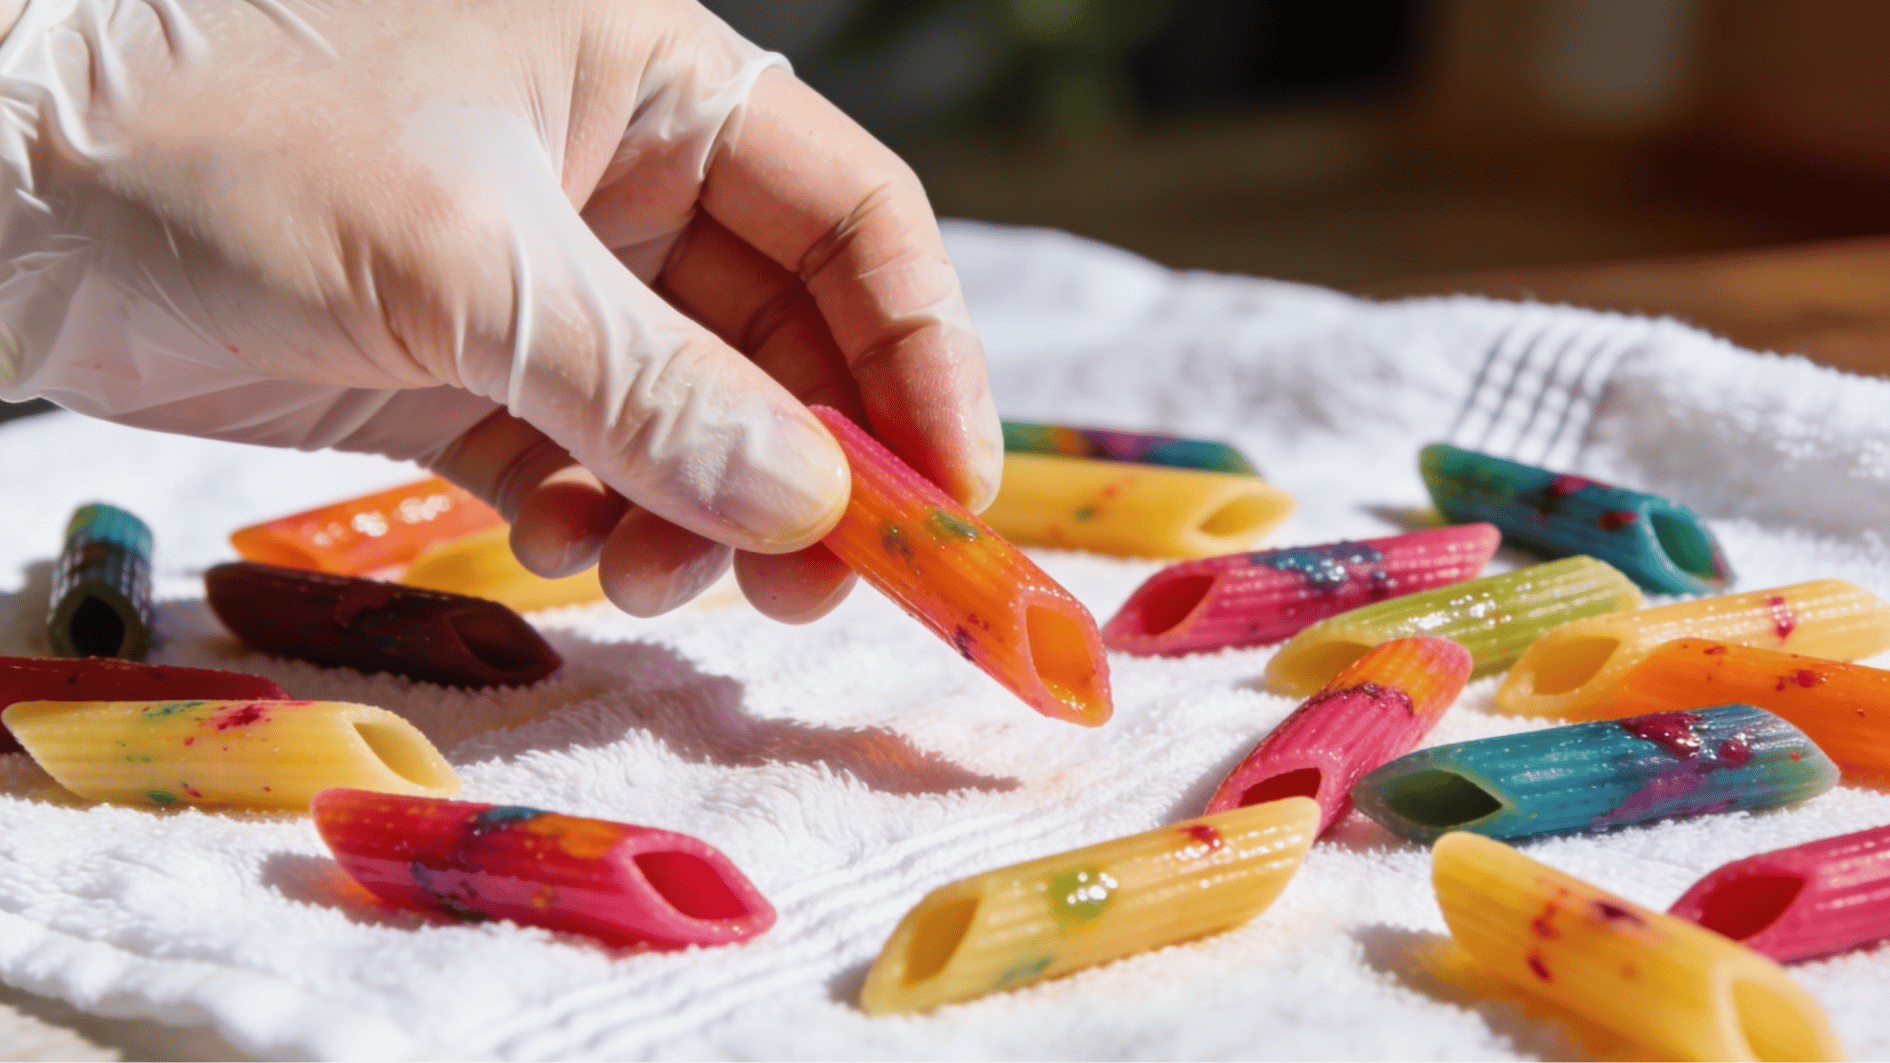
Taking a moment to inspect your pasta before drying ensures every single piece comes out looking consistent, vibrant, and beautifully coated.
- Open the bag and spread a few pieces of pasta on a paper towel to check the color coverage.
- Look for any pale, patchy, or uncoated pieces and return them to the bag for another round of shaking.
- If the color looks too light across all pieces, add a few more drops of dye, reseal, and shake again.
- Break apart any pieces that are stuck together gently with your fingers to expose uncoated surfaces.
- Repeat the shaking and checking process until you are happy with the color consistency across all pieces.
Pro Tip: Natural or off-white pasta shades can sometimes make colors look lighter than they are while still wet. Let one or two test pieces dry completely on a paper towel first before adding more dye; the color deepens and becomes more vibrant as it dries.
Step 5: Dry Your Pasta Properly
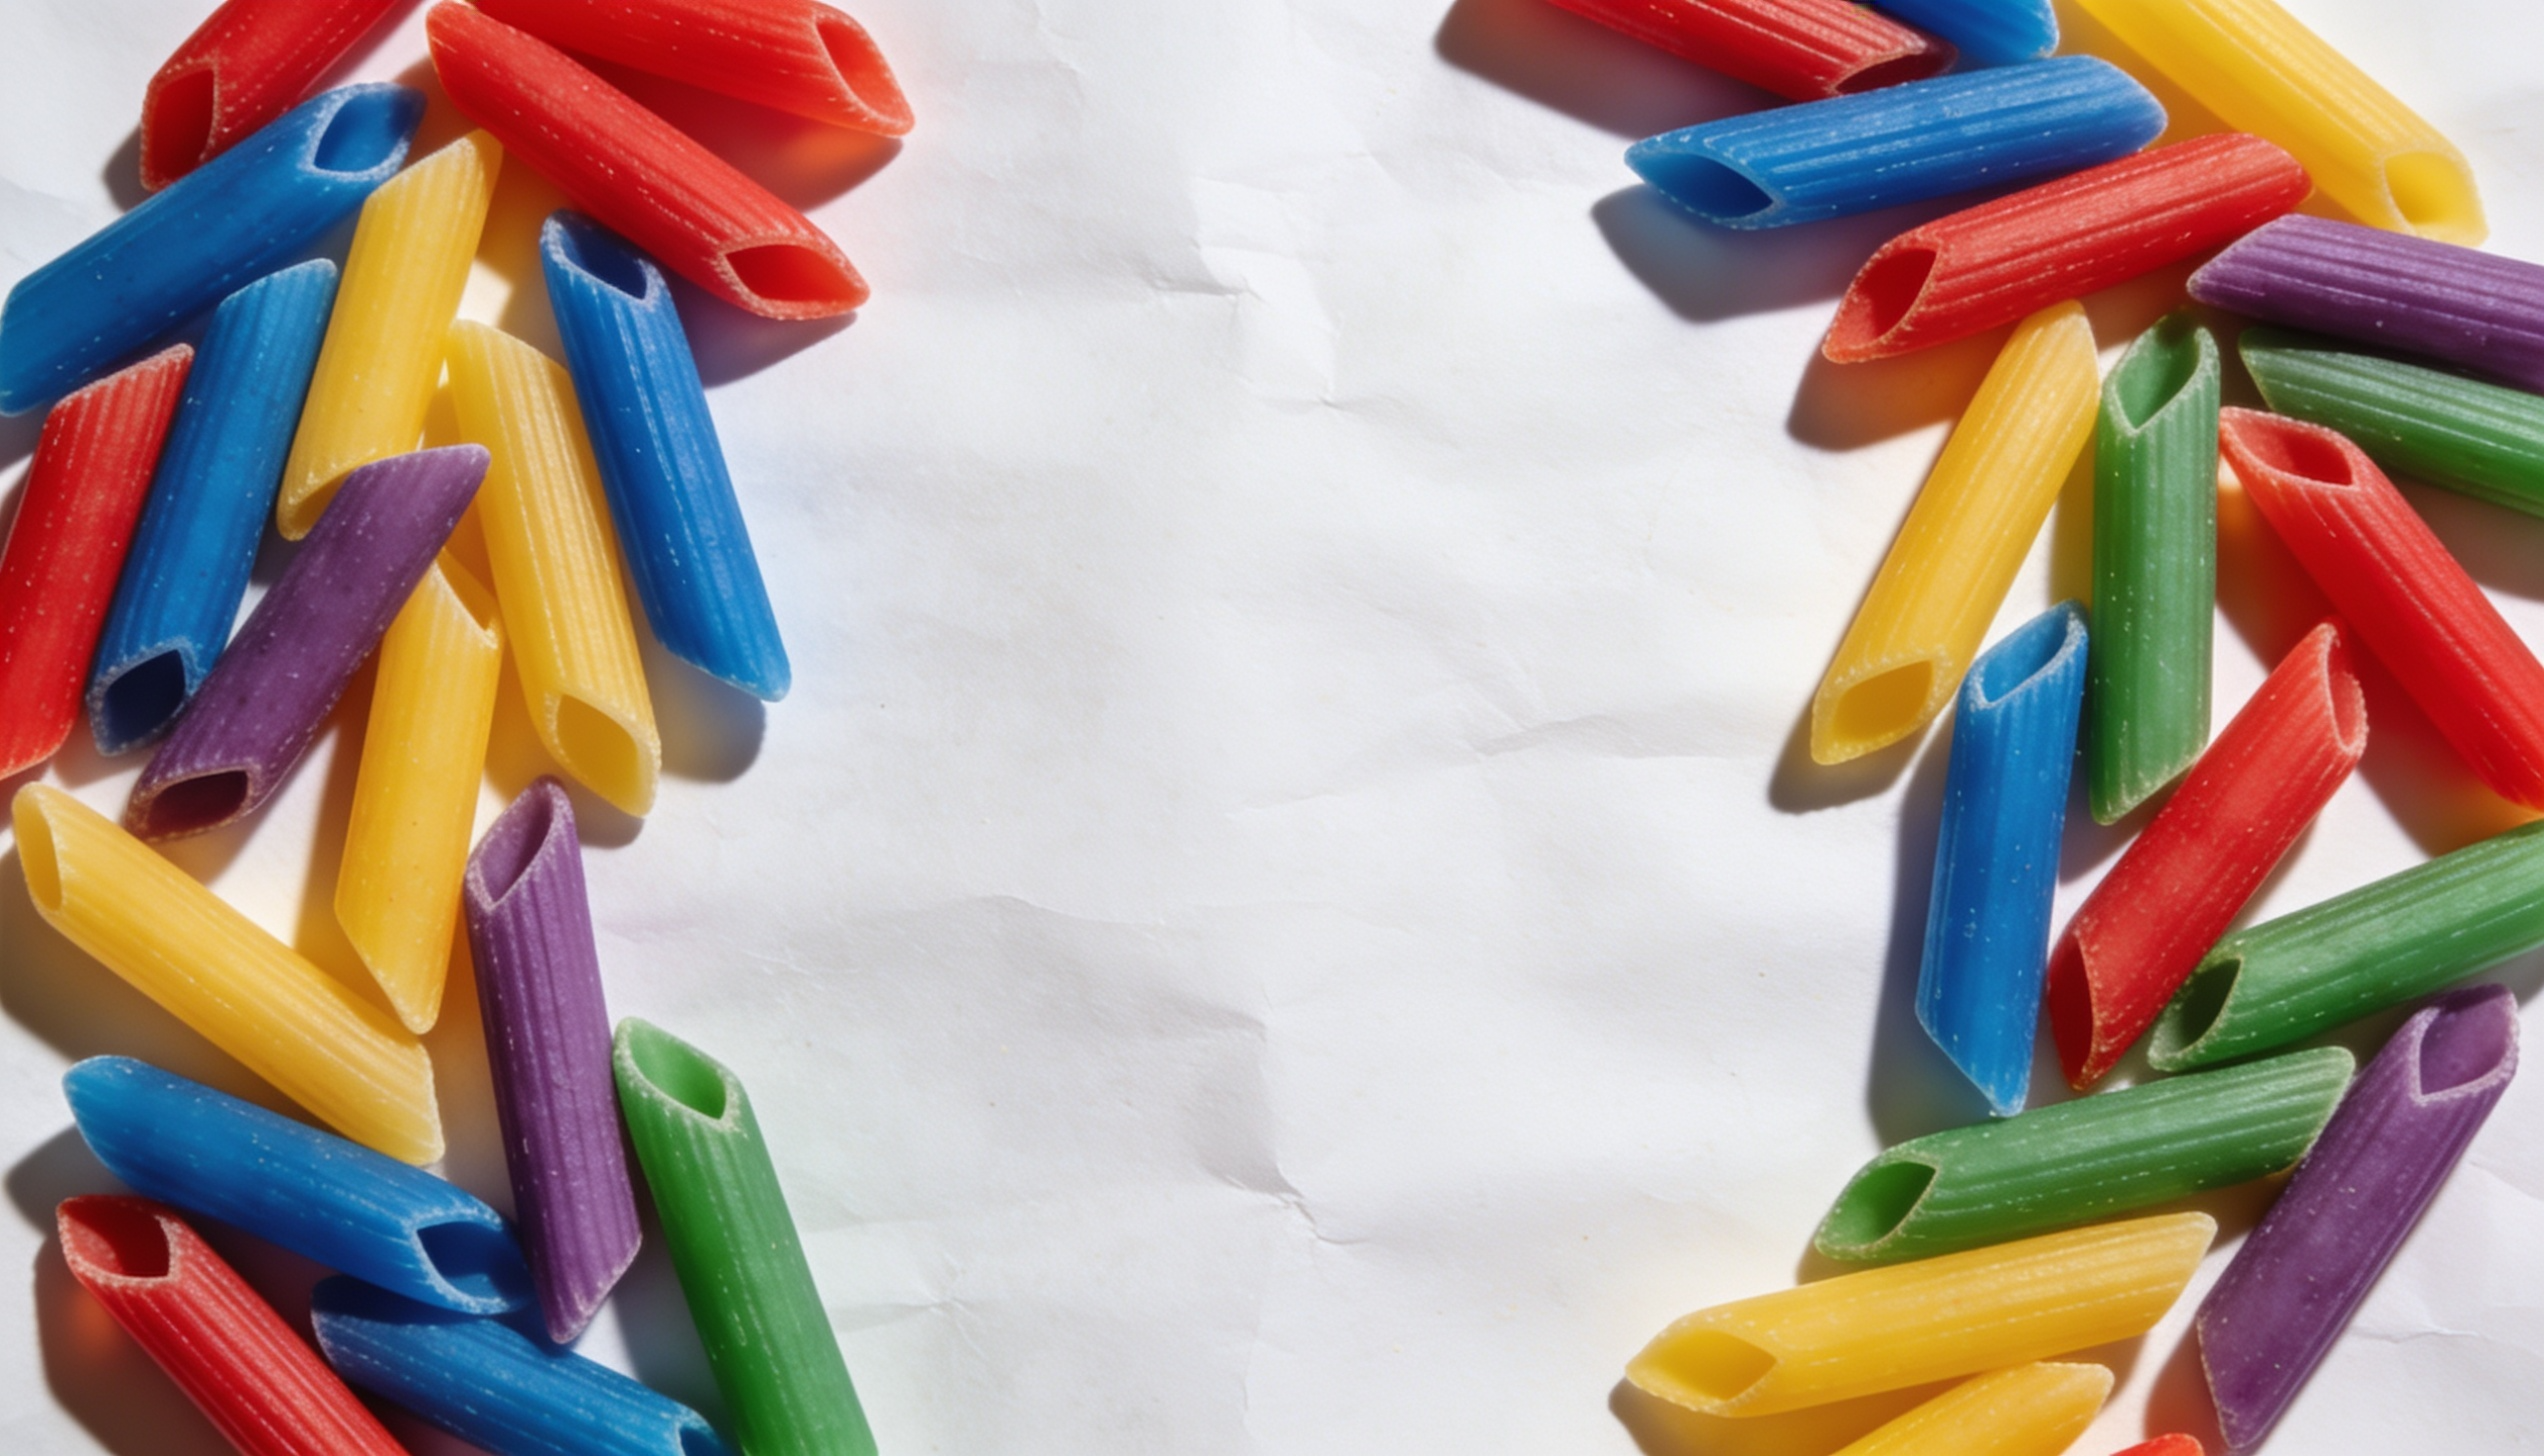
Drying your pasta the right way ensures the color sets beautifully, and your pasta doesn‘t stick together.
- Spread the dyed pasta out in a single layer on a baking sheet lined with parchment paper or on paper towels.
- Make sure each piece has enough space around it so air can circulate and dry it evenly.
- Leave it to air dry for at least one to two hours, or overnight for best results.
- Avoid stacking or piling the pasta while it is still wet, as the colors can bleed and mix.
- Once fully dry, the pasta should feel dry to the touch with no sticky or damp spots remaining.
Pro Tip: If you are in a hurry, spread the pasta on a baking sheet and place it in an oven set to the lowest temperature for 10 to 15 minutes. This speeds up drying without affecting the color or quality of your dyed pasta.
Best Ways to Use Dyed Pasta
Dyed pasta is a fun craft material because it is colorful, lightweight, and easy for kids to handle. You can use it for sensory play, simple art projects, learning activities, and seasonal crafts.
| Way to Use | What to Do | Helpful Tip |
|---|---|---|
| Sensory bins | Add colored pasta to a bin with scoops, cups, and bowls for sorting and pouring. | Mix different shapes and colors to make the bin more engaging. |
| Pasta art | Glue pasta onto paper or cardboard to create flowers, rainbows, animals, or patterns. | Use sturdy paper so the design does not bend under the pasta. |
| DIY jewelry | Thread tube-shaped pasta onto string or yarn to make necklaces and bracelets. | Use larger pasta shapes for younger kids to handle more easily. |
| Holiday ornaments | Create stars, wreaths, trees, hearts, or seasonal shapes using colored pasta. | Let the glue dry fully before hanging or storing the ornaments. |
| School projects | Use pasta for counting, color sorting, pattern practice, or classroom crafts. | Store colors separately so they are easy to use during activities. |
Tips to Keep Dyed Pasta Fresh
Once your dyed pasta is fully dry, proper storage helps it stay bright, clean, and ready to reuse. A little care while packing it away can prevent moisture, fading, and mold.
- Use airtight containers or mason jars: Store each color separately in sealed containers so moisture stays out and the pasta remains easy to identify.
- Keep it in a cool, dry place: Avoid direct sunlight, humid rooms, and damp storage areas, as these can fade the color or make the pasta stale.
- Let pasta dry completely before storing: Even slightly damp pasta can create mold inside a sealed container, so spread it out and check it before packing.
- Label each container with the date: This helps you track when the pasta was made and decide when it should be used next.
- Check before reusing: Properly stored dyed pasta can last around 3–6 months, but throw it away if it smells odd, feels damp, or shows mold.
Wrapping It Up
Dyeing pasta is one of those wonderfully simple projects that delivers big, colorful results with very little effort.
Now that you know why it is worth doing, what materials you need, how to achieve even vibrant color, and how to store it properly, you have everything you need to get started with confidence.
If you are setting up a sensory bin, tackling a craft project, or just looking for a fun activity to do with the kids, colored pasta never disappoints.
So go ahead, grab your food coloring and get dyeing today.
Frequently Asked Questions
Can You Dye Pasta With Natural Ingredients Like Beetroot or Turmeric?
Yes, natural ingredients like turmeric, beetroot juice, and spinach water can dye pasta. Colors will be softer and less vibrant than food coloring, but completely natural and safe.
Is Dyed Pasta Safe for Toddlers to Play With?
Dyed pasta made with food coloring and vinegar is generally safe for supervised toddler play. However, always discourage eating it and wash little hands thoroughly after every session.
Can You Dye Pasta With Acrylic Paint?
Yes, acrylic paint works for dyeing pasta intended purely for crafts and decorations. Never use acrylic-painted pasta for sensory bins or any play involving young children or toddlers.
Does Dyed Pasta Attract Bugs or Pests Over Time?
Dry uncooked pasta can attract pantry pests if not stored correctly. Always seal dyed pasta in airtight containers and keep it away from food storage areas to avoid attracting bugs.