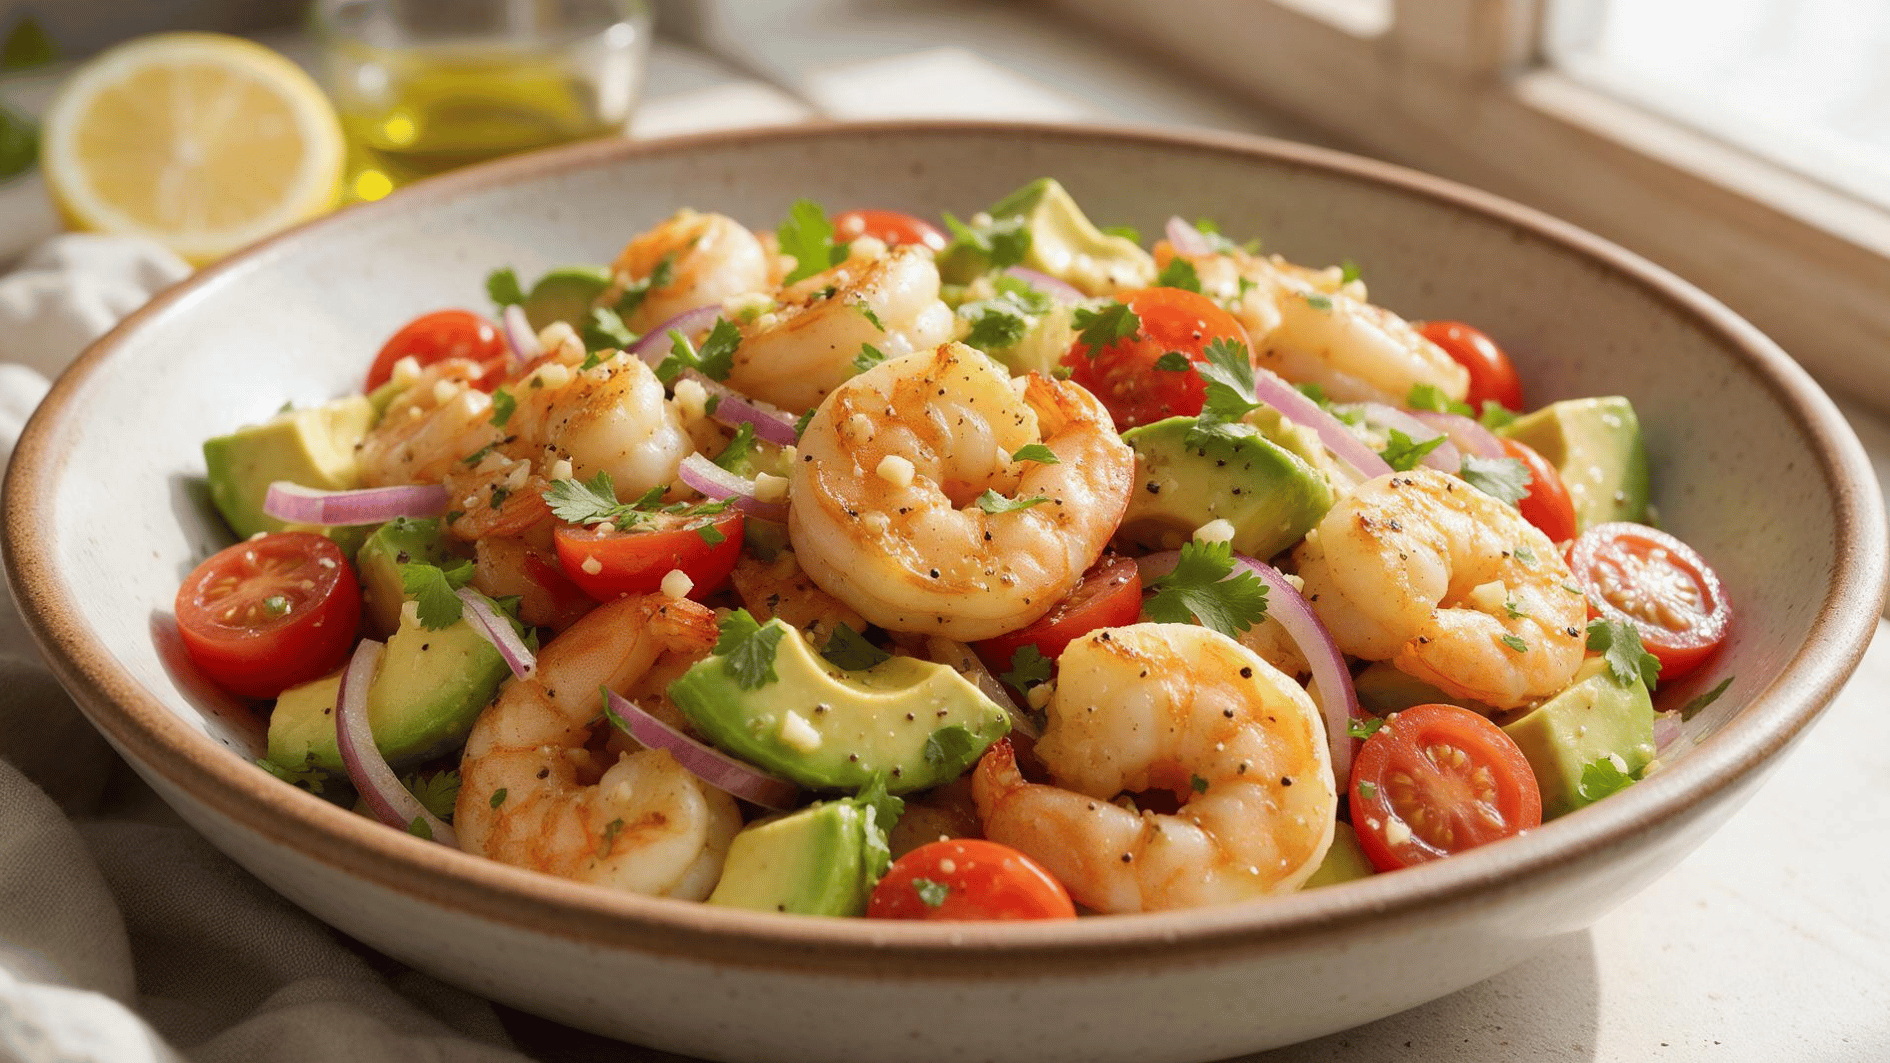
Craving sushi but didn’t feel like dealing with rolling mats and fussy folding? You’re not alone there, and honestly, I skip the rolling most nights too.
But there’s a shortcut that skips it completely and still gives you that same creamy, savory bite you love. It bakes in one dish, scoops like a dip, and comes together faster than takeout arrives at your door.
No mat or folding, hence no stress. Just warm layers of rice and seafood, ready for you to scoop with a crisp piece of nori. Here’s the sushi bake recipe, step by step.
What Is a Sushi Bake?
A sushi bake is a warm, casserole-style dish inspired by the flavors and textures people enjoy in sushi. Instead of being shaped into individual rolls, it is served in easy-to-scoop layers.
It became widely popular in the Philippines before gaining attention in the U.S. and other countries. The dish is known for its rich, savory taste and mix of creamy, tangy, and umami flavors.
It works well for family dinners, parties, and casual gatherings because it is easy to share. Sushi bake is also highly customizable, giving home cooks plenty of ways to adjust the flavors and toppings to match their preferences.
Ingredients for Sushi Bake Recipe
A good sushi bake balances creamy, savory, spicy, and fresh flavors. Each ingredient also plays a role in getting the right texture. Here’s what you’ll need for this sushi bake recipe and why each ingredient matters:
| Ingredient | Why It’s Used | Quantity |
|---|---|---|
| Sushi rice |
Gives the sticky texture that holds the layers together |
2 cups (uncooked) |
| Rice vinegar |
Adds the tang that makes sushi rice taste like sushi rice |
3 tbsp |
| Imitation crab or cooked salmon |
The protein base that carries the flavor |
1 lb |
| Mayo |
Creates the creamy texture that binds the filling |
½ cup |
| Sriracha or spicy mayo |
Adds heat and the classic “spicy” flavor |
1–2 tbsp, to taste |
| Nori sheets |
Used to scoop the bake, just like sushi |
8–10 sheets |
| Avocado or cucumber | Adds a cool, fresh contrast to the warm bake | 1 avocado or ½ cucumber |
How to Make a Sushi Bake at Home?
The process moves through five simple stages, from cooking the rice to serving the finished bake. None of it is technical, but a few small details make a real difference in the final texture.
Step 1: Prepare the Sushi Rice
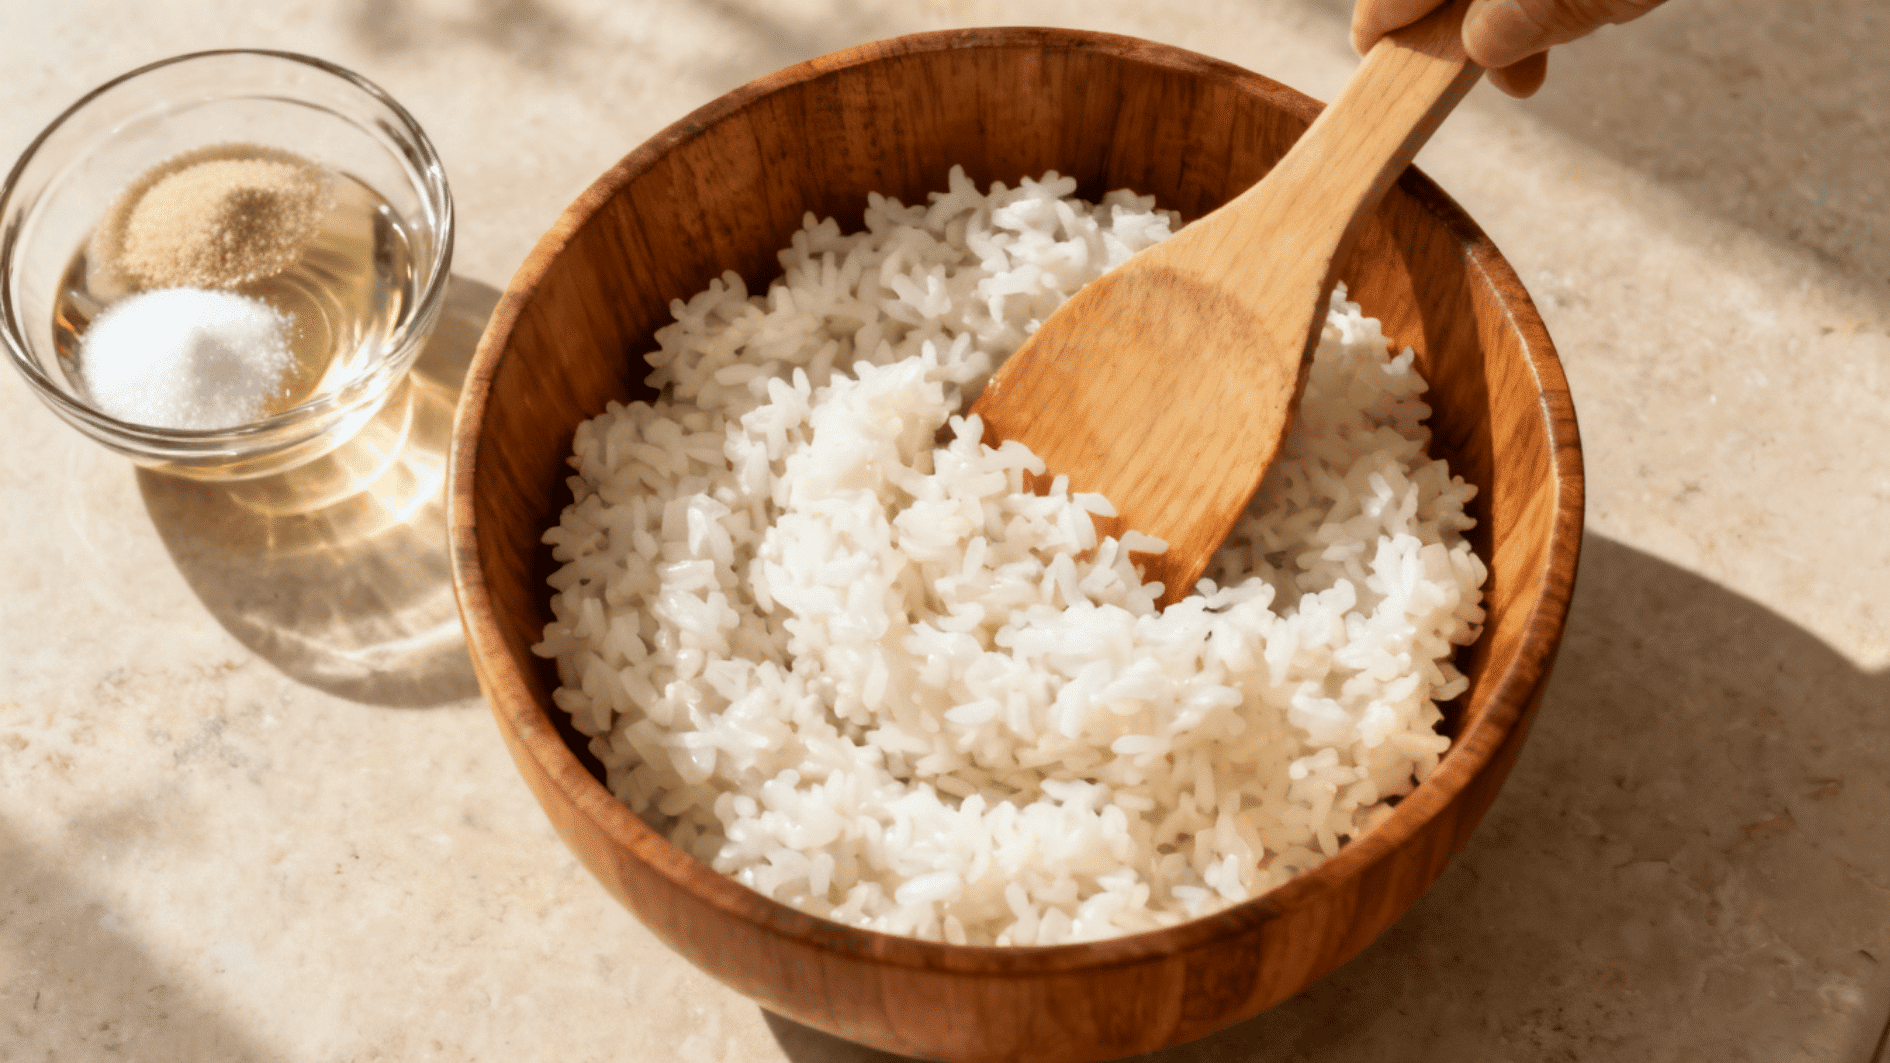
Cook the sushi rice according to the package directions, then season it while still warm. Let it settle for a few minutes before moving on. The goal is a tender base that holds its shape without becoming heavy or soggy.
- Rinse the grains until the water runs mostly clear.
- Gently fold in the vinegar mixture to avoid a mushy consistency.
- Measure the water carefully for the best texture.
- Spread everything out briefly to release excess steam.
- Avoid refrigerating at this stage, as that can make it firm.
Tip: Whenever my rice turns out mushy, it’s almost always too much water, not too little rinsing. I rinse until the water runs mostly clear.
Step 2: Make the Seafood Filling
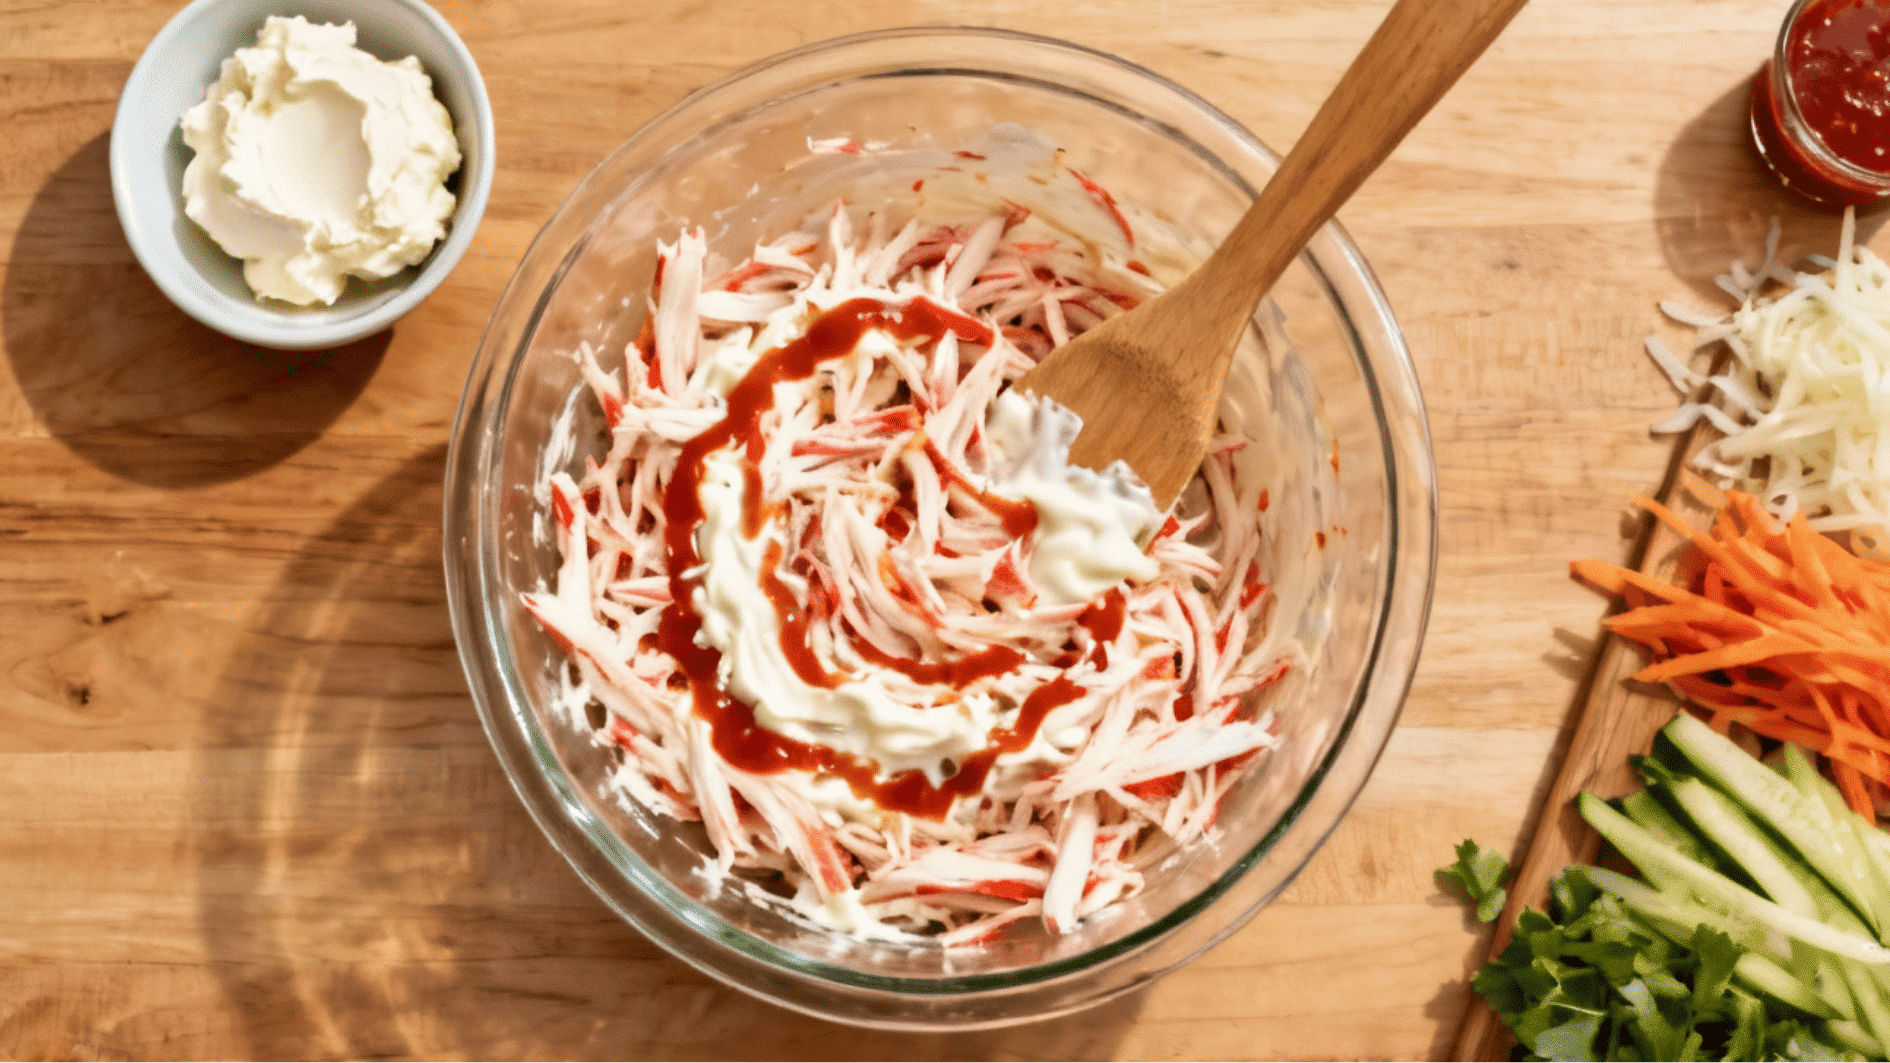
Break the seafood into bite-sized pieces, then combine it with the creamy and spicy components. Aim for a smooth consistency throughout. A well-balanced blend helps deliver plenty of flavor in every bite.
- Shred crab or flake salmon into small, even portions.
- Add sriracha gradually so you can control the heat.
- Use a fork to separate any larger chunks.
- Taste before adding extra seasoning.
- Scrape the sides of the bowl to incorporate everything thoroughly.
Tip: Add the sriracha a little at a time. It’s easy to add more, impossible to take out. If you’re cooking raw salmon for this, the FDA recommends cooking it to 145°F.
Step 3: Layer the Sushi Bake
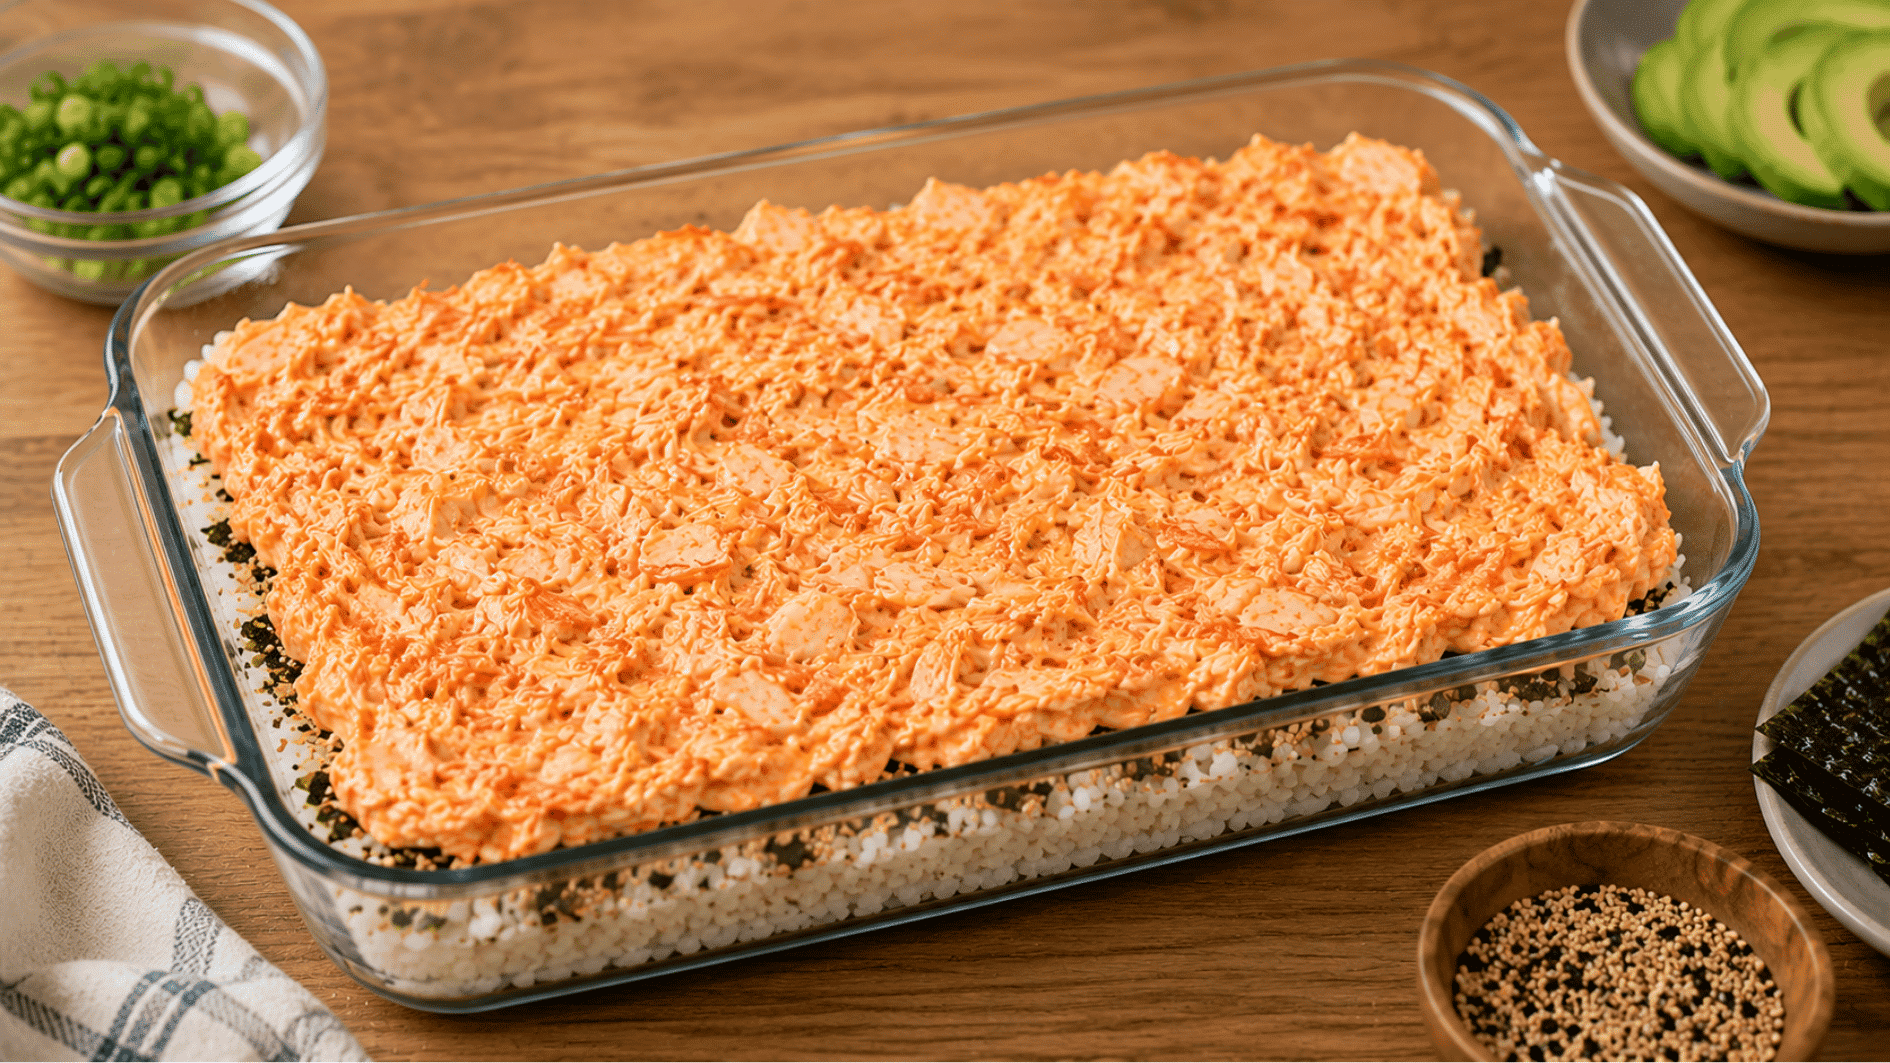
Build the dish from bottom to top, creating distinct sections across the entire baking dish. Keep the surface level for consistent results. Taking a little care here helps every serving contain a bit of everything.
- Press the base into the corners without packing it too tightly.
- Sprinkle furikake between the bottom and upper mixture for extra savory flavor.
- Use the back of a damp spoon to flatten the surface.
- Cover the full width rather than concentrating everything in the center.
- Check for empty spots along the sides before continuing.
Tip: I always press the rice into the corners of the dish too, not just the middle. Bare corners bake up dry.
Step 4: Bake Until Warm and Golden
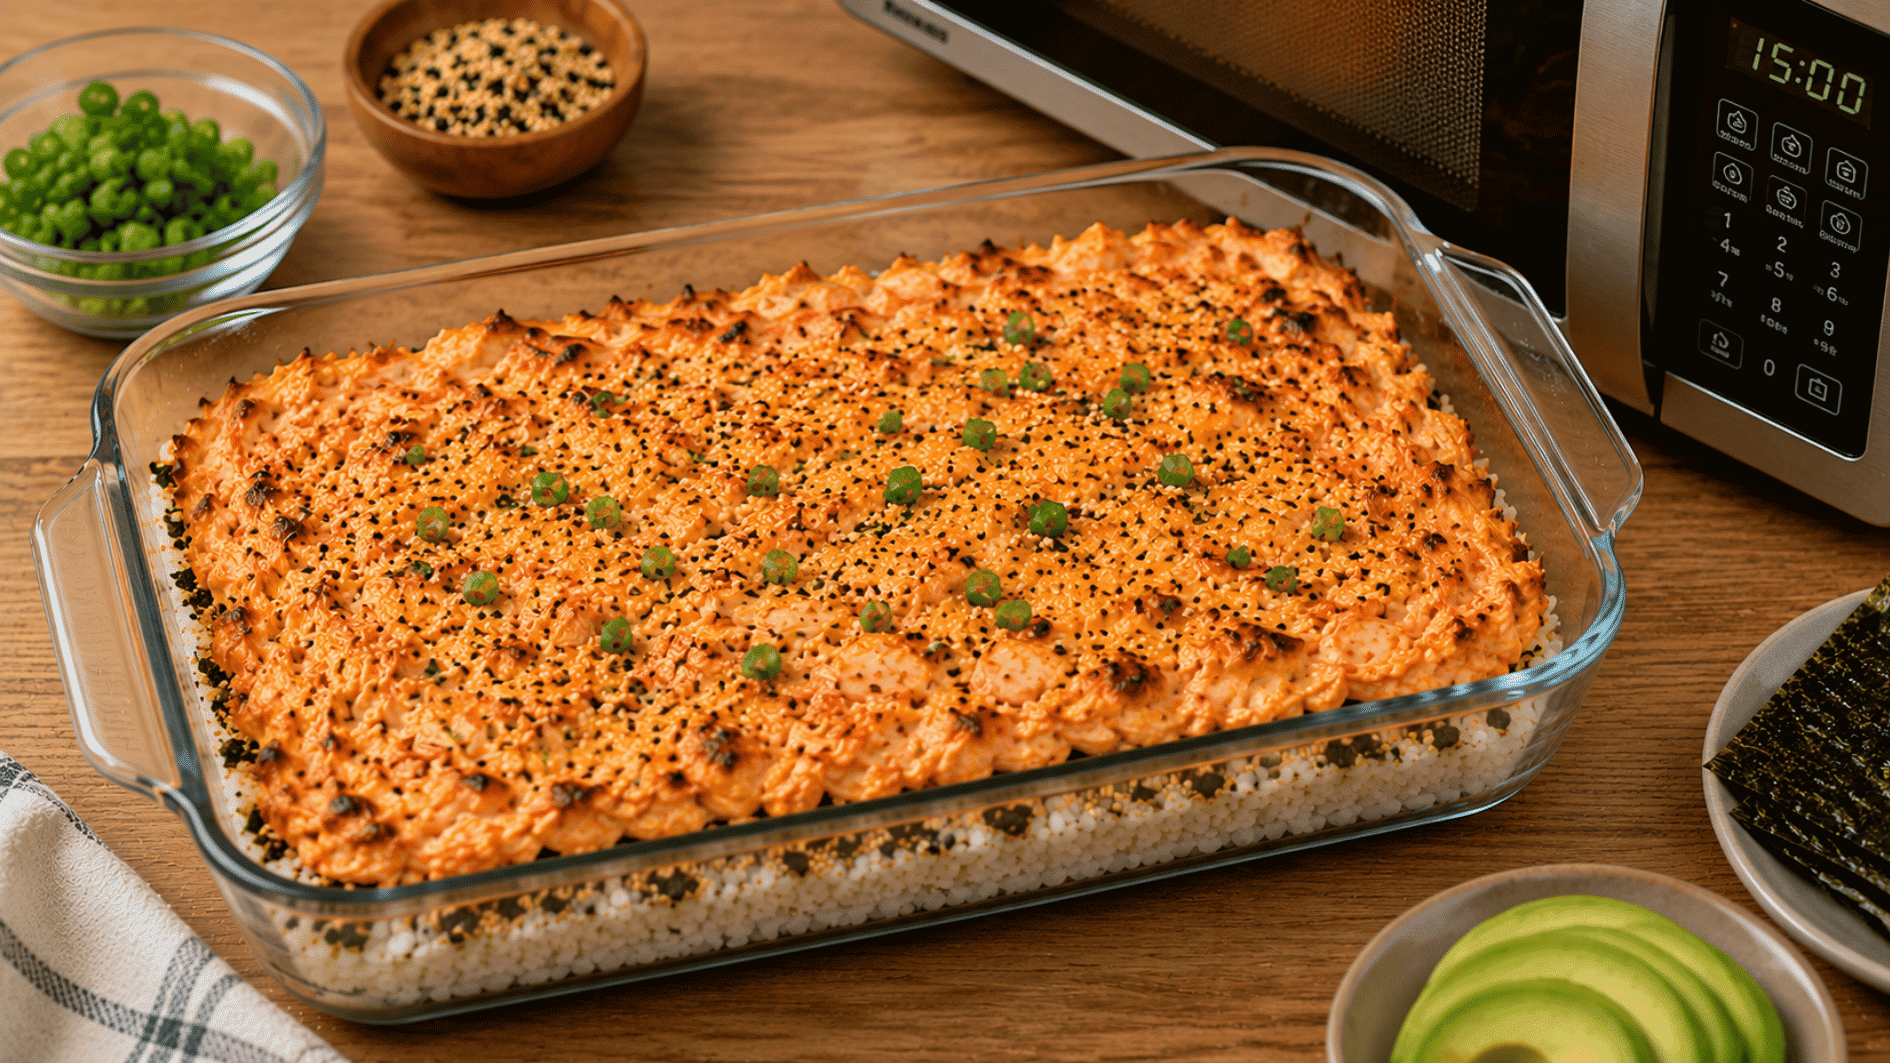
Place the assembled dish in a preheated oven and watch the surface toward the end. It should look lightly browned when ready. Check it during the final few minutes to prevent the top from getting too dark.
- Set the oven to 375°F.
- Leave it inside for 15–20 minutes, or until heated through.
- Position the pan on the center rack for more even heating.
- Look for gentle browning around the edges.
- Remove it once the center feels piping hot.
Tip: A toasted sesame smell drifting from the oven usually means it’s close, even before the top looks golden.
Step 5: Add Toppings and Serve
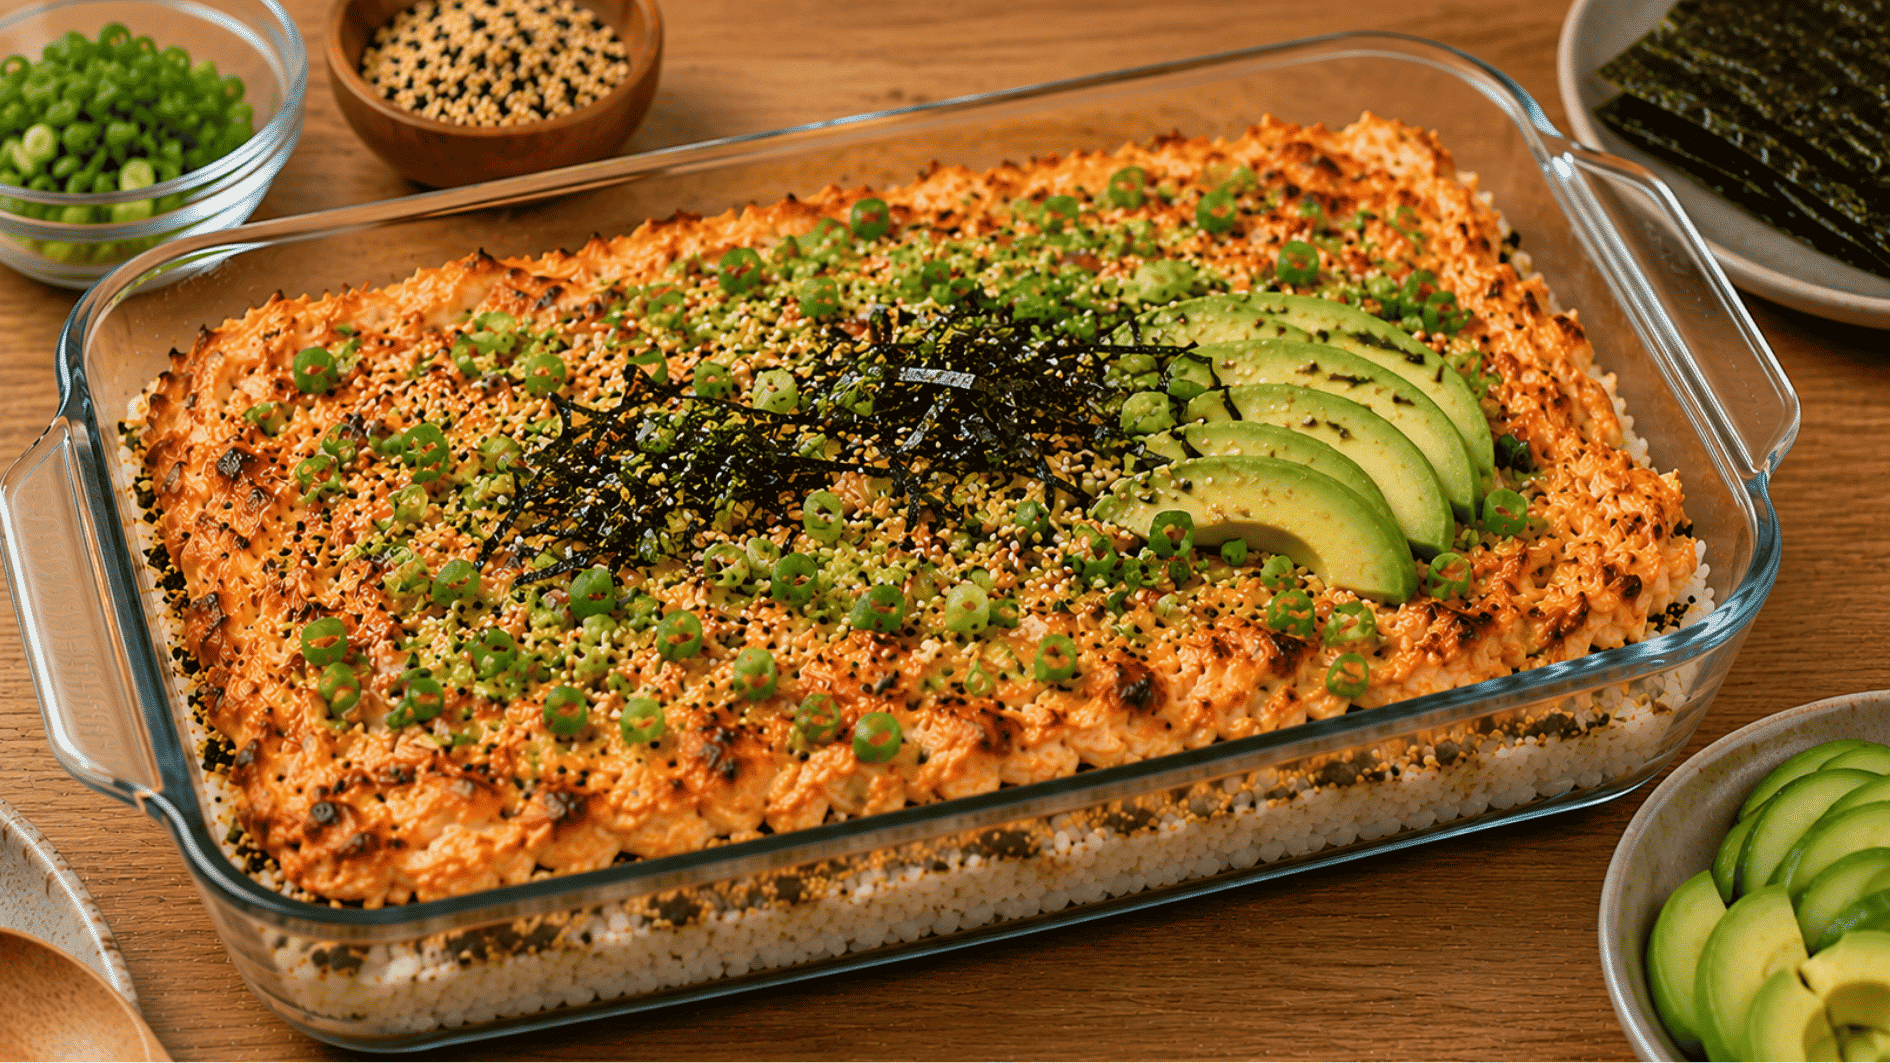
Let the finished dish rest briefly, then finish it with your preferred fresh garnishes. Bring it to the table while still comfortably hot. A few cool, crunchy additions provide a nice contrast to the softer texture underneath.
- Scatter green onions, sesame seeds, avocado, or cucumber over the surface.
- Keep nori sheets separate so they stay crisp for scooping.
- Wait 2–3 minutes before serving individual portions.
- Cut larger seaweed sheets into manageable pieces if needed.
- Put extra spicy mayo or soy sauce on the side for guests to add themselves.
Tip: I set out small plates instead of one big serving dish. It keeps the nori crisp longer once everyone starts scooping.
Making Sushi Bake Without Cream Cheese
You can still get a rich, creamy sushi bake without using cream cheese. The key is choosing ingredients that add moisture and flavor without making the filling too heavy.
| Cream Cheese Swap | Best Use | Result |
|---|---|---|
| Japanese mayo | Mix into the filling | Rich and smooth |
| Regular mayo | Use as an easy alternative | Creamy and mild |
| Dairy-free cream cheese | Replace regular cream cheese | Closest dairy-free swap |
| Greek yogurt | Blend with mayo | Lighter and tangier |
| Mashed avocado | Use for a dairy-free twist | Soft and mild |
Note: If you leave out cream cheese without replacing it, check the filling before assembling. If it seems dry, add a small amount of mayo at a time until it is creamy enough to spread easily.
Easy Sushi Bake Variations You Can Try
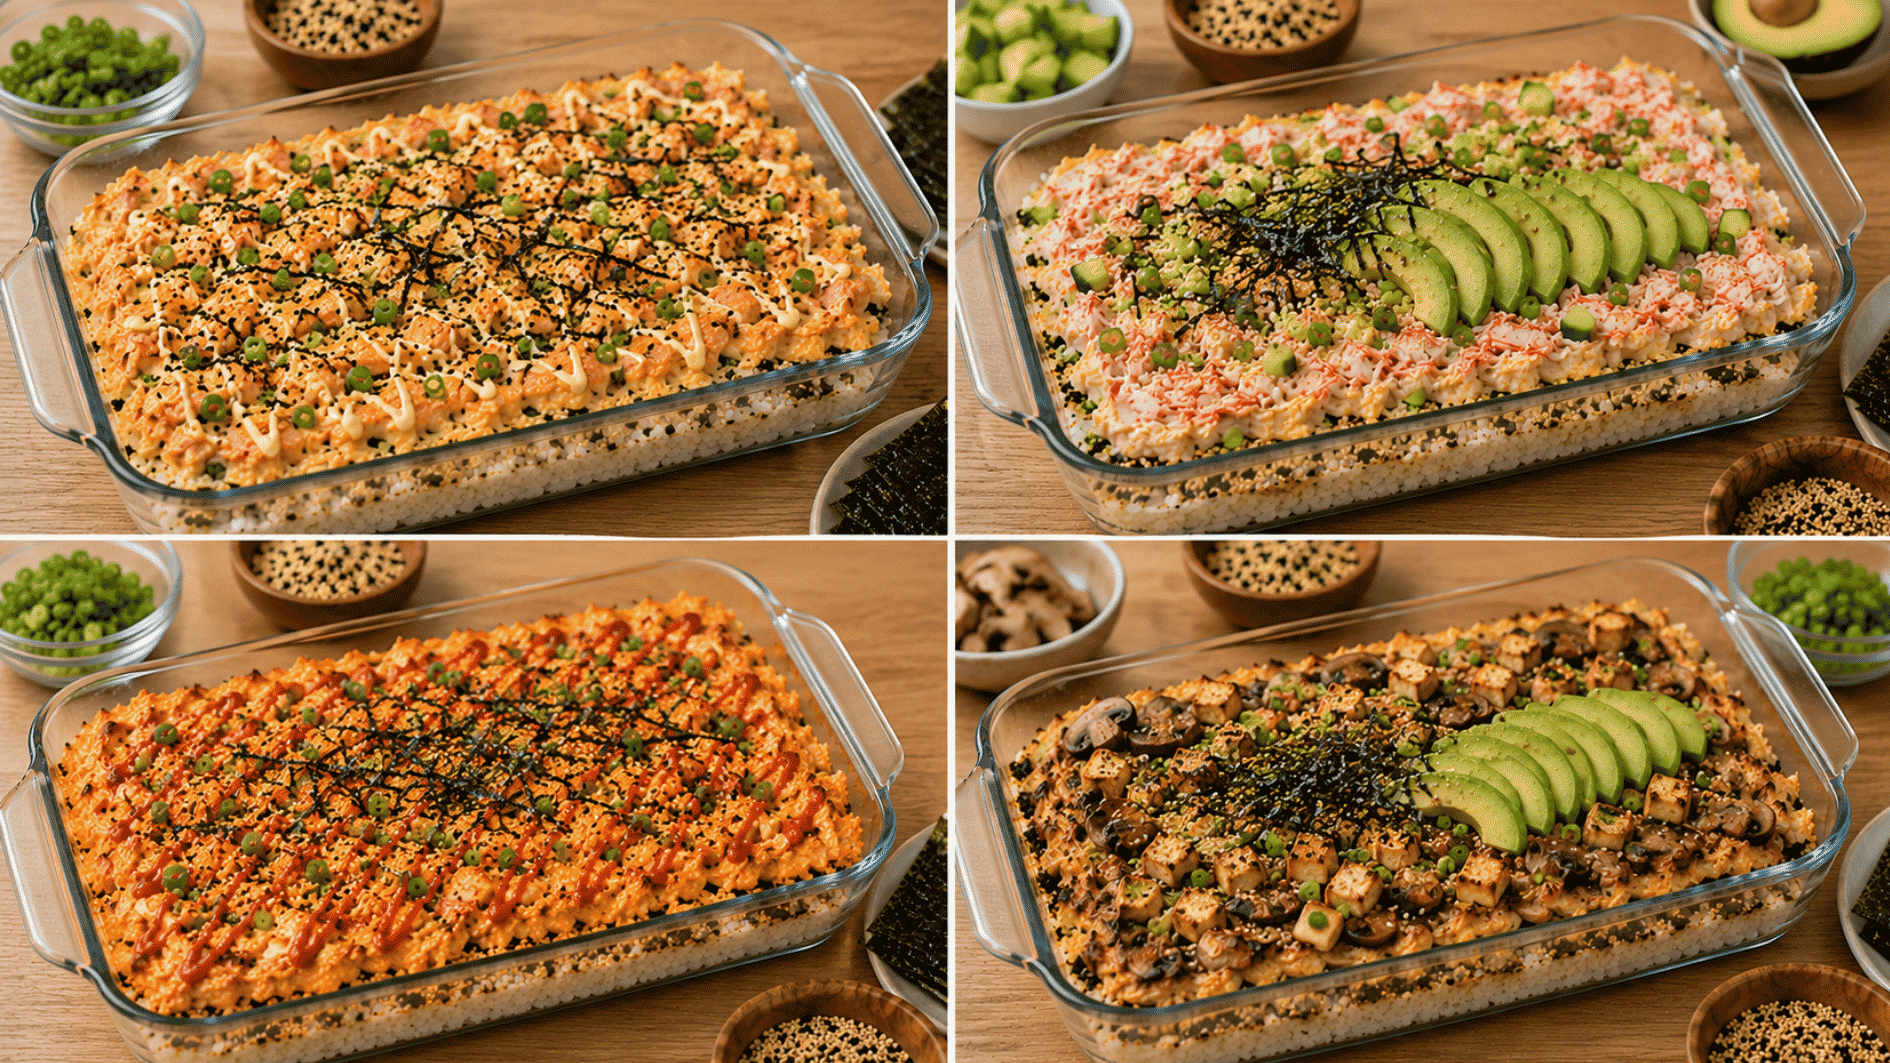
Once you’ve made the base recipe, I suggest switching things up with different proteins and flavors while keeping the same layering method.
1. Salmon Sushi Bake
Salmon gives sushi bake a rich, savory flavor without being too strong. It’s a good choice for salmon lovers or anyone who prefers a milder seafood option.
Green onions and sesame seeds complement it well, while fresh cucumber can add a cool, crisp finish after baking.
2. California Roll Sushi Bake
This variation brings familiar California roll flavors into an easy-to-share dish. Crab keeps the flavor mild, while avocado adds richness and cucumber provides a refreshing crunch.
It’s a great option for families, gatherings, or anyone who prefers a less spicy sushi bake.
3. Spicy Tuna Sushi Bake
Spicy tuna sushi bake has a bolder taste with noticeable heat in every bite. Tuna pairs well with sriracha or chili sauce, making this variation ideal for fans of spicy tuna rolls.
A little fresh cucumber or avocado on top can help balance the stronger flavors.
4. Vegetarian Sushi Bake
A vegetarian sushi bake skips seafood while keeping plenty of savory flavor and satisfying texture. Mushrooms and tofu can provide a hearty base, while avocado brings extra richness.
It’s a useful option for vegetarians or anyone wanting a seafood-free version without turning the dish into a simple vegetable casserole.
What to Serve with Sushi Bake
Sushi bake is rich and savory, so lighter sides can help balance the meal. Crisp, fresh, or mildly seasoned options work especially well.
- Nori sheets: Cut roasted seaweed into small squares and use them to scoop up bite-sized portions.
- Cucumber salad: Its cool crunch and light acidity offer a refreshing contrast to the rich dish.
- Edamame: Steamed edamame makes a simple side that adds texture without competing with the main flavors.
- Miso soup: A warm bowl of miso soup rounds out the meal while keeping things light.
- Seaweed salad: Its slightly sweet, tangy taste pairs naturally with sushi-inspired flavors.
- Pickled ginger: A small serving helps refresh your palate between rich bites.
- Soy sauce: Keep it on the side so everyone can add as much or as little saltiness as they prefer.
- Fresh vegetables: Sliced cucumber, avocado, or radish can bring extra crunch and freshness to the plate.
How to Store and Reheat Sushi Bake
I’ve found that leftover sushi bake stays flavorful when stored and reheated correctly. Proper handling also helps keep the rice from drying out. Use these steps to store, reheat, and serve leftovers:
| Method | Quick Steps | Key Tip |
|---|---|---|
| Refrigerate | Cool, cover, and refrigerate within 2 hours. | Use an airtight container. |
| Keep for 3–4 days | Eat refrigerated leftovers within 3–4 days. | Store fresh toppings separately. |
| Microwave | Heat a single portion in short intervals until hot. | Cover loosely to retain moisture. |
| Oven | Cover with foil and reheat at 350°F until hot throughout. | Best for larger portions. |
| Add fresh toppings | Top with avocado, cucumber, or green onions after reheating. | Add nori only when serving. |
Mistakes You Should Avoid to Save Your Final Dish
Even a simple sushi bake can lose its appeal when the texture, moisture, or seasoning is off. Small details can make a big difference. Keep these common mistakes in mind for a better-balanced dish:
- Using long-grain rice: Choose short-grain sushi rice for a stickier, more cohesive base.
- Making the filling too wet: Too much sauce can leave the finished bake soggy and heavy.
- Overloading the seafood layer: Keep the layers balanced so one flavor does not dominate each bite.
- Underseasoning the dish: Spread seasoning evenly so you do not end up with bland spots.
- Using watery vegetables: Pat fresh vegetables dry to prevent extra moisture from soaking into the dish.
- Adding too much sauce: Use strong condiments sparingly so they complement rather than overpower the other flavors.
Final Thoughts
You don’t need a sushi chef’s skills to pull off something this good at home, just a baking dish and a little patience while it browns in the oven.
I’ve made this sushi bake recipe more times than I can count, and it never fails to disappear fast at gatherings. Swap the protein, adjust the spice, pile on your favorite toppings- whatever works best for you and your table.
Scoop it up with nori while it’s still warm, and you’ll see why this dish keeps winning people over. Try it this week and make it your own.
Frequently Asked Questions
Can I Use Raw Fish in a Sushi Bake?
No. Since the dish goes into the oven, cook all seafood beforehand for safety and texture.
Do I Need Furikake for Sushi Bake?
No, furikake is optional, though it adds extra savory flavor and can be replaced with sesame seeds or crushed nori.
Can I Double the Recipe for a Larger Crowd?
Yes. Just use a bigger dish and add a few extra minutes to the bake time.